Soldering HiFiBerry
Soldering HiFiBerry
Since you always have to solder the pin header on your Raspberry Pi, HiFiBerry comes as a kit and needs some soldering. This gives you a lot of flexibility: you can use exactly the connectors you want to use. But don’t be afraid of the soldering—all electronic components have been soldered already. You only have to solder the large components, and we’ll show you how to do this.
Solder the HiFiBerry kit
HiFiBerry comes as a kit. Depending on your order, you may get audio connectors other than the ones shown here:

You have to solder the connectors to the HiFiBerry board first:
If you want to mount the RCA connectors somewhere in your case, you can access the line output signal on the pins marked with “OUT, L GND R” without soldering the connectors to the board. The result may look like this: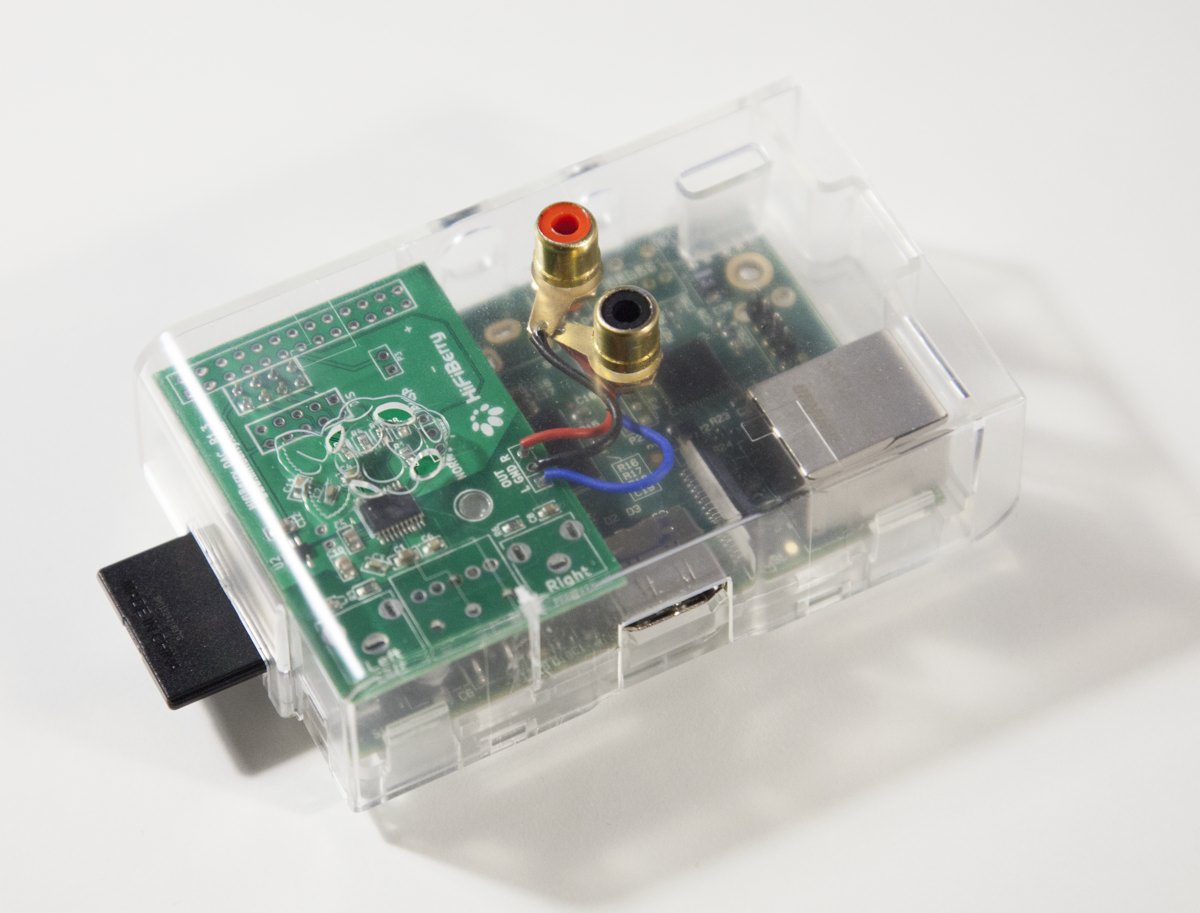
Identify the P5 header on the Raspberry Pi
This is an important step. The early Raspberry Pis were produced without this connector. Make sure that your Raspberry Pi has this connector:
If your Raspberry Pi does not have this connector, you cannot use the HiFiBerry or any other product that connects directly to the sound interface of the Raspberry Pi CPU.
Solder the P5 header on the Raspberry Pi
The kit comes with a small 8-pin header that must be soldered on the Raspberry Pi. Take a look at this video on Vimeo to see how to do it.
Plug the HiFiBerry onto the Raspberry Pi
We recommend using a spacer or a 3mm screw to mount the HiFiBerry to the Raspberry Pi. Then simply plug the HiFiBerry onto the Raspberry Pi and you’re done.