Beocreate – First steps
Beocreate – First steps
Unpack the hardware
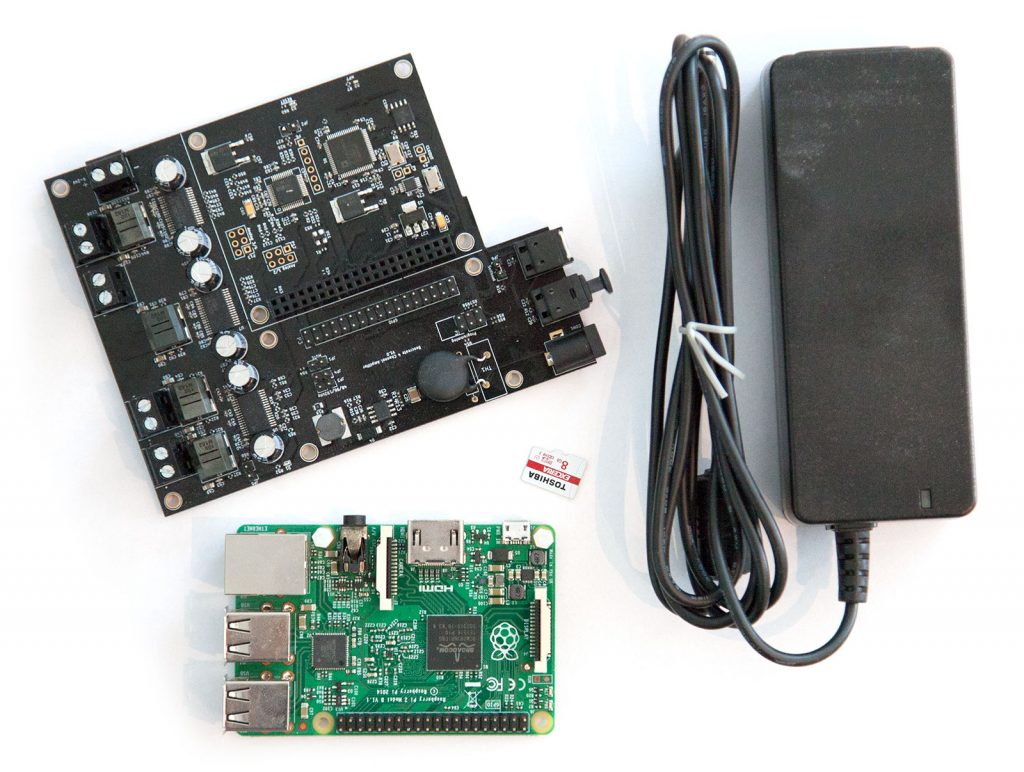
To start with, you will need the following pieces of hardware:
- Beocreate 4 channel amplifier
- Power supply of 12-20V that provides as least 3.5A current (for small speakers like the CX50/CX100, we recommend the Meanwell power supply from our shop)
- Raspberry Pi
- SD card
- one or two loudspeakers
- Ethernet cable (highly recommended for setup, even if you want to use it wireless later)
Install the Hardware
Plug the Raspberry Pi onto the Beocreate amplifier and connect the speaker cables. Also make sure, the MUTE jumper on the Beocreate board is removed.
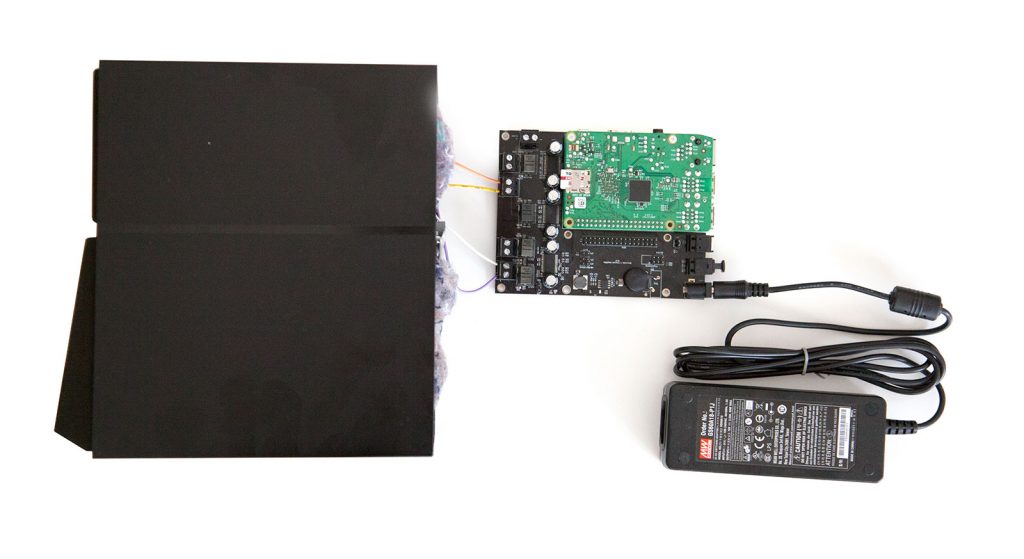
There are guides specifically for the BEOVOX CX50 and Beovox CX100. For the first step, we recommend to just connect the amplifier to the loudspeakers using cables, but leave it outside the speaker. This makes it easier to find and fix issues in the beginning.
You can use the Beocreate 4 channel amplifier with any other speaker. For these, we recommend to use the Amplifier as a “normal” 2-channel amplifier to start with.
Install the Beocreate software
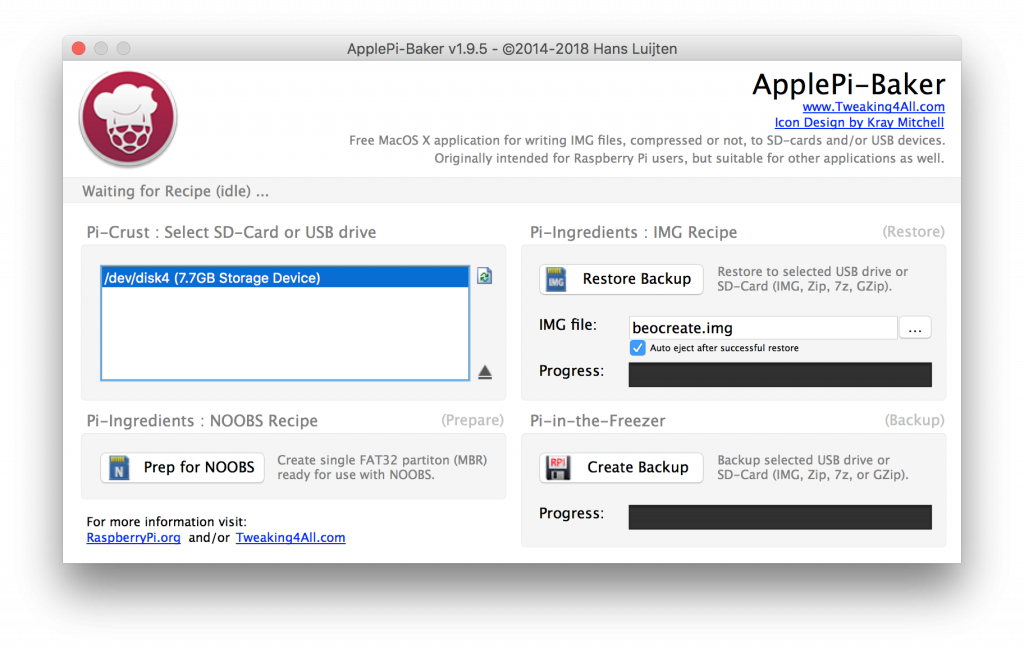
We recommend to use the Beocreate software. This is usually the easiest way to start. To do this, download HiFiBerryOS from here. Write this software onto an empty SD card using a tool like Win32DiskImager (Windows) or ApplePiBaker (MacOS).
If you want to use other software, have a look at the documentation how to install the DSP toolset on Raspbian and how to use the Beocreate amplifier with any 3rd party software.
Finish setup of the Beocreate software
Have a look at the HiFiBerryOS setup guide for the next steps.