Dealing with blocked P5 holes
Dealing with blocked P5 holes
Here is a quick way to solve a P5 connector problem that you may have with your Raspberry Pi. This issue applies to a short run of Raspberry Pi boards from the early manufacture of revision 2. Modern boards do not seem to have this problem.
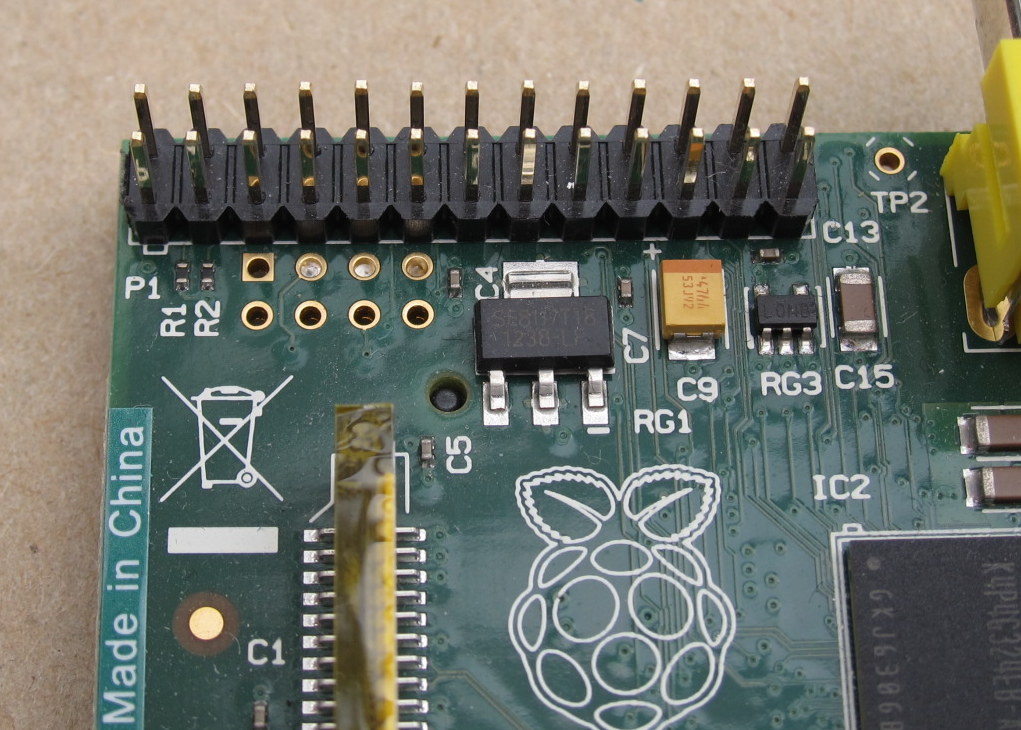
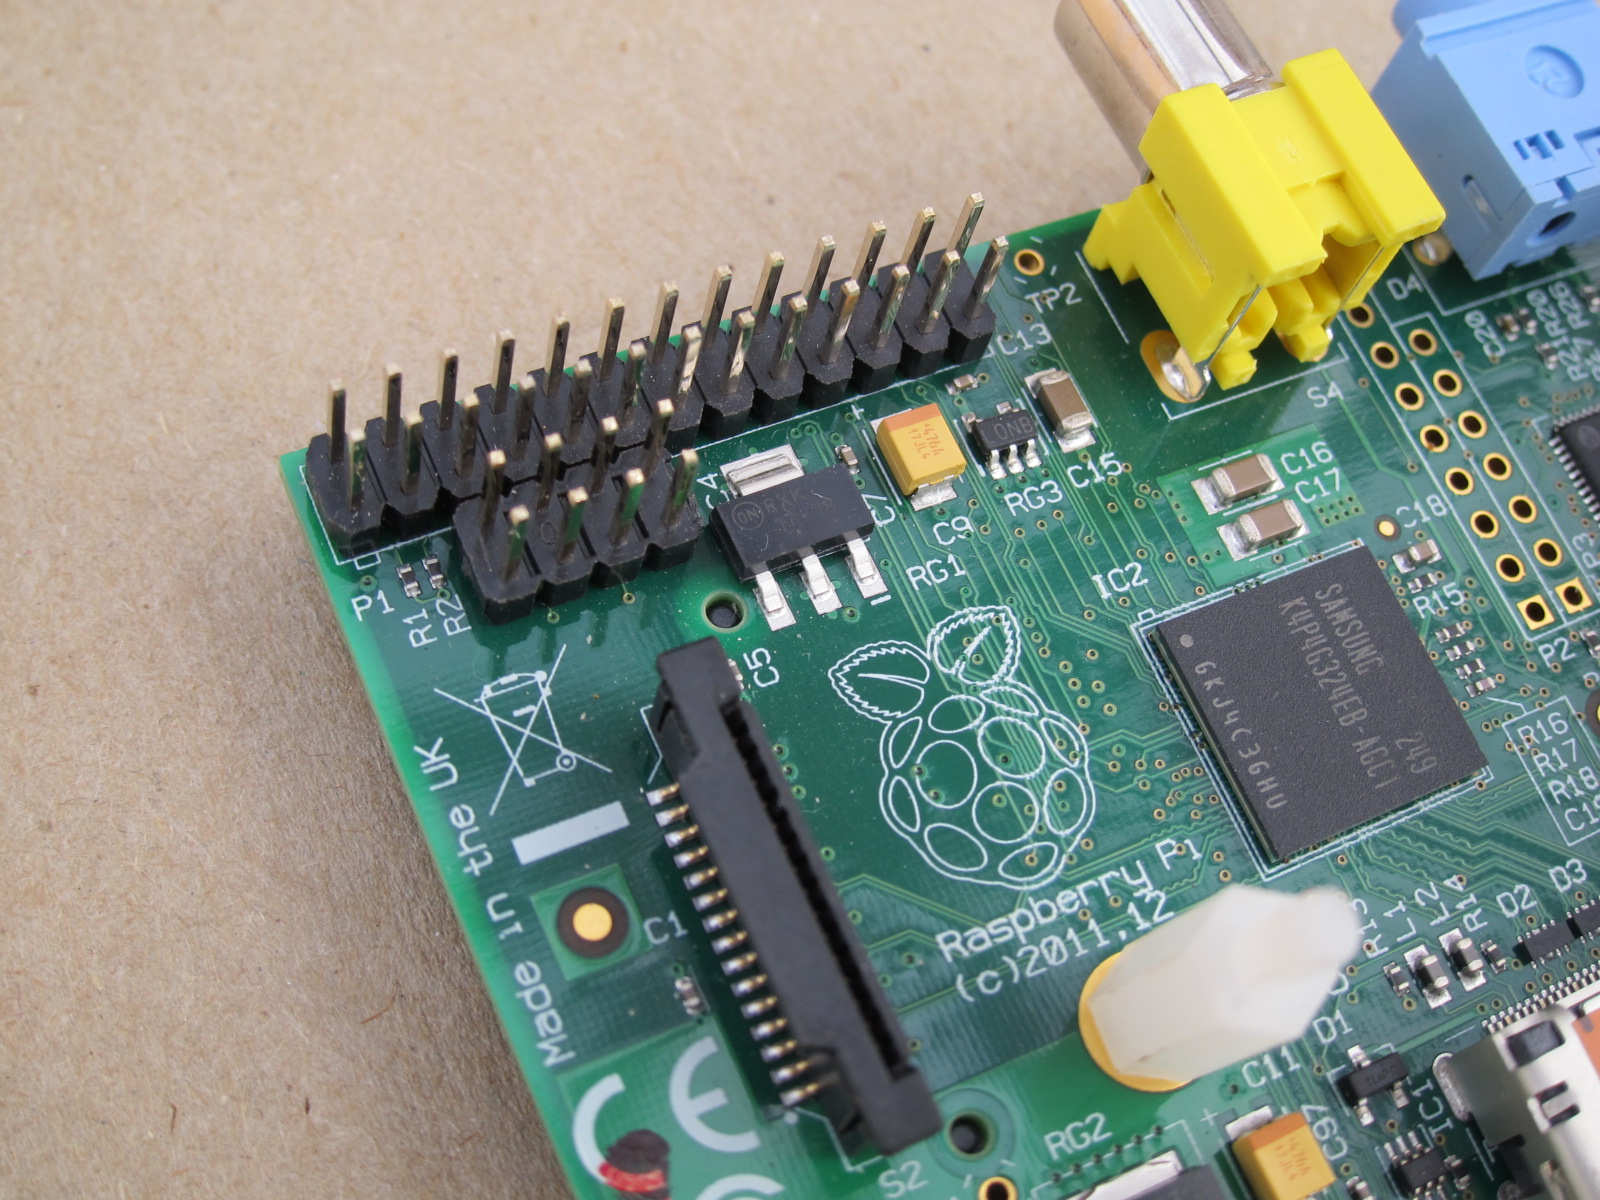
Judging by the forum posts referencing this problem, it appears that a number of Raspberry Pi boards were manufactured incorrectly, such that some of the P5 connector holes were blocked by solder. Typically, you will find that 3 of the P5 holes are filled with solder, as you can see here.
This is quite easily fixed using standard de-soldering techniques. If that sounds scary, then all you need is a soldering iron and some solder wick. This typically comes on reels and looks like this…
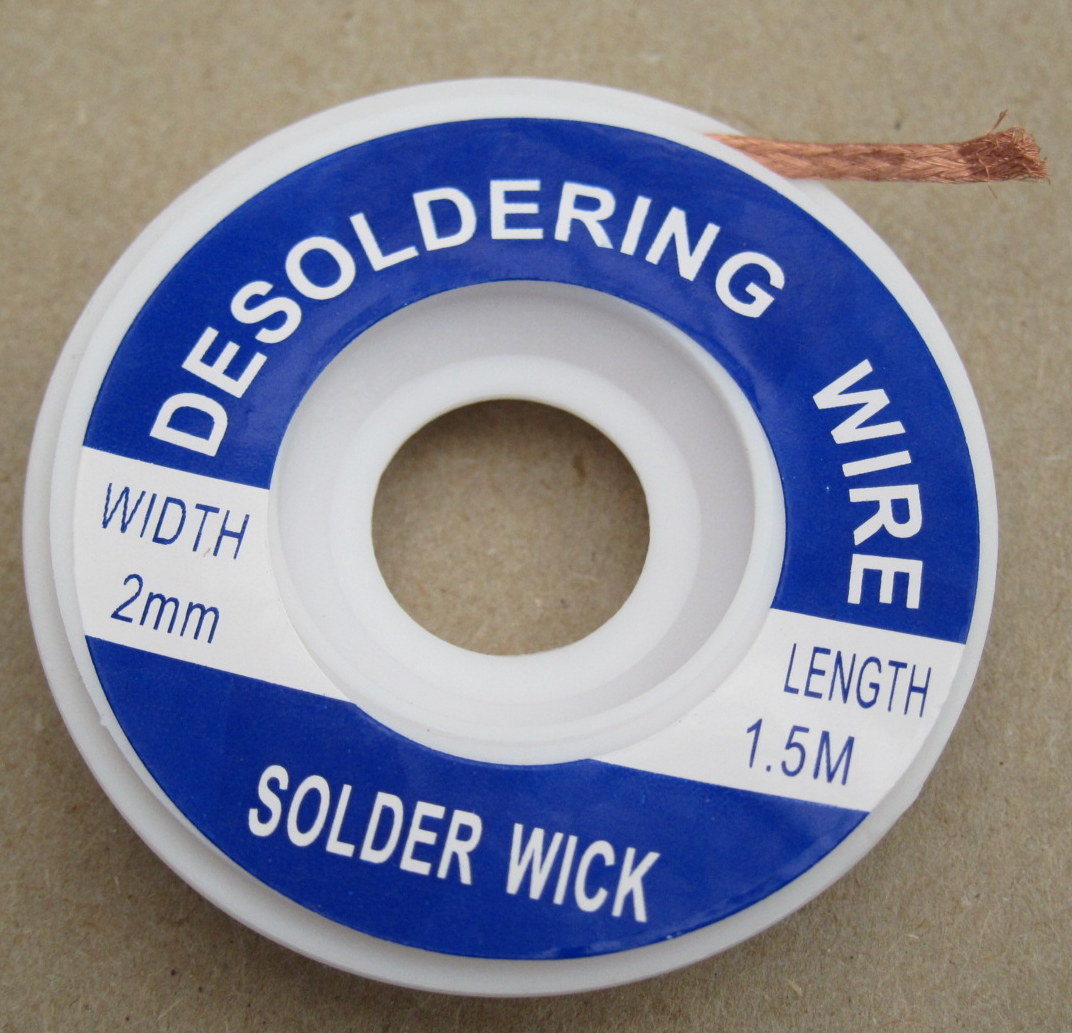
It’s very cheap, and is just a metal mesh with a little rosin impregnated into the structure.
The technique is covered in many excellent web videos, but briefly, the method is to lay the wick on top of the blocked hole and push the soldering iron on top of the wick centered over the hole.
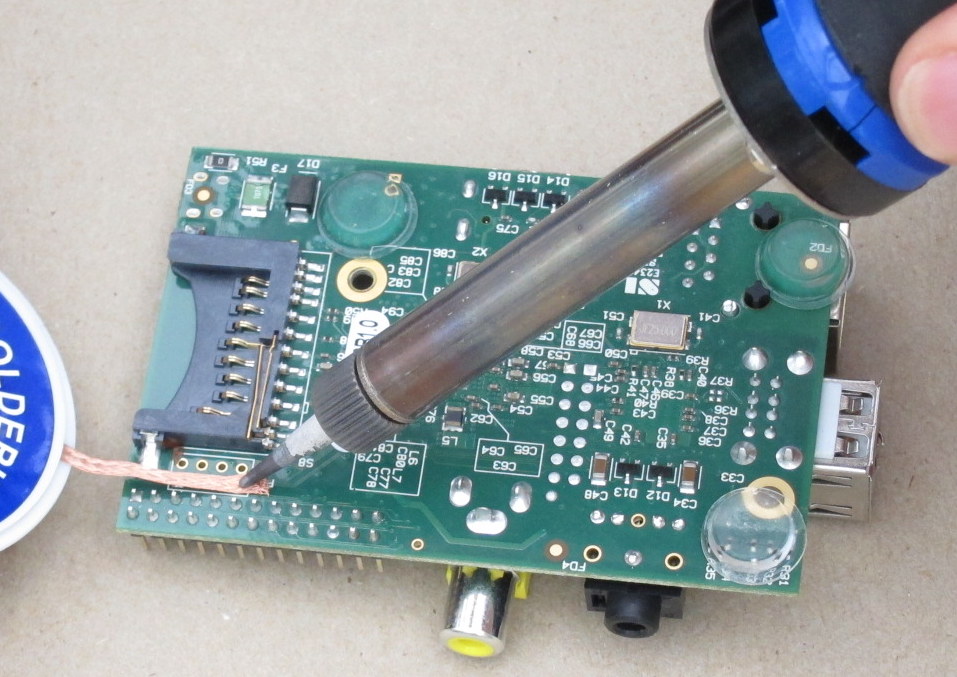
Note how I am tackling this problem from the bottom of the board. This is because it is easy to make good thermal contact with the solder on this side. The solder is slightly recessed into the hole on the front side of the board, so it would be a lot more difficult to make thermal contact.
As the soldering iron heats up the wick, it eventually gets hot enough that the solder from the hole will run up out of the hole and be trapped in the wick. A small tip to the soldering iron really helps. It needs to be able to push the wick into good contact with the blocking solder. I found that a little rotation of the wick seemed to help, probably breaking down contaminants that were interfering with the wicking. Once the solder has lifted, the soldering iron and wick together are gently lifted to reveal a clear hole.
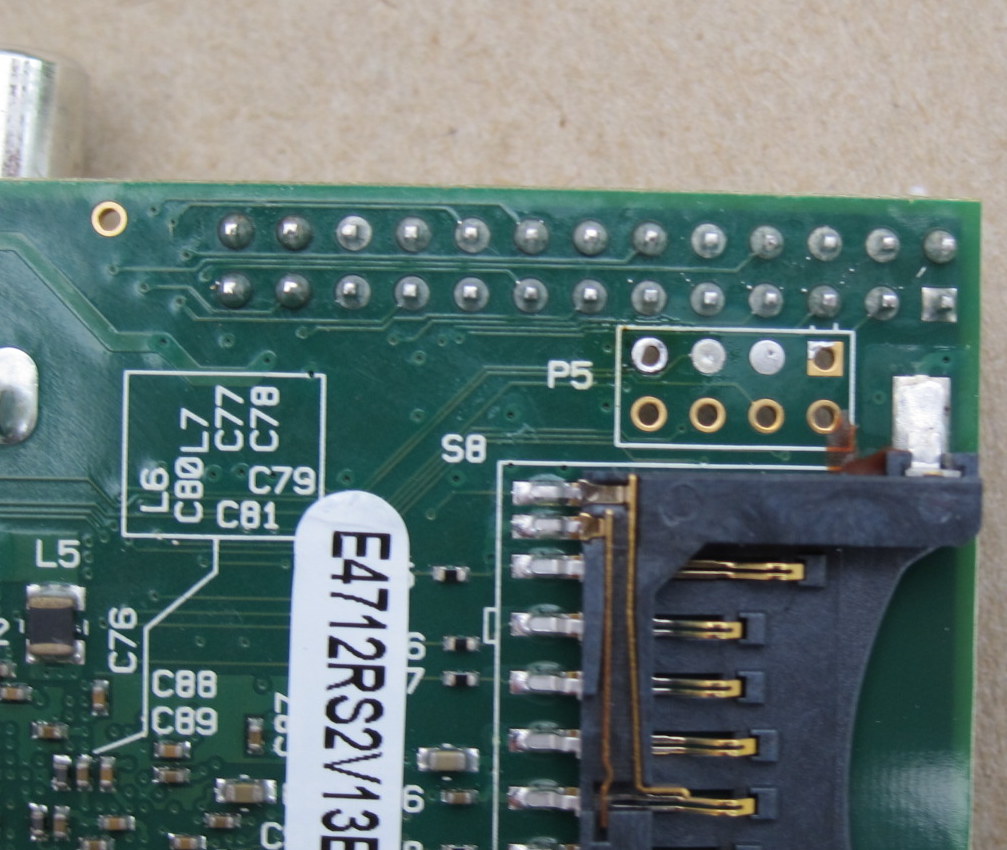
First hole cleared, two remaining to be unblocked.
Repeat for the other blocked holes. Once the holes are all clear, it’s simple to insert the P5 connector for your HiFiBerry and solder it in place. A demonstration video for installing the header can be found here.
Now you can install a suitable standoff and plug in your HiFiBerry.
And just to prove how easy this is, here I am clearing one of the blocked holes.
[vimeo 94977503 w=917&h=515]
This article contains the best description that we could create at the time of writing for helping you understand how to get your system up and running. It will not apply in all circumstances since there are so many variables outside of our control. Please give us feedback in the forum on how well these notes help you.