OSMC installation and configuration
OSMC installation and configuration
This guide is provided as-is. As it refers to 3rd party software or it had been created by a 3rd party, there might be changes we don't know about. You can post questions in opur community area, but there is no individual support from us.
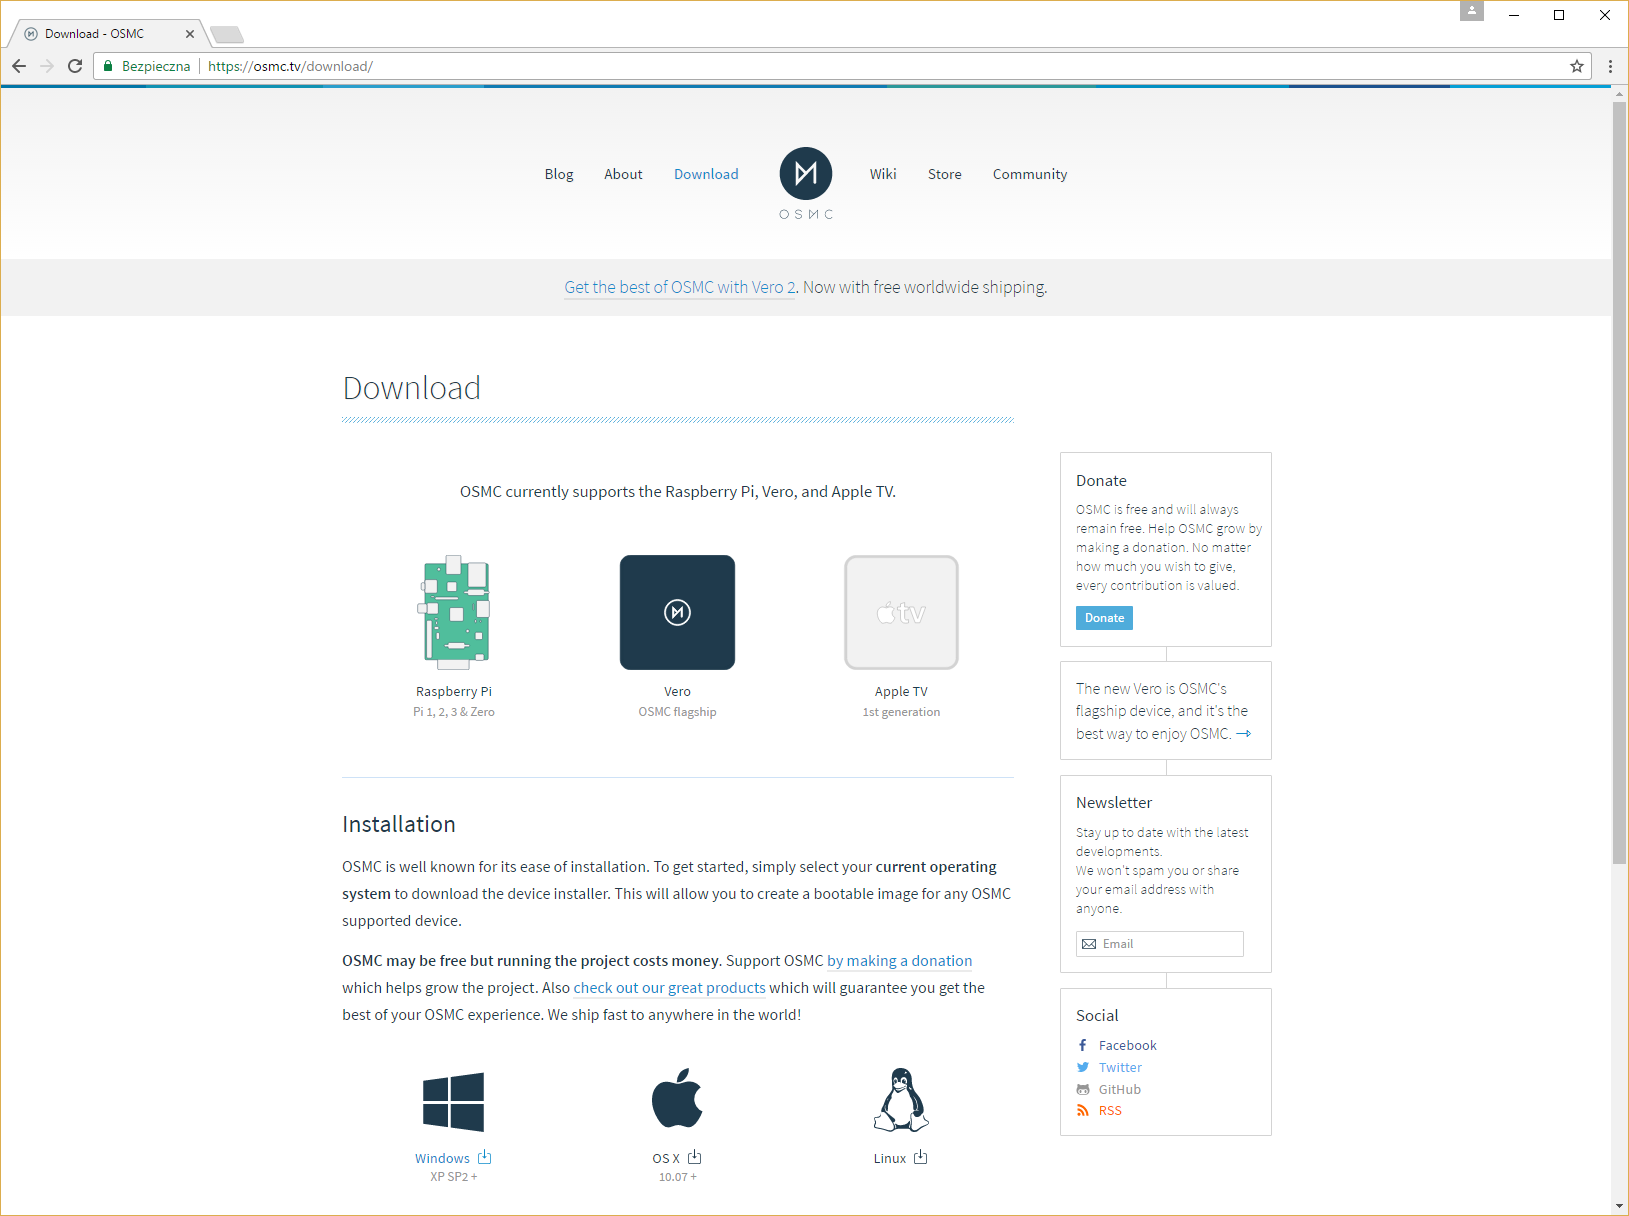
OSMC is one of a range of media playback solutions that supports HiFiBerry boards. Follow these instructions to install and configure OSMC.
- Go to the downloads section at osmc.tv and download the installer app specific for you operating system.
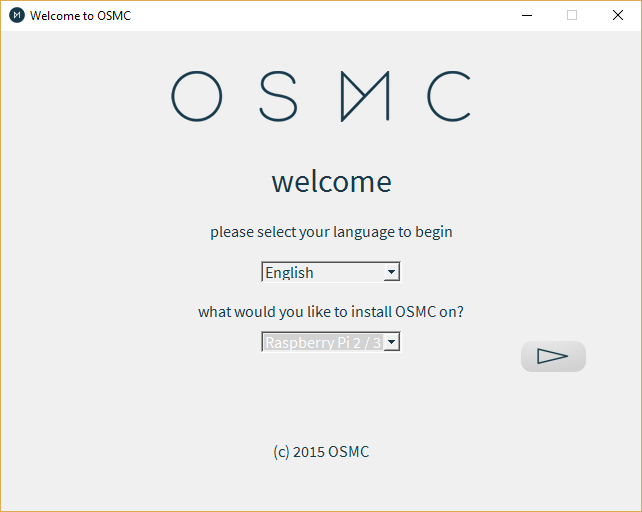
- Launch the installer.
- Select language and choose your RPi model.
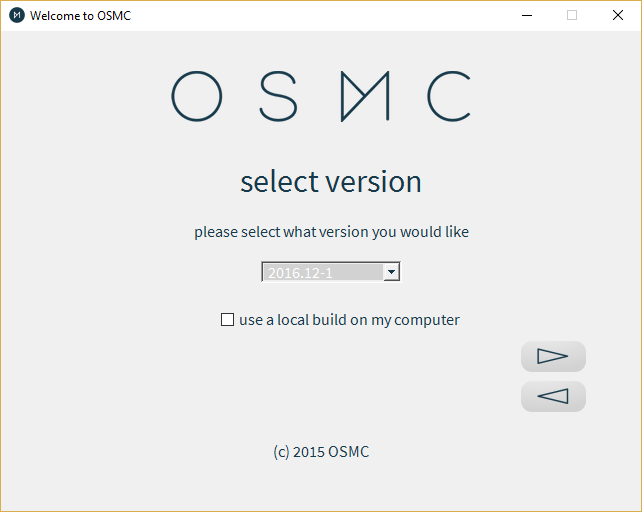
- Select the OSMC version.
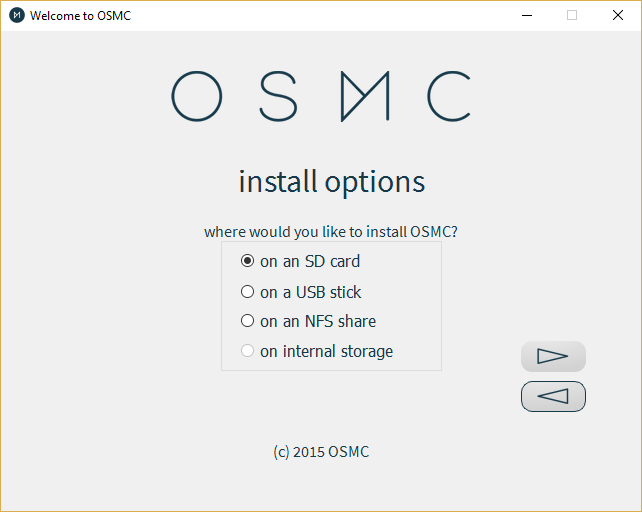
- Choose SD card for the installation target.
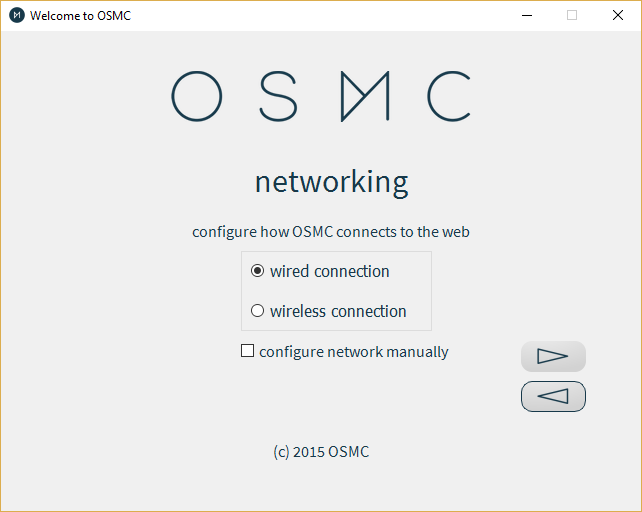
- Choose between wired or wireless network connection.
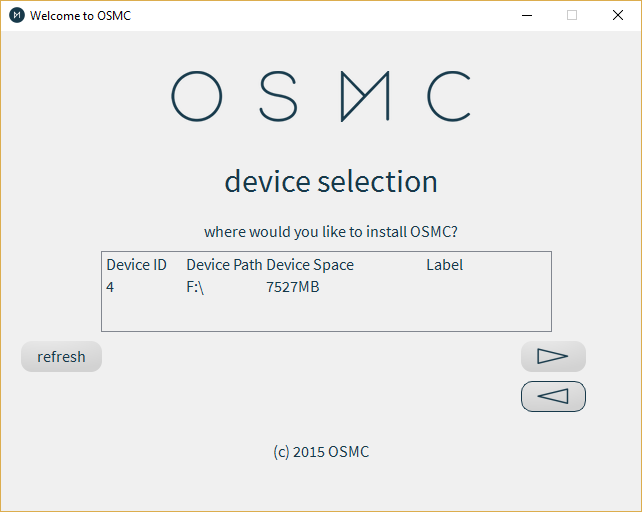
- Select the target device.
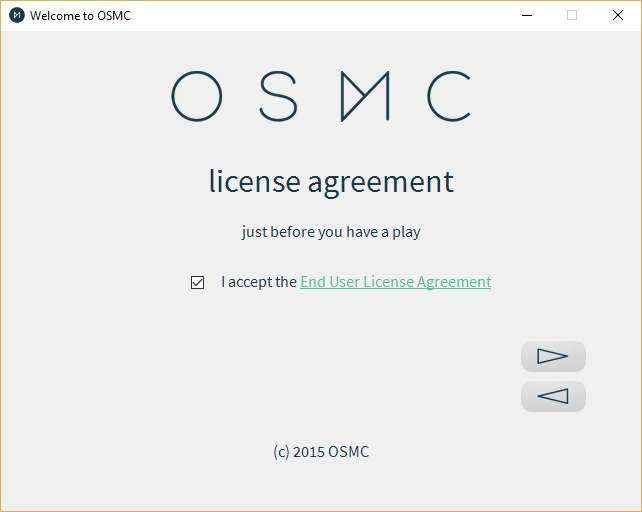
- Agree to the End User License Agreement and proceed with the installation.
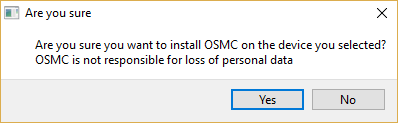
- Confirm the installation on the selected device.
- Once the installation is complete, disconnect the SD card from your computer and pop it in into your Raspberry Pi.
- Connect all the cables and power it.
- Go through the system setup procedure.
- Once you complete the setup procedure, select My OSMC and enter Pi Config.

- Select Hardware Support and choose your HiFiBerry in the Soundcard Overlay parameter.
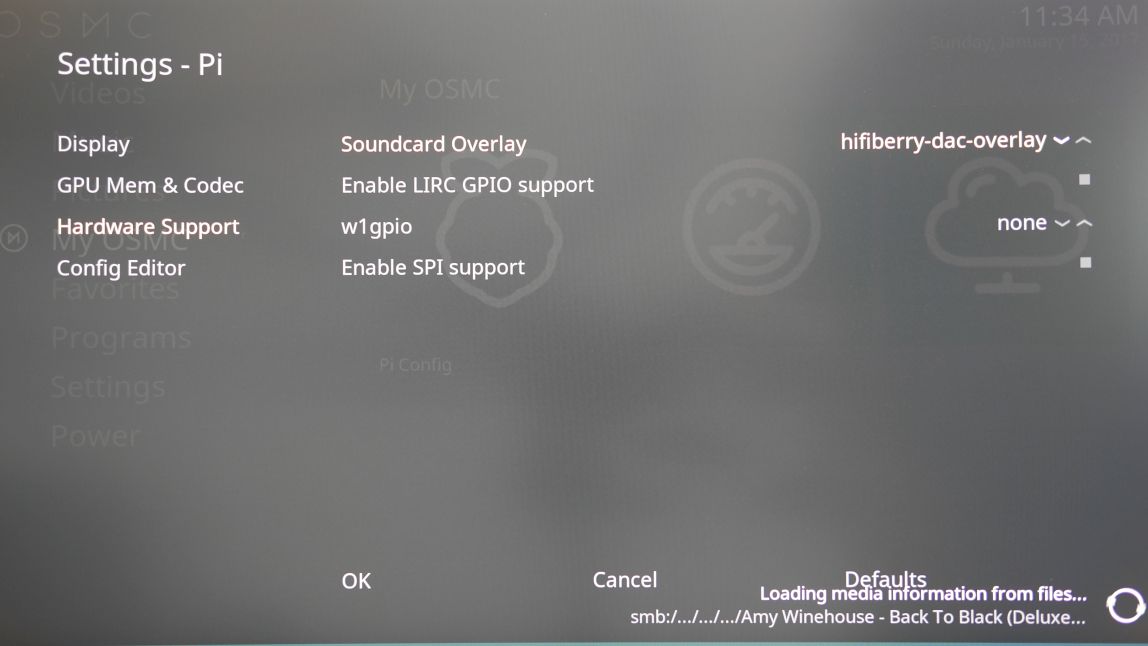
- Restart your Raspberry Pi.
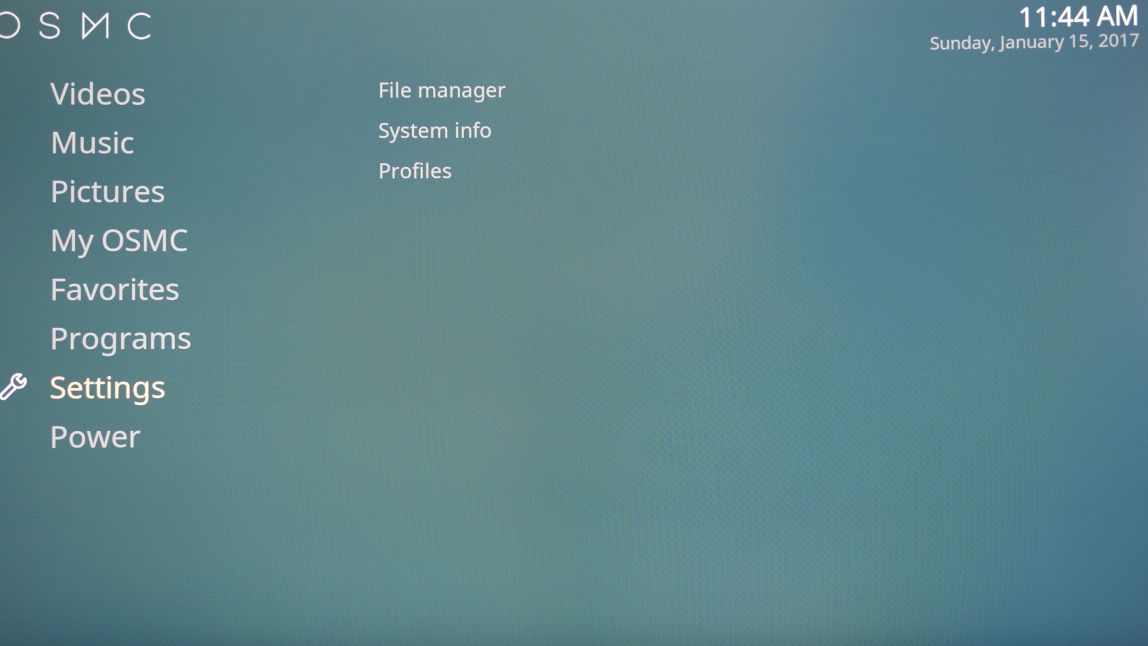
- Select Settings.
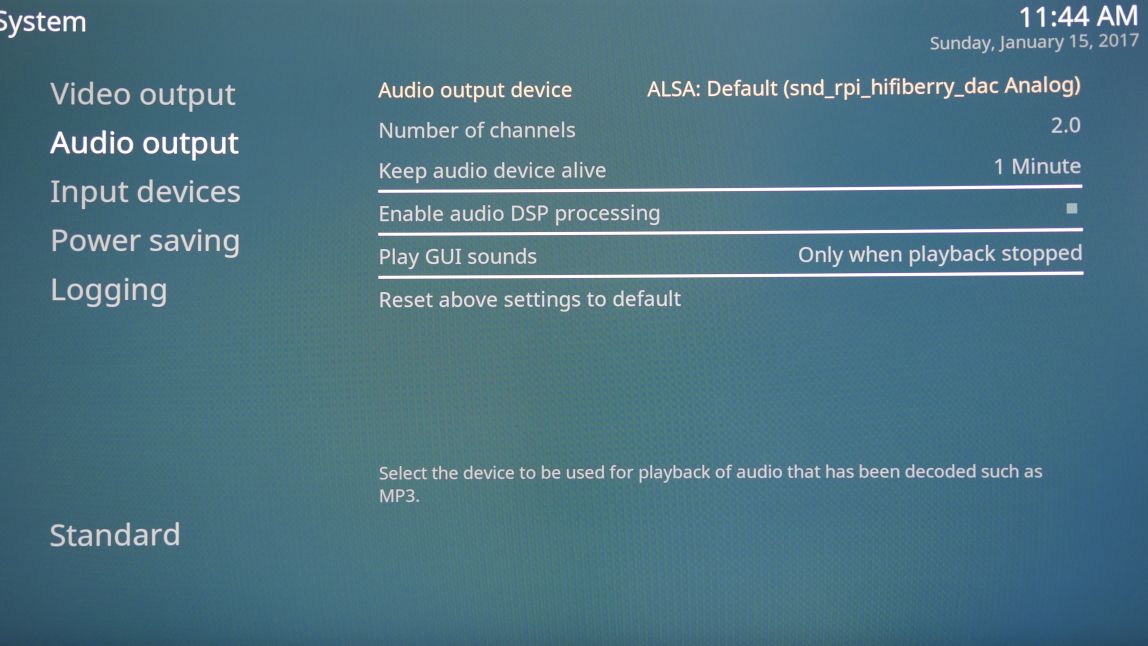
- Select System.
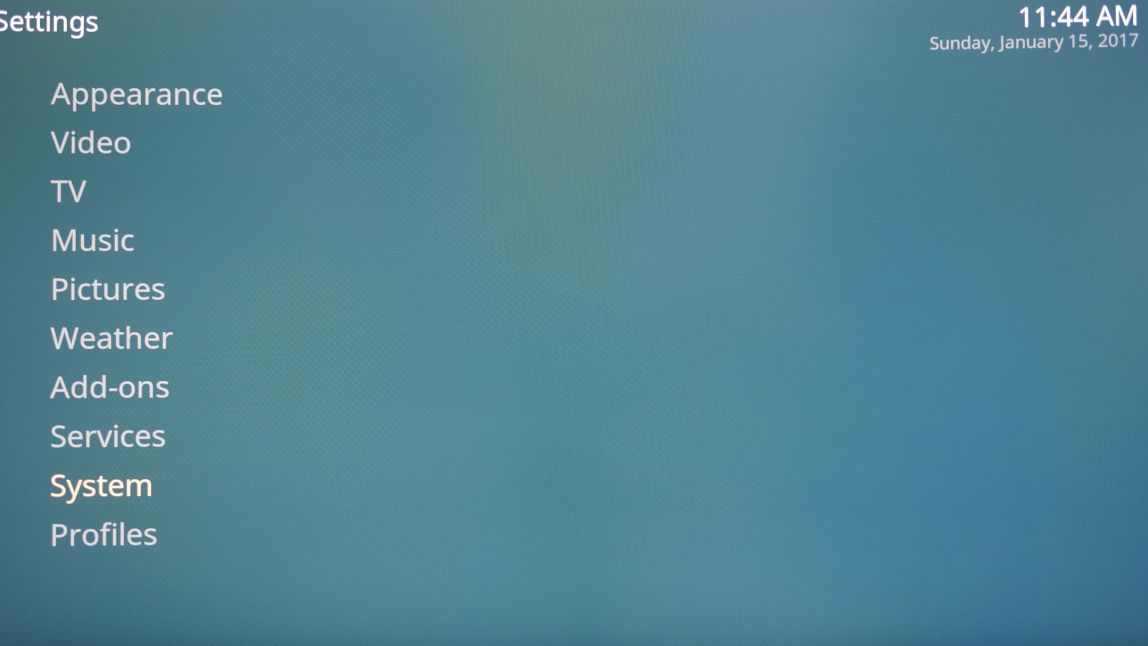
- Select Audio output and set the Audio output device parameter to ALSA: Default (snd_rpi_hifiberry_dac Analog) (or something similar, depending on your HiFiBerry).
- Add content to your library and enjoy it.