How to run a Roon Bridge on a HiFiBerry DAC+ equipped Raspberry Pi
How to run a Roon Bridge on a HiFiBerry DAC+ equipped Raspberry Pi
Even hardware as fine as our HiFiBerry boards is nothing without software to back it up. HiFiBerry boards are supported by a number of operating systems and that list also includes Roon Labs. Roon Labs is a pretty cool server-client based audio solution perfect for those of you who have a number of audio devices in your home.
- Download HiFiBerryOS and write it onto a micro SD card. Follow the installation instructions.
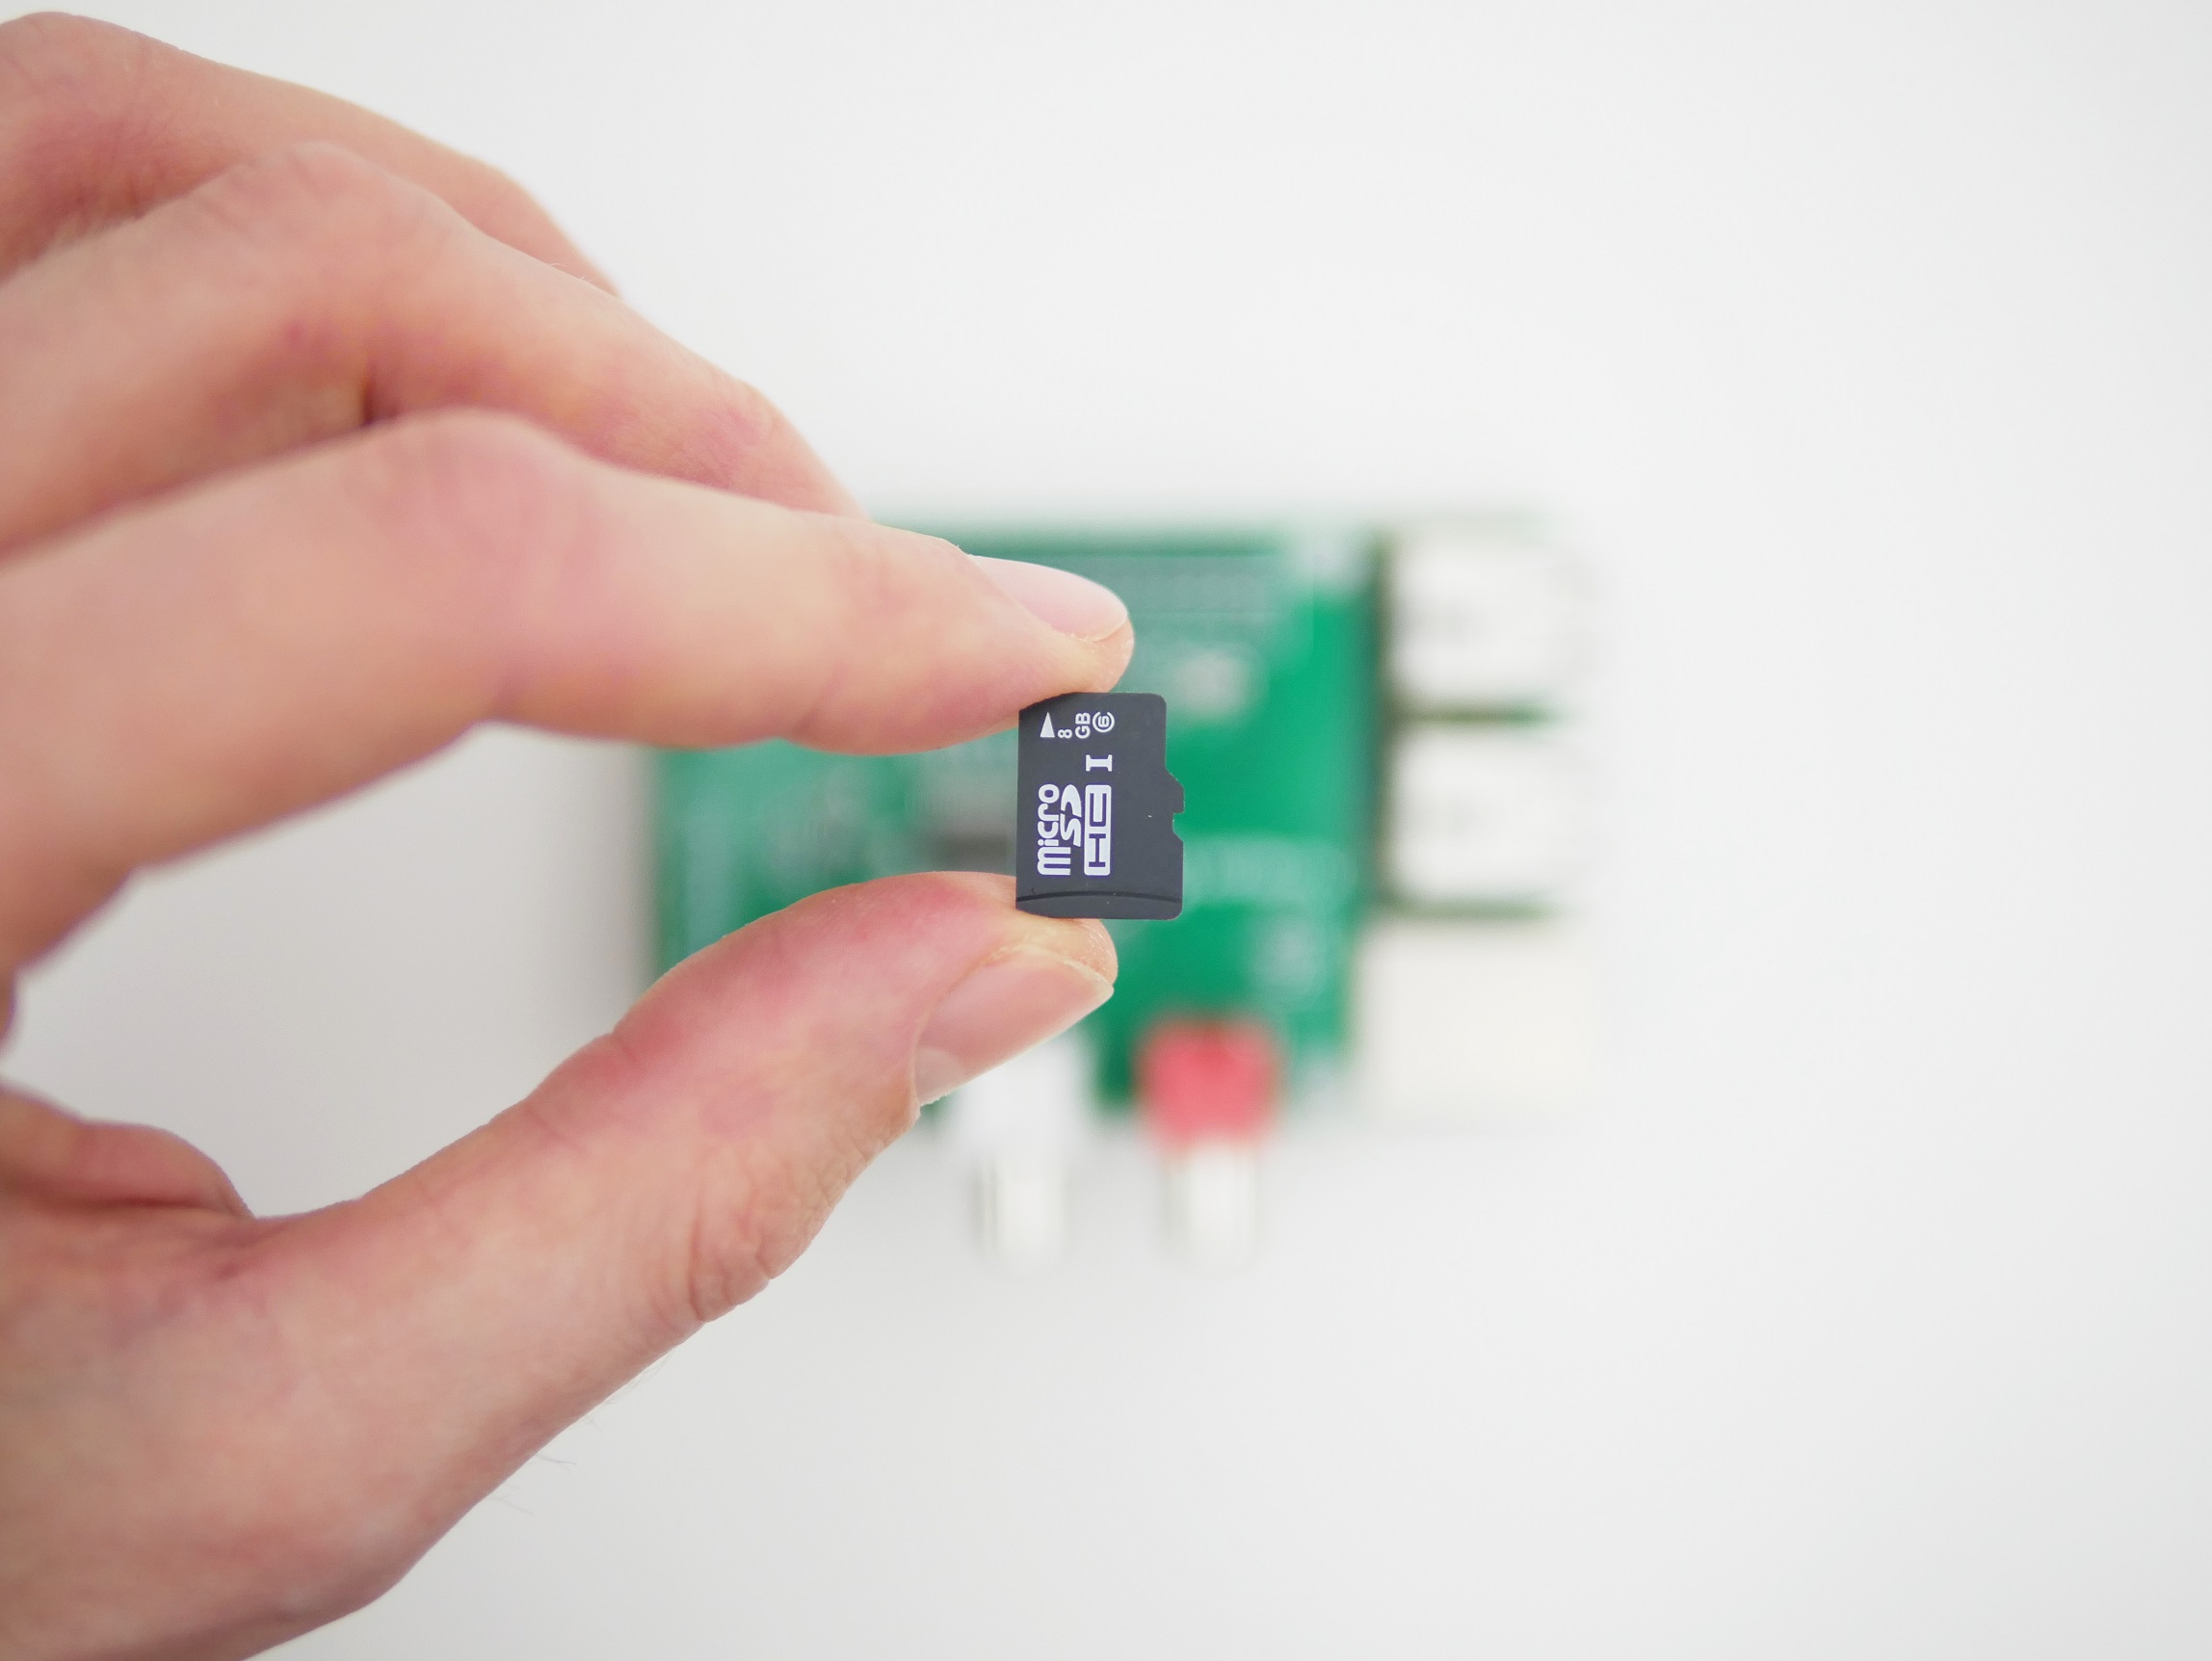
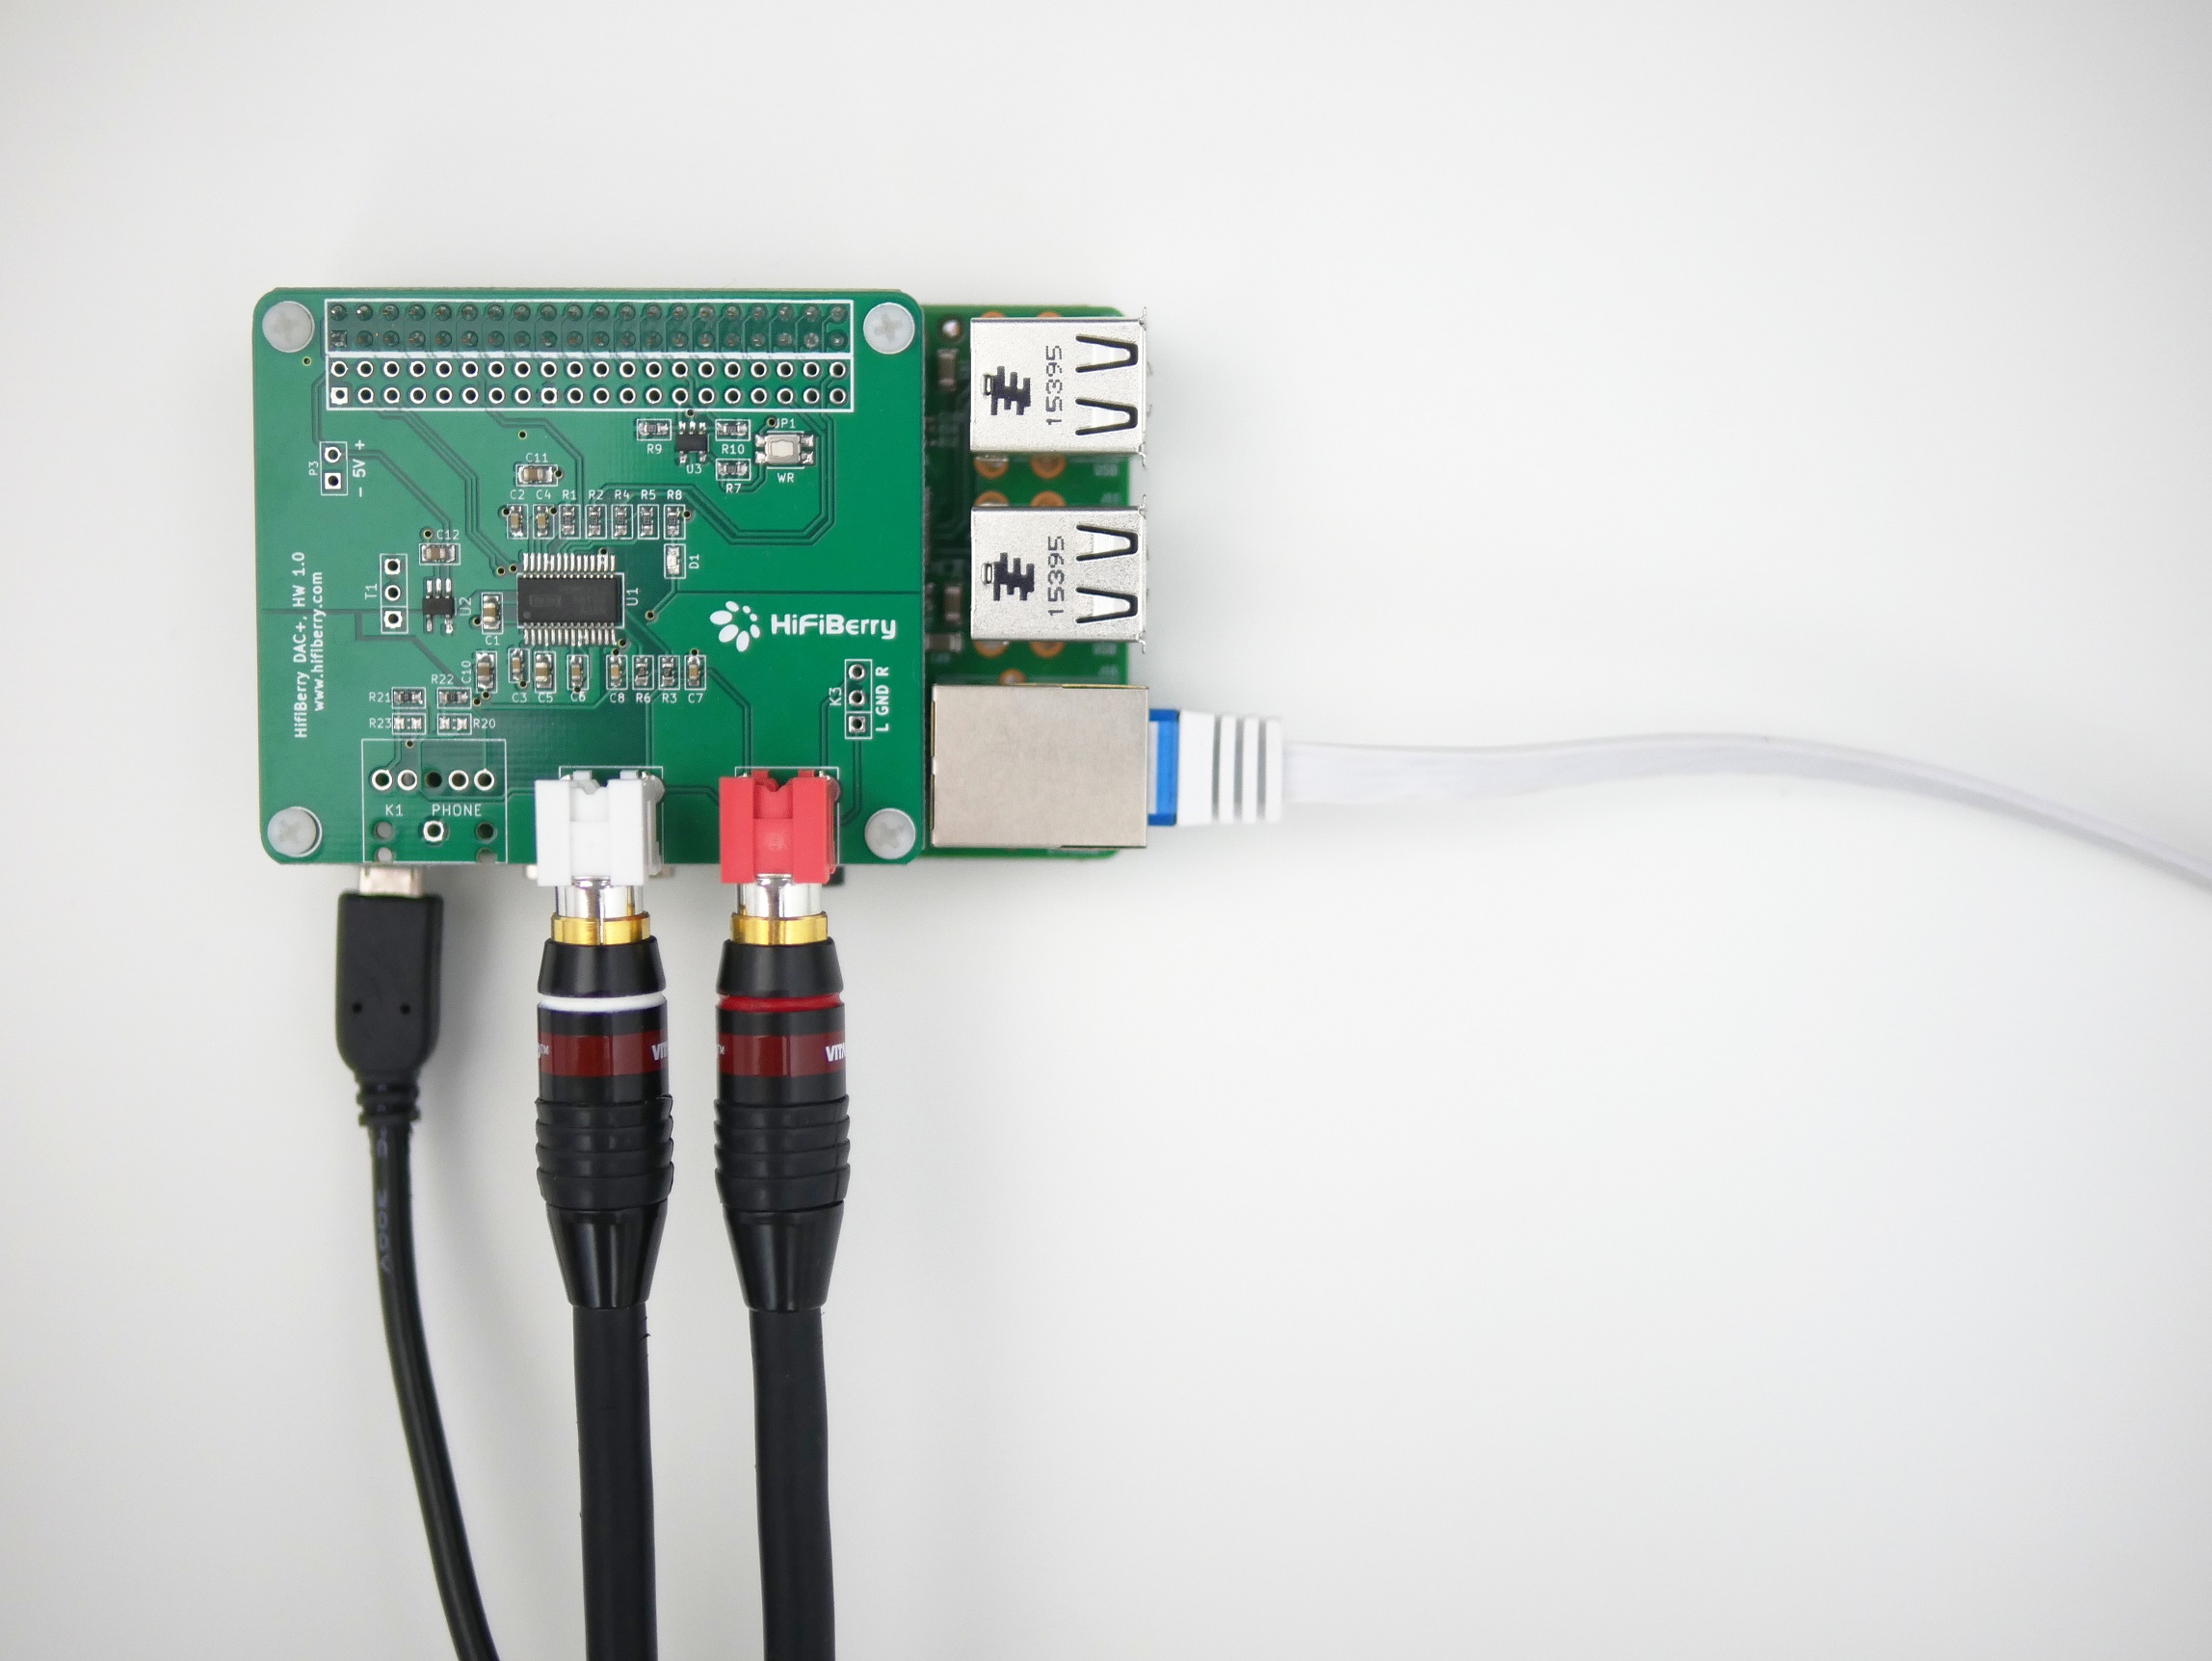
- Insert the the SD card into the Pi, connect the Pi to your network and your amplifier, and power it on.
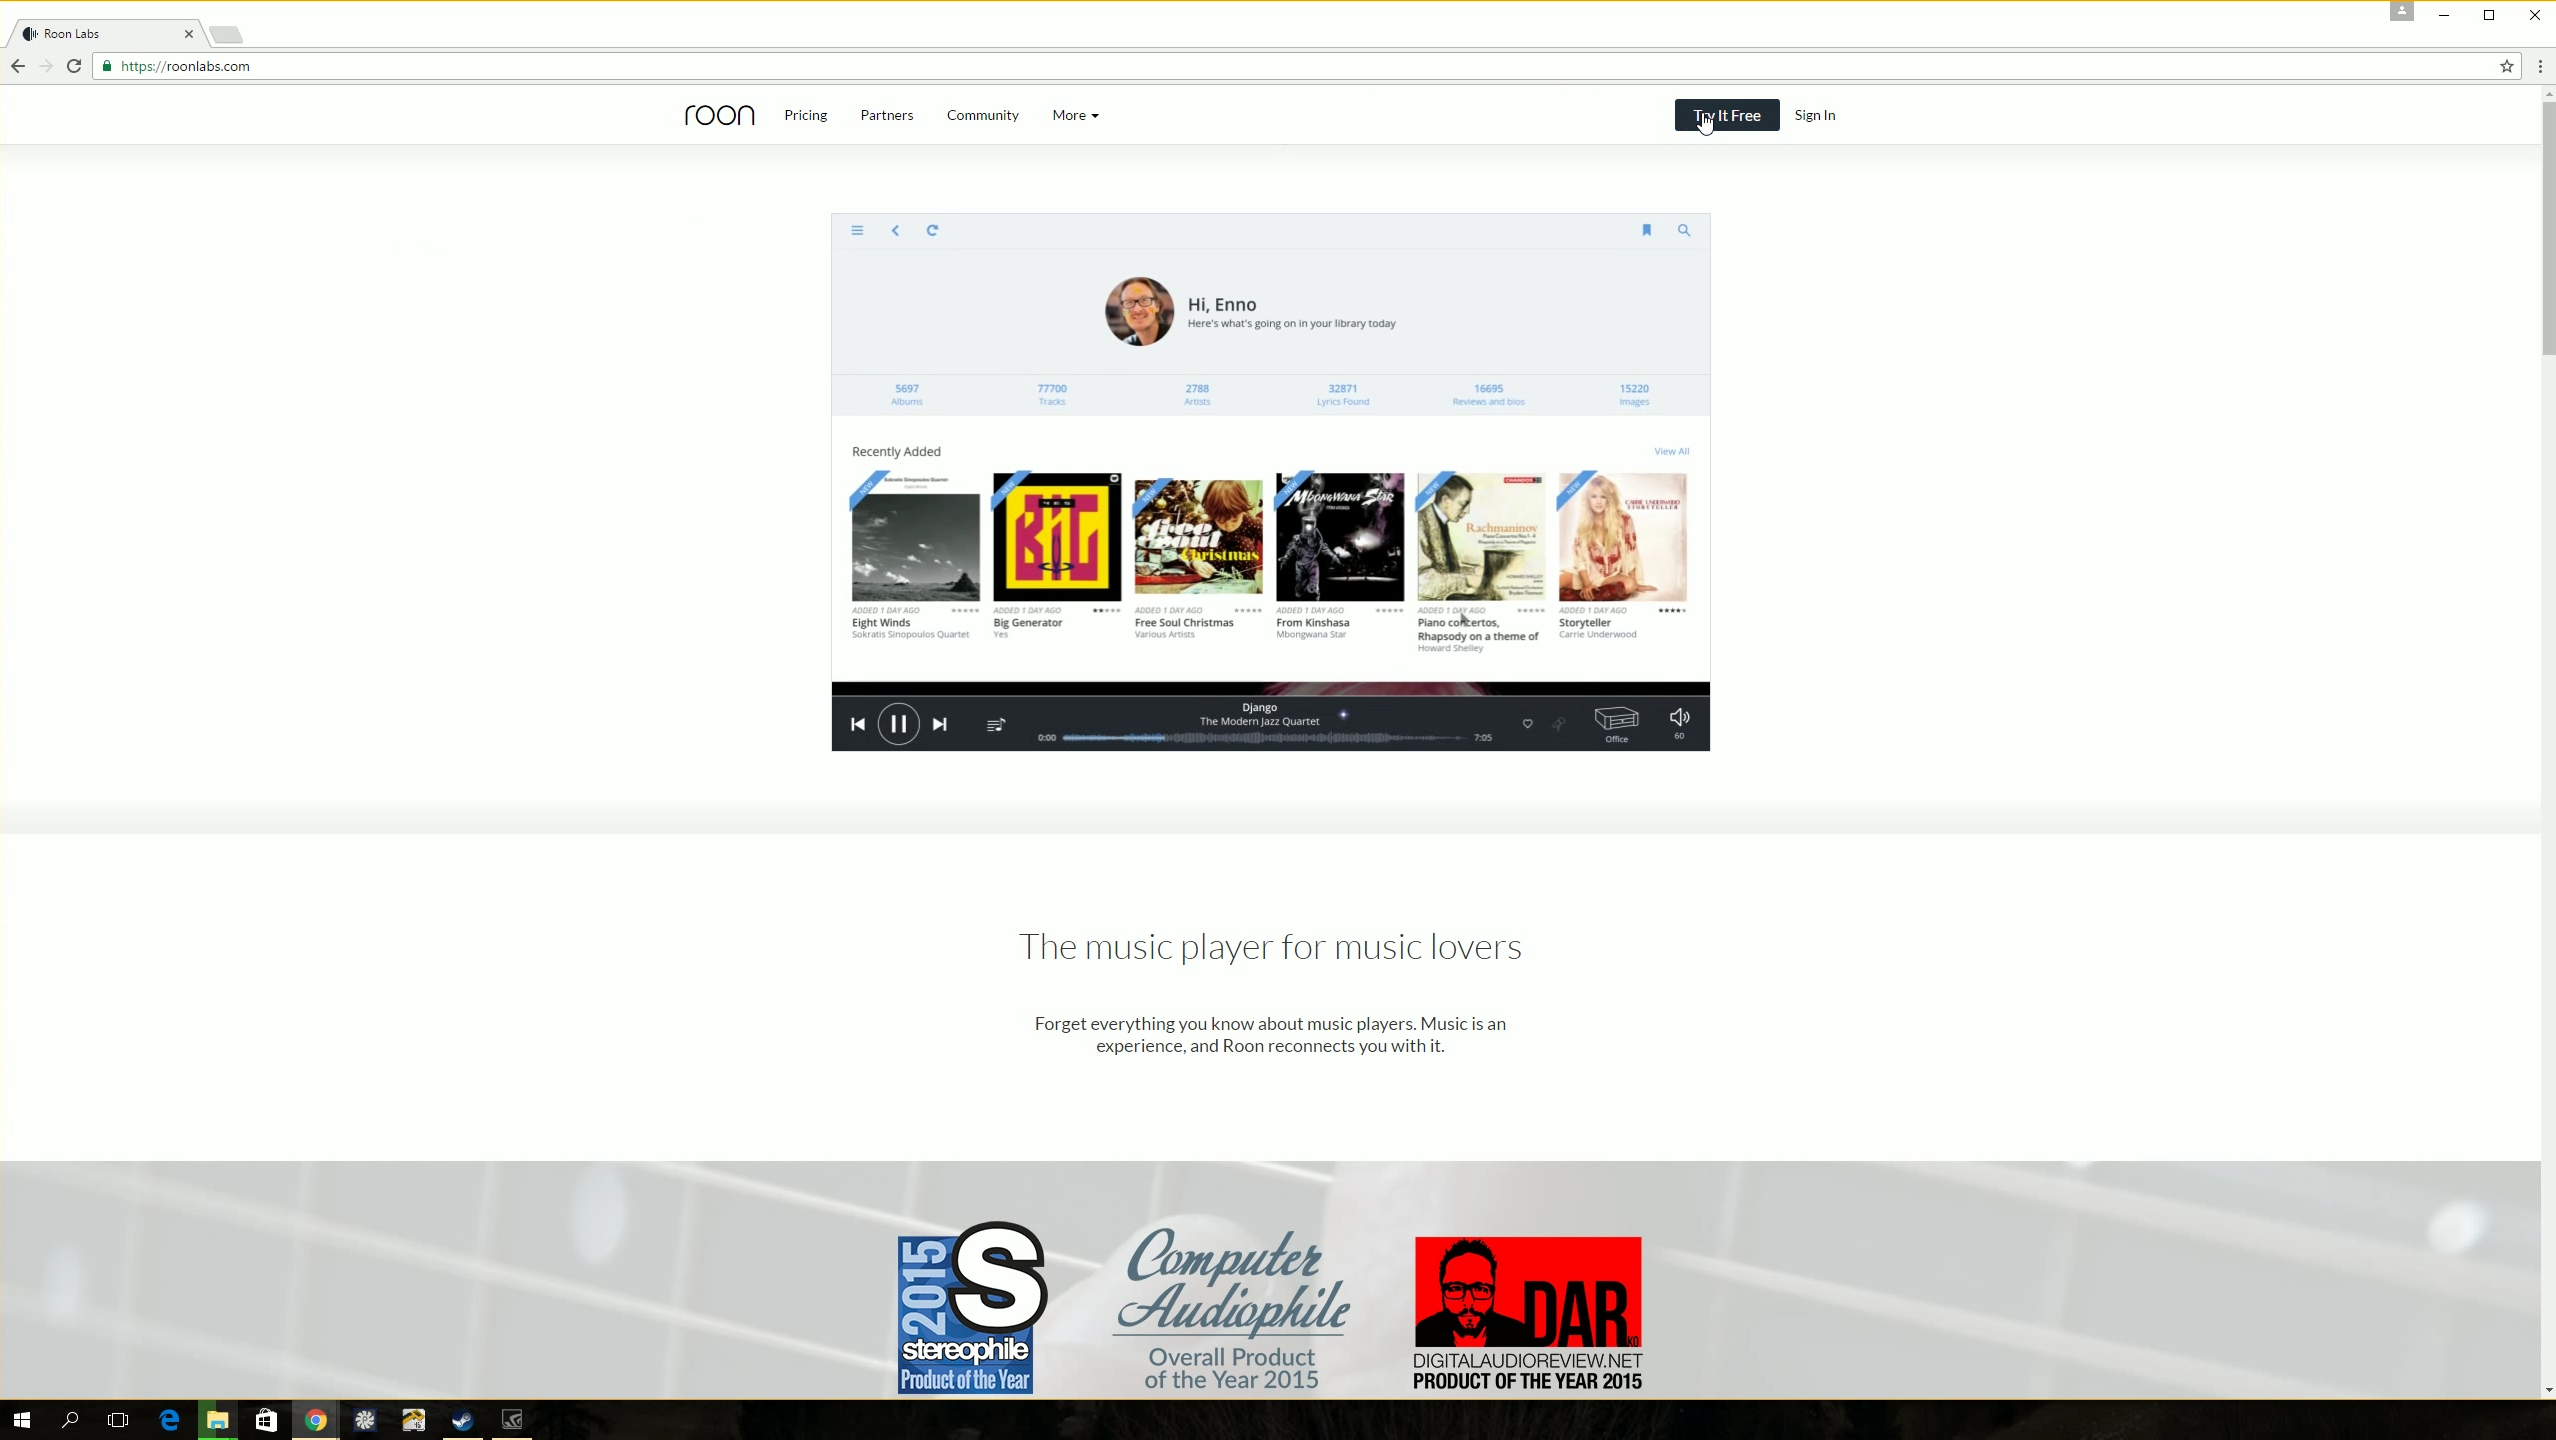
- Go to roonlabs.com and register for a free two weeks trial period.
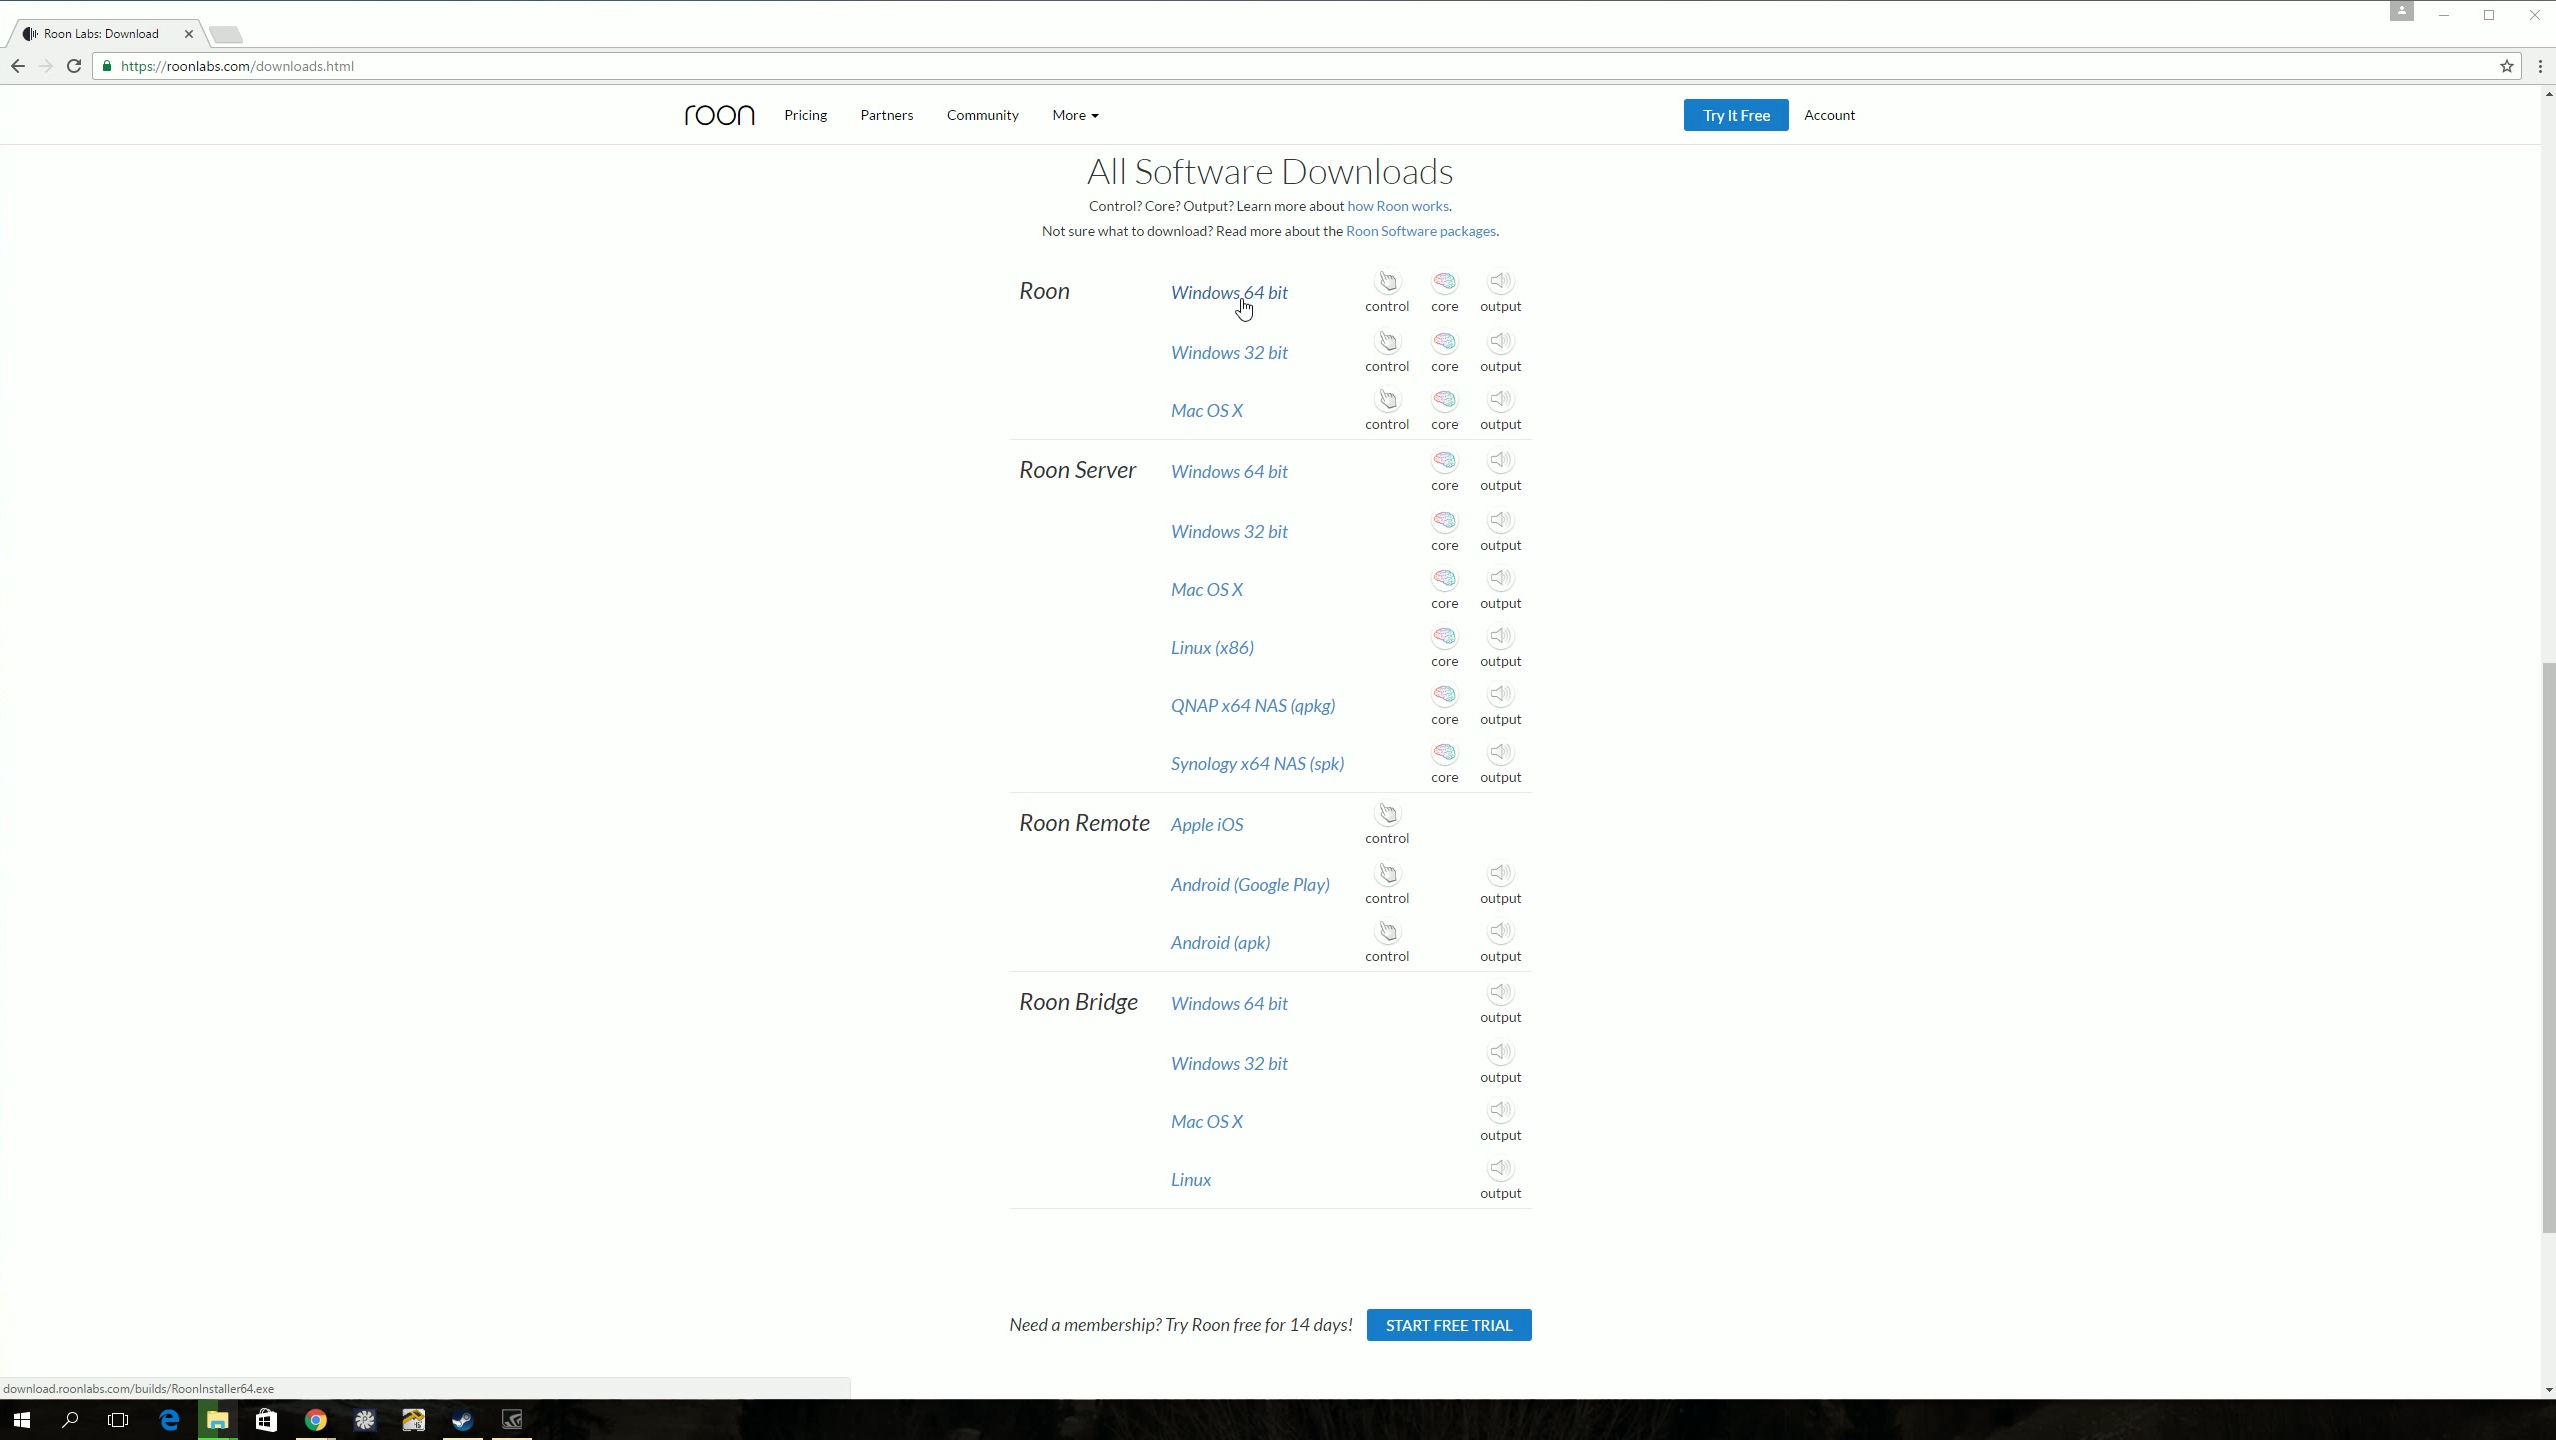
- Go to the downloads section and download the whole Roon Package.
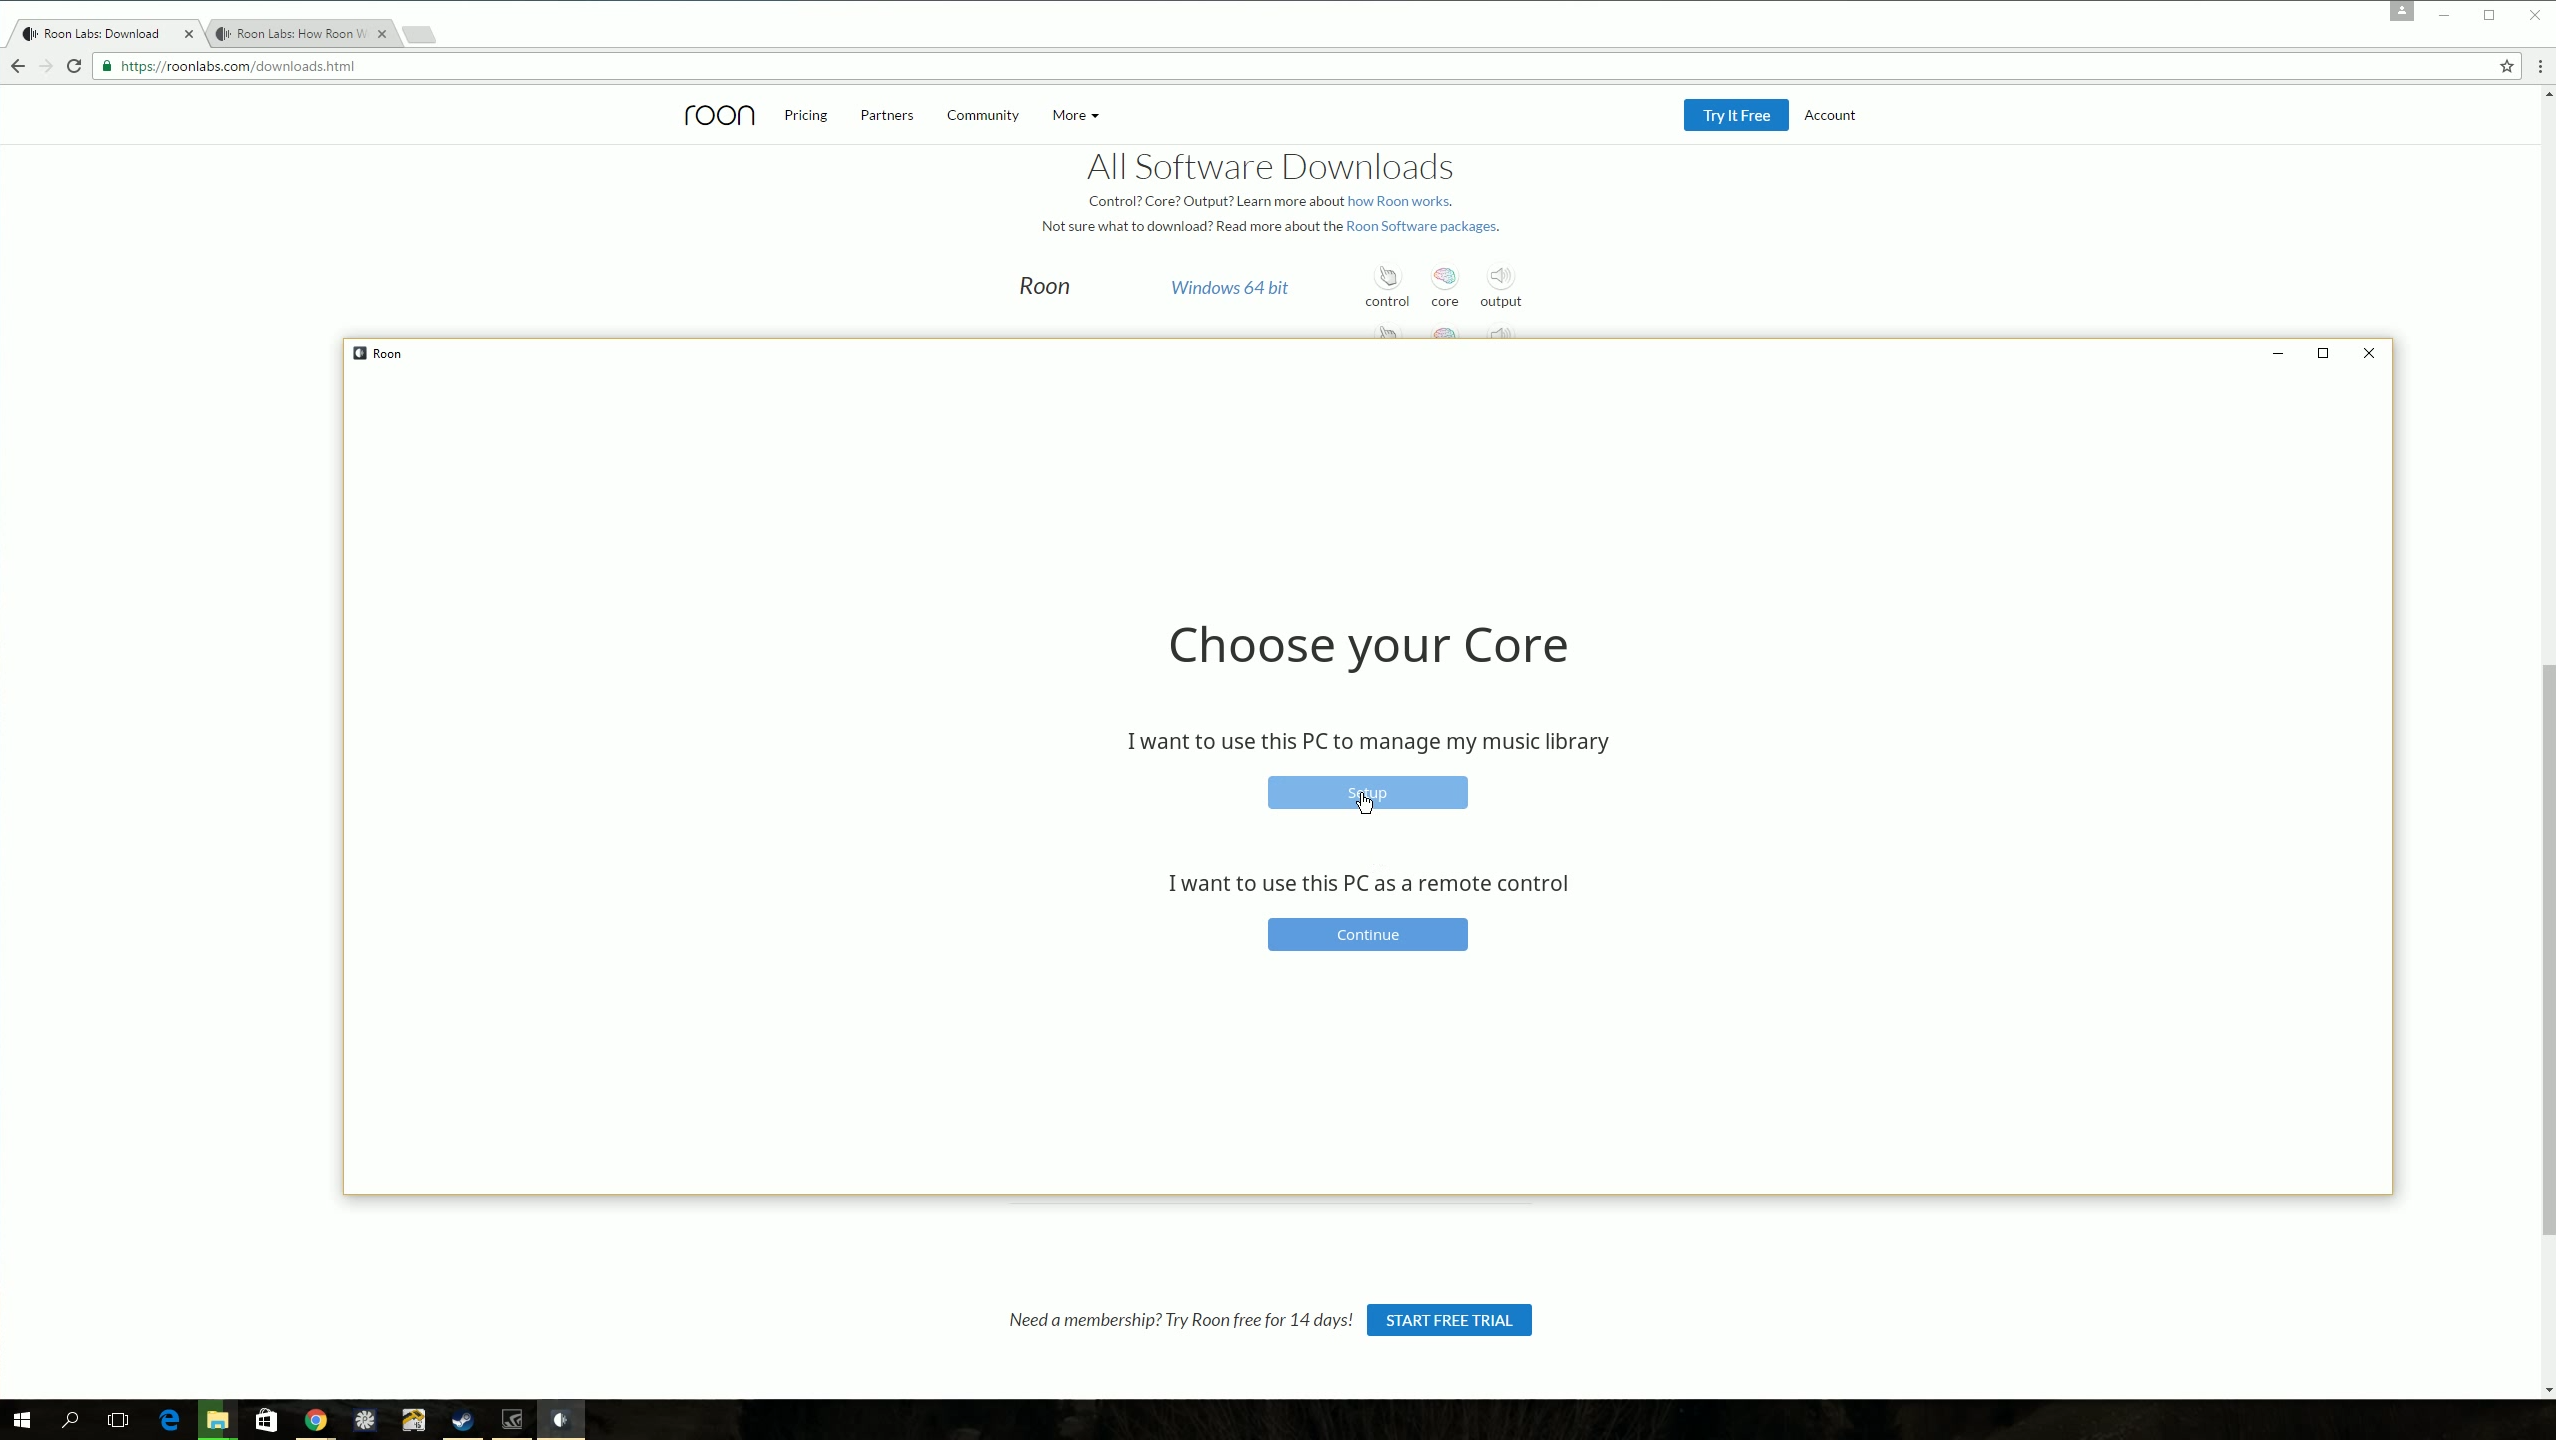
- Install the software package and start the app.
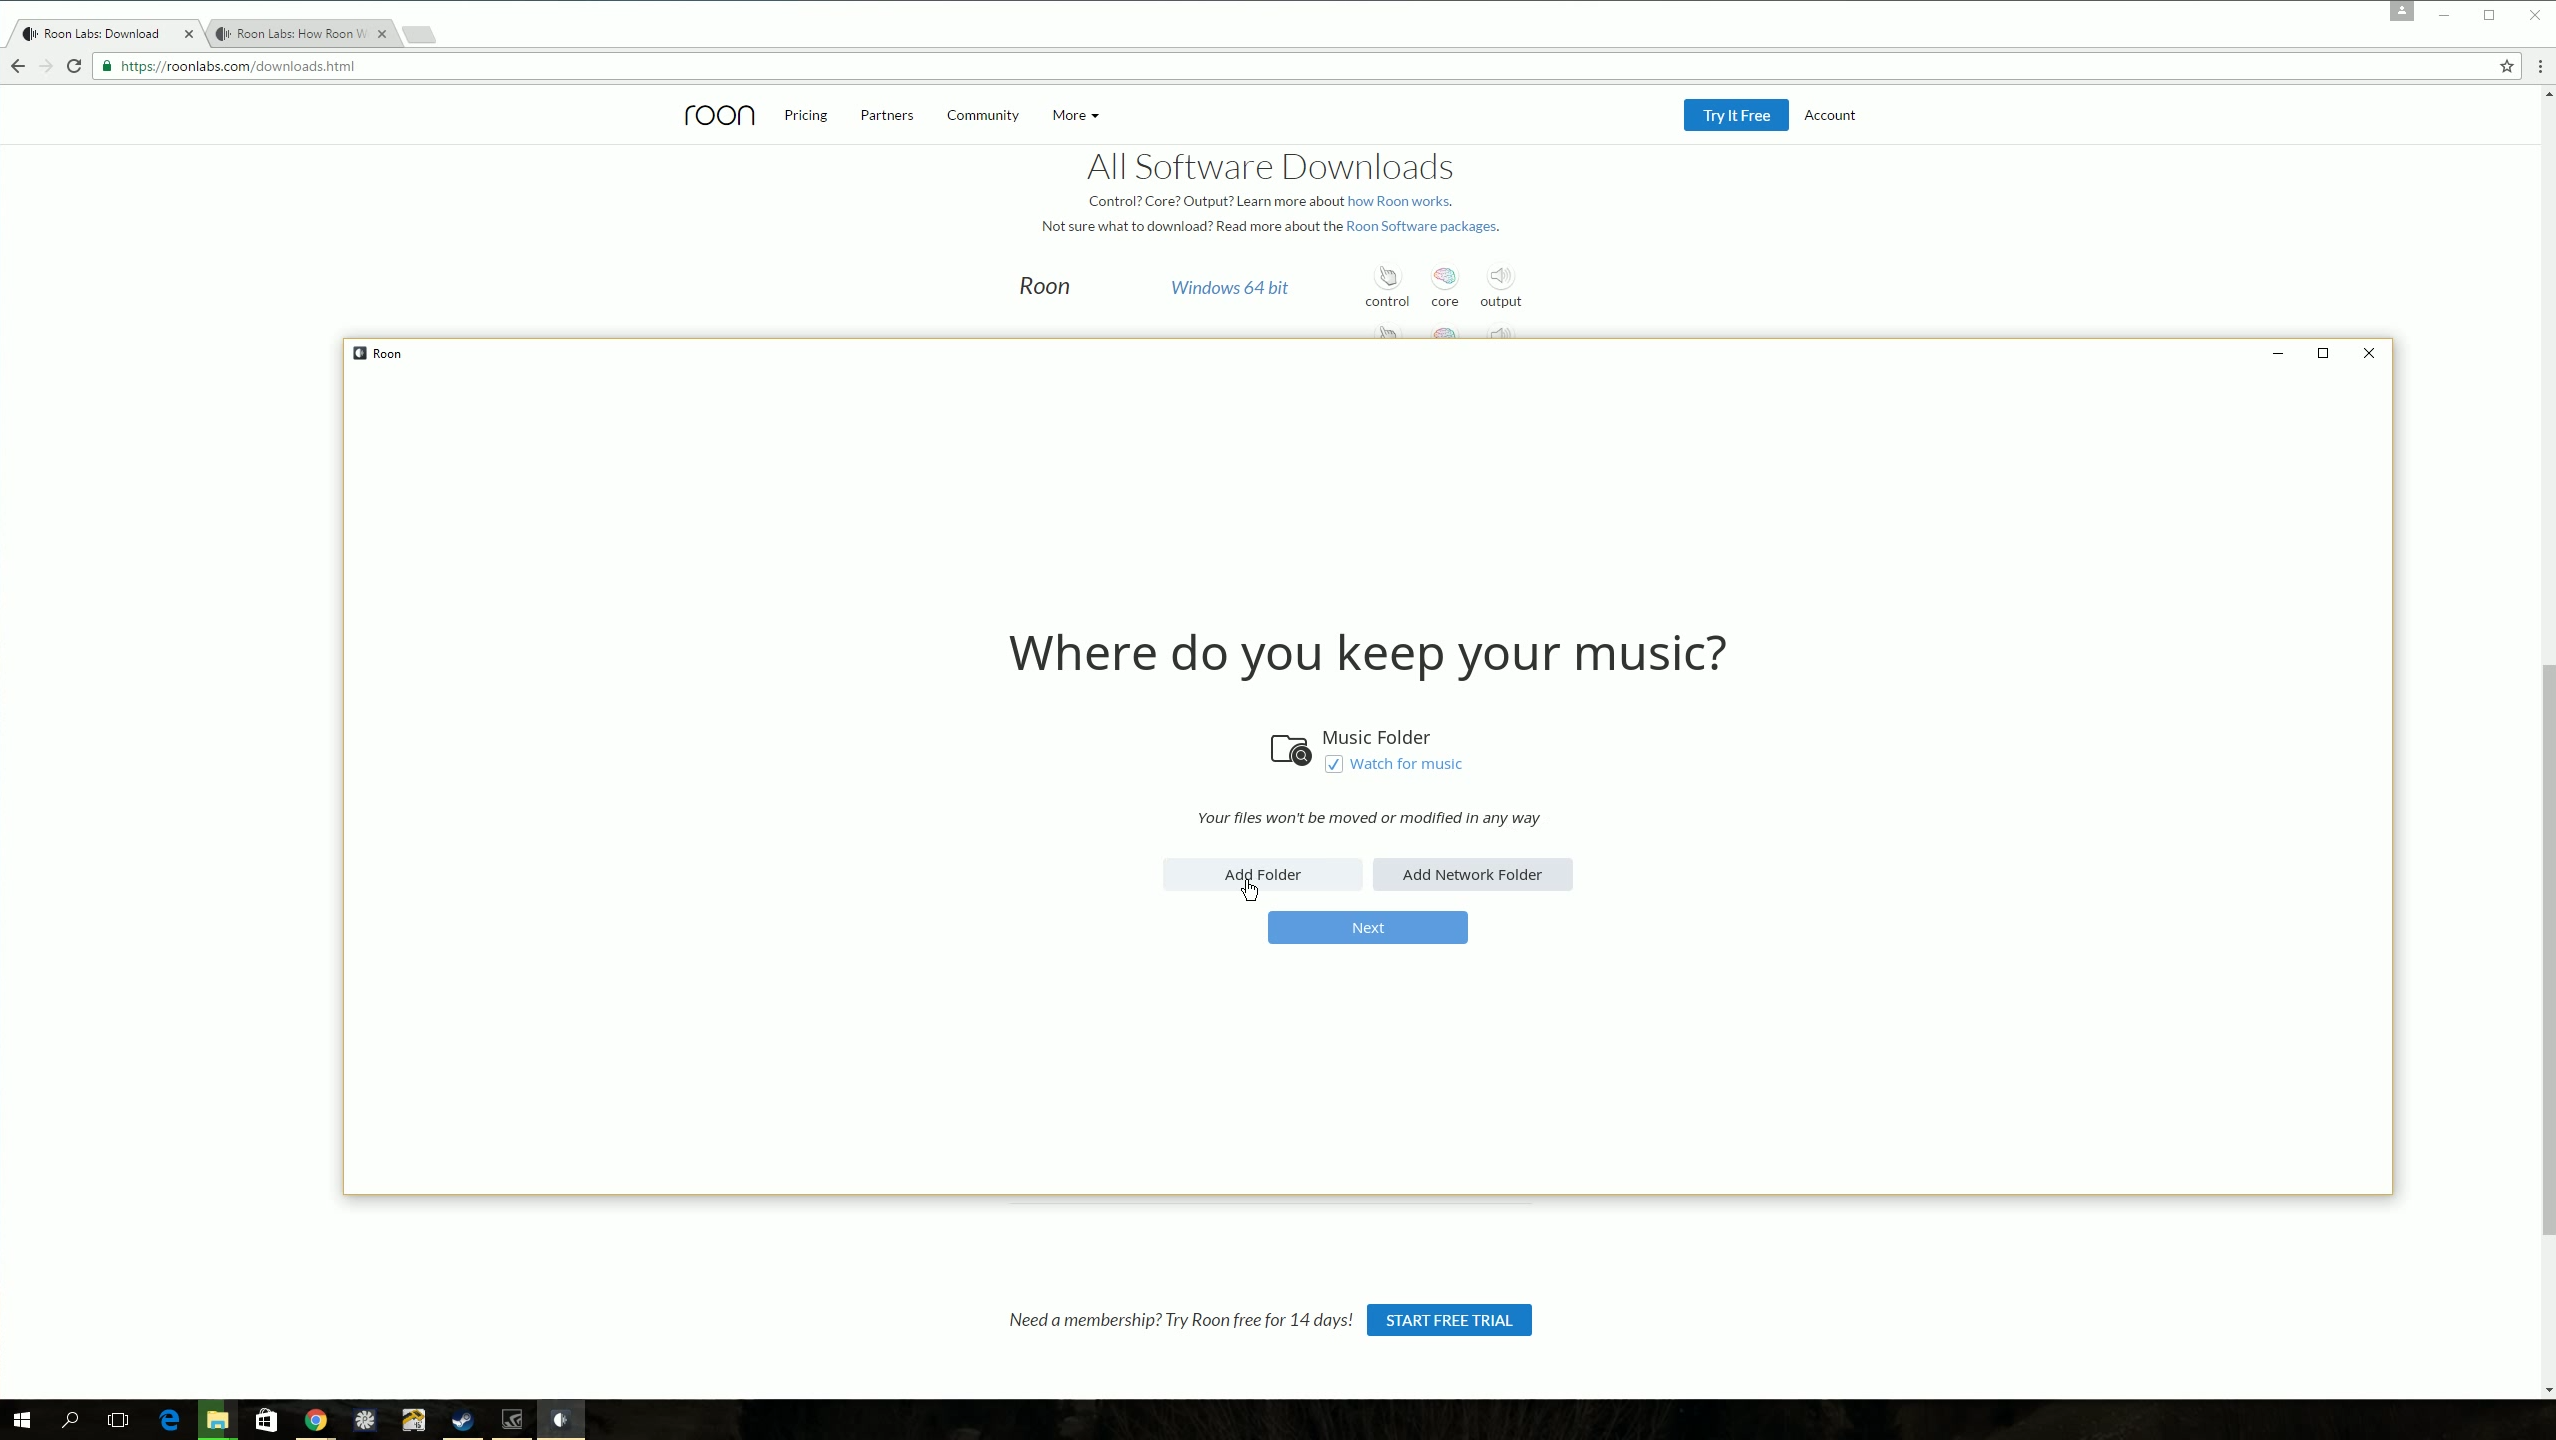
- Agree to Roon’s terms and conditions and proceed with setting up the library management.
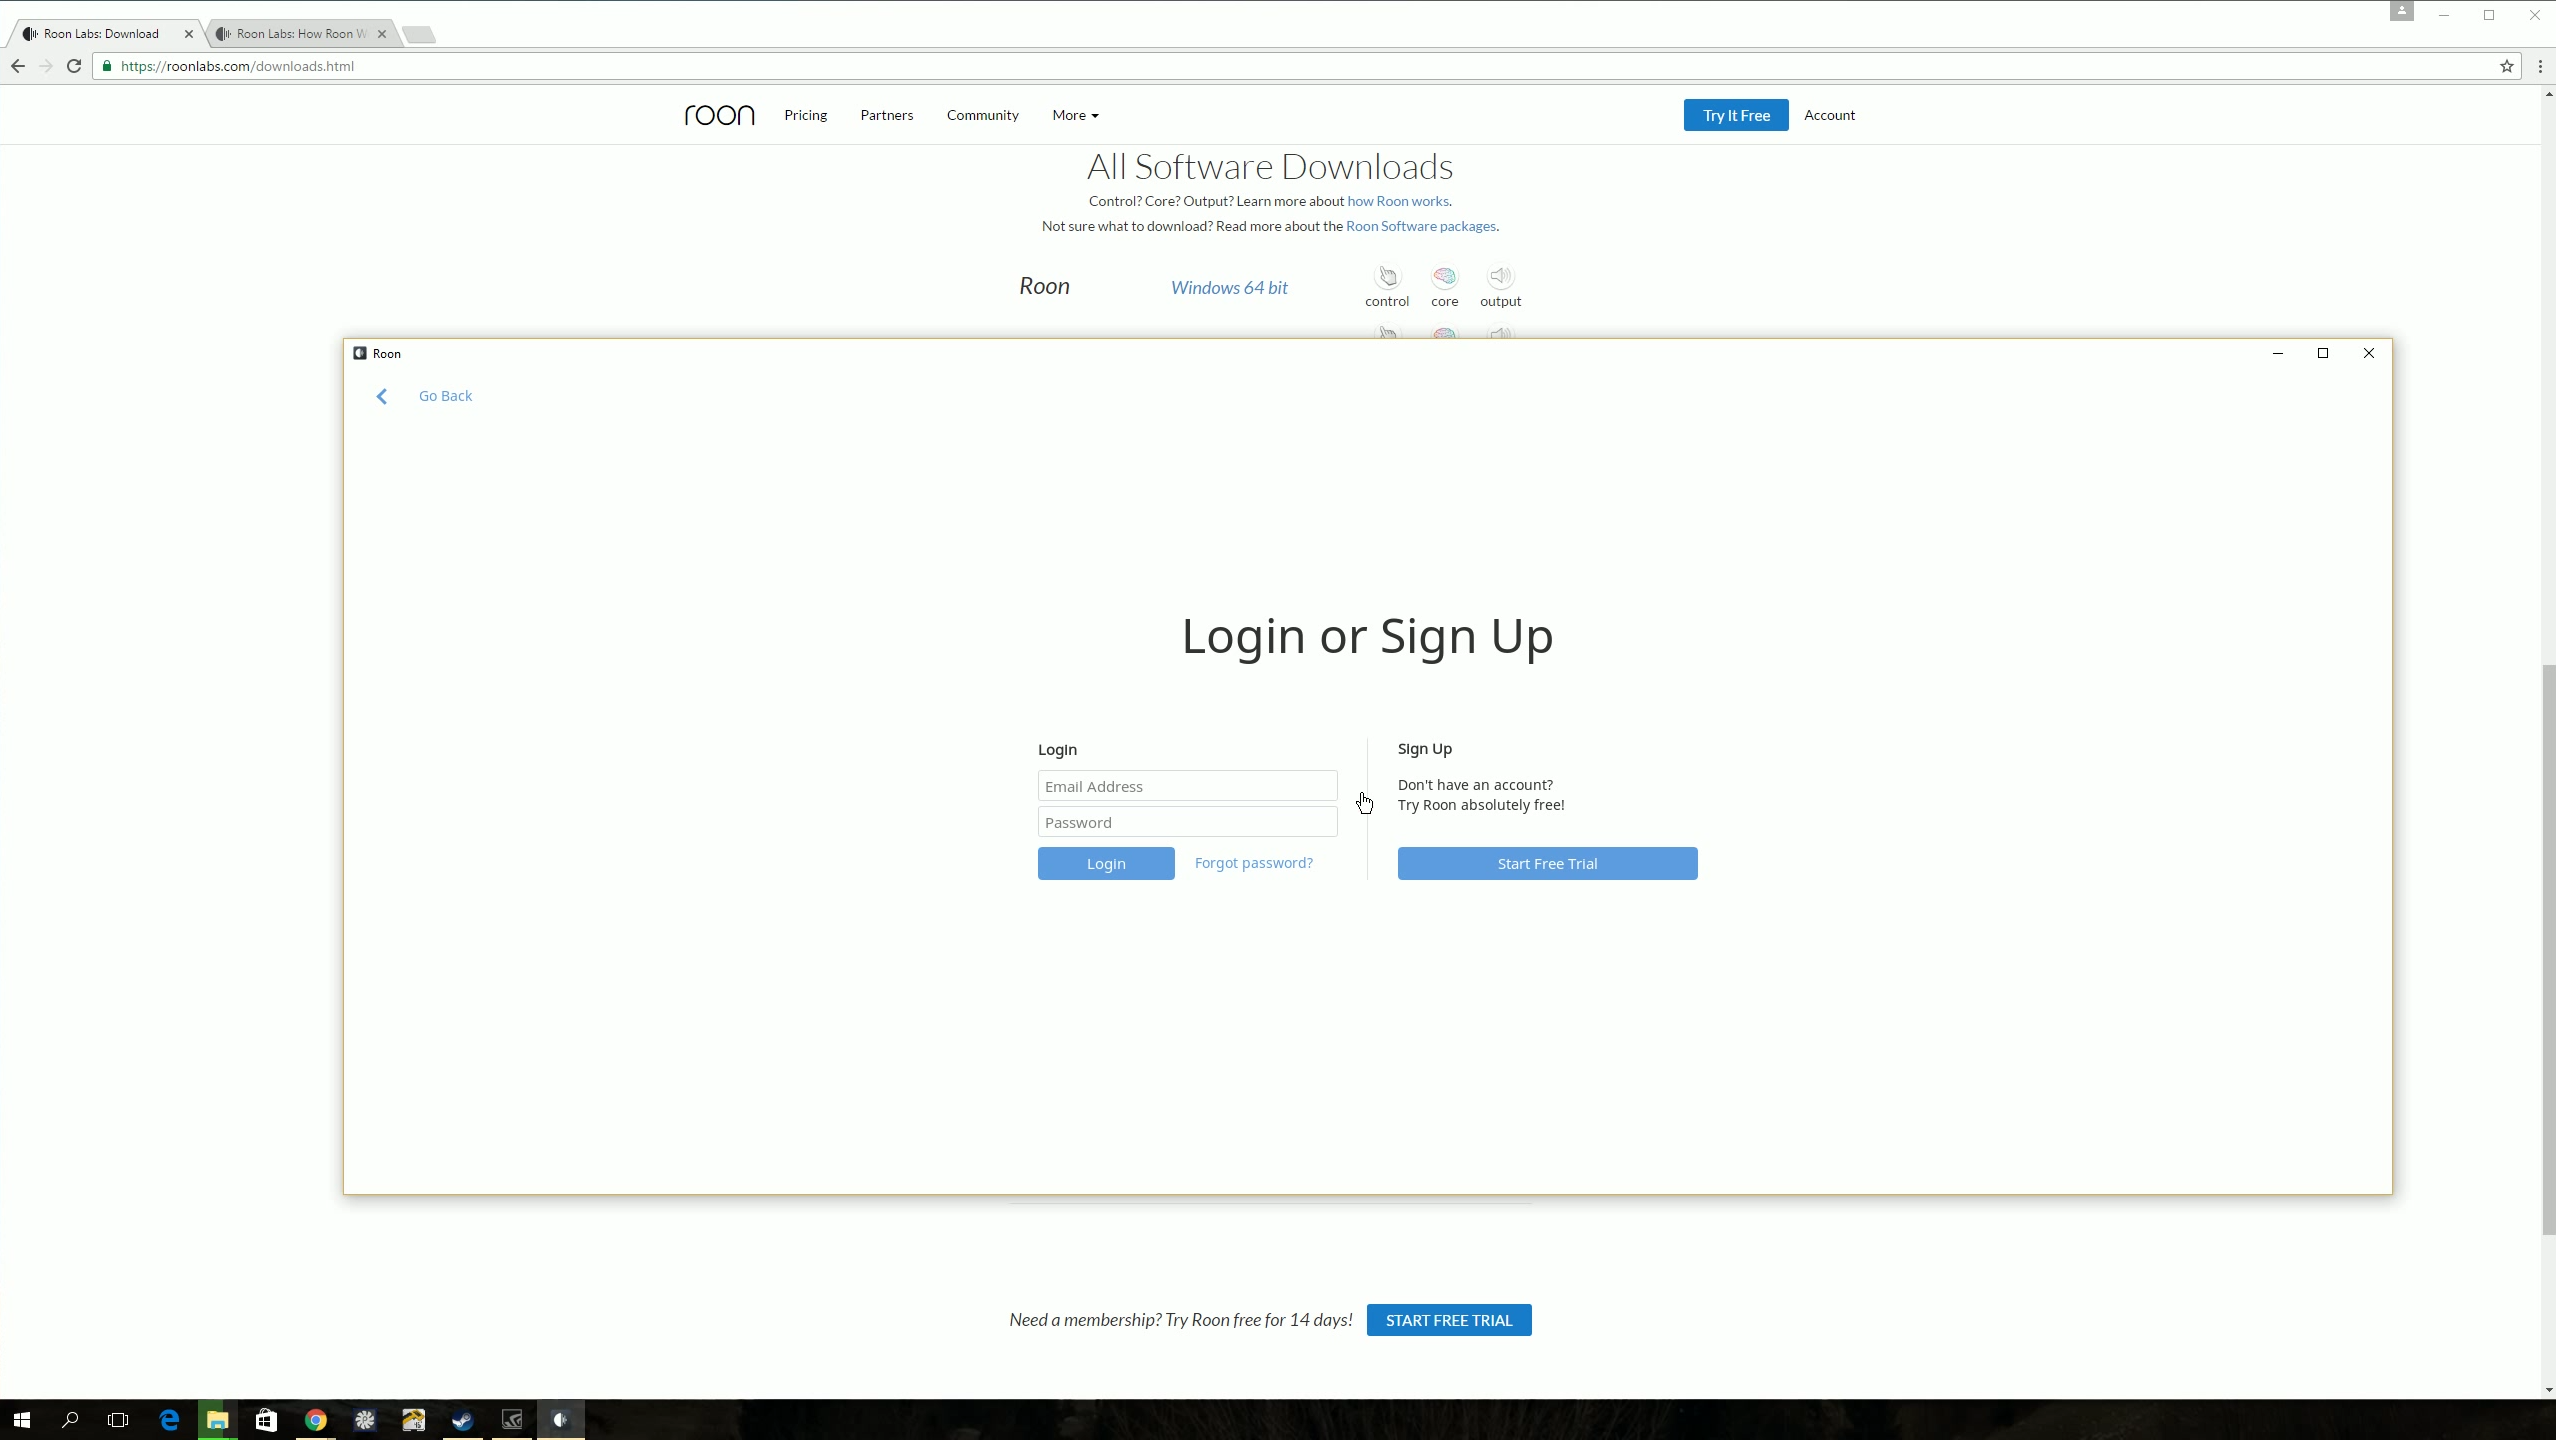
- Log in using your Roon account.
- Add a folder with your music.
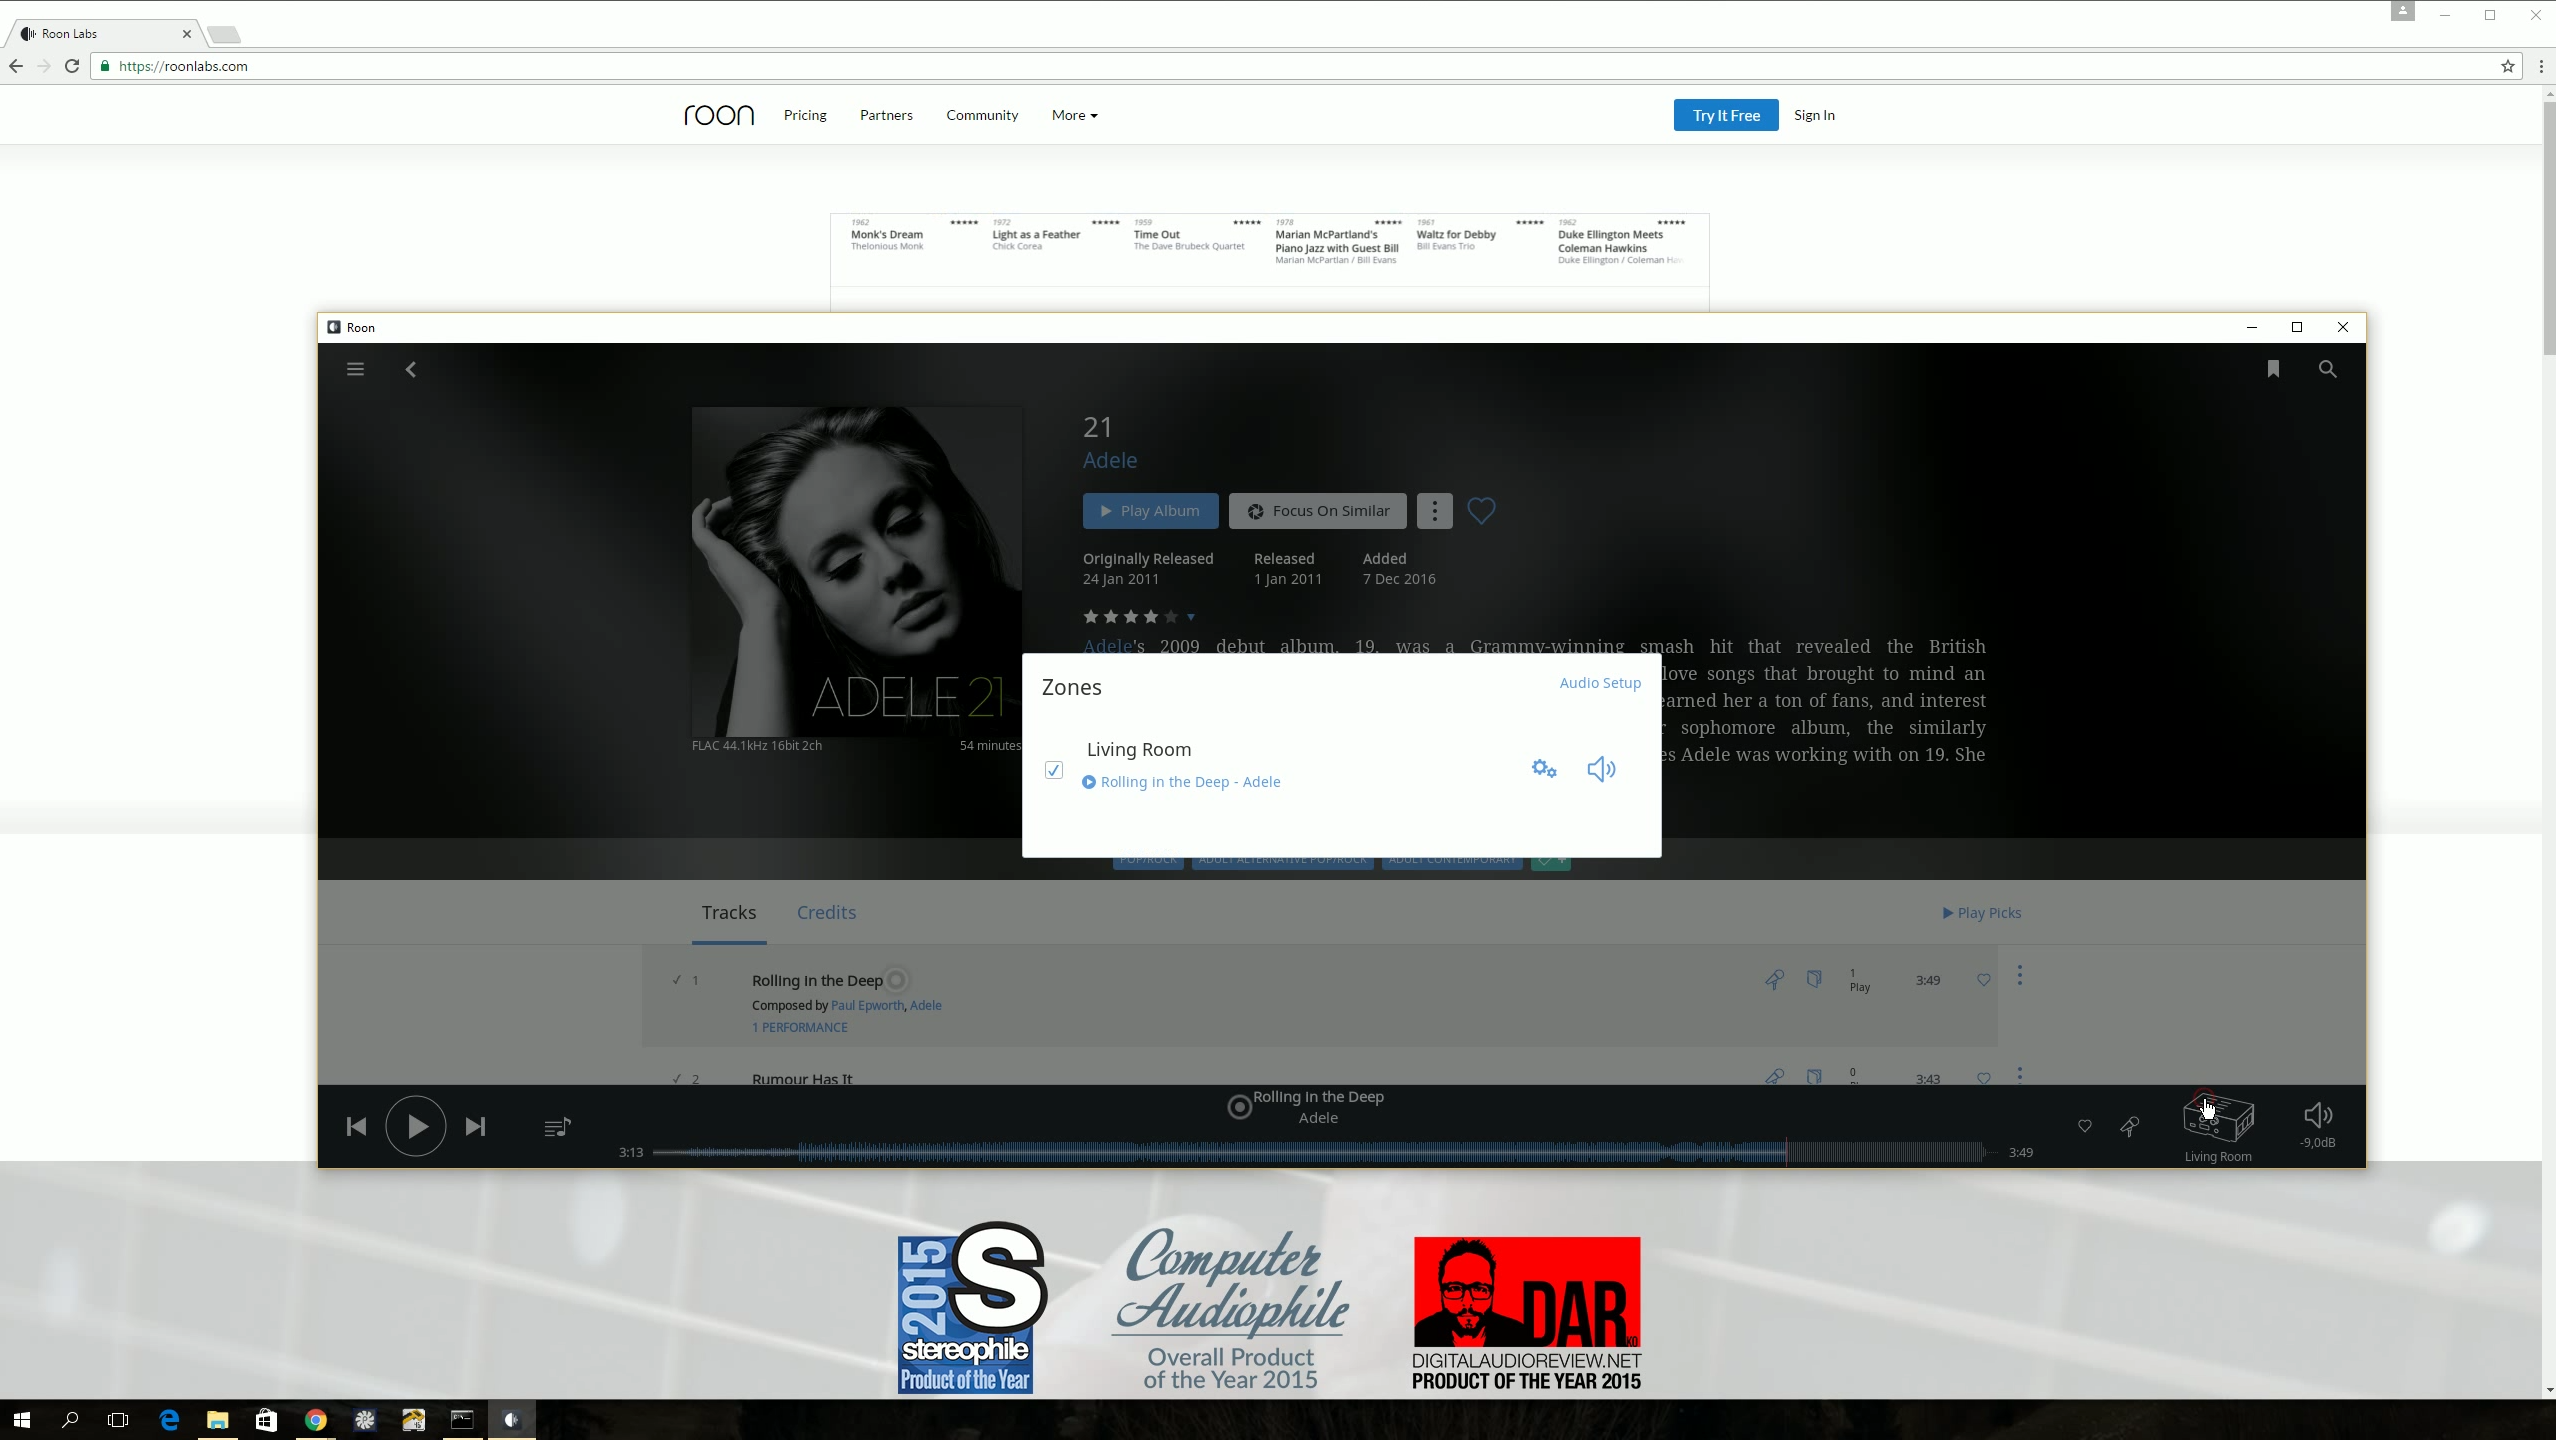
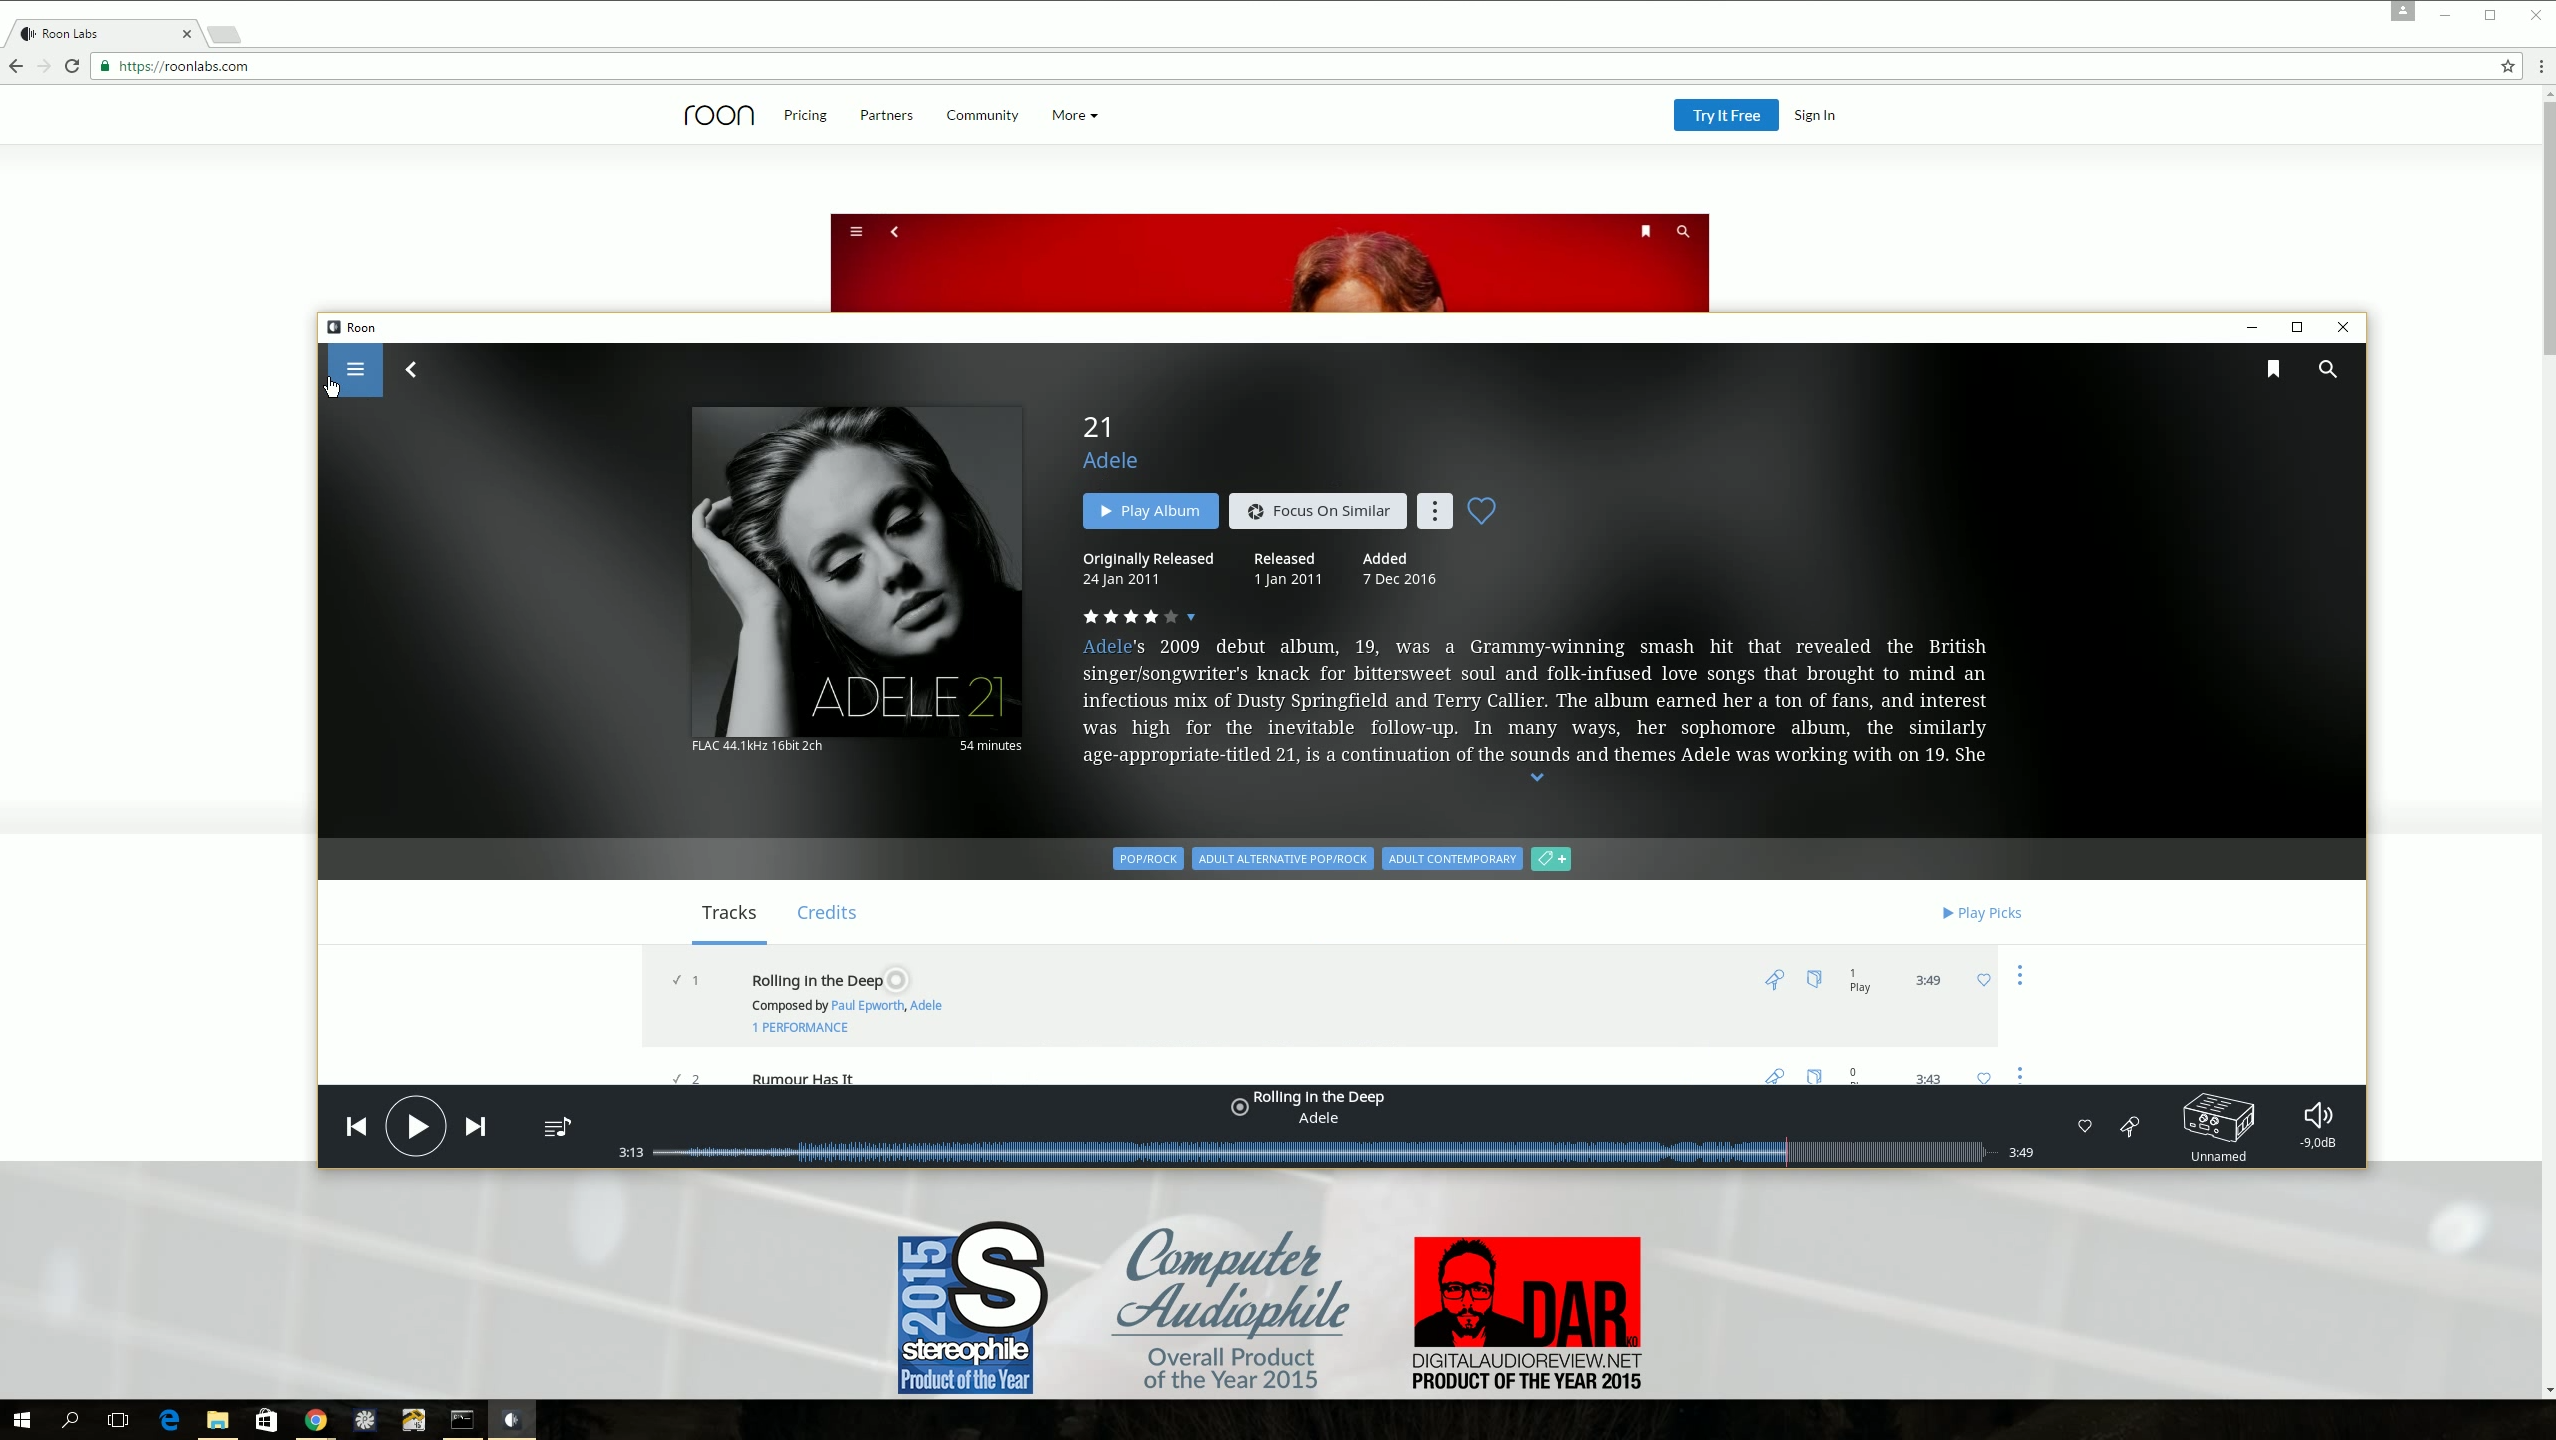
- Click the menu icon in the top-left corner.
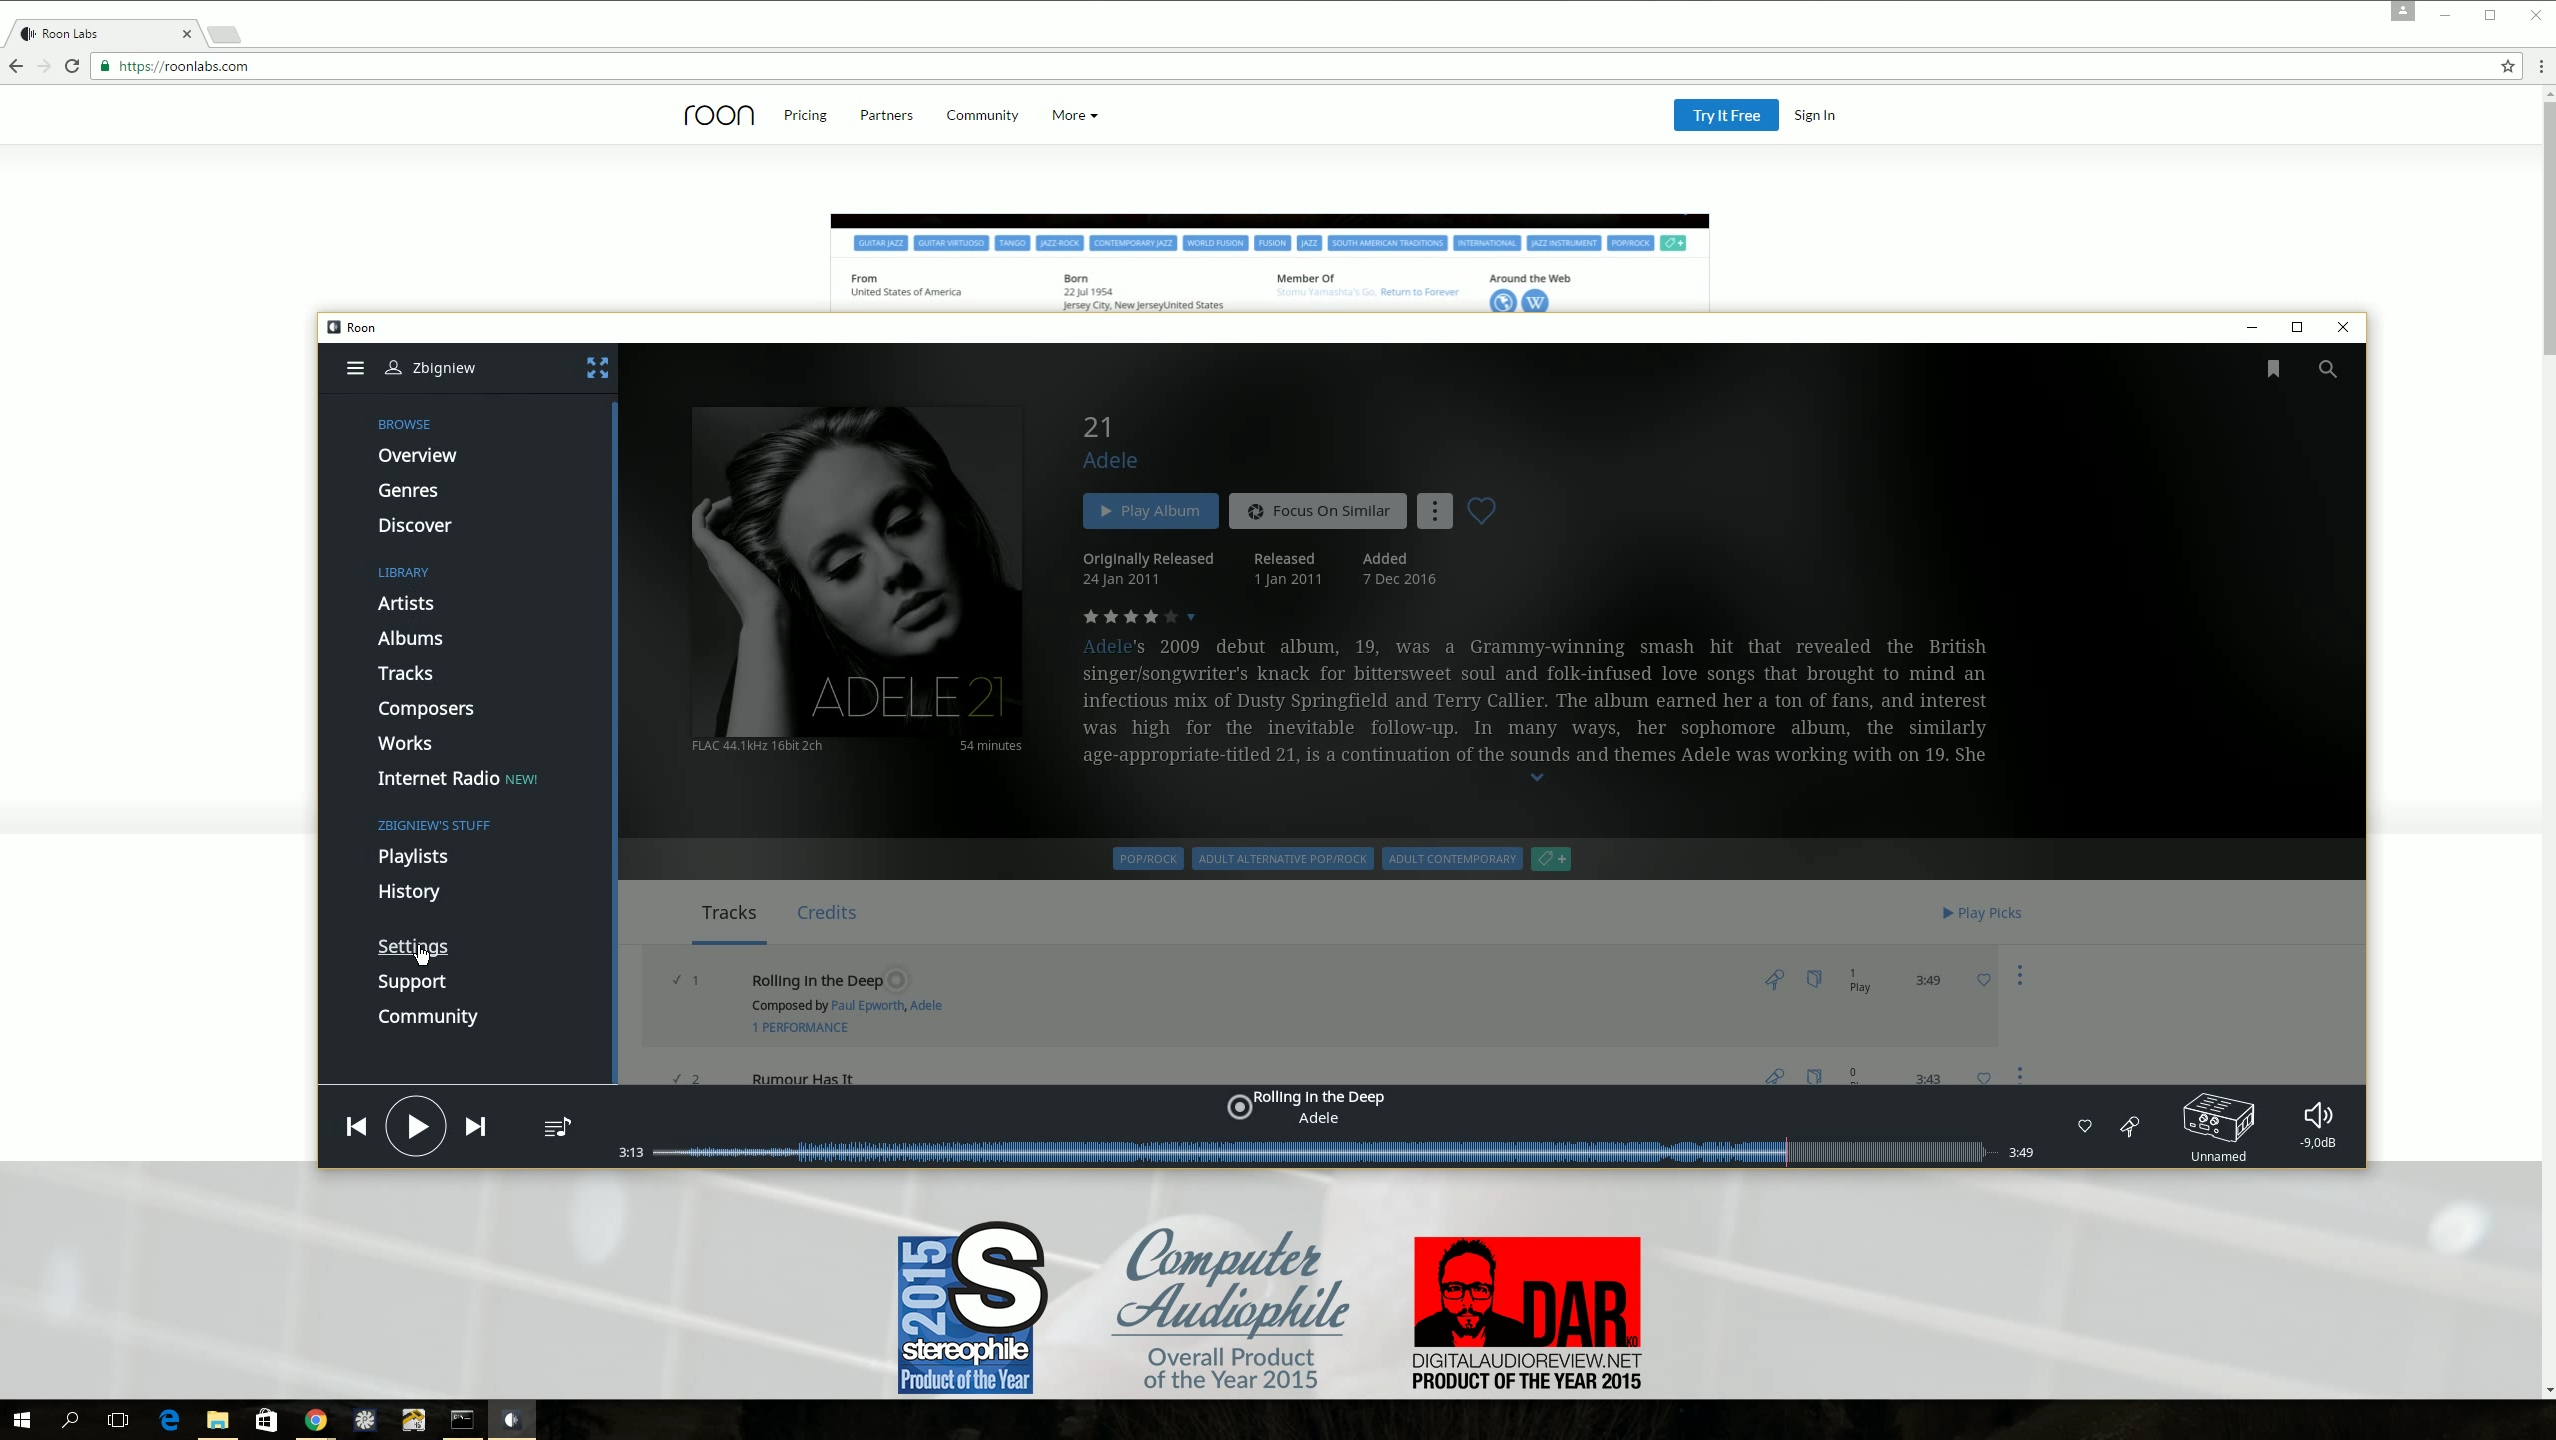
- …and select ‘Settings’.
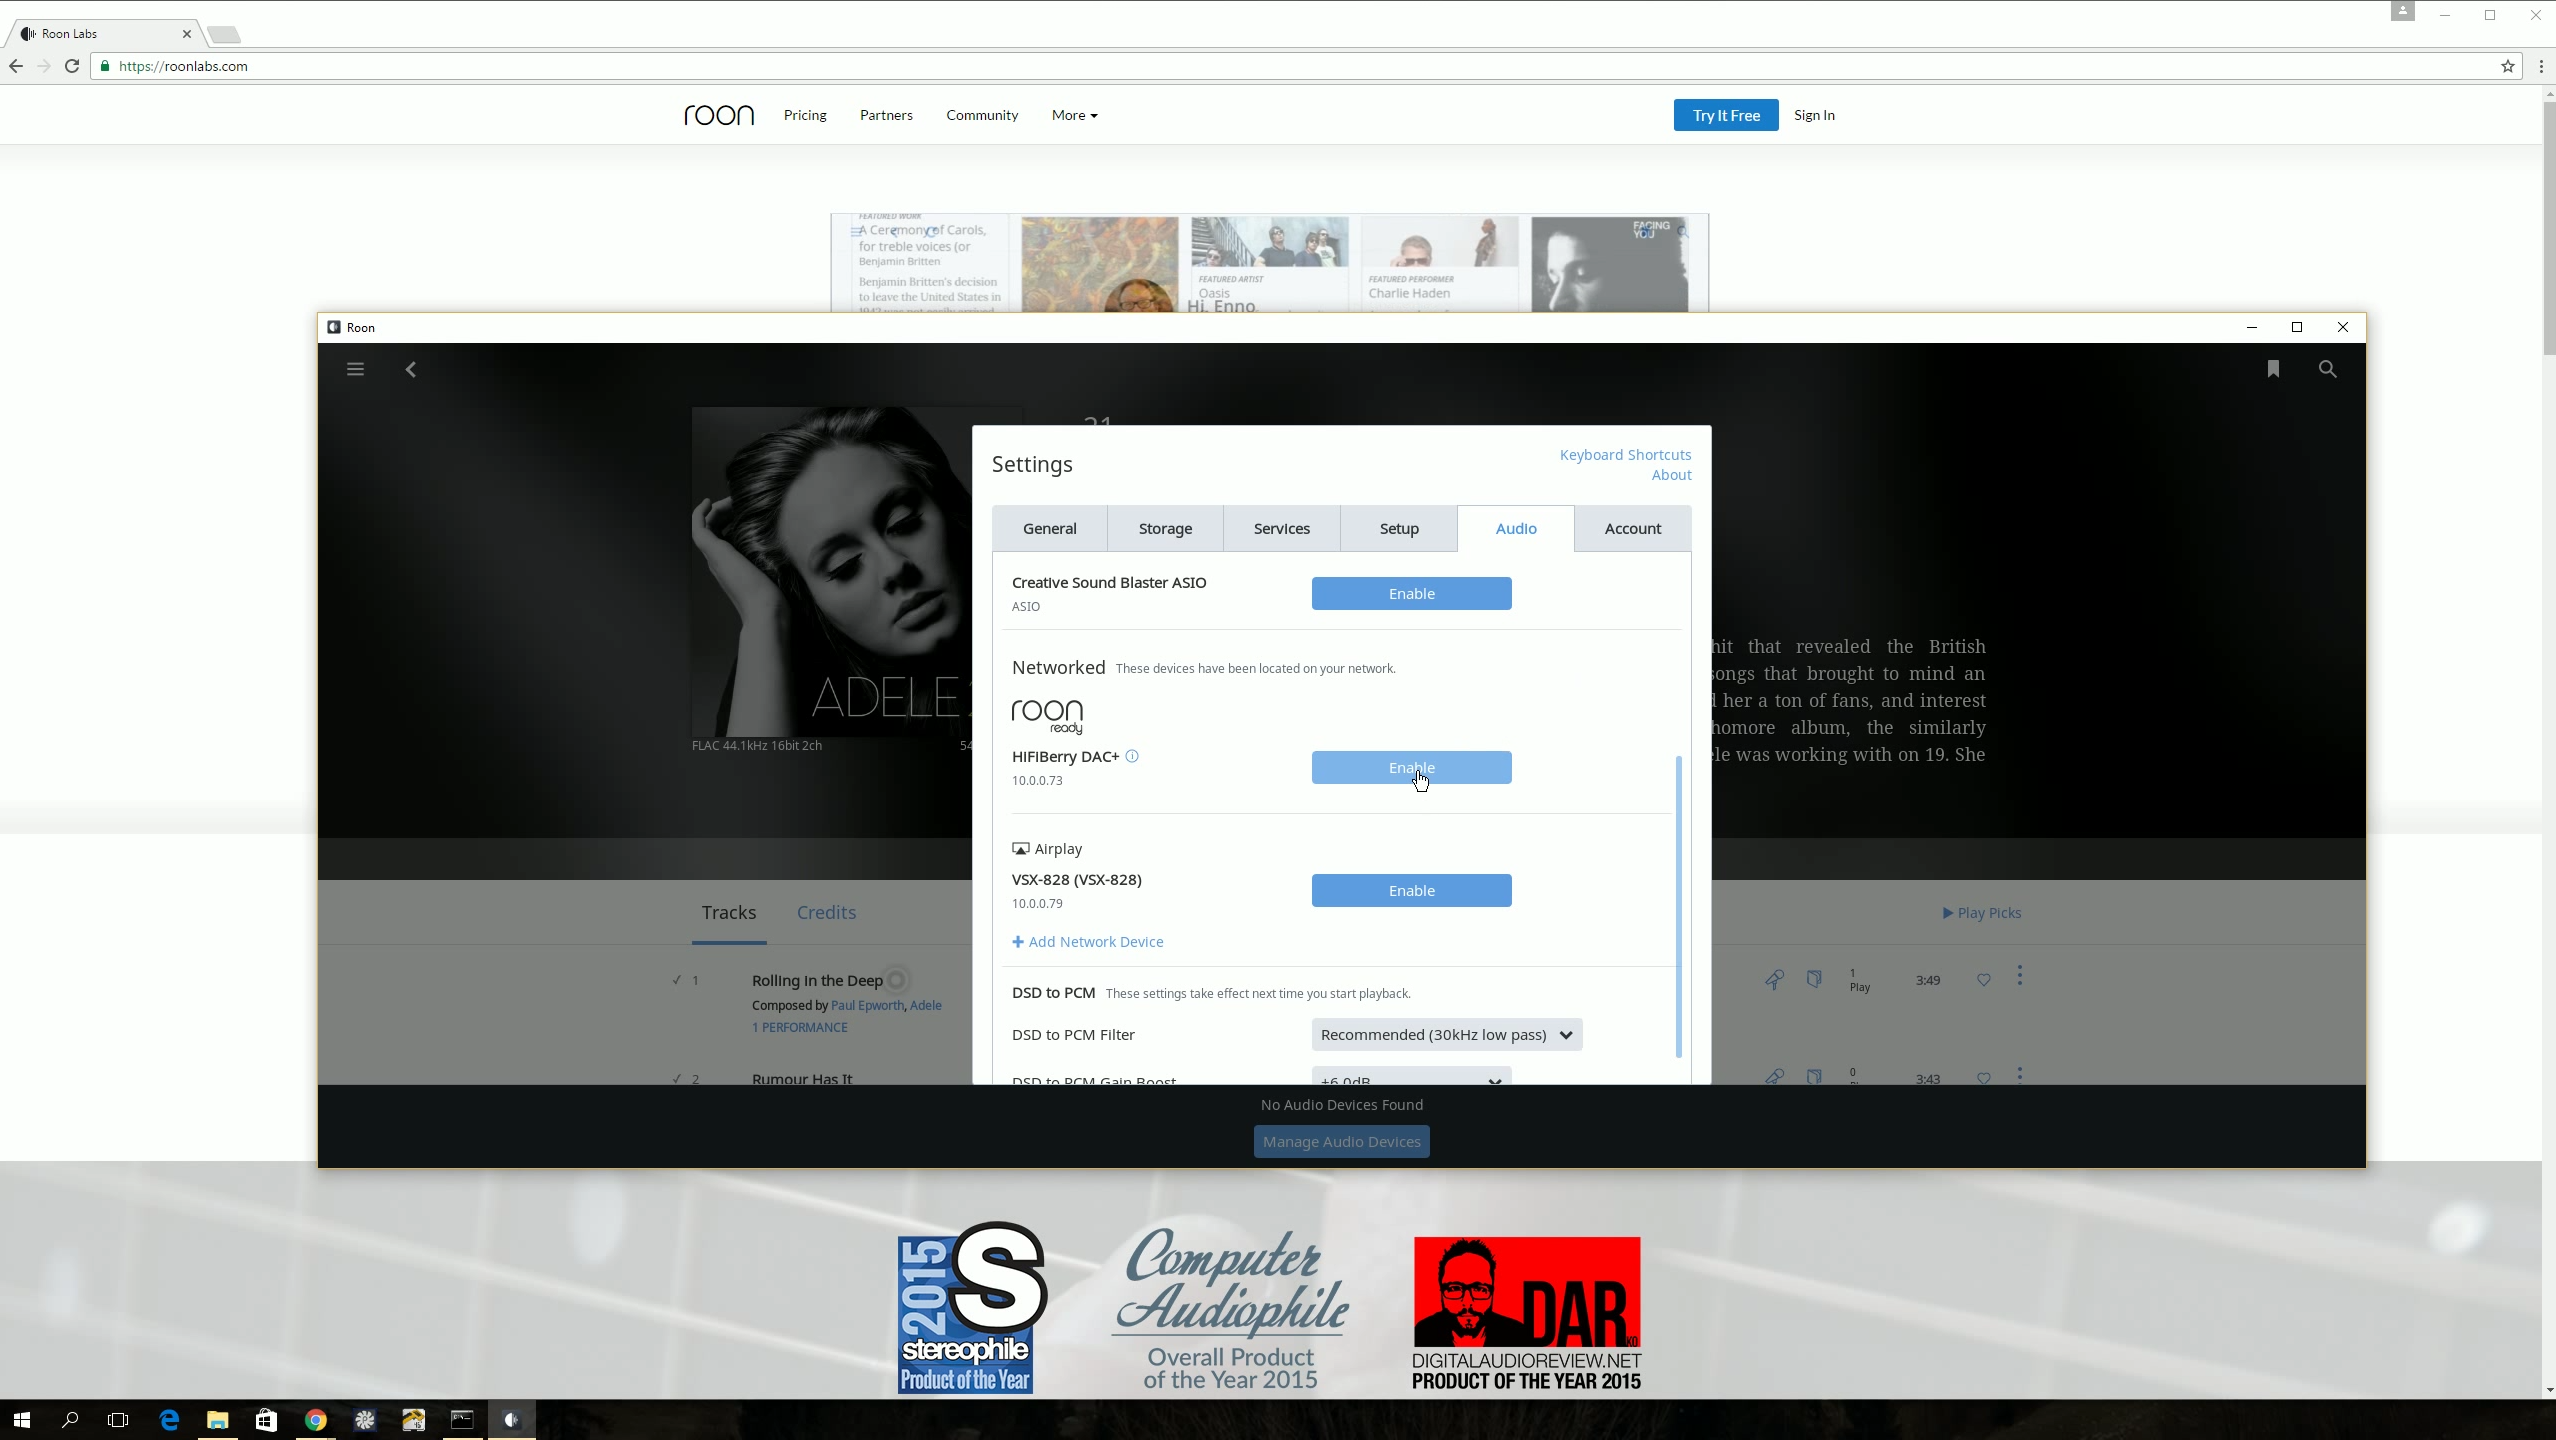
- Switch to the ‘Audio’ tab.
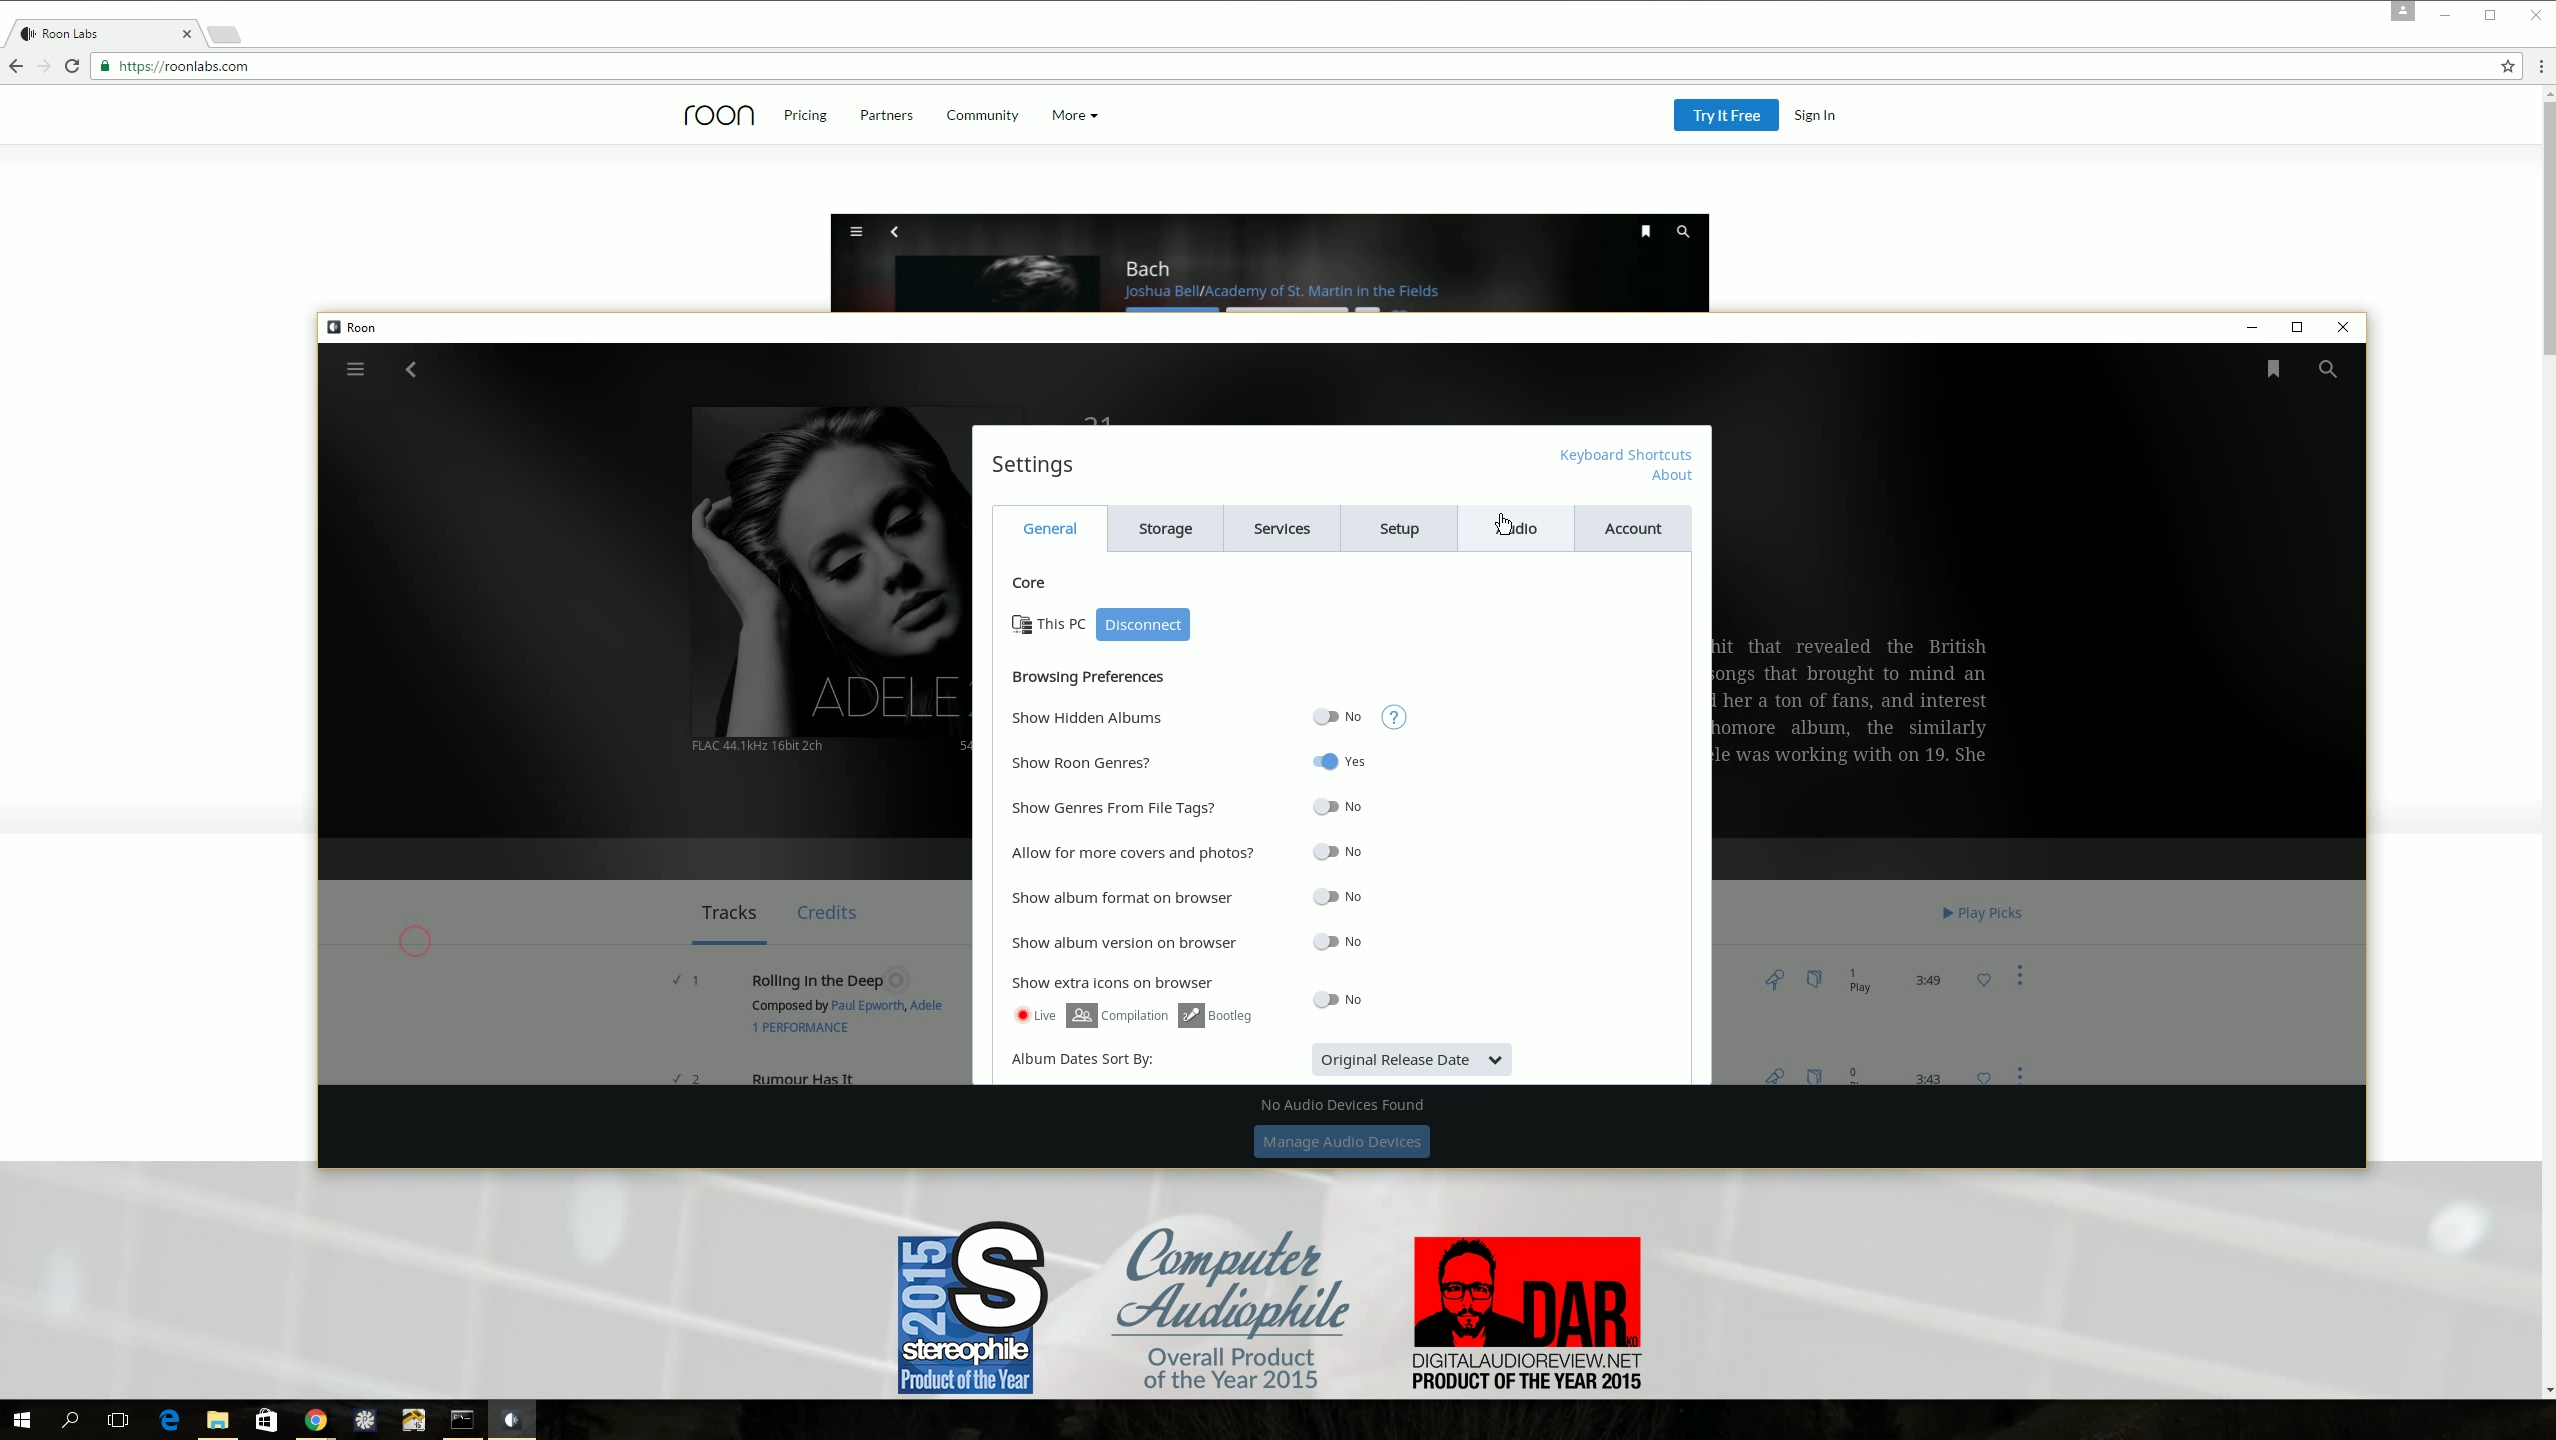
- Scroll down to the ‘Networked’ section, find the HiFiBerry DAC+ Roon bridge and click ‘Enable’.
- Name the zone…
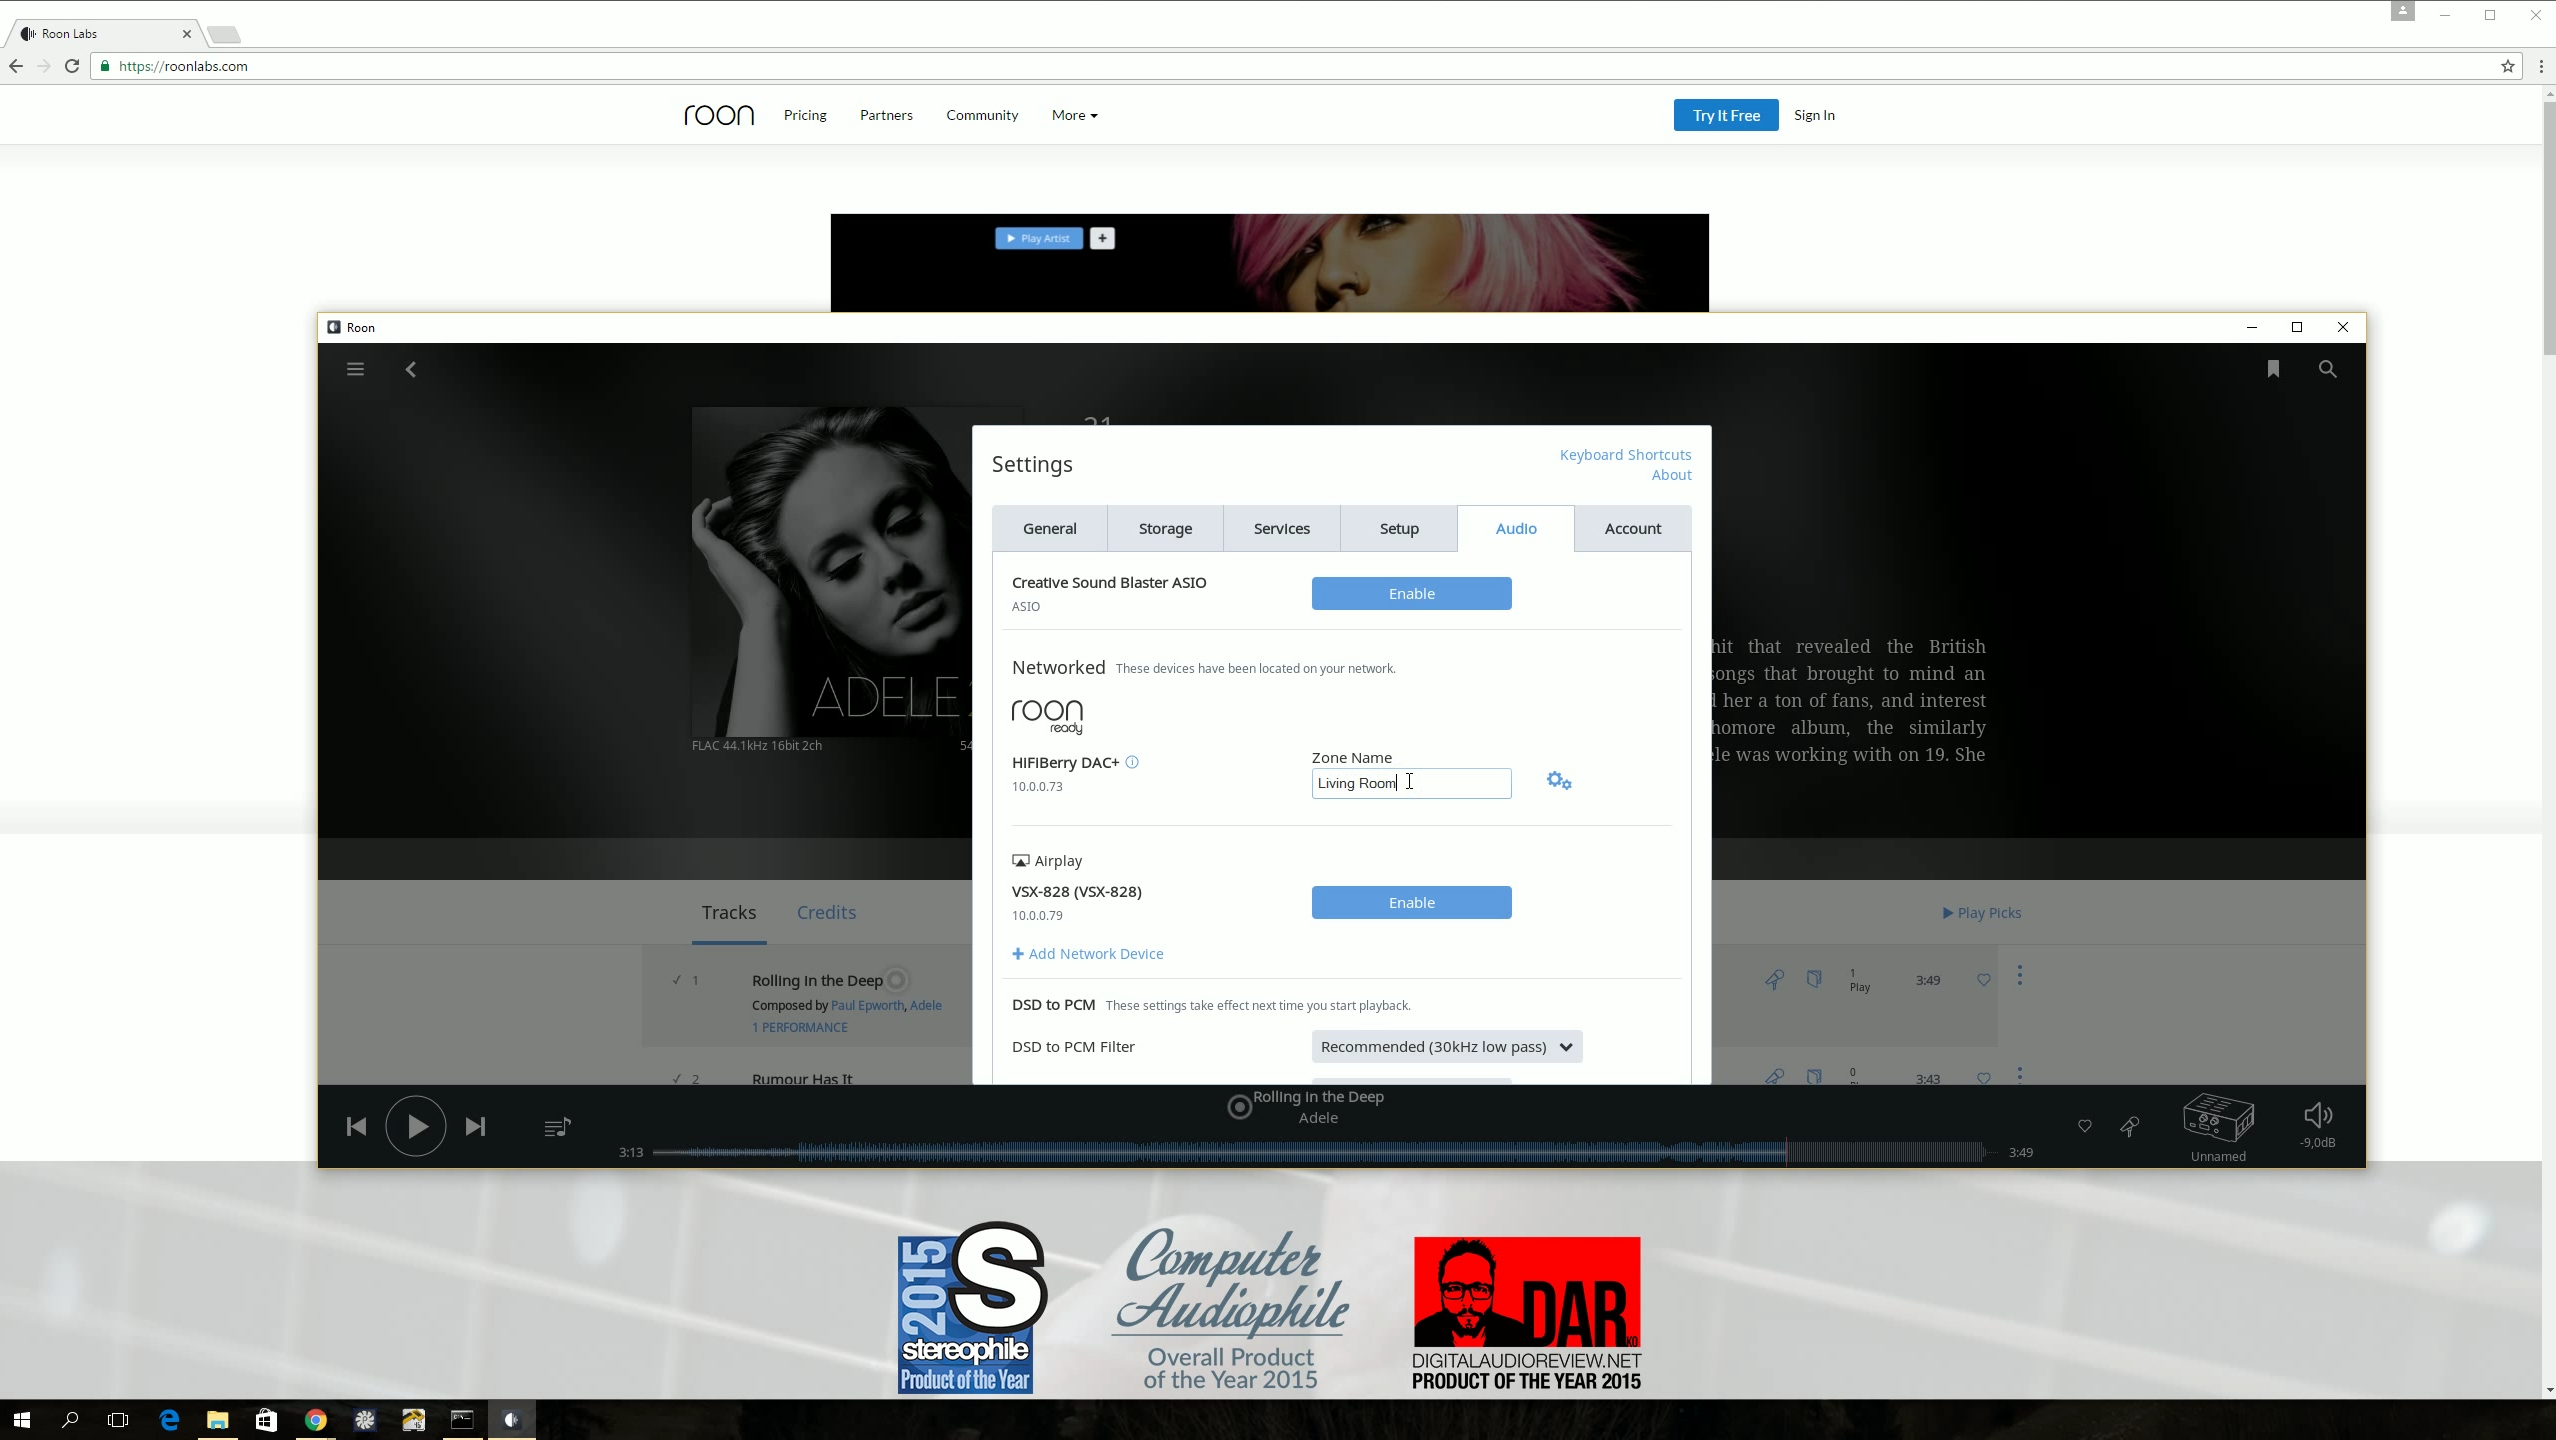
- …and click outside the ‘Settings’ window to exit settings and start enjoying high quality sound on your Raspberry Pi.