Assembling the XLR steel case with the DSP add-on
Assembling the XLR steel case with the DSP add-on
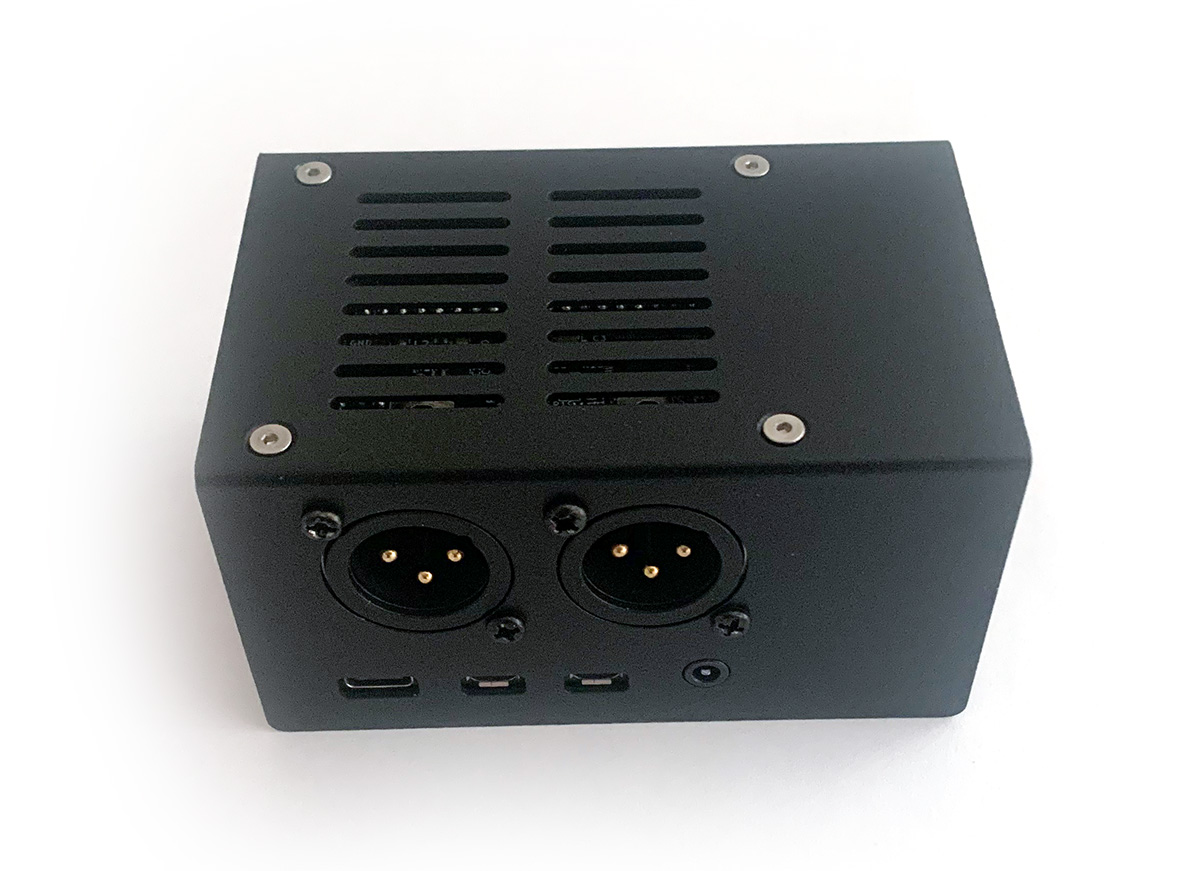
This guide shows you how to mount a DAC with the DSP add-on into our XLR steel case.
To fix the DSP add-on and the DAC into the steel case, we recommend the mounting kit. It consists of all the extra parts you need. Alternatively you can source the M2.5 screws and nuts locally and print the spacers in a 3D printer.
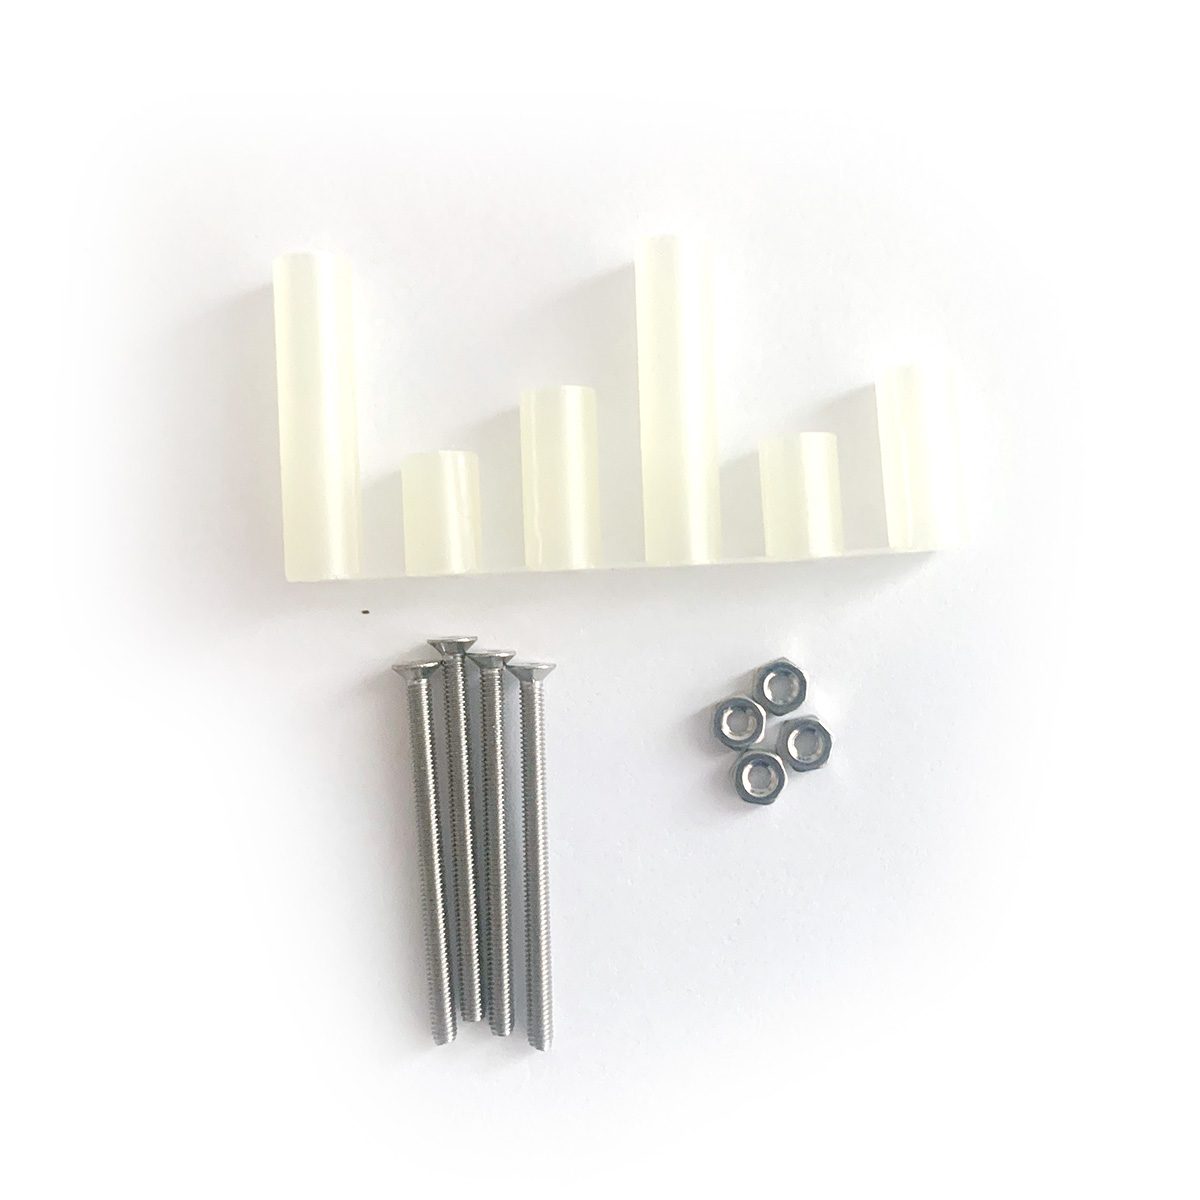
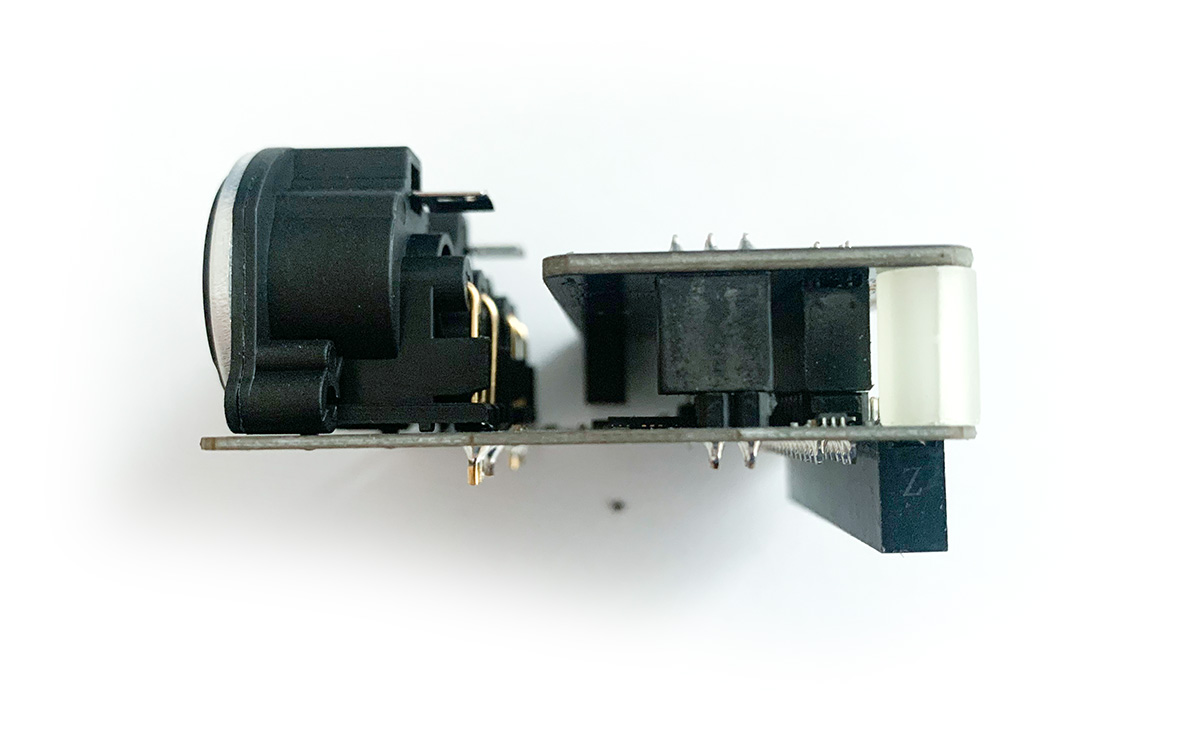
First just cut the spacers with a pair of scissors. Then put the smallest spacer between the DSP add-on and the DAC and plug the DSP add-on onto the DAC. Don’t forget to add the aluminium distance spacers on the XLR jacks.
Now put the screws into the screwholes of the top cover and add the long and medium spacers. The long spacers go to side with the the XLR jacks:

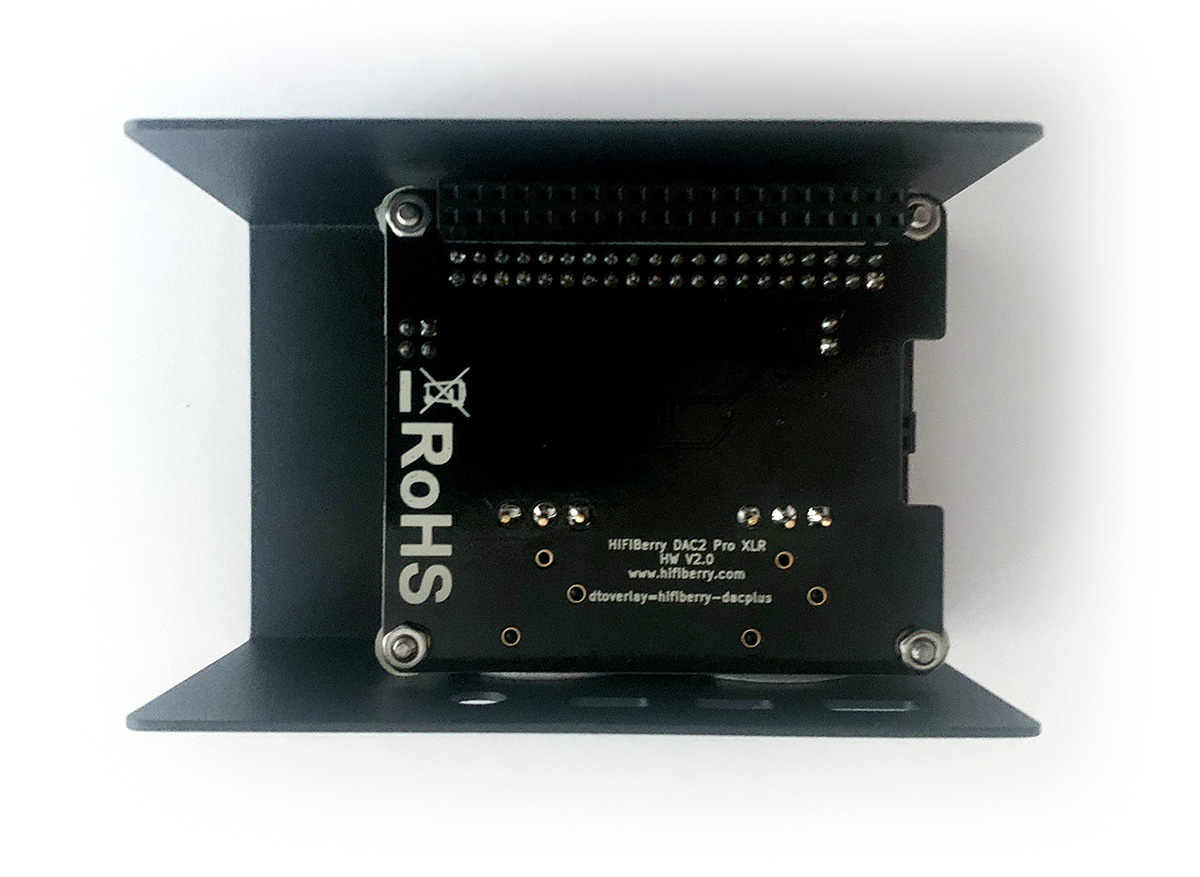
Carefully add the DAC/DSP combo and fix it with the four nuts. Do not yet fix the XLR connectors on the cover.
Now mount the Pi with 4 small screws on the bottom.
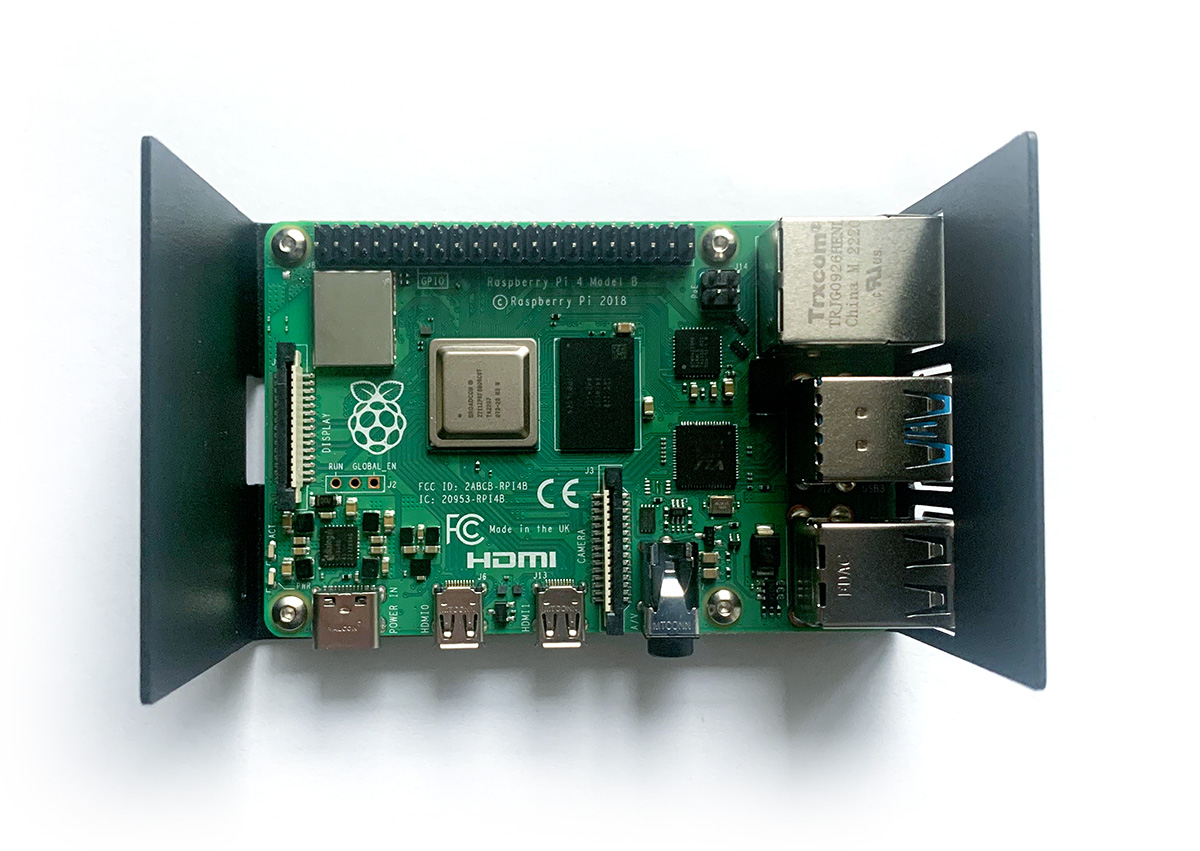
Carefully align top and bottom and snap both parts together. Don’t use brute force if the parts aren’t correctly aligned, you might damage the GPIOs of the Pi.
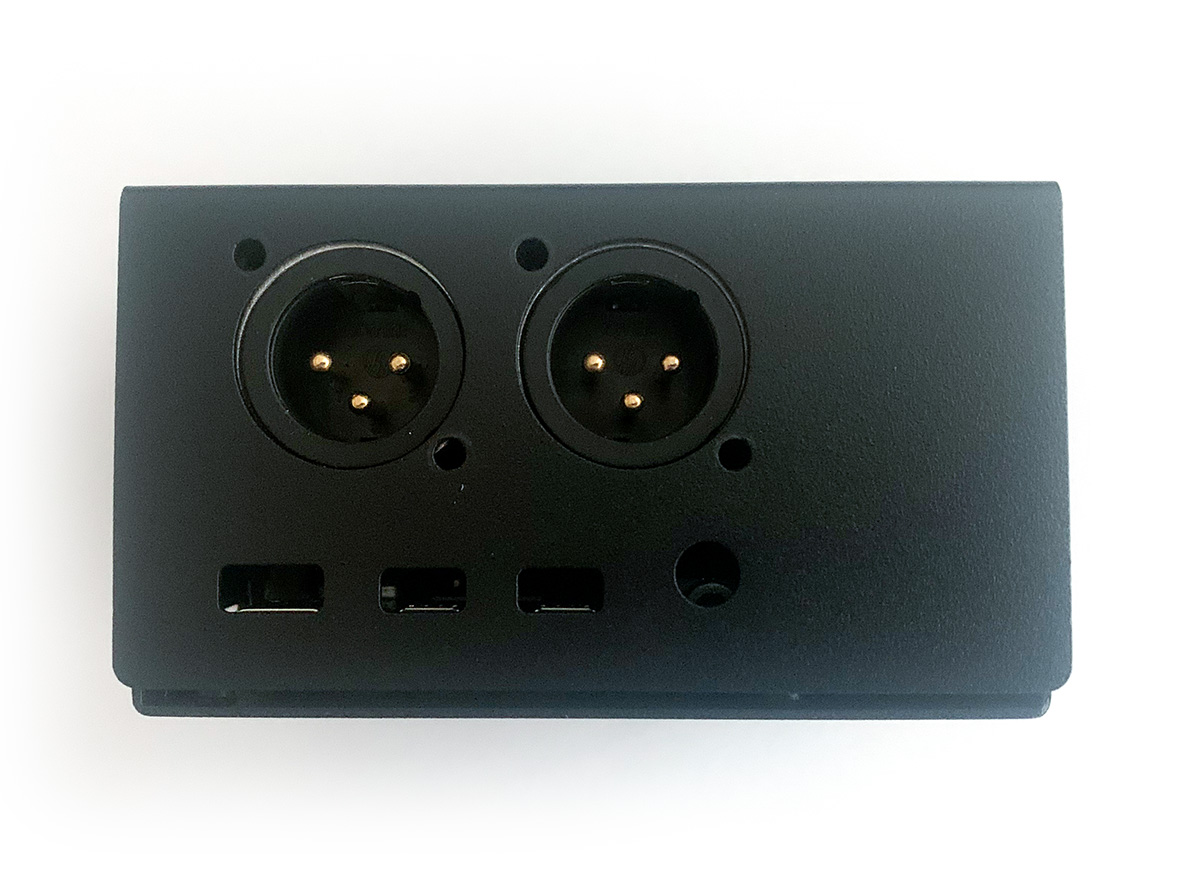
When the parts have been snapped together and the GPIOs are connected, use the 4 sheet metal screws to fix the XLR jacks on the back.