Battery-powered Beocreate system
Battery-powered Beocreate system
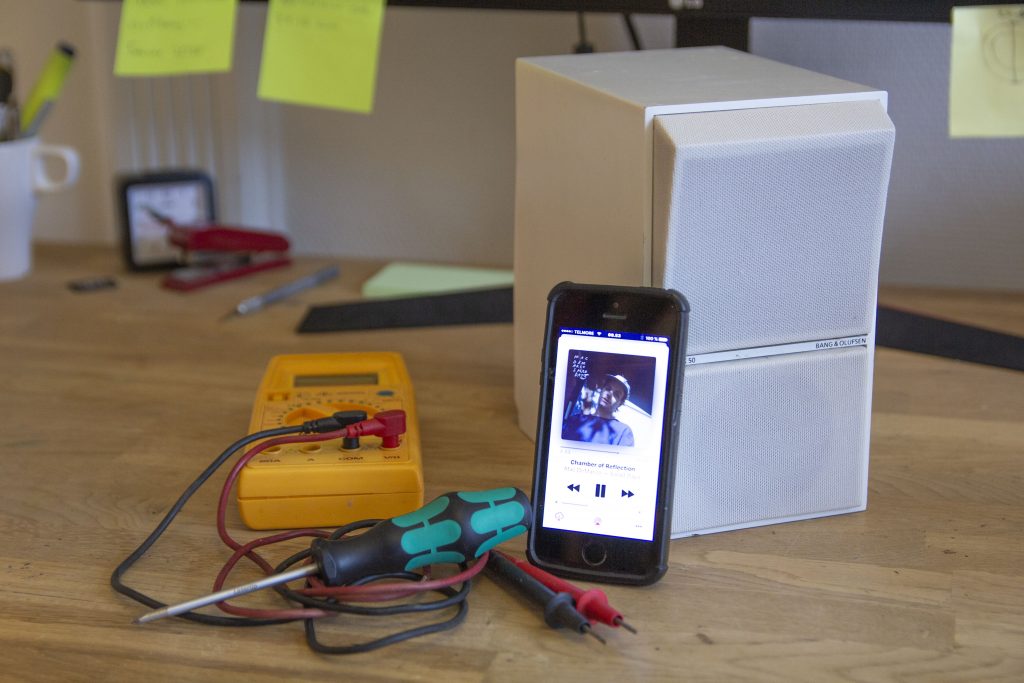
What can you do with an old laptop you don’t use anymore and an upcycled BeovoxCX50? We have worked on a simple solution for turning an upcycled CX50 into a battery powered beast. By reusing the battery of a discarded laptop you can build your own battery powered Beovox cx50 that trumps the 500 euro Beolit 17. Keep reading and find out how.
[asis]
What do you need?
This will almost be a free upgrade, since the main component can be sourced from an old laptop you may have lying around. Most laptops are powered by a few 3.7V 18650 batteries, which we will use for this project. However, you do need a chargingcircuit and maybe a voltage regulator. Some of these tools and materials can be avoided by a few tricks. However you will most likely need the following tools and materials:
- Laptop battery with at least four 3.7V 18650 lithium-ion batteries
- Four cell battery management system (BMS), Example
- Voltage regulator (depending on what maximum voltage the BMS can handle), Example
- ON and Off switch
- Cables
- Solderless battery holder, Example
- Soldering iron and solder
- Pliers
- Screw driver
- Drill
- Small saw blade
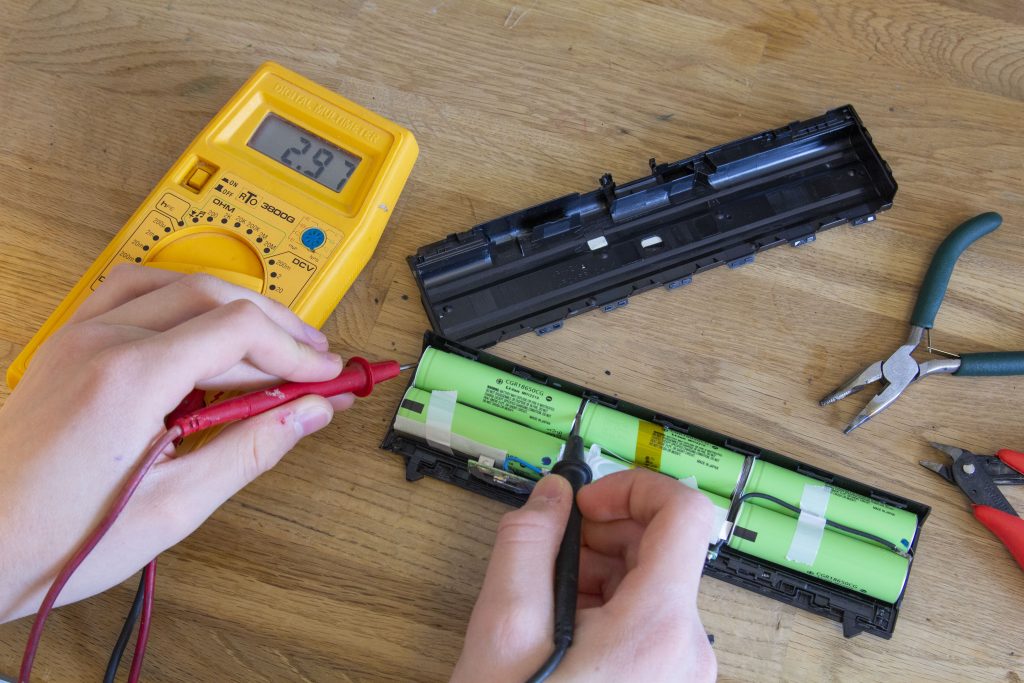
Step 1: source and test of batteries
You will have to completely destroy the battery from your old laptop, so make sure you don’t need it in the future. It is important to check each cell and see if they are usable. It can be quite a tedious process and we recommend to follow the instructions from the following link: https://secondlifestorage.com/t-How-to-recover-18650-Cells-safely-and-reliably . If you know that the laptop, where the batteries come from, had a decent battery life the batteries should be fine. A general rule of thumb is that if a cell is below 3V, there is a risk of it being dead. So make sure to at least check this.
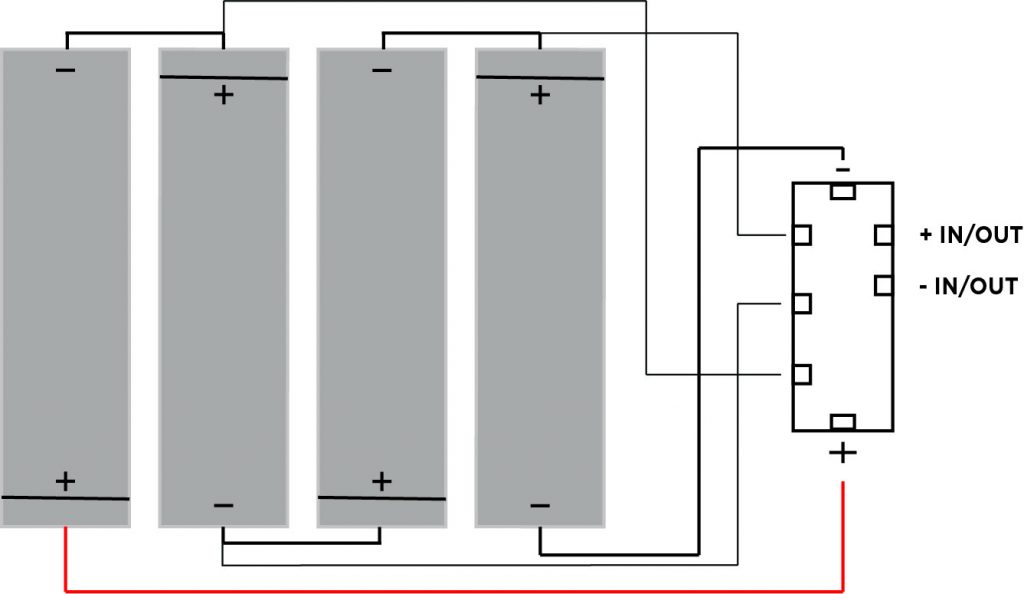
Step 2: Assembly of battery pack
Once you know your batteries are ok, you need to assemble the battery pack. The Beocreate 4-channel amplifier has an input voltage ranging from 12V to 20V, so we will connect four 3.7V cells in series to make a 14.8V battery pack. The big challenge with this project is to make sure the batteries will be safely charged and discharged. The safe voltages for 3.7V 18650 batteries range from 3V to 4.2V. Using a BMS with overcharge protection ensures that the batteries will not be overcharged beyond 4.2V. We will avoid discharging below 3V because the Beocreate amplifier will shut down below 12V. The diagram below shows how to arrange and connect the batteries and the BMS. Make sure to check with your specific BMS how to connect the battery to it.
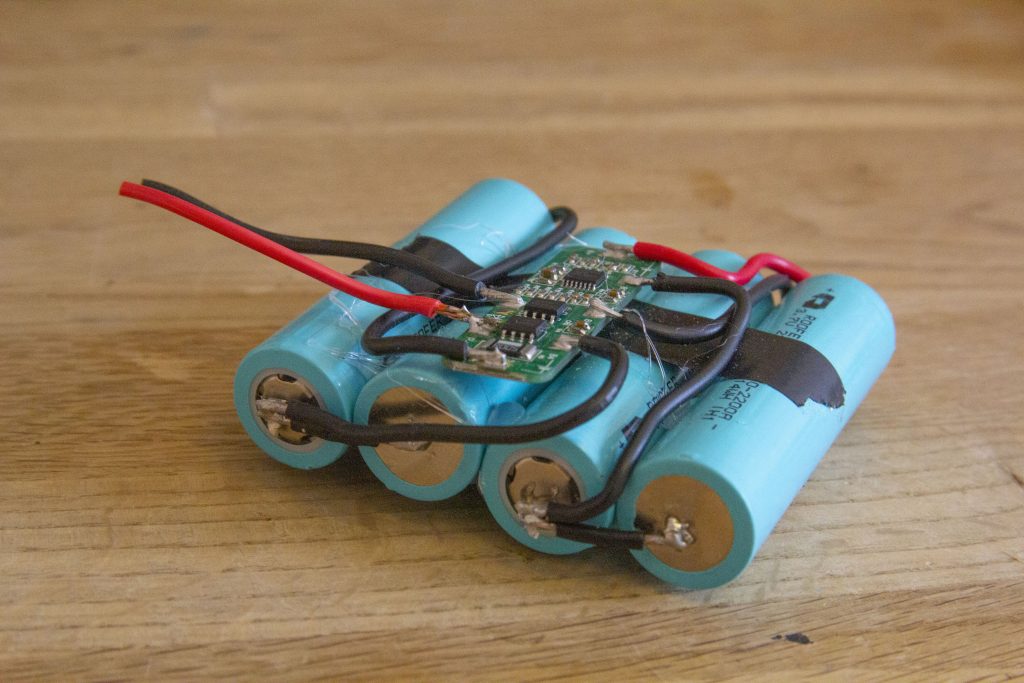
We do not recommend to solder on batteries as shown in the picture below. If you still decide to do this, make sure to discharge the battery beforehand. We recommend to use battery holders that don’t require welding or soldering.
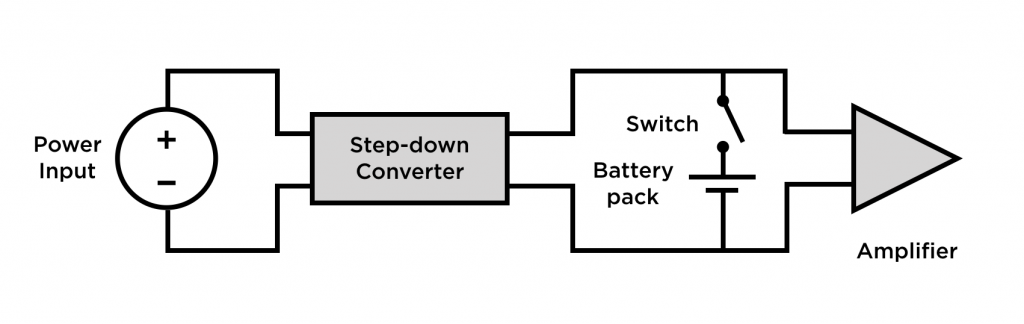
With the battery pack ready, you can glue the pack inside the speaker enclosure and connect it to the amplifier. We recommend having a ON and OFF switch to avoidunnecessary wear in the battery. The BMS that we use has a maximum input voltage of 17.5V, so we have added a voltage step down board from the external power source. Follow the diagram below for correct wiring.
Your speaker should look something like this now. Close up the back and you are ready to bring your speaker to the beach or out for playing some sports with music. Make sure to share your #beocreate projects.