Raspberry Pi infused vintage radio
Raspberry Pi infused vintage radio
The original tutorial was published by HiFiBerry user Sven here.
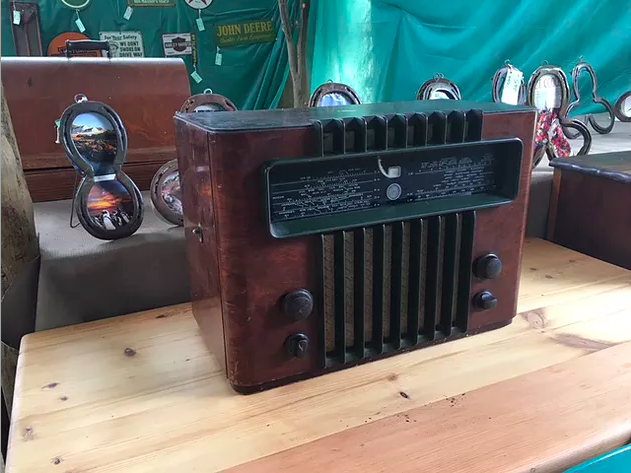
I stumbled across this vintage 1954 Marconi radio at a 2nd hand store and thought it would be a great project to retro fit this into a modern internet streaming hi-fi for the home.
My plan was to remove all the internal valves, clean the external varnish finish to something with a lighter tone, re-paint the grill and put new material coverings over the speaker vent.
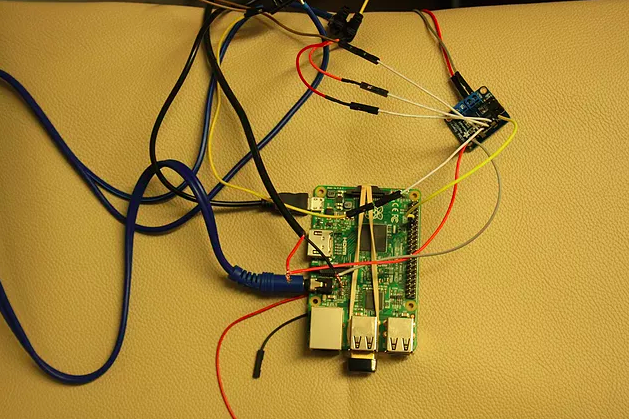
The hi-fi itself would be run off the Raspberry Pi B+ model, using a small 3.7W amplifier kit. The application that runs the streaming and interface aspects is Volumio, which is a brilliant open source player with loads of functionality. Check it out!
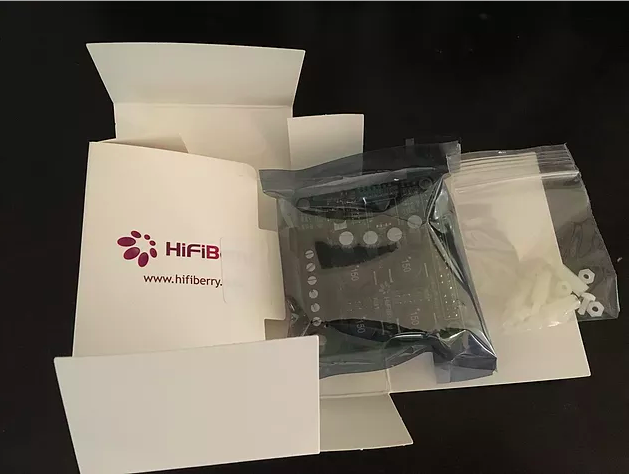
The 3.7W class D amplifier turned out to be a little to light in the pants for the size of the radio, so I opted to upgrade to the HiFi Berry 25W Amp+, which turned out to be a great idea. Fantastic sound, easy to use and good service.
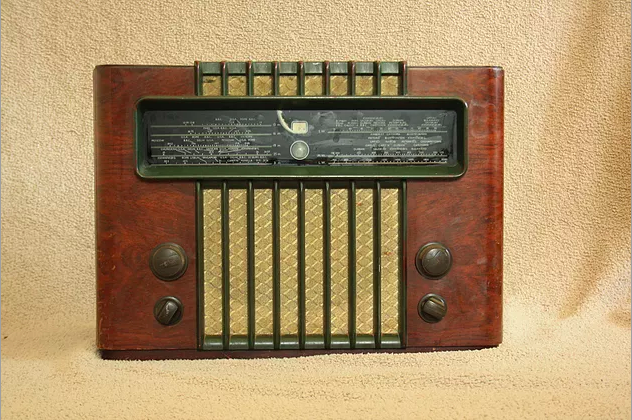
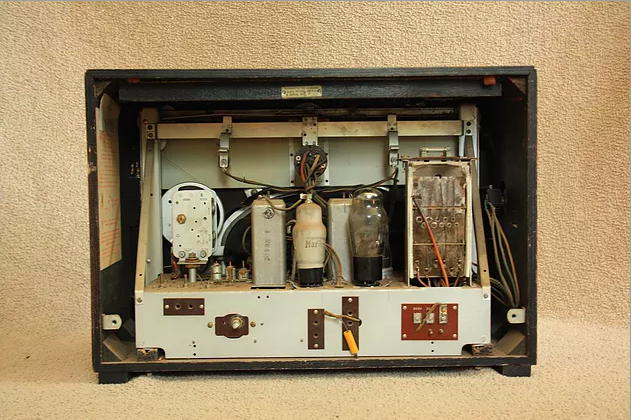
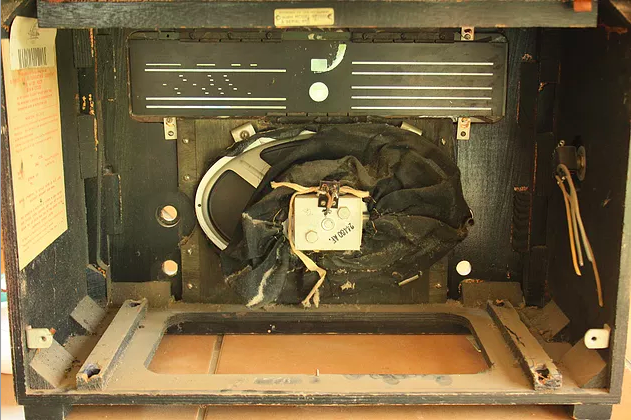
Below is the original view front and back.
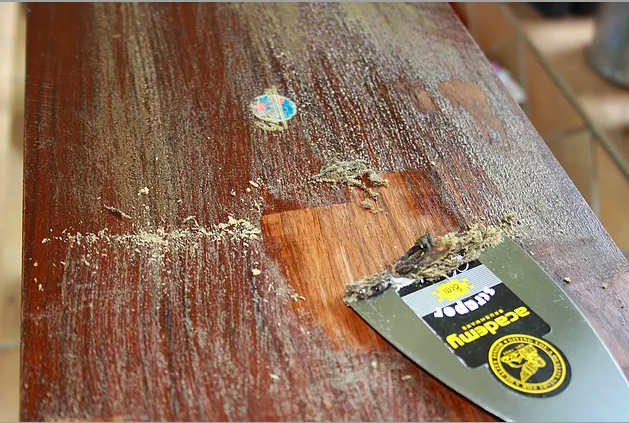
Cleaning the the radio up did take LOTS of time. Sandpaper and paint-stripper was needed to remove the dark, original varnish. I felt that a lighter type finish would make the wood texture come through more clearly and give it a slightly ‘modern’ look.
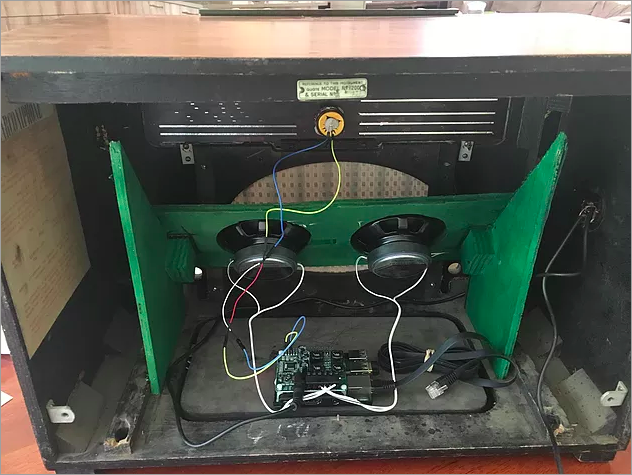
The speaker was still in tact (surprisingly), but I decided to replace this with two Philips 30W mid-range speakers instead. Plus they were less dusty 🙂
This was the first pass setup of the 3.7W amplifier running through Volumio. The elastic band to secure the SD card is optional extra 🙂
The audio feed on this version came from the 3.5mm audio jack on the Pi, and then fed into the input of the Adafruit amplifier, which also needed a separate power feed to the Pi – which was going to make the project a bit more cumbersome to setup for me.
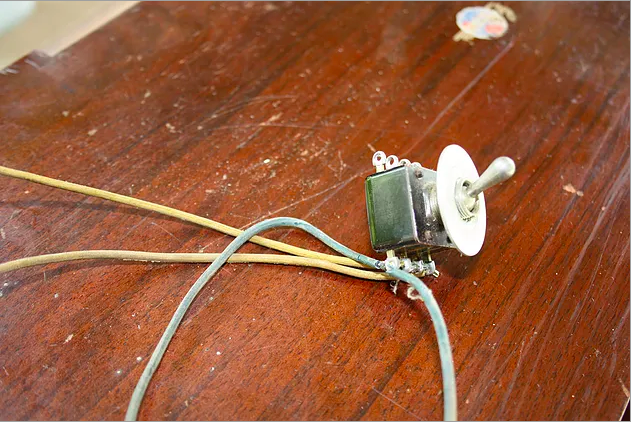
The on/off button (with embedded 2 amp fuse) had a such brilliant mechanical feel to it, so I decided to keep it. This did require some cleaning and testing of the wiring to make sure it was all in good working order.
The secret to the great sounding hifi was undoubtedly the HiFi Berry Amp+
This provided brilliant audio, and also just fits on the Pi like most HATs, and there is also no need to solder anything!
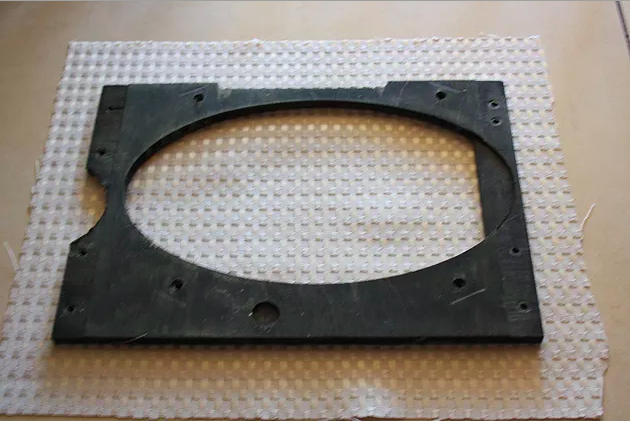
The material covering the speaker was really badly worn, so we bought similar looking pattern material and cut that to match the older speaker cover. Even though the internals would now have two stereo speakers.
As all the internal housing were removed I had to cut speaker mounts from some spare plywood sheets. And I also tilted these slightly to have a better sound angle. The final version does require a back board to be fitted along with some foam to get away from an otherwise mid-range heavy tone due to the hollow shell.
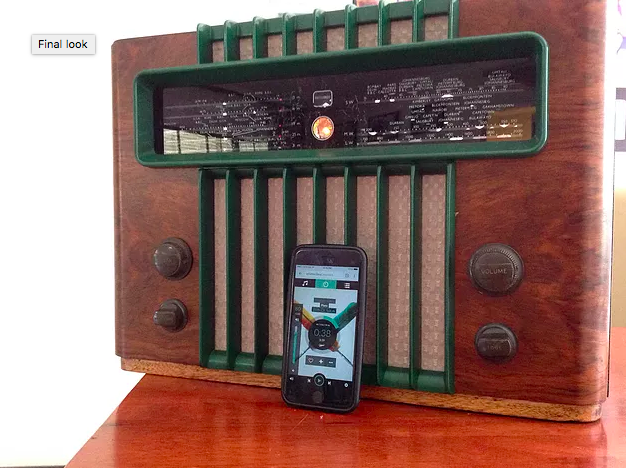
To round off the look I added an orange on/off LED on the front panel – which gives it super cool steam punk vibe.
Final product!
Lessons and takeaways from this project.
1) Don’t house RasPI too close to the speakers – the magnetic interference wreaked havoc with the Pi.
2) Second version will have working buttons on the front linked to preset steaming stations from local radio in South Africa.
3) I added a little RJ-45 housing on the back afterward to plug directly into the LAN.