Use Audacity to record and edit sound on your Raspberry Pi
Use Audacity to record and edit sound on your Raspberry Pi
Install Raspbian
We usually recommend Raspbian lite as the base system for audio playback applications as you often don’t need a graphical user interface (e.g. when running Spotify conenct or Shairport). With Audacity it’s different as you need the GUI. Therefore, we recommend to install Raspbian Buster with desktop.
Configure the sound card
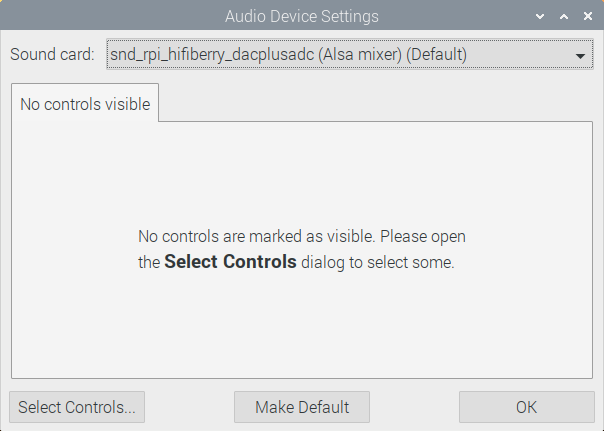
To record audio, you need the DAC+ ADC or DAC+ ADC Pro. You need to configure it in /boot/config.txt according to our guide. Also don’t forget to disable the onboard sound as it can be confusing to have this still active as the default sound card. Have a look at “Audio device settings” to make sure everything is configured correctly.
Install Audacity
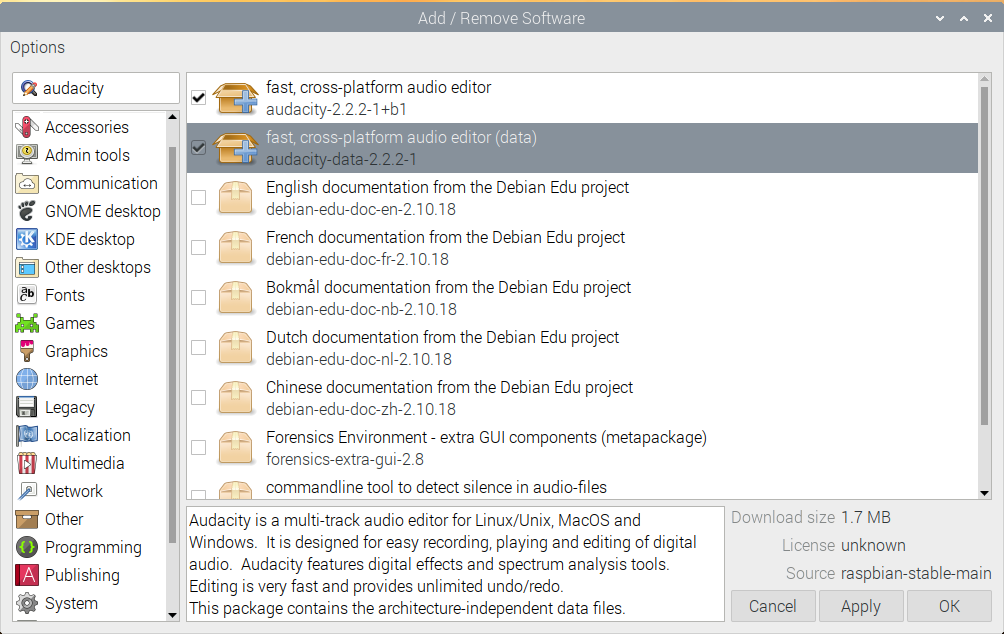
Unfortunately even in the version “with recommended software”, Audacity isn’t installed by default. Just use “Add/Remove software” and search for “Audacity”. Select the packages and install them. That’s it already. You should now be able to start Audacity from the menu under “Sound and Video”
Record something
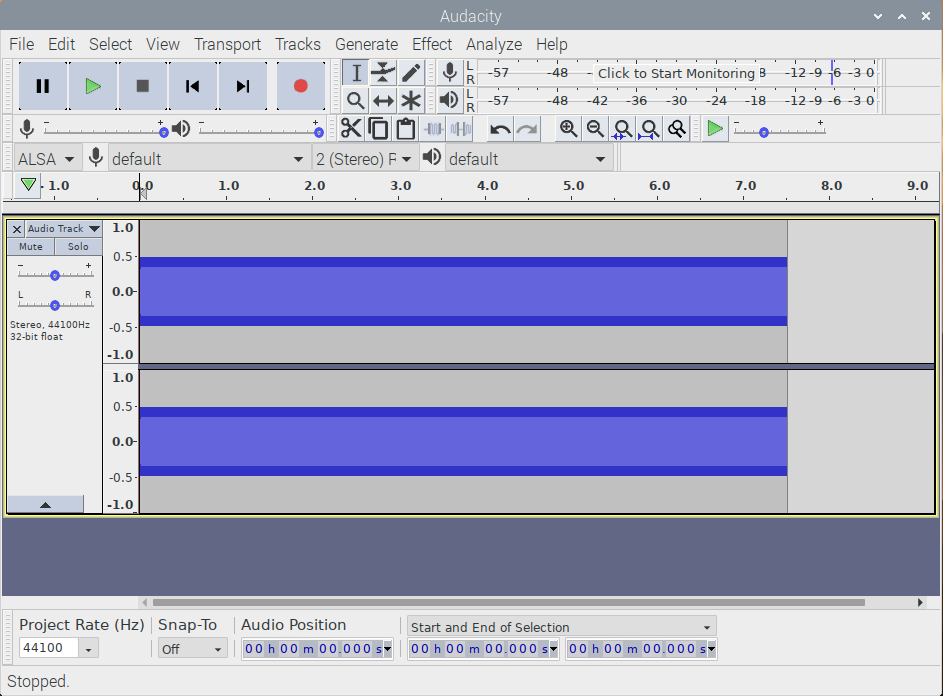
Audacity already opens a new project and you only have to click on the record button – that’s it. Hit the stop button when you’re done.
Edit
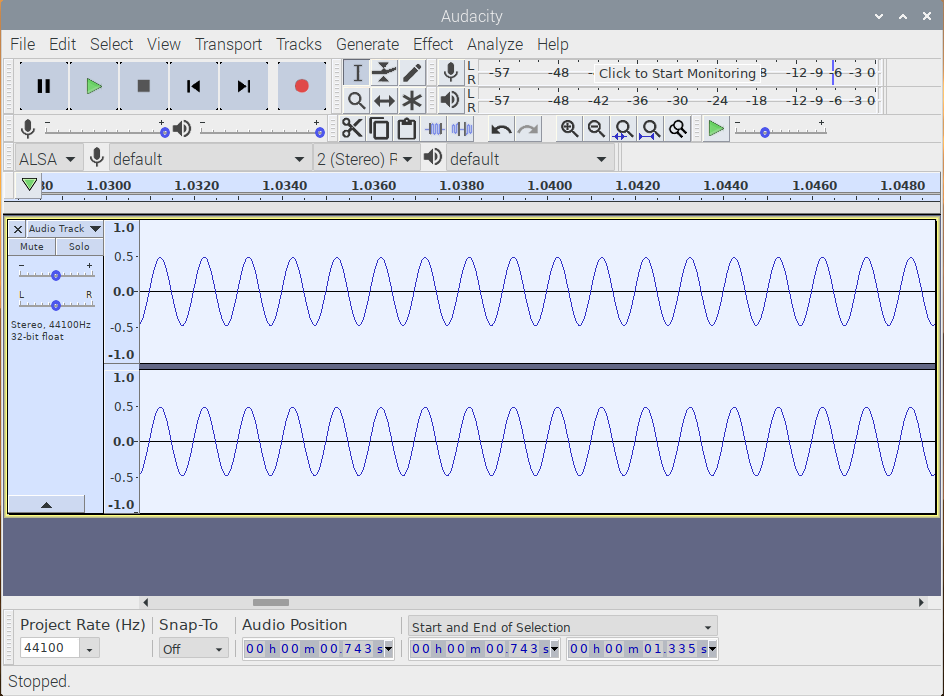
You can zoom in and have a look at the waveform. Yes, a sine wave doesn’t look very interesting, but we’re using this always as the standard signal to verify everything is working fine.
Now comes the fun. Get creative! Have a look at the Audacity documentation. The possibilities are endless. You can even add plugins to Audacity to have even more effects available.