Assembling the steel case with the DSP add-on
Assembling the steel case with the DSP add-on
This guide shows you how to mount a DAC with the DSP add-on into our steel case (V2).
Before trying this, make sure, you’re using the taller version 2 of the steel case. The height of this version is aorund 44mm, while the older version is only 40mm high. Unfortunately there is no space to fit the add-on board into the older version.
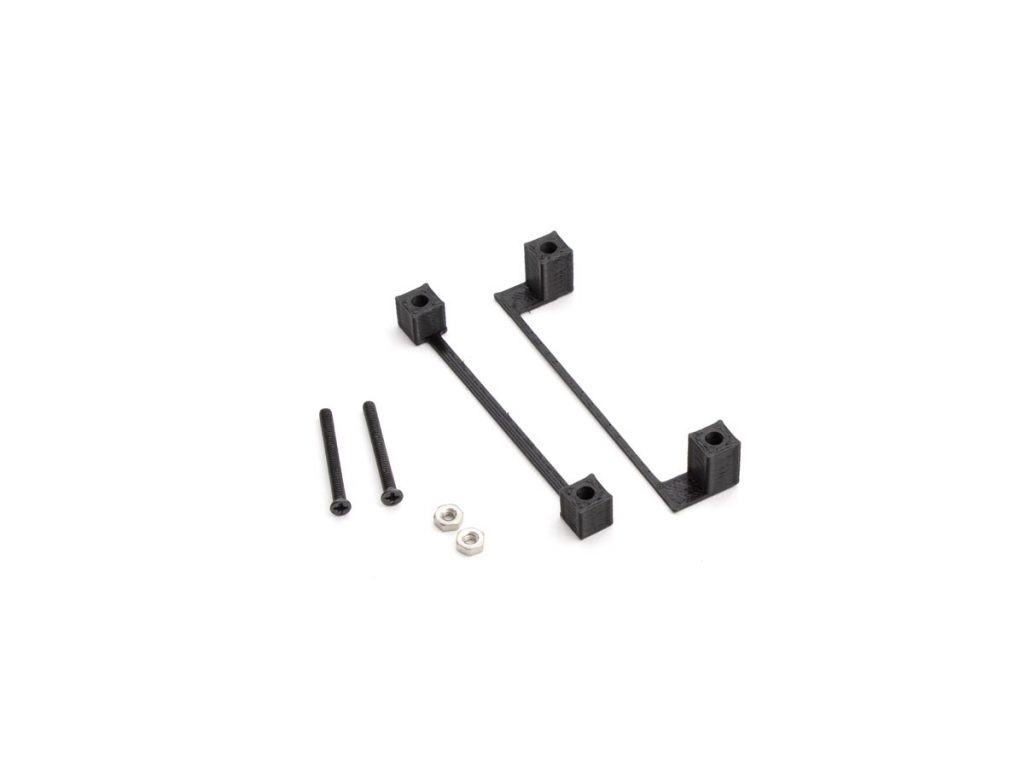
To fix the DSP add-on and the DAC into the steel case, we recommend the mounting kit. It consists of two 25mm screws, nuts and 2 special spacers. You can print these by yourself or buy it from our store. If you don’t have access to a 3D printer and don’t want to order these from us, you can use simple distance tubes. You would need 2 pieces each in 7.5mm and 11mm length (7/12 will also work fine).
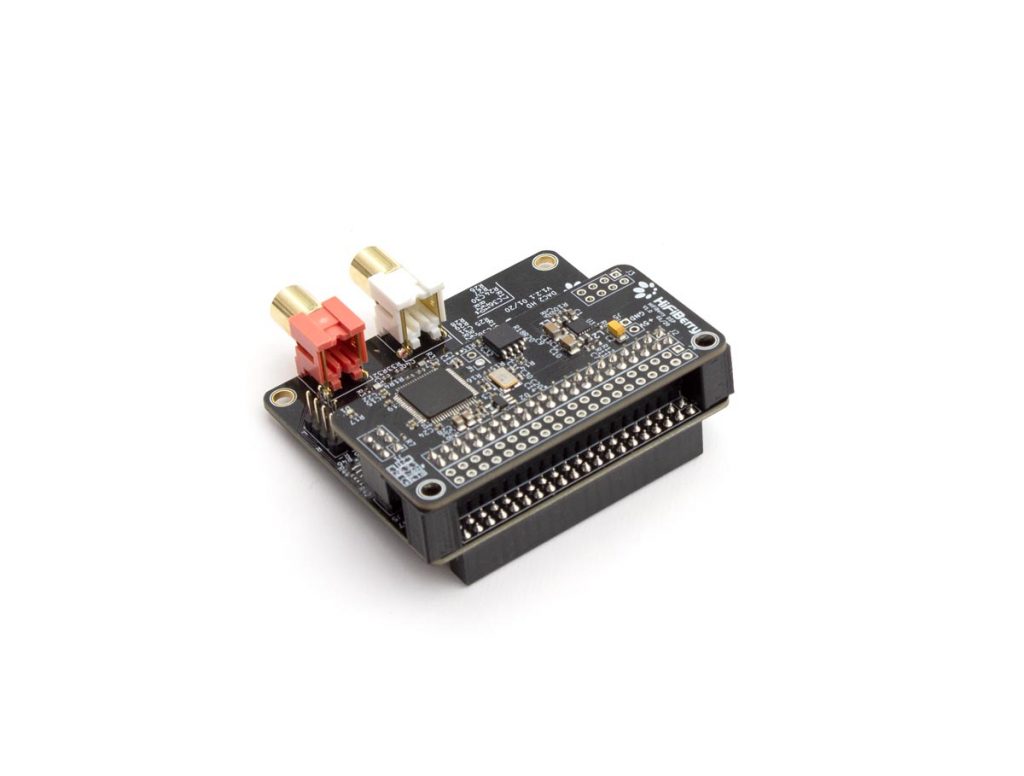
First use put the higher spacer between the DSP add-on and the DAC and plug the DSP add-on onto the DAC.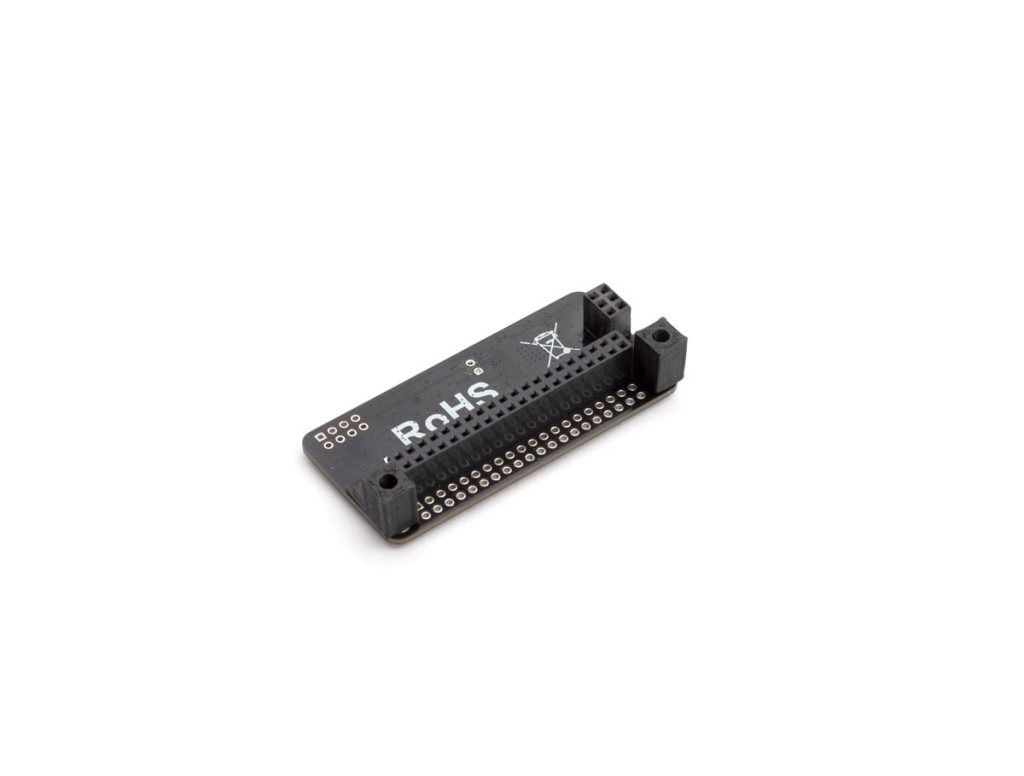
Next fix two of the standoffs that come with the steel case on the top cover of the steel case. On the other side (the side without cutouts), only insert the two long screws and add the other spacer.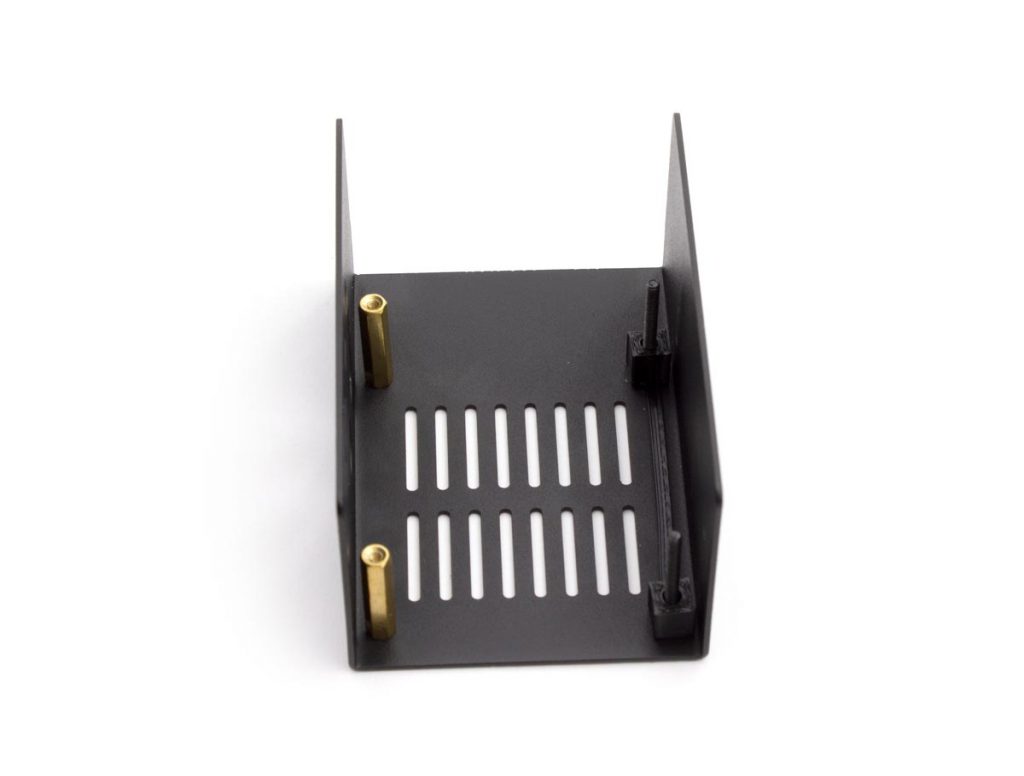
Now add the DAC/DSP combination.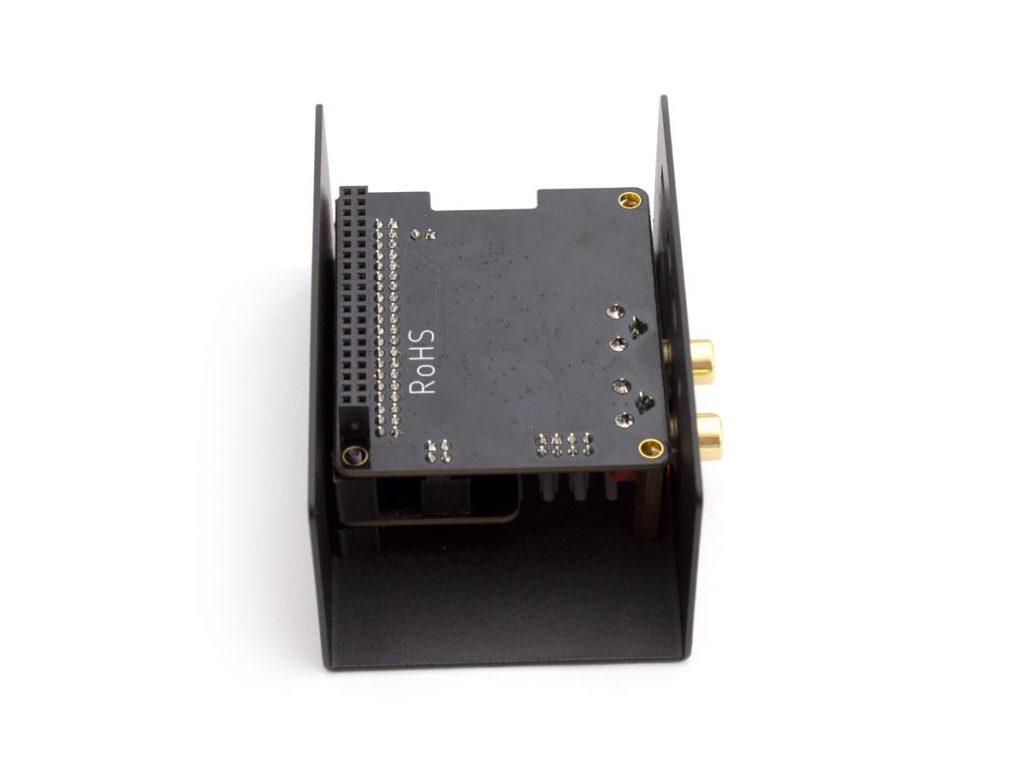 Fix all screws and nuts from top and bottom.
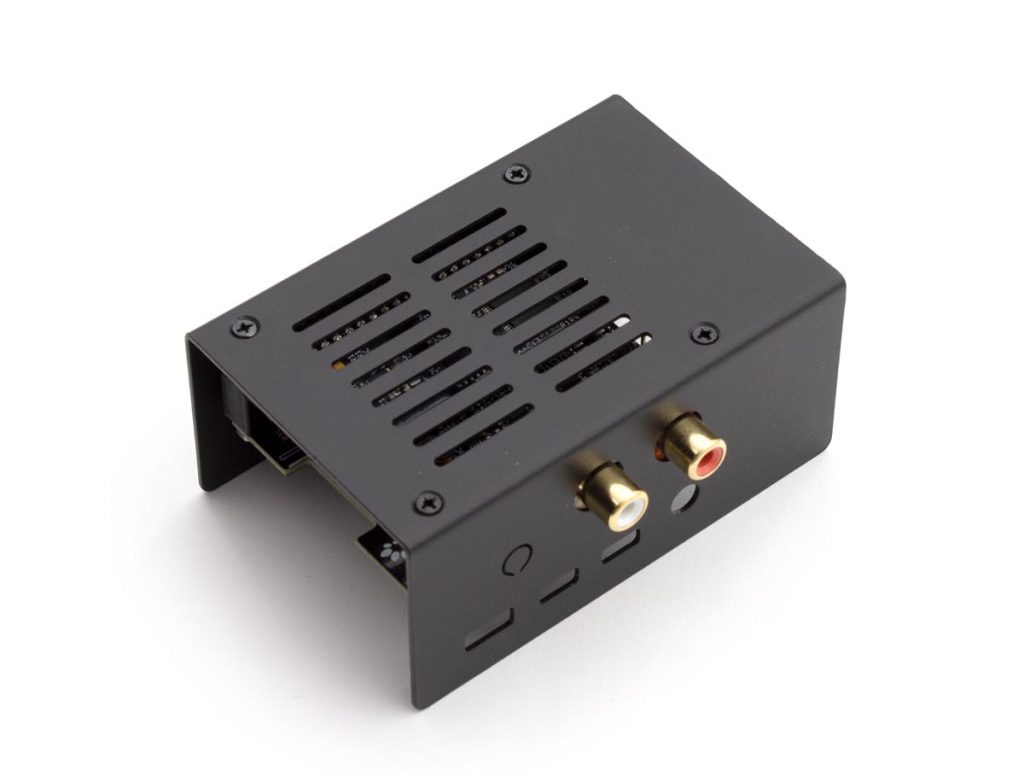
Now, go on assembling the base and put everything together as shown in our assembly guide.