Assembling the acrylic case
Assembling the acrylic case
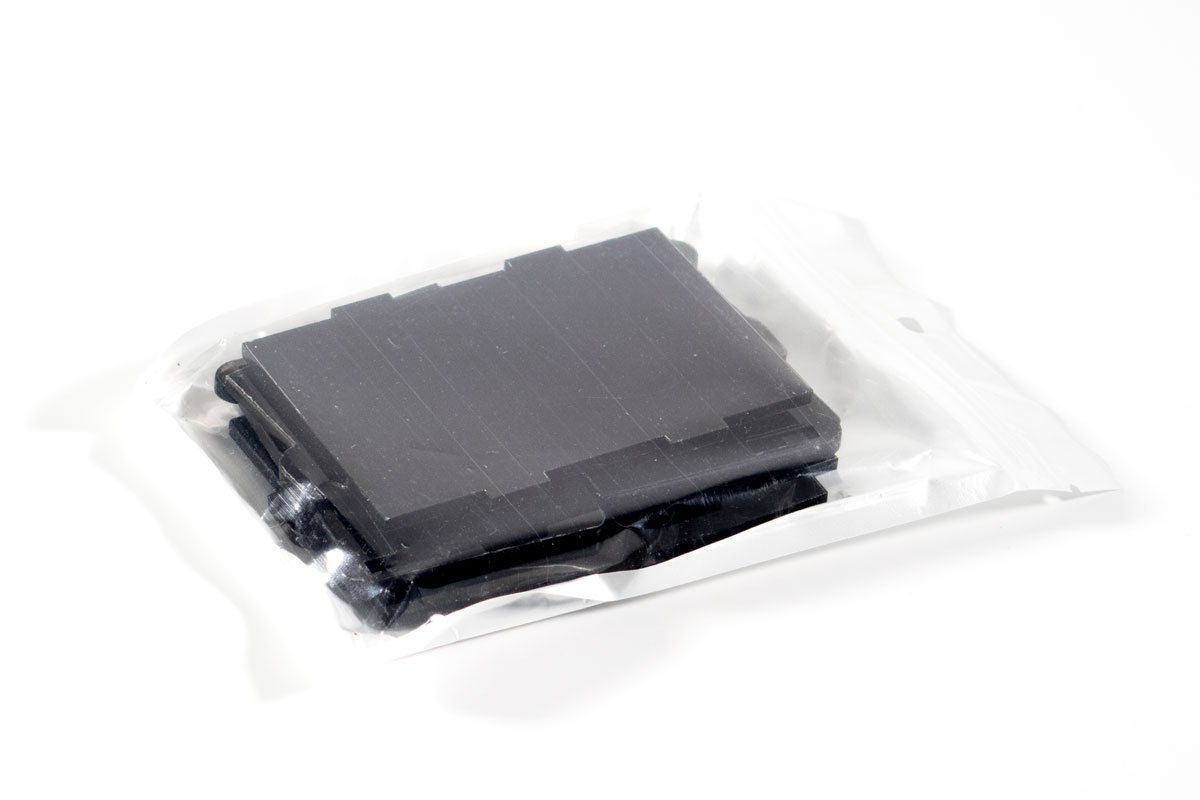
Step 1: Unpack it
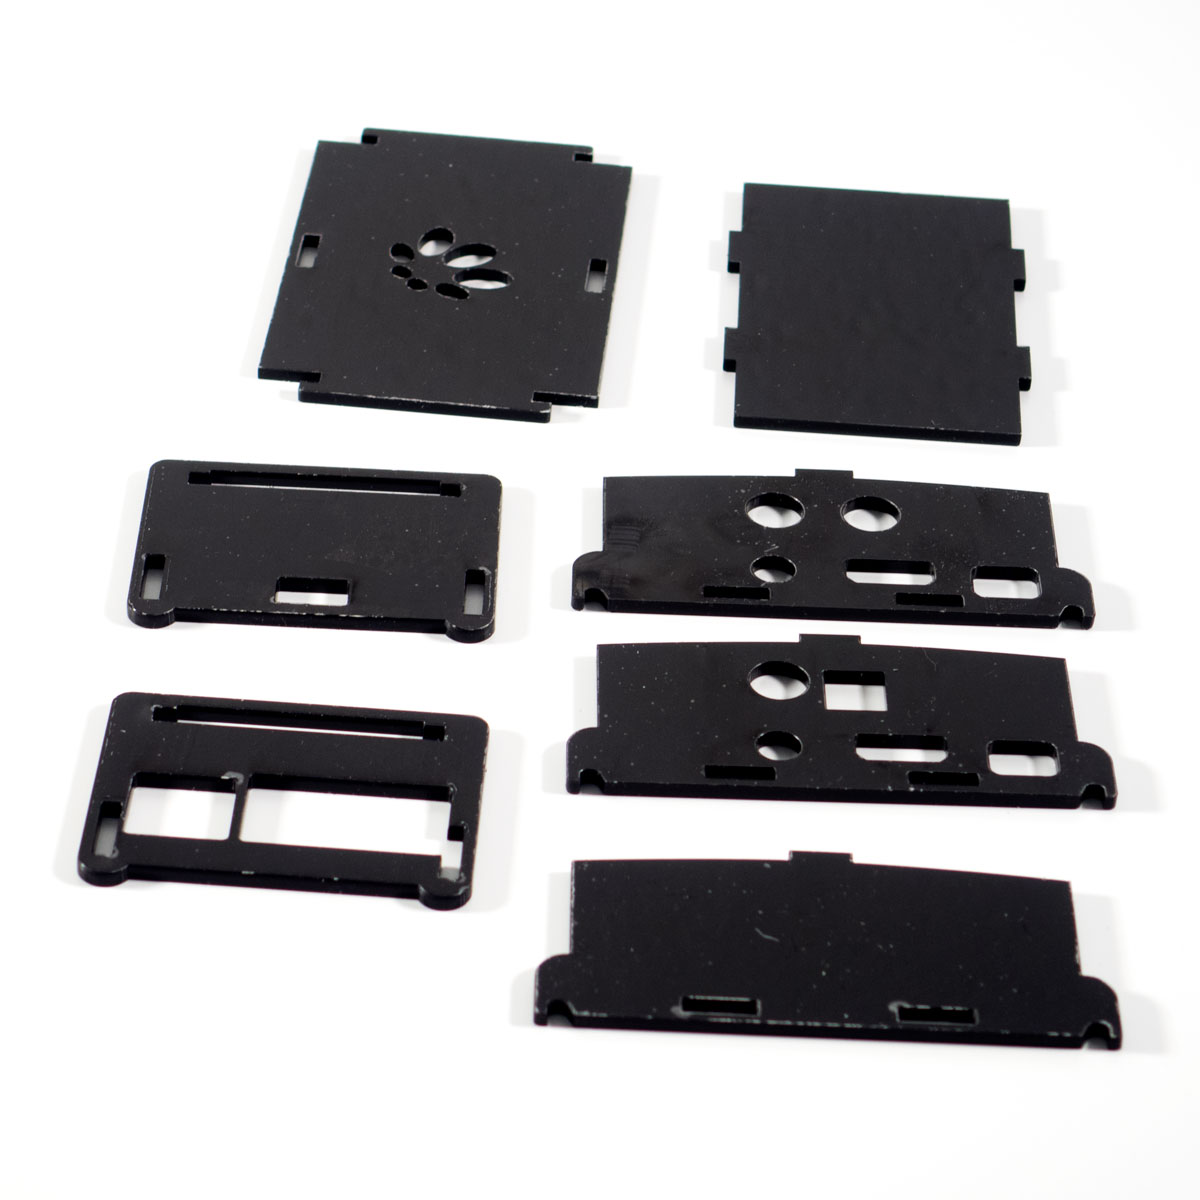
Step 2: Select the right side parts
The package contains 7 parts. You only need 6 of them. There are 2 different side parts: one for the HiFiBerry DAC+ and one for the Digi+. Select the side that fits your board.
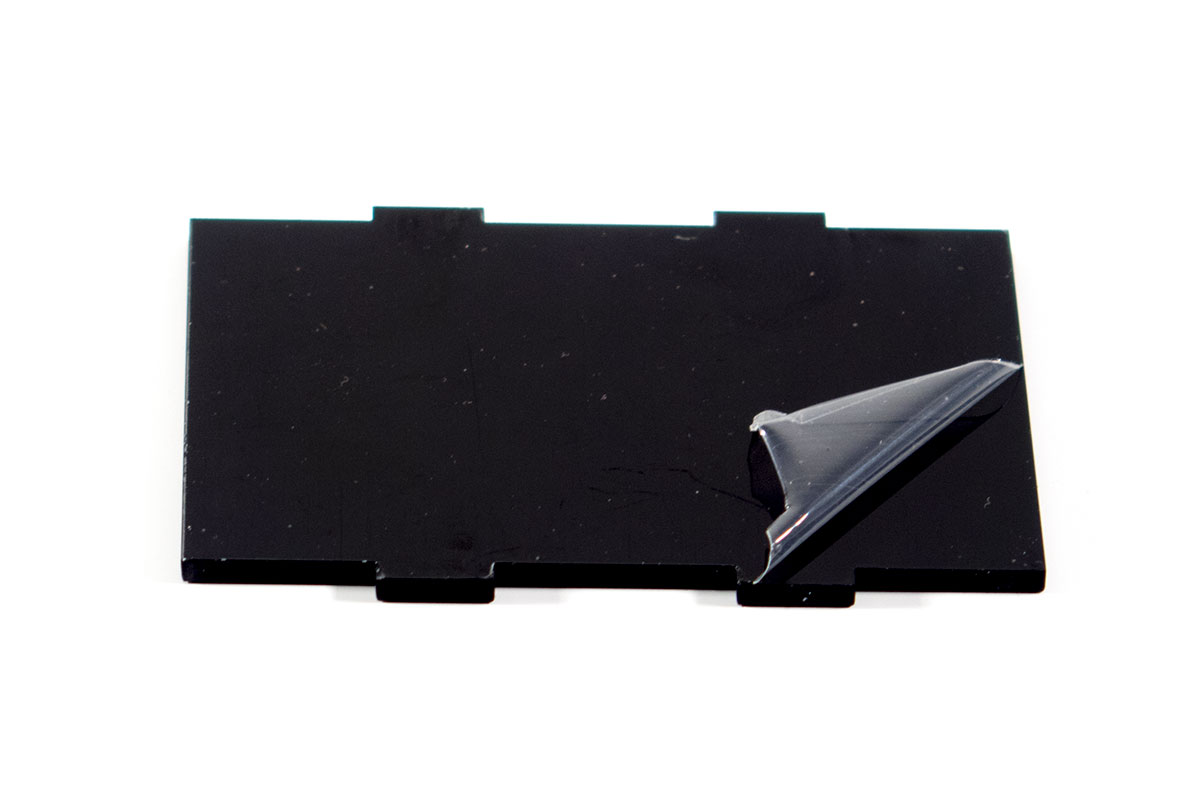
Step 3: Remove the protection film
This is a very important step! To protect the acrylic material from scratches during transportation, there is a protection film on both sides of all parts. You need to peel it of before assembling the case. Otherwise the parts might not fit and break.
Step 4: Put the Raspberry Pi onto the base plate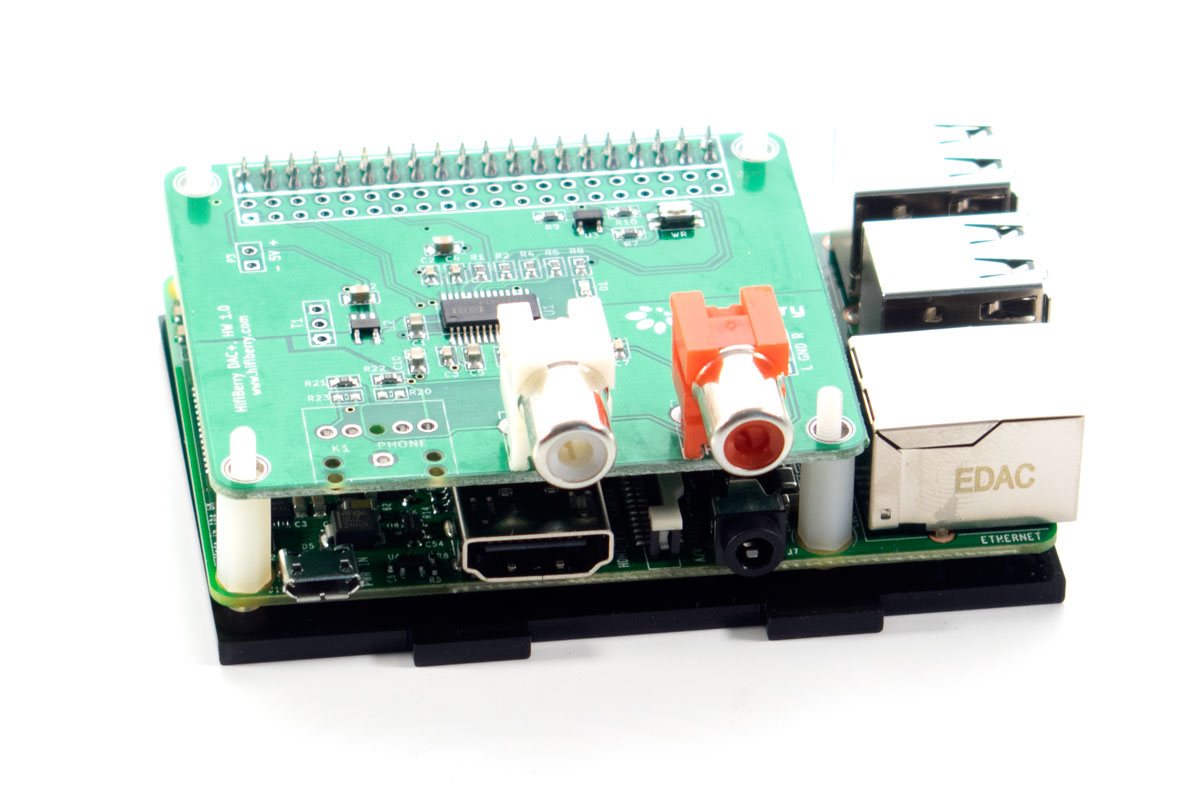
Step 5: Add the long side parts
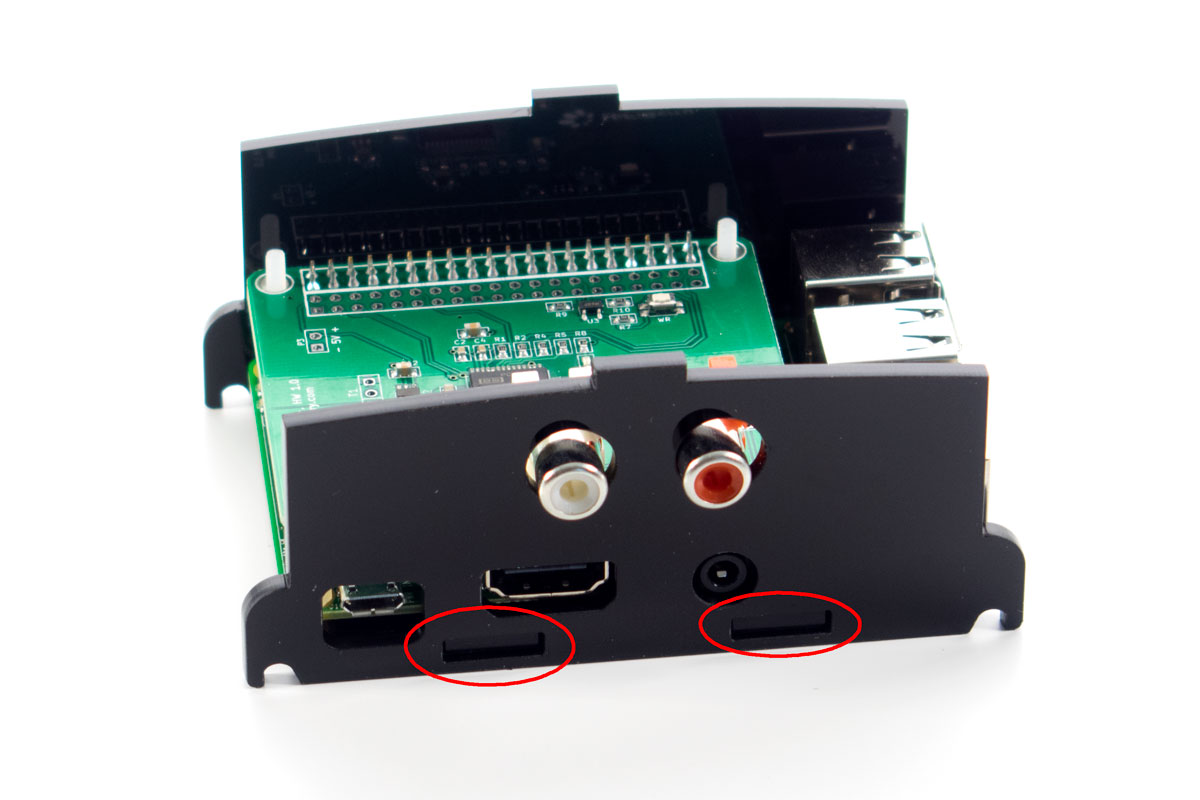
Add the sides and make sure they snap into the base plate.
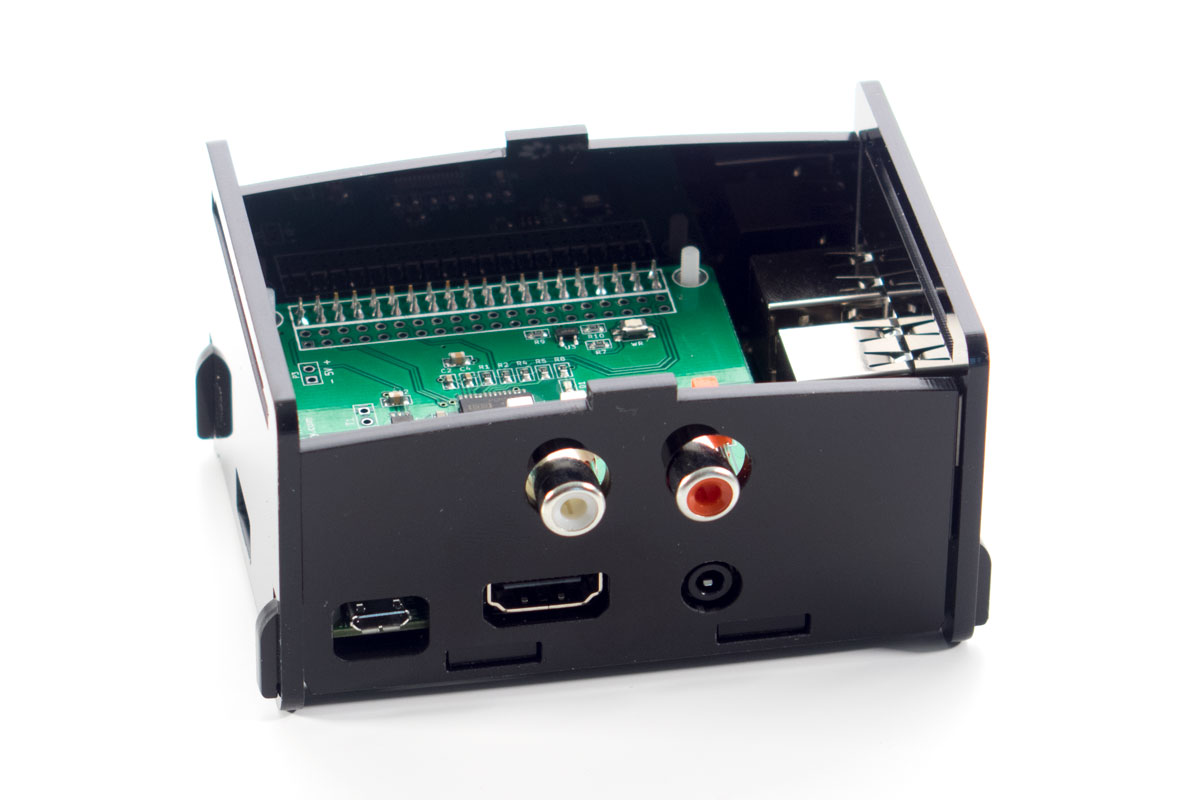
Step 6: Add the small side parts
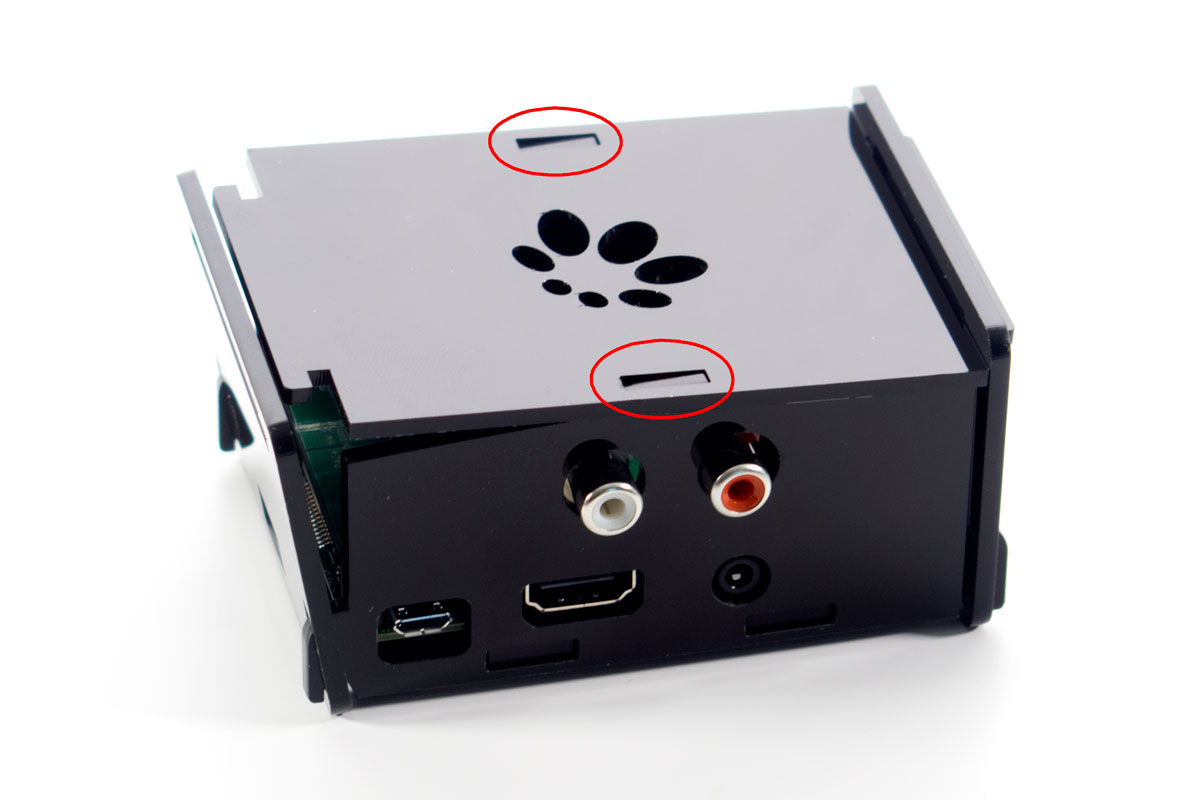
Step 7: Add top plate
Snap the top plate into one side part and make sure the side parts snap right into the cut-outs of the top part.
Step 8: Snap into the other side
With slight pressure on the top plate, you can now snap the to part in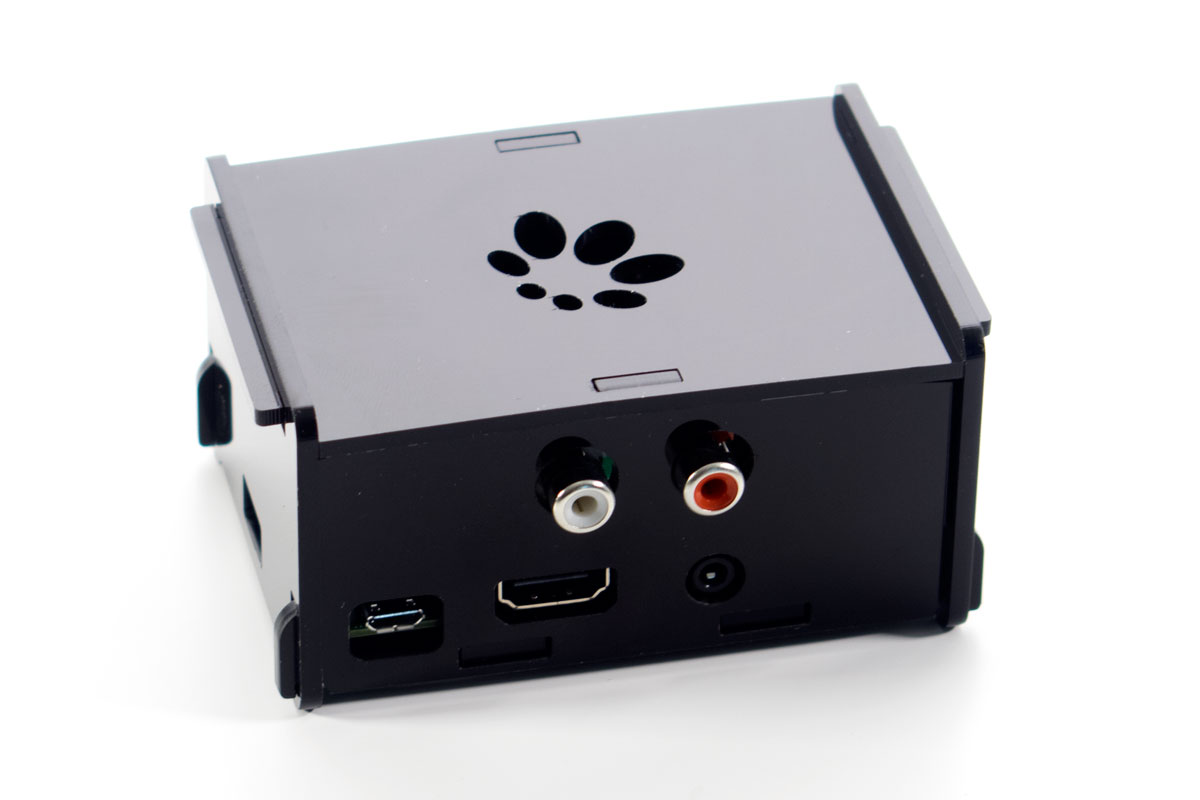 to the cut-out of the side part.