HiFiBerryOS: Initial setup
HiFiBerryOS: Initial setup
Download and extract the software
You can download the software from our HiFiBerryOS web page. Make sure, you download the correct version for your Raspberry Pi as the system is optimised for each model. If you’re using the wrong image, the Raspberry Pi won’t boot. Also note that it requires an SD card with a size of at least 4GB (even the image looks very small).
Write the system to an SD card
You can use the software of your choice. We recommend Etcher as it is available for all major operating systems. 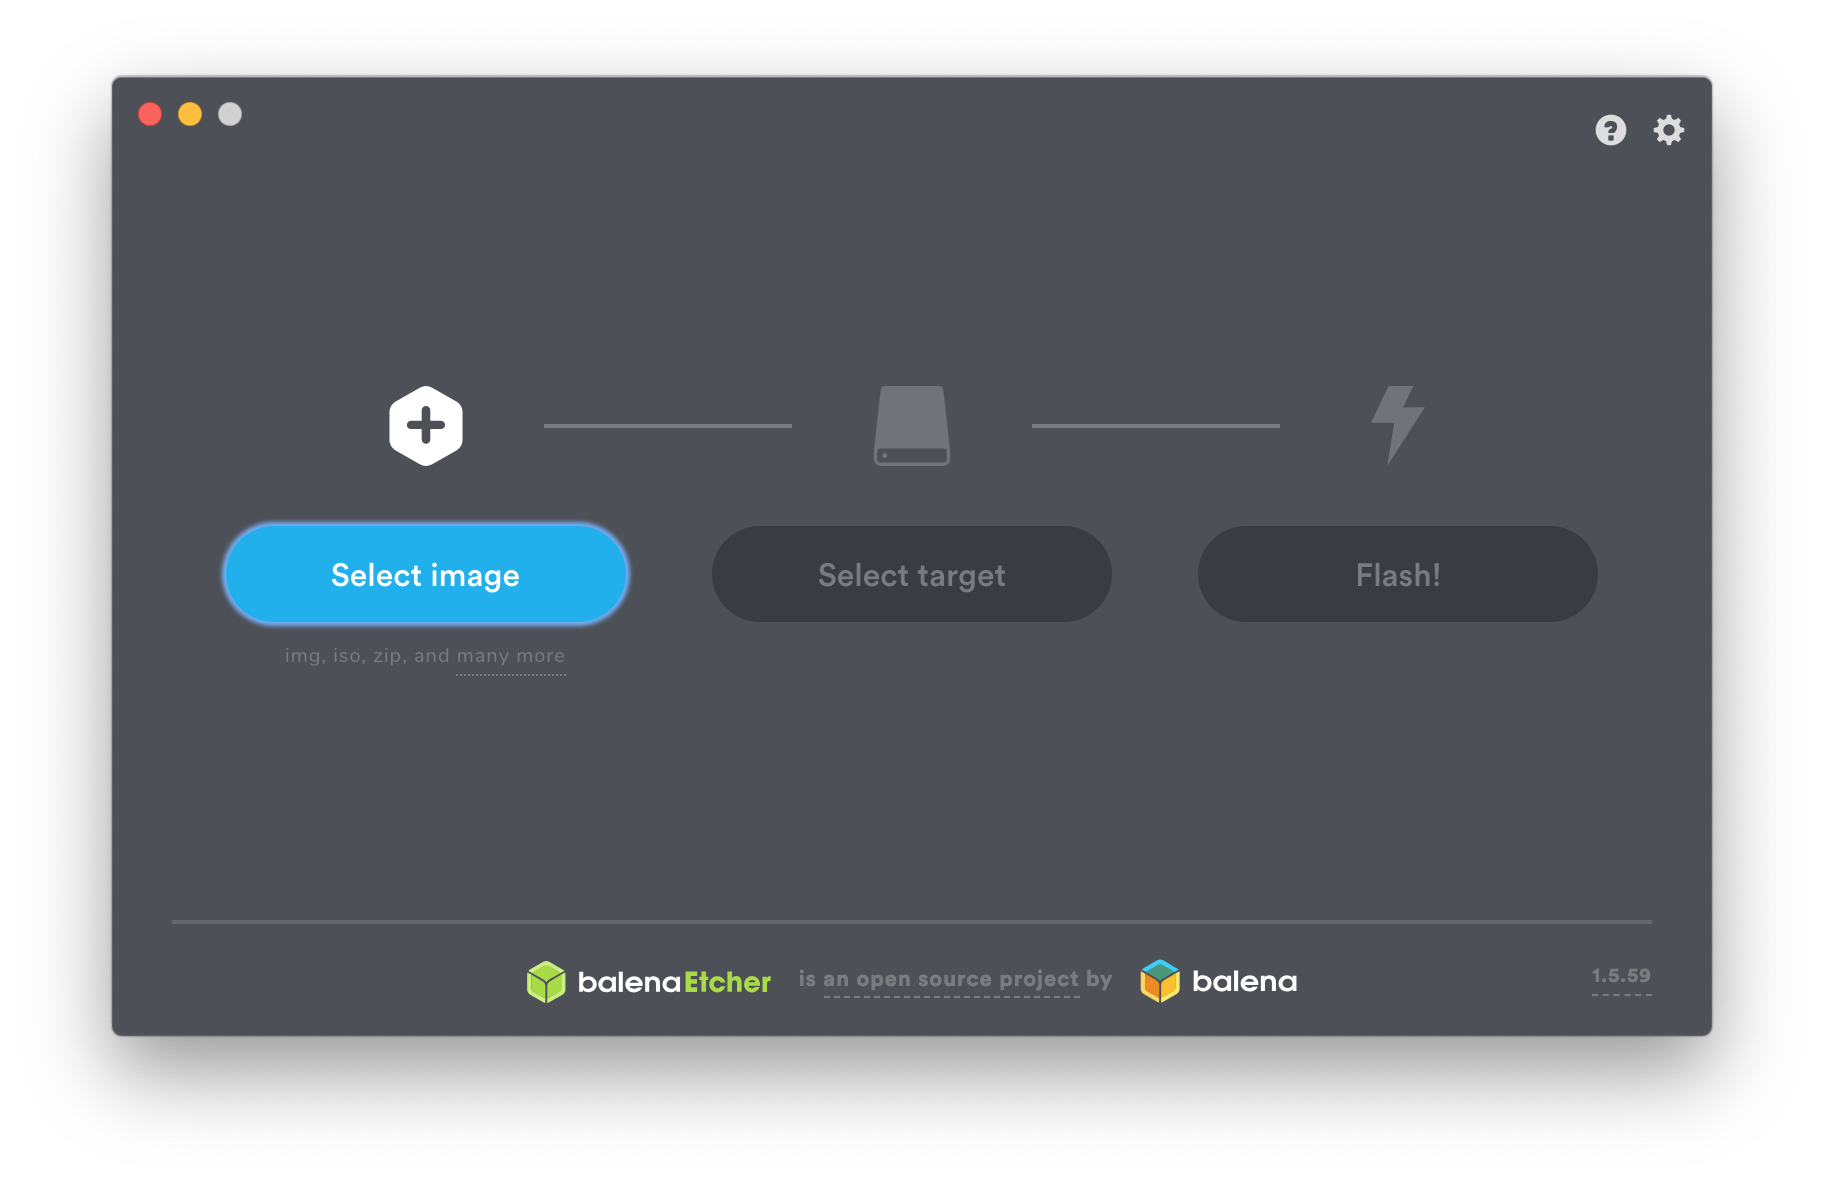

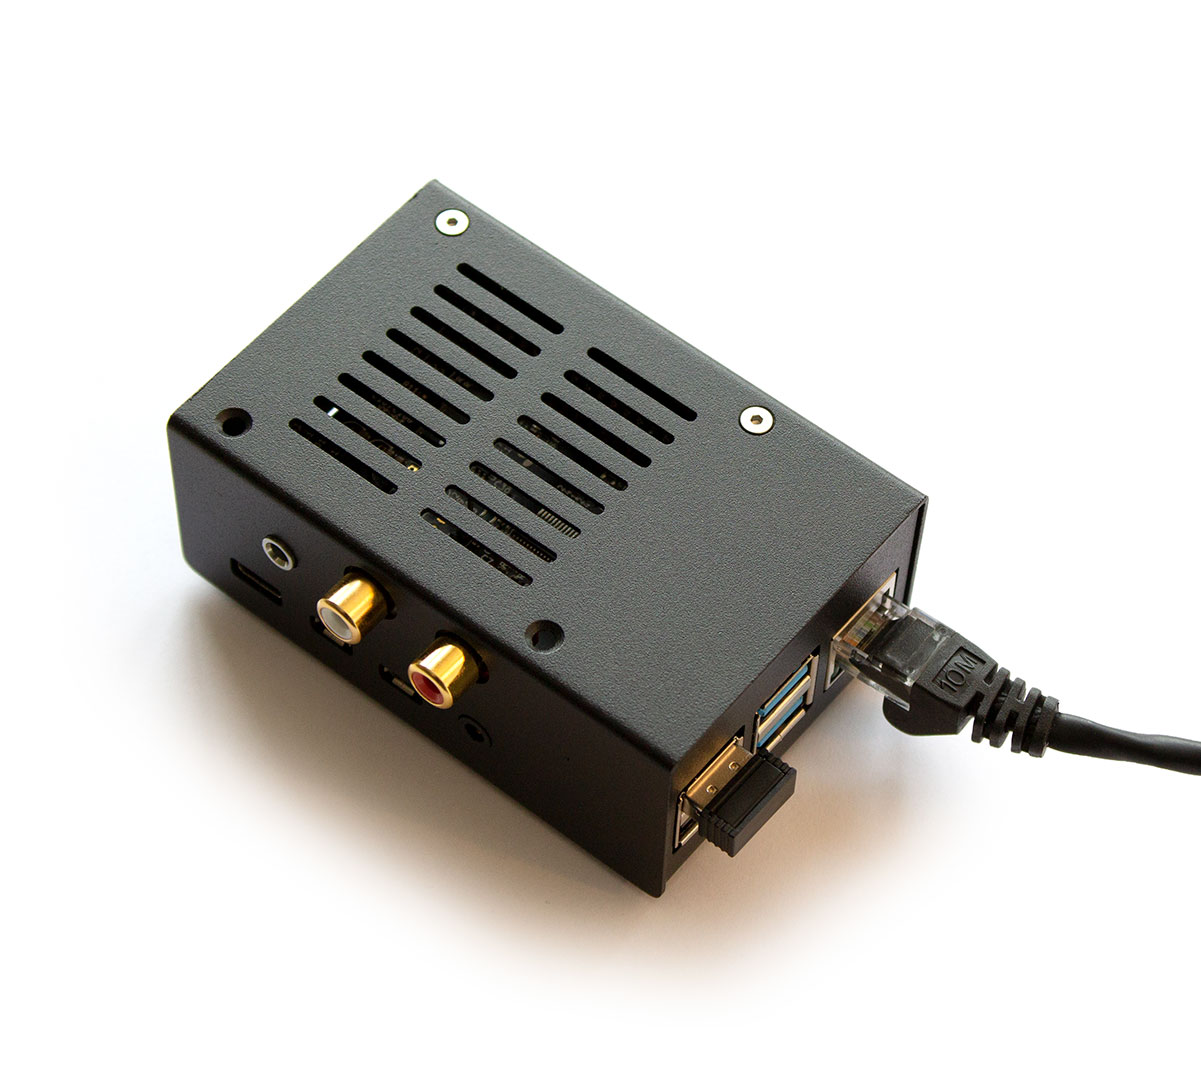
Plug your HiFiBerry board onto your Raspberry Pi, connect it to your network
At least for the initial setup, we recommend to connect the Raspberry Pi to your local Ethernet network. While we also cover WiFi configuration, Ethernet is usually the easiest and also the most stable way to connect and we recommend to use it whenever possible.
Insert the SD card, boot
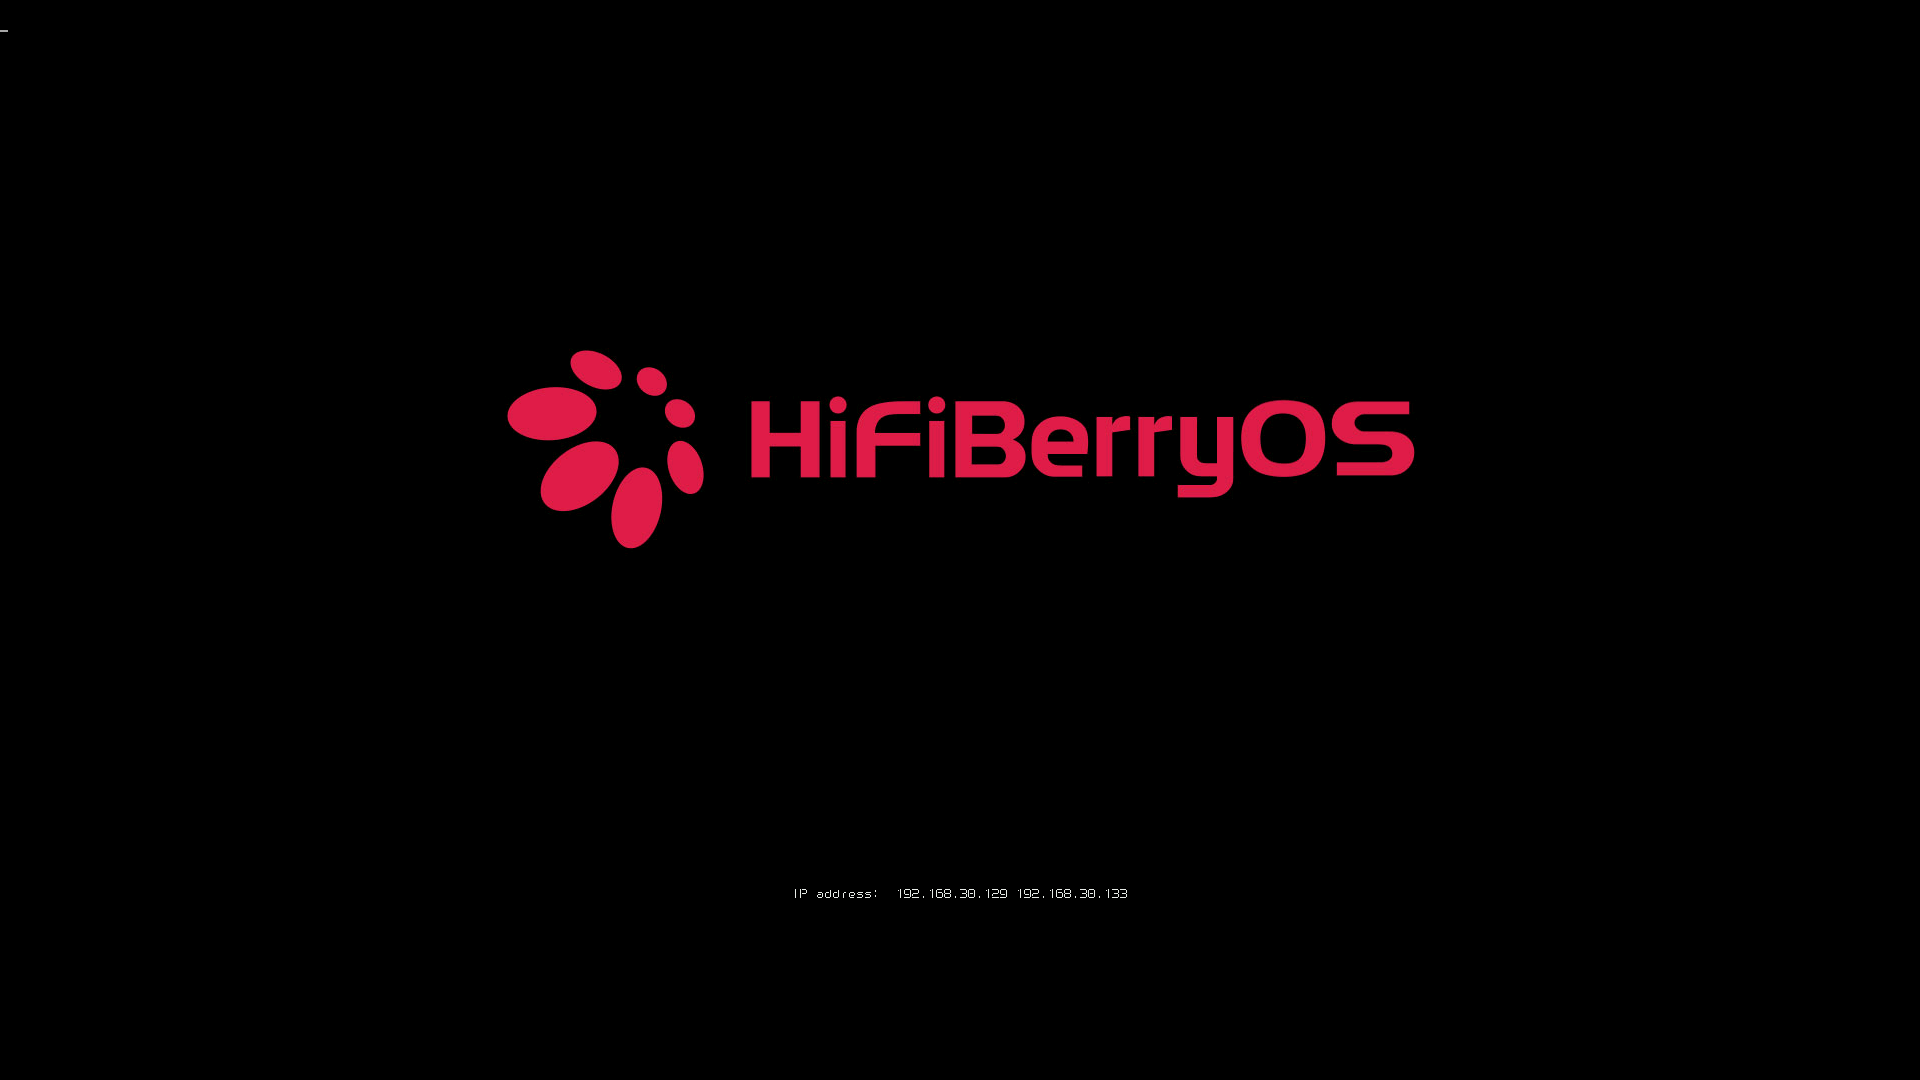
If you have connected a screen to your Raspberry Pi you will see some boot messages. On initial setup, the system will determine what HiFiBerry sound card is connected and will configure it automatically. The initial configuration might take 2-3 minutes. On the Raspberry Pi Zero-W it will take much longer. Note that on the Pi Zero it might even take 2-3 minutes util you see the boot screen.
If nothing is happening after about 5 minutes and you don’t see anything on the screen, remove the power and try booting again.
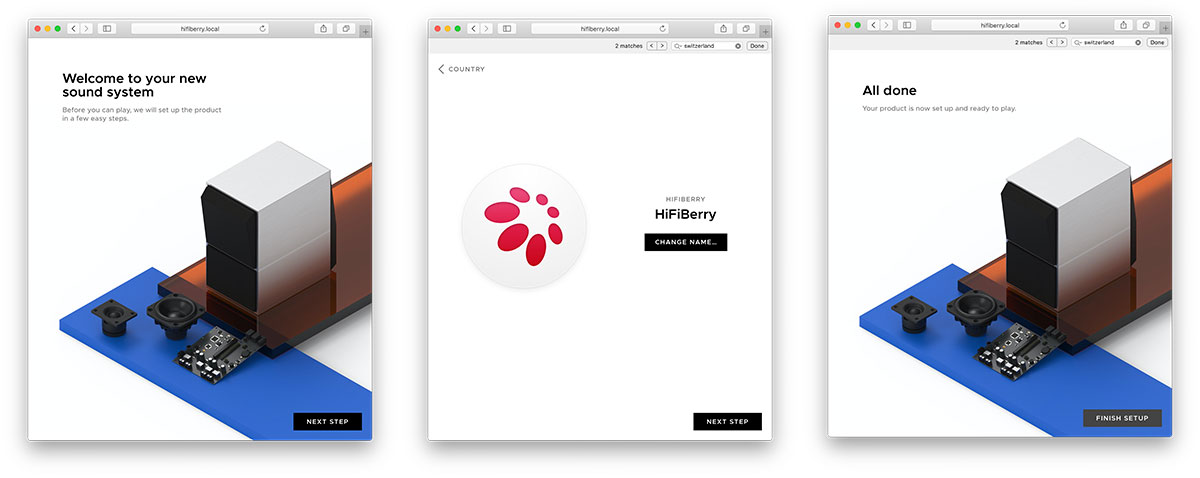
Initial configuration
If you have your system connected to your Ethernet network, you can already start playing music now. However, it might be good to have a look at the configuration interface now where you cannot only configure a system name, but also connect to WiFi, and change available music players.
Just point your web browser to http://HiFiBerry.local and follow the setup agent.
WiFi setup
If you’re relying on WiFi, have a look at the WiFi configuration guide.
Play some music
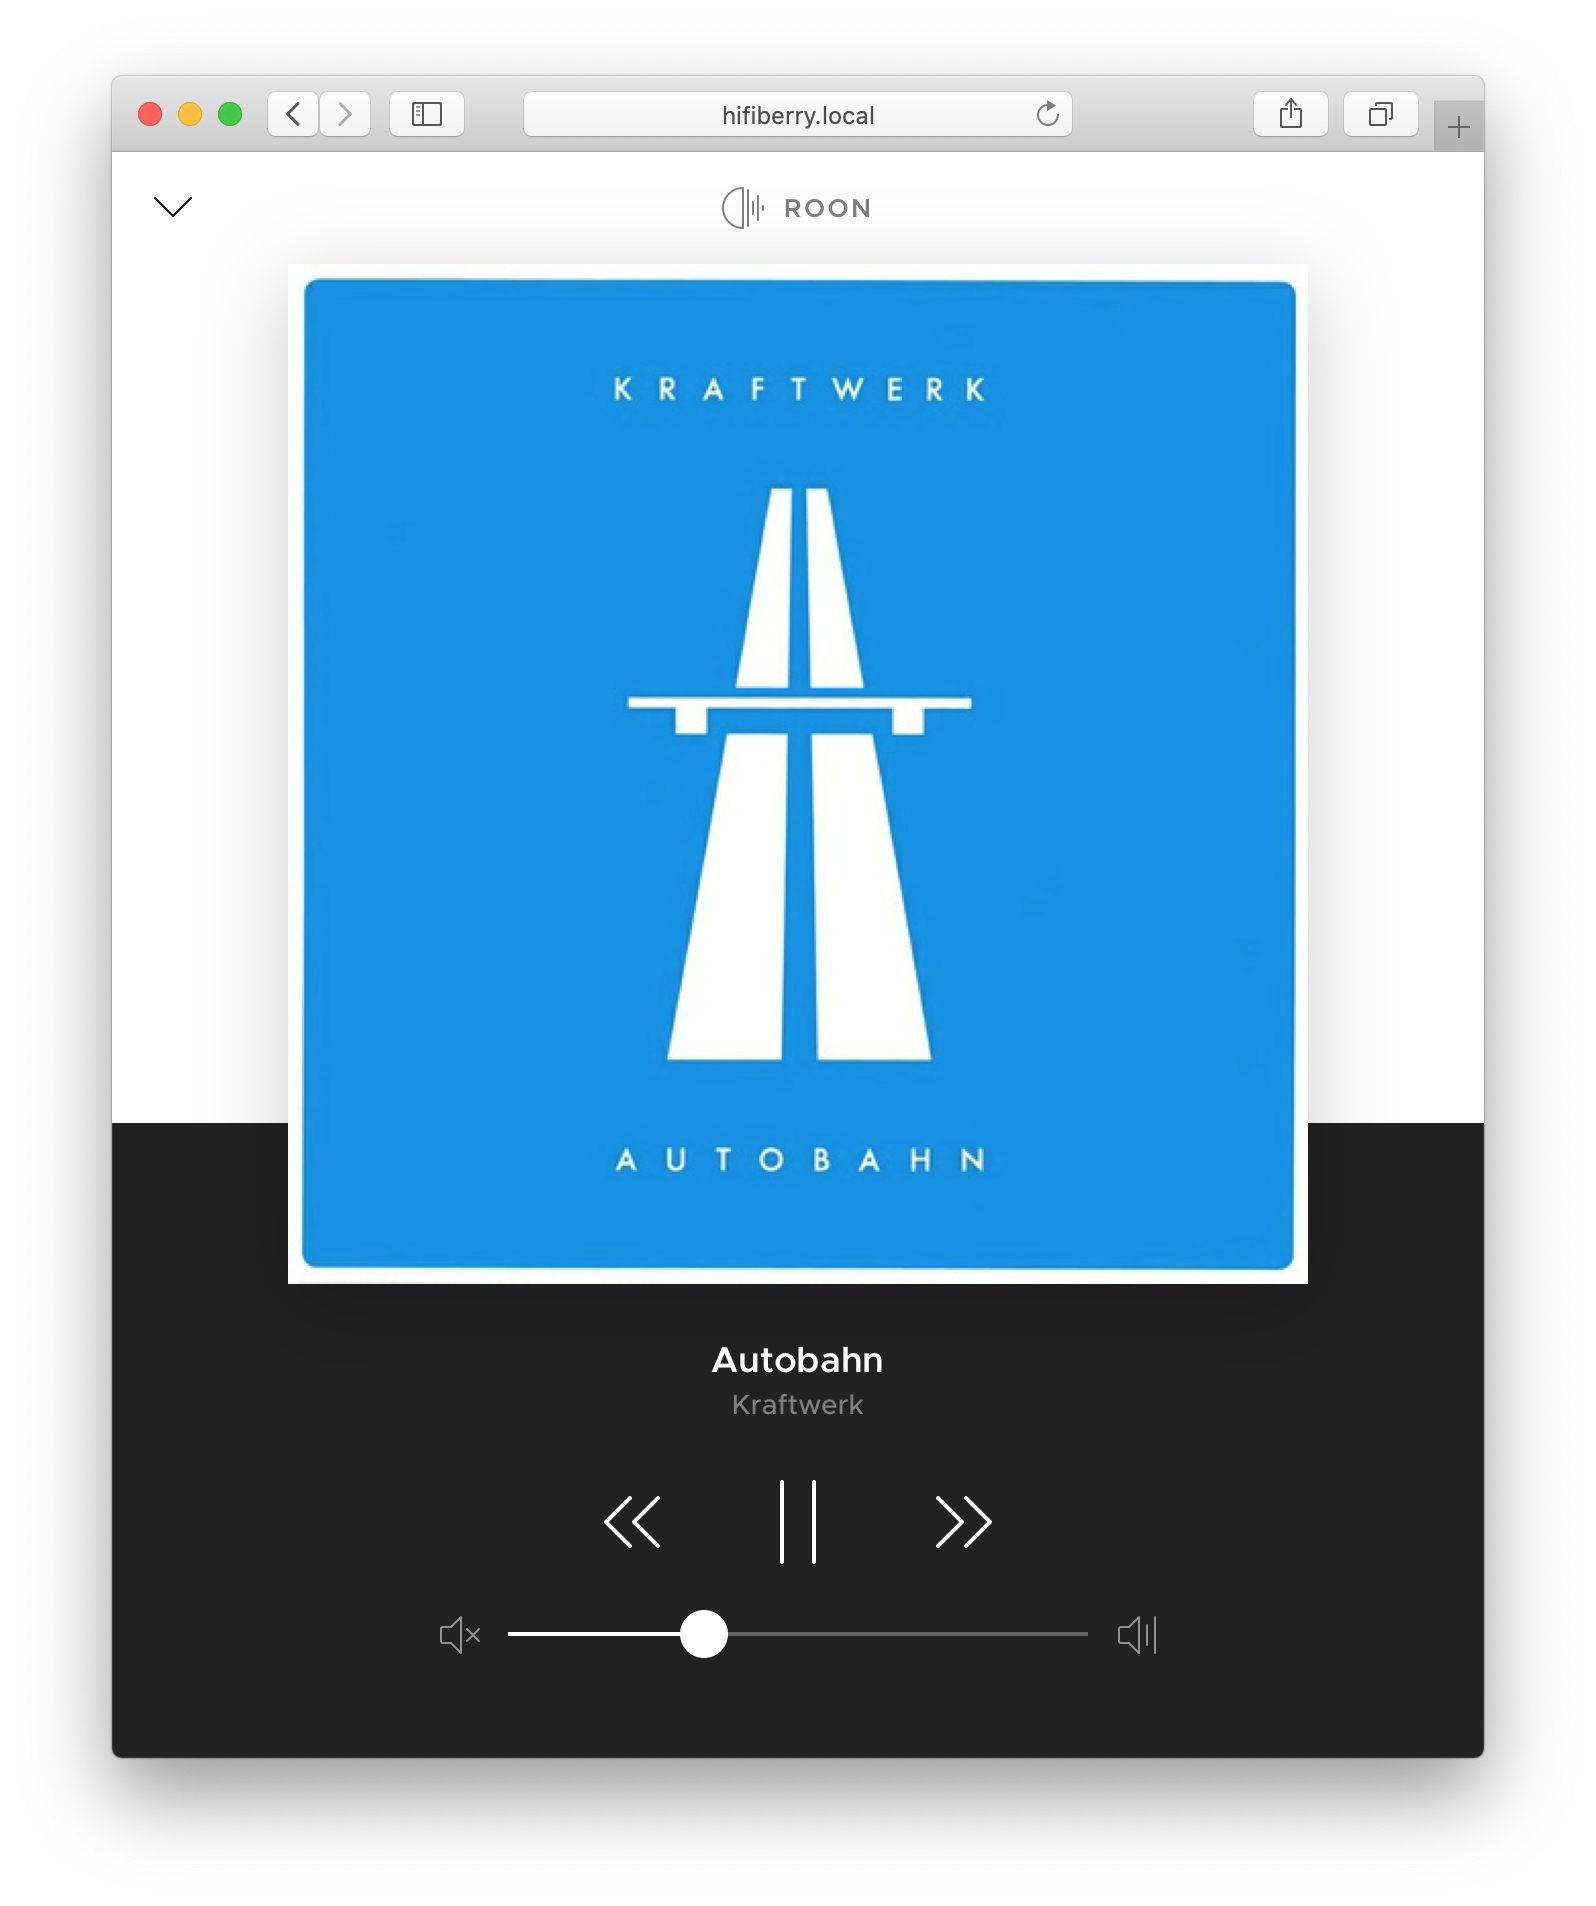
Wether you choose to use Bluetooth, Airplay, Spotify, Roon, Logitech Media Player, the system should now be visible on your mobile phone or server application and is ready to play. Just connect and start music playback.
You can also have a look what’s playing. Simply connect your web browser to http://HiFiBerry.local/#now-playing. If you renamed the system in the initial setup step, the URL needs to change accordingly.
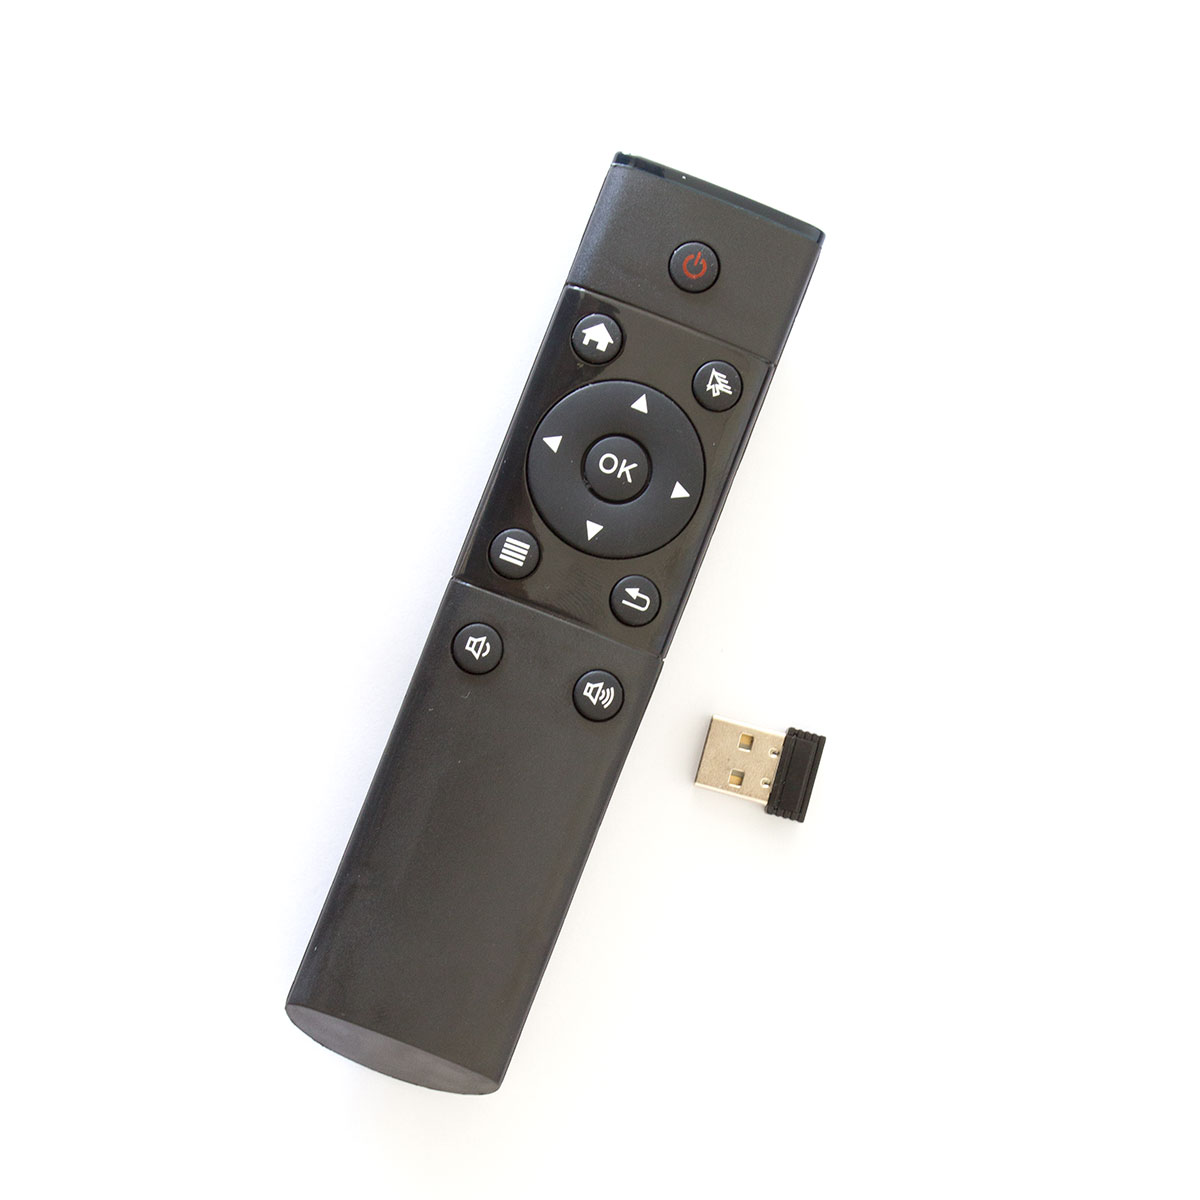
Connect a remote control
In most case, you won’t need a remote control, as you can control your music playback directly in the application of the music source of your choice. However, sometimes, you might find it easier to have a separate remote control rather than relying on an app. In this case, you can just get the wireless remote control from our shop. While others might also work, we can’t guarantee this. You can use the left/right buttons, to skip to the previous/next song and the OK buttonf for play/pause control. The volume volume can be controlled using the volume buttons.