Building a Zynthian box
Building a Zynthian box
Let me first tell you that this is not a step-by-step guide how to build a Zynthian box, but a report of a build personally done by me. For a step-by-step guide, check out the Zynthian Wiki.
What is Zynthian?
Let’s just hear what the developers say about it:
“Zynthian is a new class of machine. A kind of swiss army knife of synthesis, equipped with multiple engines, filters and effects. Completely configurable and upgradeable.
An Open Platform for Sound Synthesis. Based on Raspberry Pi and Linux, its hardware specification is public and software is Open Source. It is fully hackable!”
Basically it is a software synthesizer that can use multiple software engines to create sound. Usually you will connect some kind of keyboard as an input method.
While it can run as a pure software on the Raspberry Pi, to get the full flexibility, you should build a Zynthian box. This adds MIDI ports, rotary controllers and a touchscreen to your box. With these you can control the synthesizer engines without using a PC. You Zynthian doesn’t even have to be connected to a network. If you created a sound that you like, you can save it as a preset and recall it later – just with the knobs and the touchscreen on your Zynthian box.
Getting the parts
Zynthian is an open hardware project. This mean you could manufacture your own PCBs and source the parts whereever you like. However, I would strongly recommend to buy the kit directly in the Zynthian store. First you will support the developers a bit with this, but you also get all the components that you need. Sourcing these from different supplier will be very time-consuming and most likey even more expensive than buying the kit from Zynthian.
I bought the kit without the Raspberry Pi and the HiFiBerry DAC+ as I have these already here. However, I recommend to buy the kit including these. If you order without the HiFiBerry DAC+, the cable that connects the output jacks isn’t included.
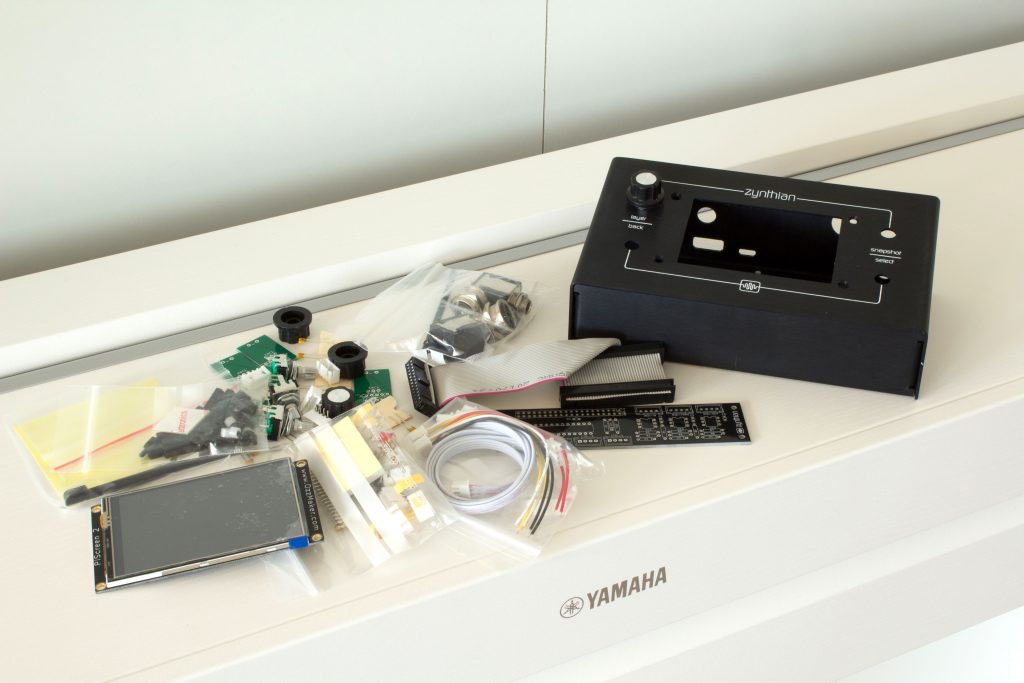
You see that you get a lot of parts for your money.
Assemble the rotary controller boards
First I assembled the rotary controller boards. Soldering these is easy.
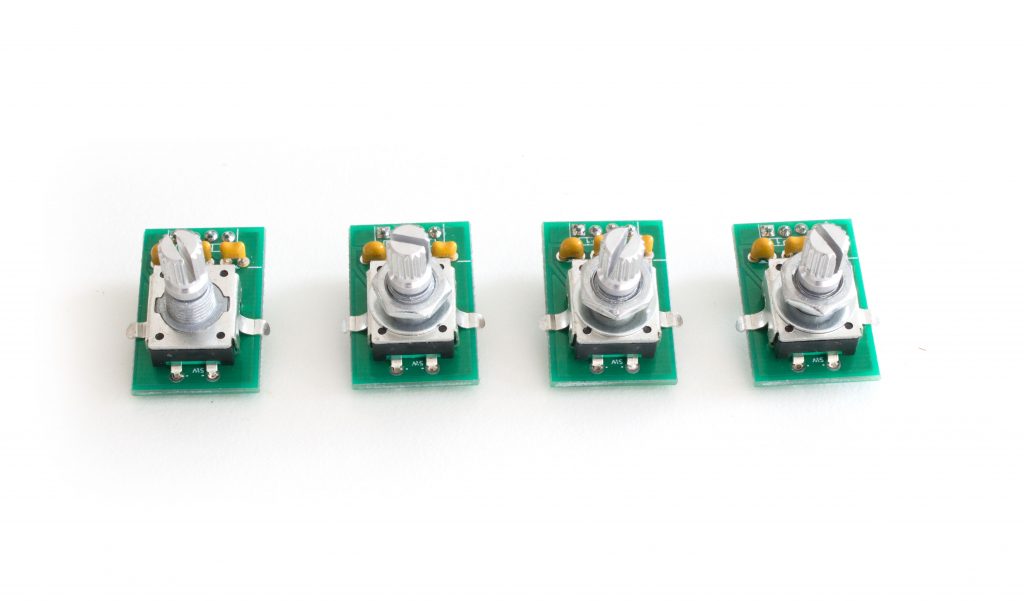 Time: 20 minutes
Assemble the All-in-one module
The All-in-one module provides a MIDI interface and an interface to the 4 rotary controllers. Soldering this one takes a bit more time, but it is also quite easy as the whole board is designed for through-hole components.
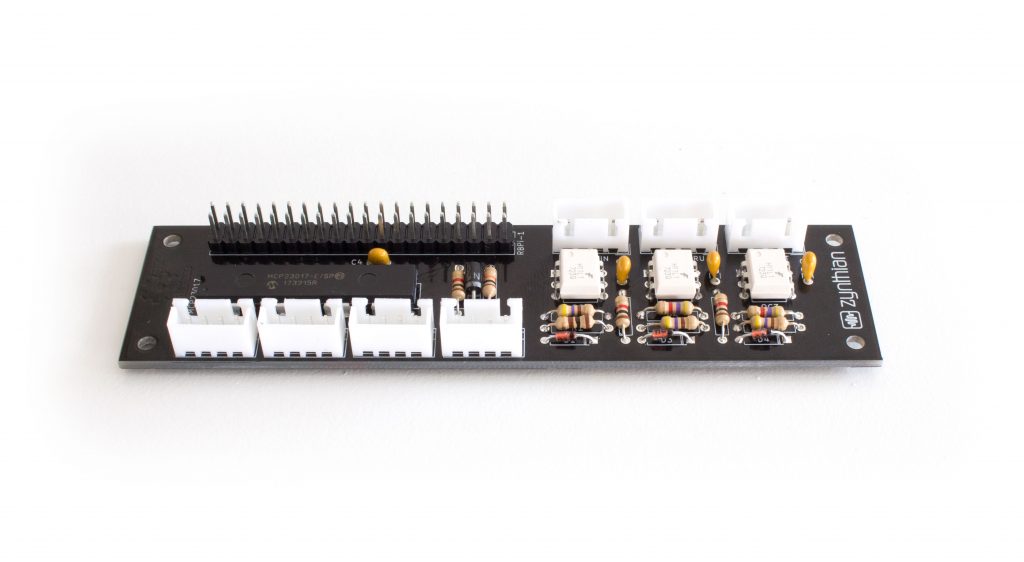 Time: 25 minutes
Solder 40-pin header to the DAC+
Next step is soldering the 40-pin header to the Raspberry Pi. While it is a bit harder to solder this one, it can still be done by users with a bit of soldering experience.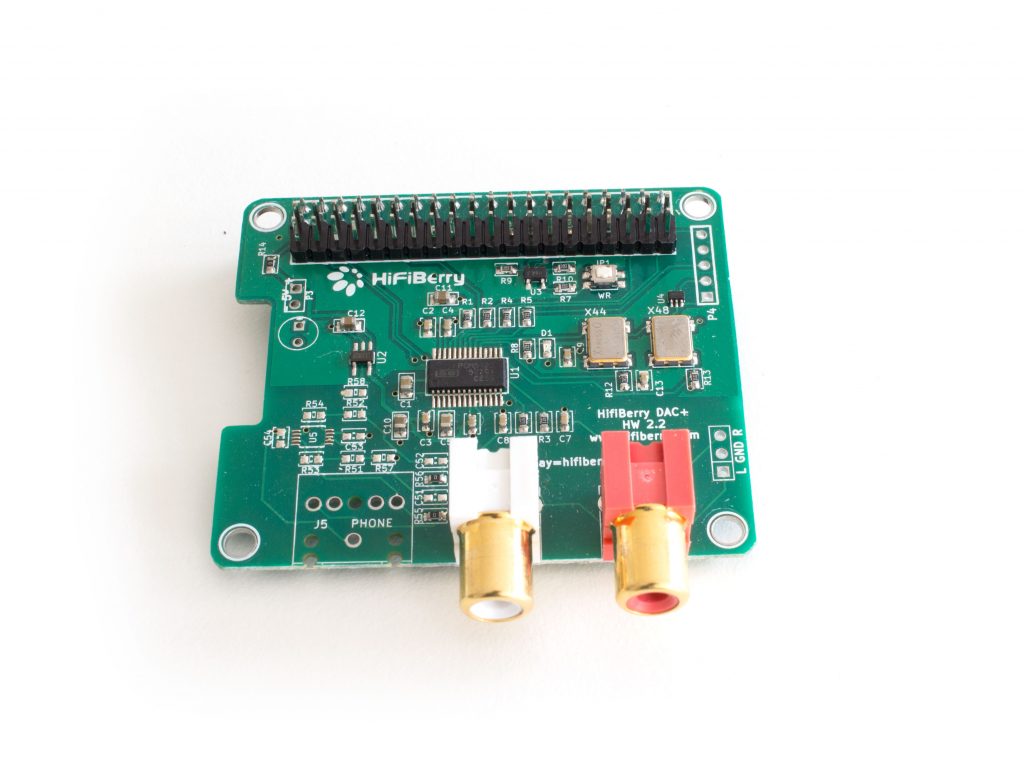
Time: 10 minutes
Solder cable to MIDI and jack connectors
This is optional and only needed if you want to use the MIDI in/out functionality and/or the output jacks.
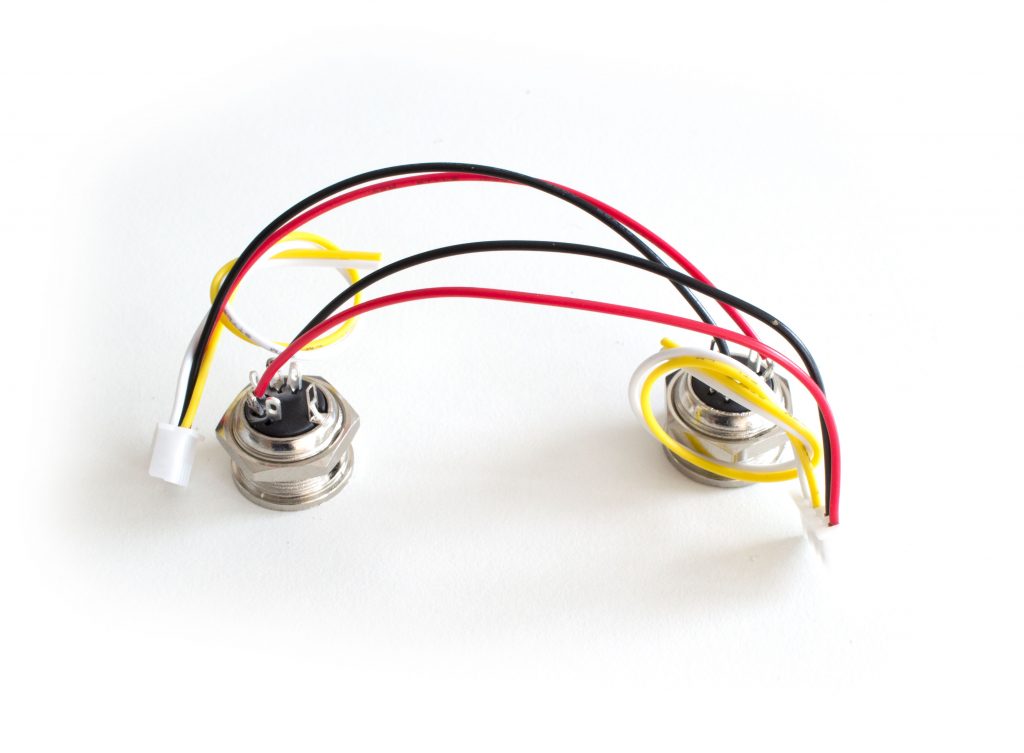 Time: 10 minutes
Assemble top and bottom parts
No more soldering! Its now time to mount the Raspberry Pi and the all-in-one board on the bottom case part and display and rotary controller on the cover.
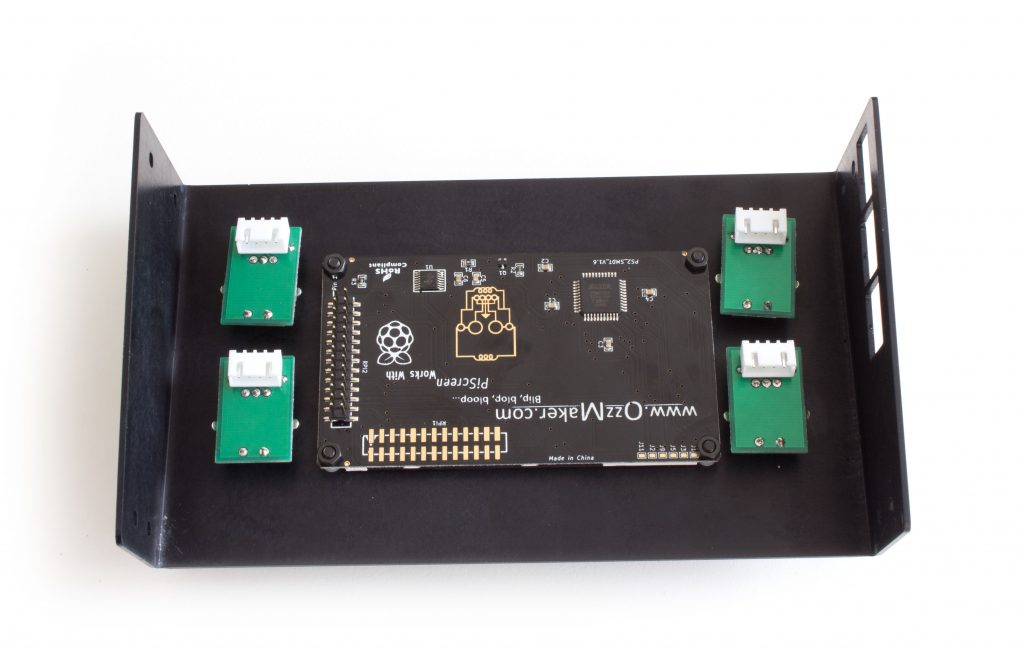
Time: 10 minutes
Putting everything together
Almost done. Now the cables have to be connected and the case can be closed.
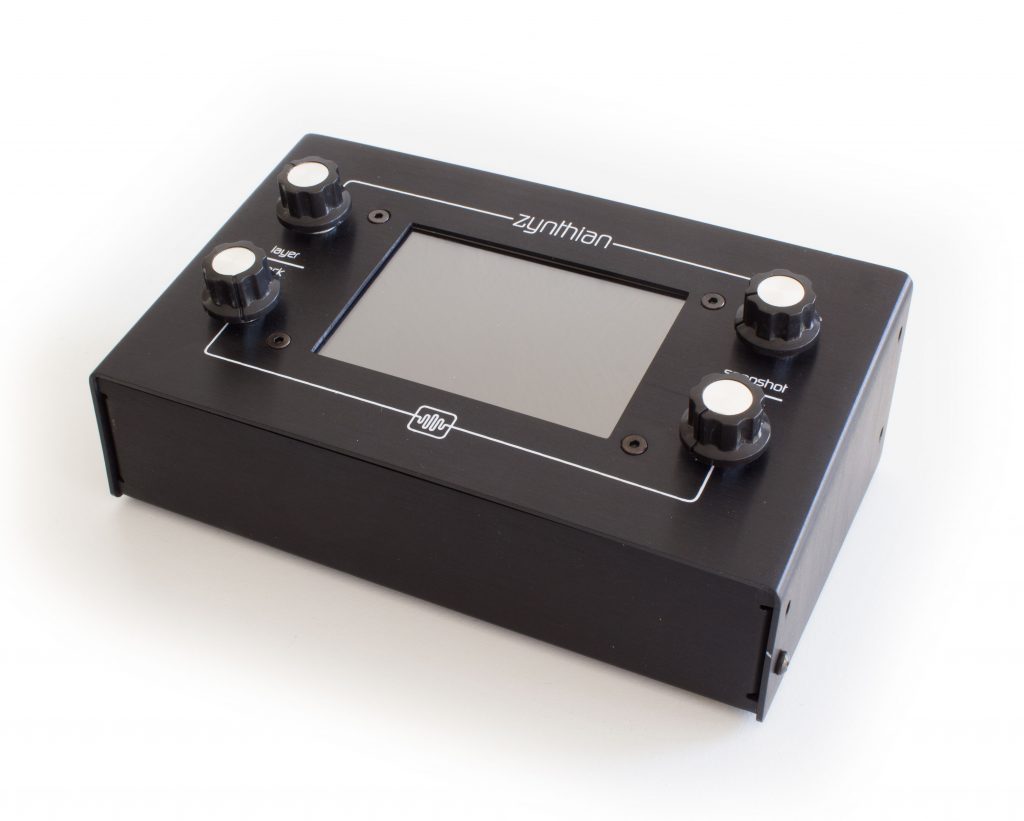
Time: 10 minutes
Installing the software
Oops, here comes my first problem. While for usual audio use cases a 4GB SD card is enough, Zynthian needs quite a lot of storage. This is normal when using sample-based sythensizers as samples will need a lot of disk space. You will need at least an 16GB SD card.
Unfortuately Zynthian only provides a Torrent download. It took quite some time to download the software as when I started the download, no seeders were online.
Time: 30 minutes – several hours (depending on download speed and SD card speed)
Starting the box
Let’s boot up the device. After some time, the display in the Zynthian box shows the user interface – cool! Unfortunately no controller is working. Looks like something is wrong here. So I opened up the box, remove the ribbon cables and noticed that one ribbon cable to the controller board wasn’t plugged in correctly. So it was only a cabling issue.
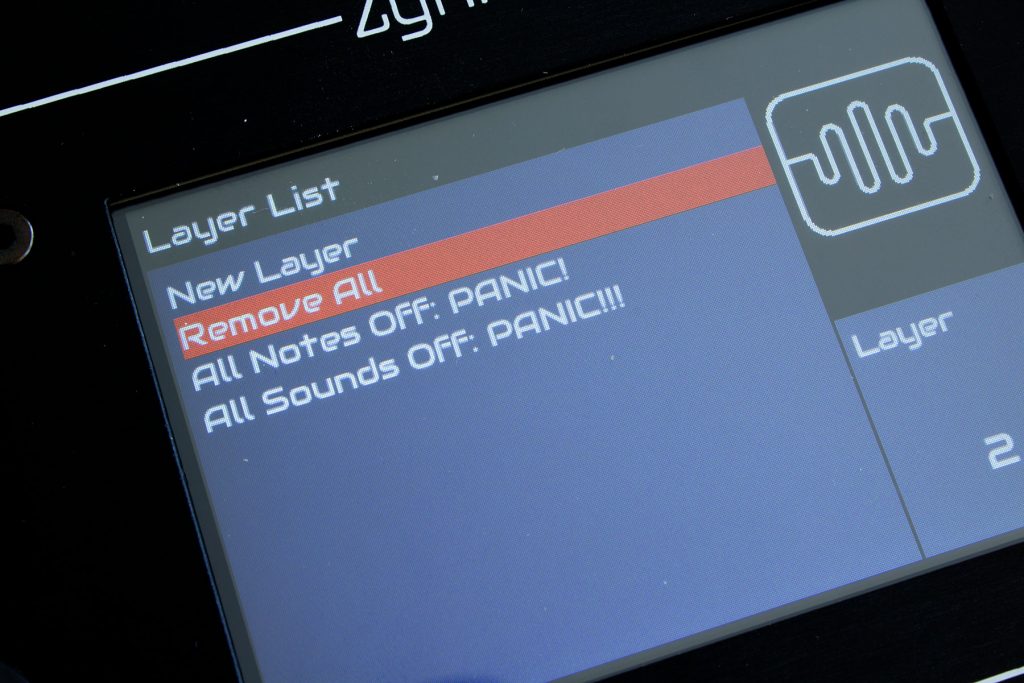
Time: 10 minutes, 20 minute for debugging
Connecting a keyboard
Now comes the big moment: Connecting the Zynthian to my Yamaha piano. As this is a newer device, MIDI communication is handled via USB, not the old-fashioned DIN-MINI connection. Will it work out-of-the box?
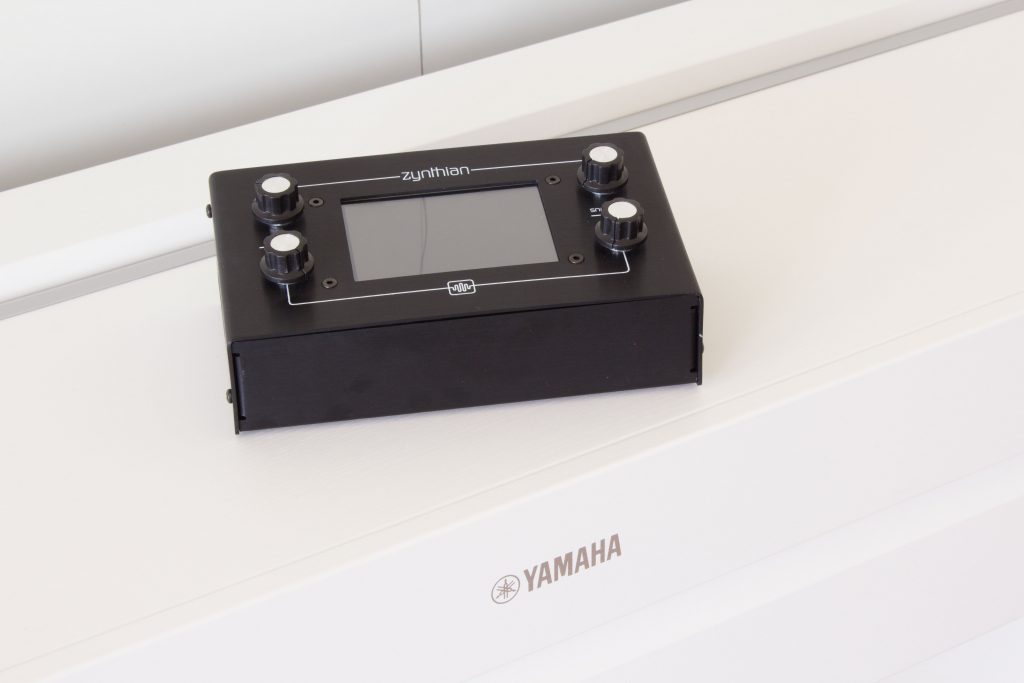
For the first test, I just used the Pianoteq module with the Steinway samples and – yes, it worked without any further configurations needed – cool.
In less than 3 hours a built my first synthesizer. Now I need to spend more time understanding the whole system.