Raspberry Pi S/PDIF DSP box
Raspberry Pi S/PDIF DSP box
This guide was written by Dan Hartman and originally published on GitHub.
Describing how to use a Raspberry Pi as an DSP box, the original intent is, to use it as an effects loop for a MOTU Ultralite. Of course, it can be used with any device capable of S/PDIF connectivity. You could use analog I/O for the PI but I already had a MOTU box and I speculate that it may have higher quality A/D and D/A than a readily available Ras-Pi converter board would.
Running these instructions should result in a Raspberry pi that will loop the S/PDIF input directly to its output. It will also automatically generate it’s own WiFi network for remote control of the DSP.
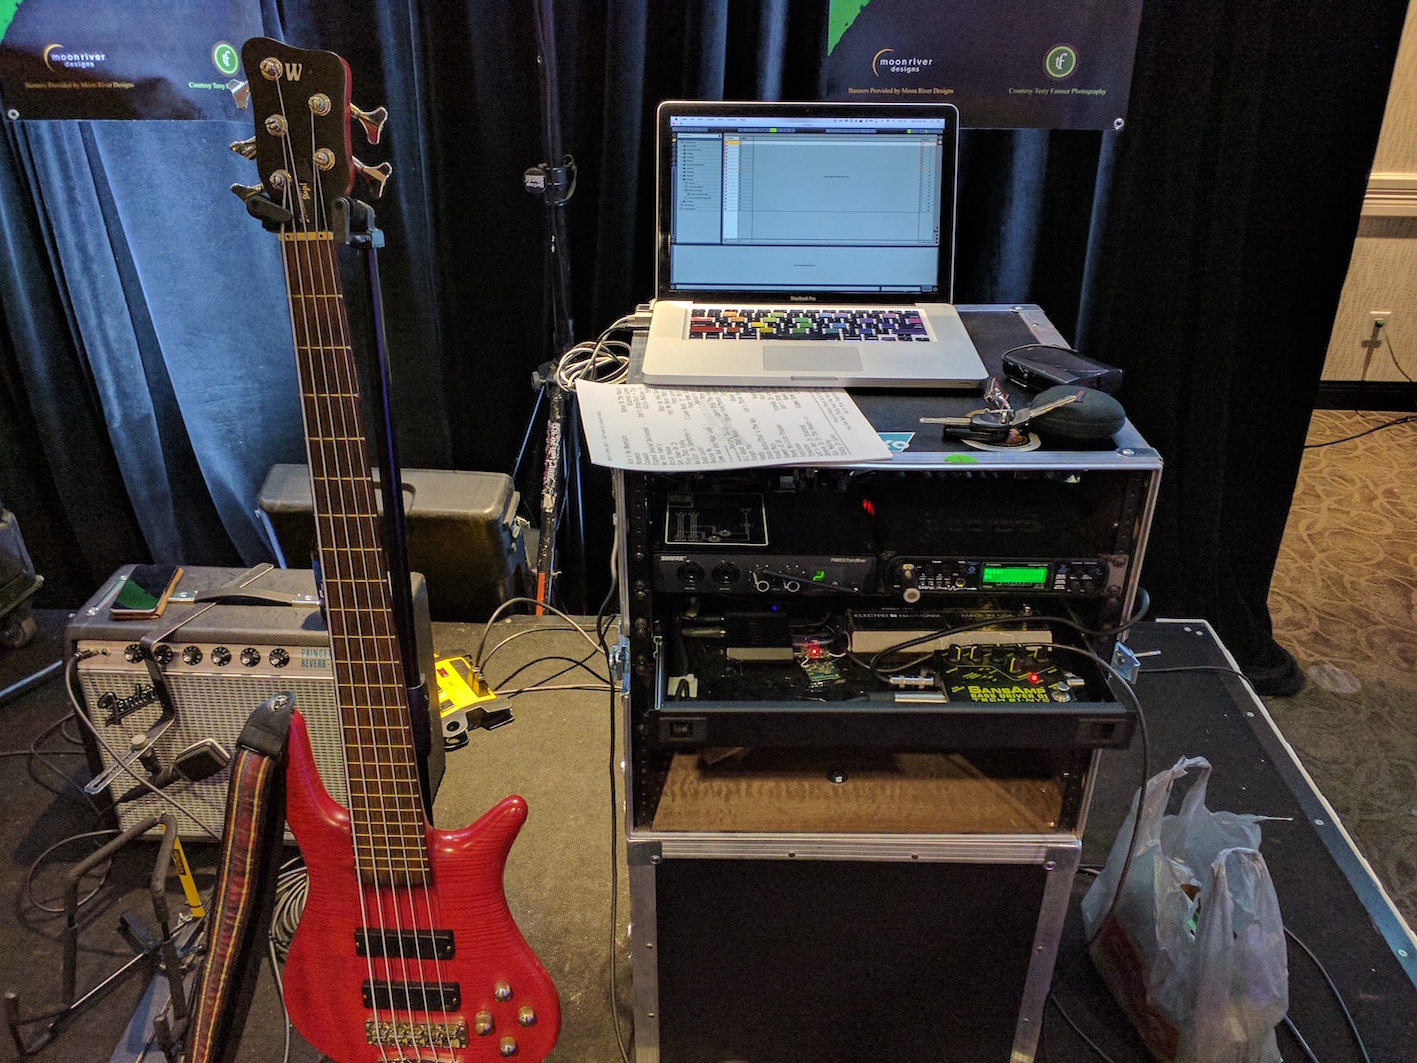
Idea of this setup
It has long been the hub of my performing group, responsible for providing click tracks, backing tracks, synthesizers, and until the HiFiBerry, it was doing real-time processing of a bass guitar. The tradeoff in latency of the guitar signal to achieve glitch free performance from Ableton was too high. One of the great features of Ableton was that any midi-capable controller could be used to control a myriad of different functions. Since there already was a midi-foot controller setup I began looking for DSP based solutions. It was not long before I found PureData. Open source, DSP and synthesis. The rig already included A/D and D/A courtesy of a mark of the Unicorn interface, so it was proved that pure data could offer the functionality that was needed. The final piece of the puzzle was the HiFi Berry board. Coupled with a Raspberry Pi, acceptable latency (sub 6ms) could be achieved and a complete decoupling of the personal signal path from a laptop computer.
Requirements
- Raspberry Pi
- HiFiBerry Digi+ or HiFiBerry Digi+ I/O
- Additional PCB Mount RCA Jacks (Not needed, if you use the HifiBerry Digi+ I/O)
- 0.1uF Ceramic Capacitor 0603 Package (Not needed, if you use the HifiBerry Digi+ I/O)
- 75 ohm Chip Resistor 0603 Package (Not needed, if you use the HifiBerry Digi+ I/O)
- Fresh Raspbian Install
- ansible
sudo pip install ansible - Generate SSH keys if they don’t already exist
- USB WiFi transceiver
- Another singleboard CPU
Installation
- Populate R15 with a 75 Ohm Resistor & C9 with a 0.1uF Capacitor (You can skip this step, if you are using the HiFiBerry Digi+ I/O)
- Using the HiFiBerry Digi+ standard: Solder one of the additional RCA Jacks to the S/PDIF Board (You can skip this step, if you are using the HiFiBerry Digi+ I/O)
- Insert SD Card into reader
df -hTo find the mount path to the SDCARD ie: /dev/sdbumount /dev/card1etc as many partitions as there are
umount /dev/card2 - Unzip Raspbian and write it to the SD card
unzip /path/to/raspbian-jessie.zip
sudo dd bs=4M if=/path/to/raspbian-jessie.img of=/dev/card - Enable SSH access Remount the card &&
touch /path/to/boot/ssh - Insert card into PI and power up
- connect pi to network && find ip of the ras pi
ansible-playbook -i ras.pi.ip.addr, -u pi -k deploy/ansible/user.ymldefault sudo password is raspberryansible-playbook -i ras.pi.ip.addr, --ask-become-pass deploy/ansible/configure.ymldefault sudo password is 123456 - Performed a power cycle (the device might not appear before that)
- It might be difficult to get devices to connect to the AP if security is enable, so you might need to set up an open network (maybe this issue was just caused by the cheap EDIMAX usb dobgle that was used)
- Connect to the remote SBC, however you need to, and set it to access the PI’s wifi network. I was using
sudo nmtuiit is from the NetworkManager-tui package. - Final setup step
ssh ras.pi.ip.addr
 ansible-playbook provision_remote_machine_blah
Getting midi data from floorboad is quite easy http://superuser.com/questions/737531/how-do-i-view-a-midi-device-stream
we haven’t parsed it into pure data, yet, but this shouldn’t be difficult.
If you have any questions, please contact Dan trough his GitHub profile.