Blog
Changing the speaker fabric of your Beovox CX 50/CX100
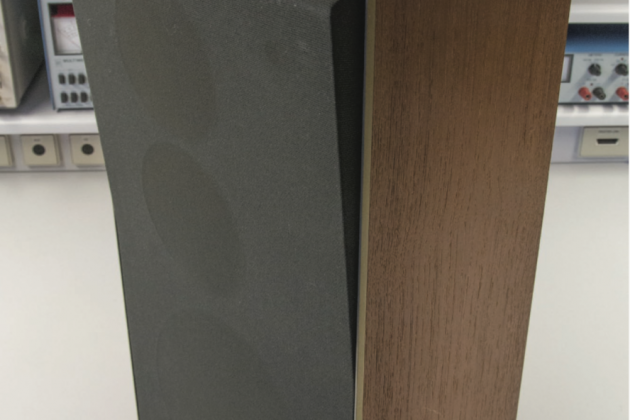
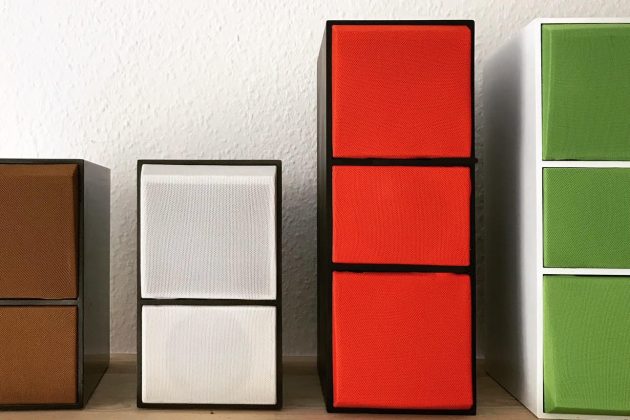
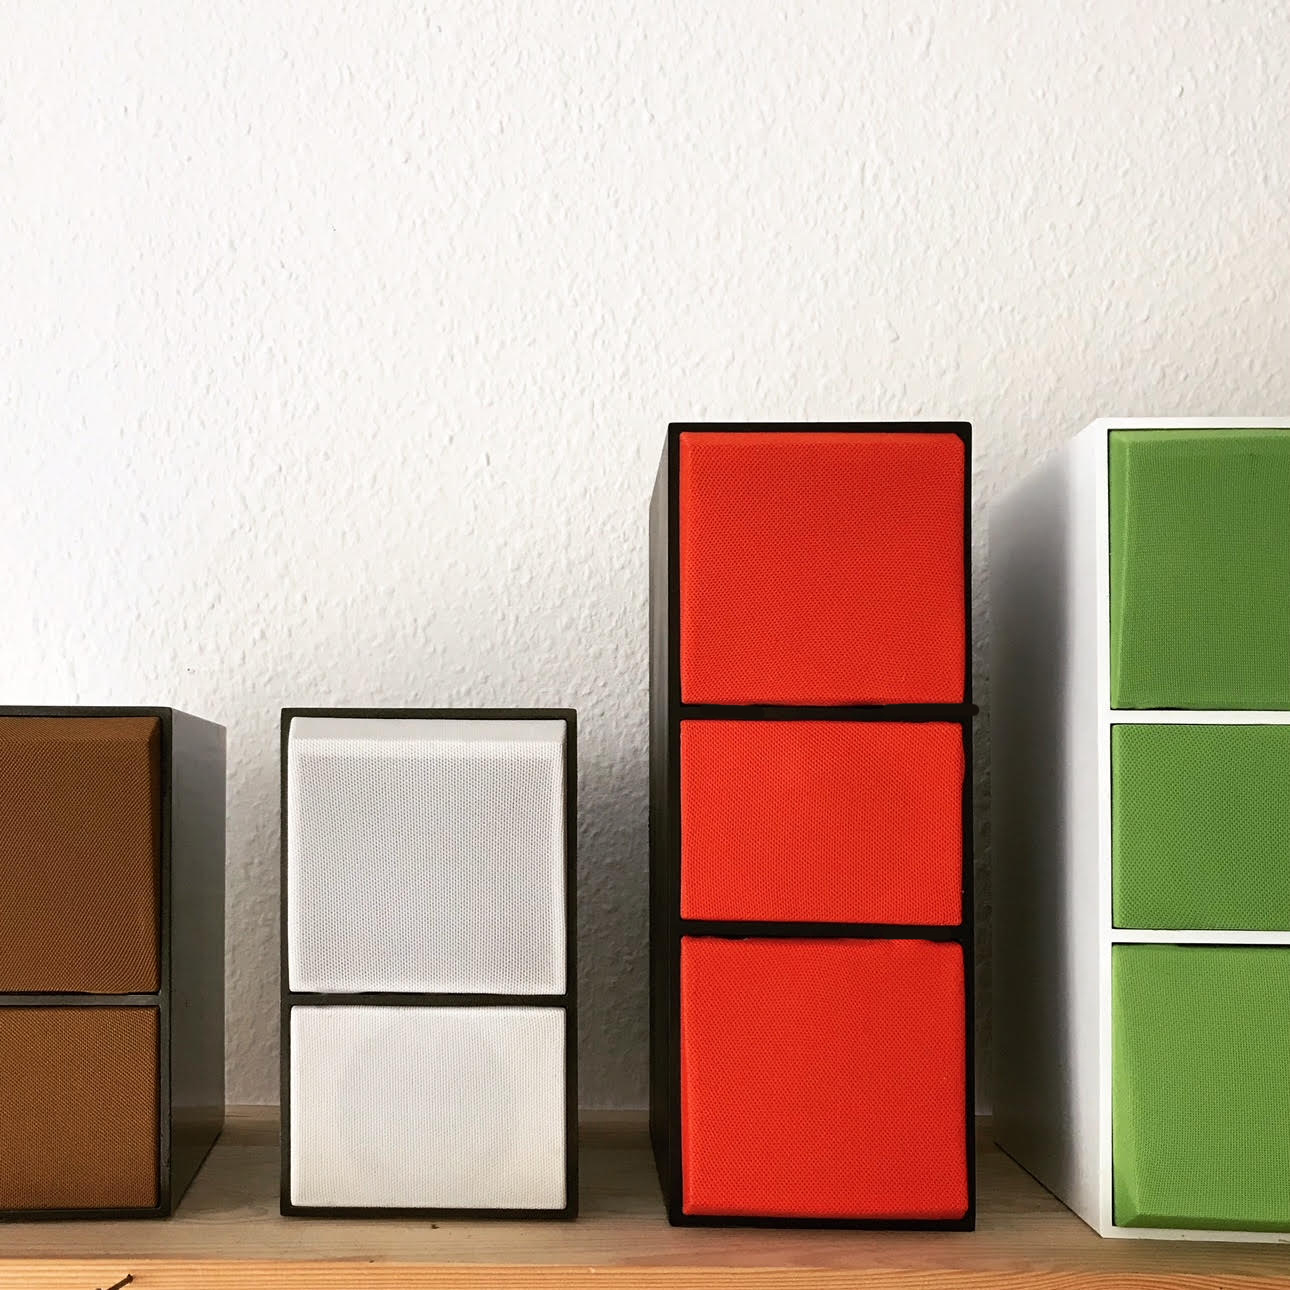 One really cool thing about up-cycling is that you can mix and match colors as much as you like. If you have never done it, you might think it can be a bit tricky to change the fabric of your speakers. But here are a few hints to make it easier.
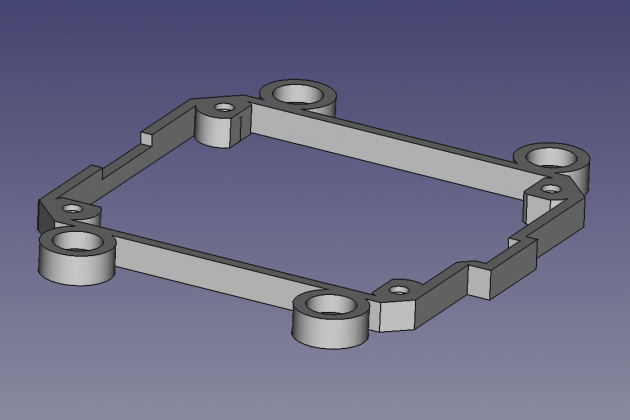
When we did this the first time, we were a little worried about breaking the frame, because it seems a bit fragile. Here’s the good news: we never broke ours, and even if we did, there is the option to 3D print a replacement. This is also nice if you like to have different fabric frames to change the appearance of your speakers from time to time.
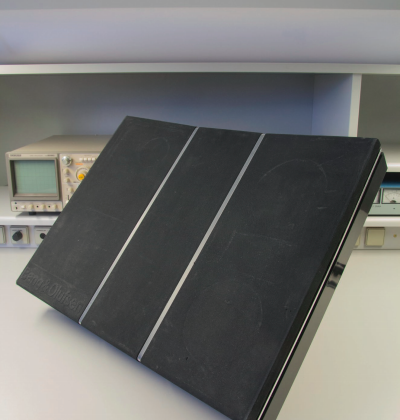
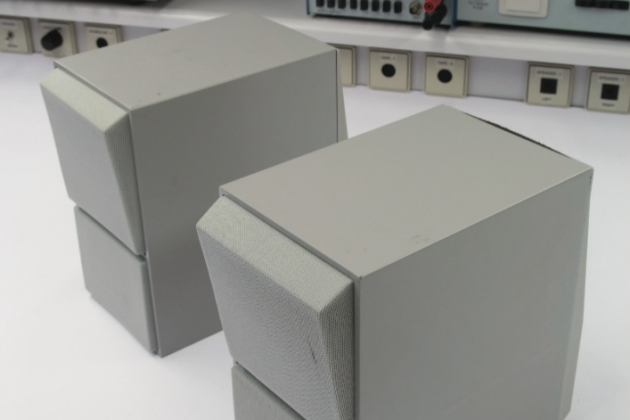
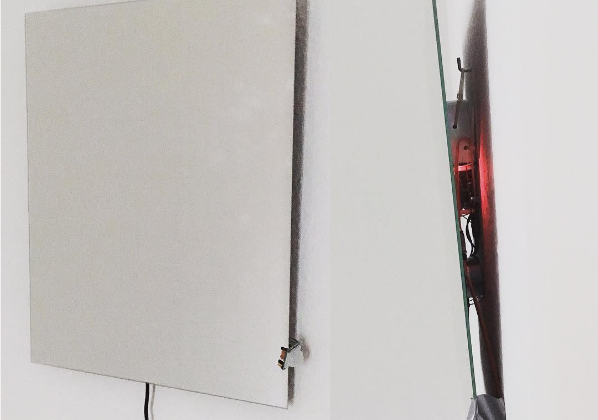
Unlike many other speakers, the CX50/CX100 the fabric doesn’t stick directly to the frame, so you can easily remove the cover gently using a screwdriver.
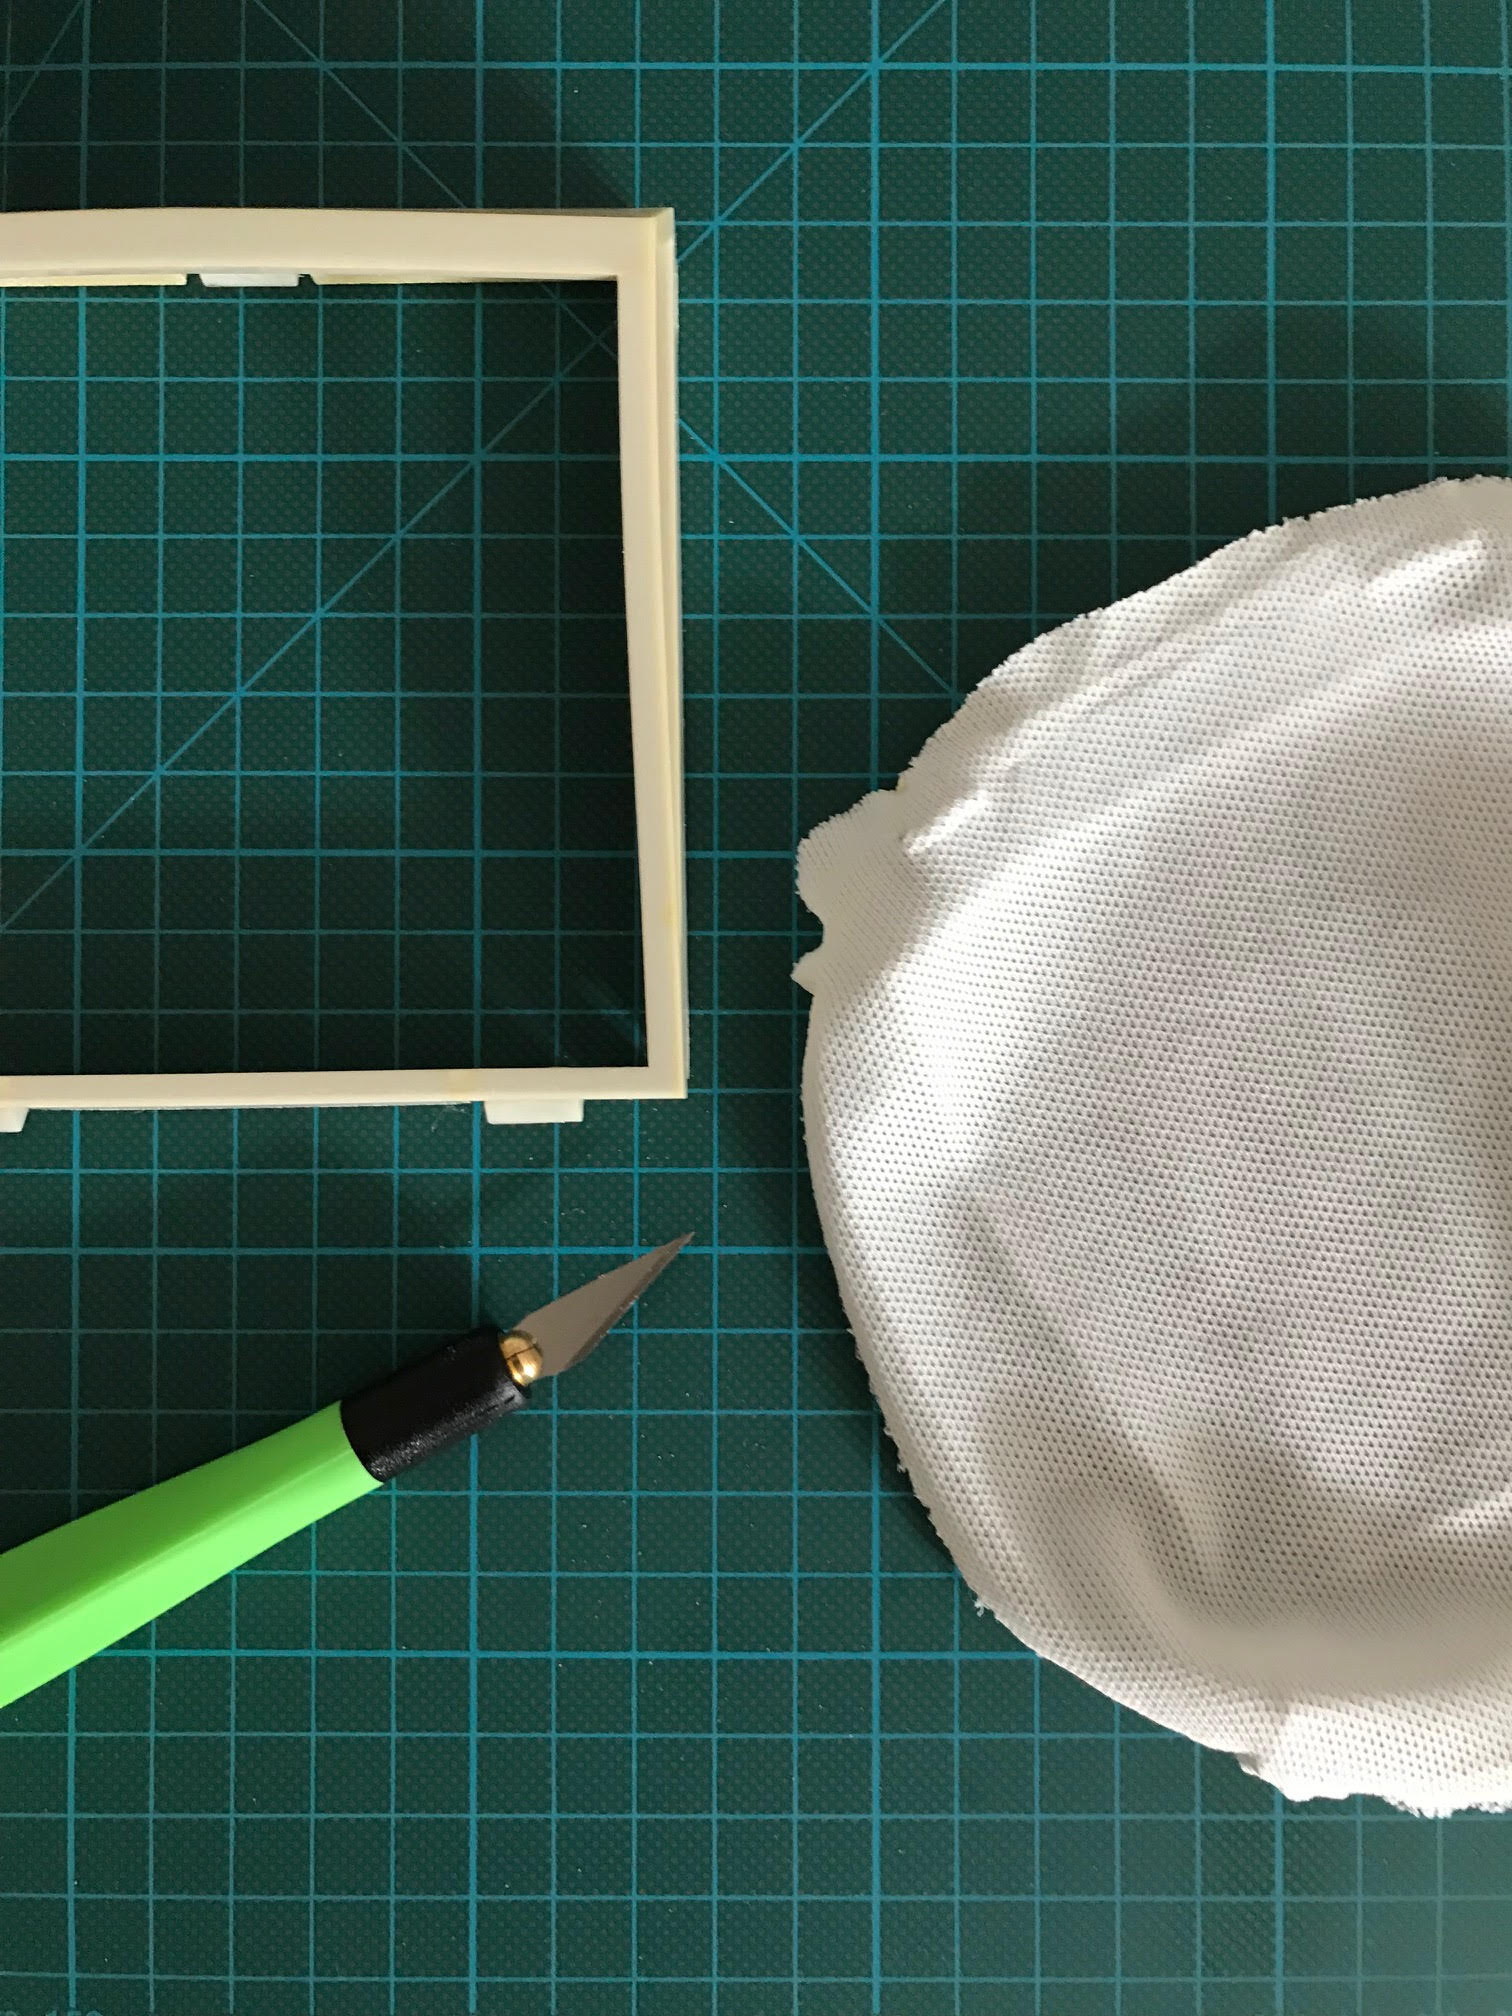
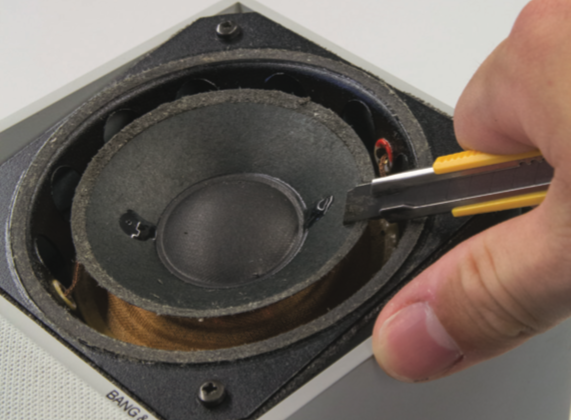
The old fabric can be taken of the frame with a utility knife. If you would like to keep the white fabric but it is a bit dusty, we recommend you handwash and maybe bleach it a bit. The fabric will look brand new after that. But if you like to change the color of the fabric, obviously you need to get new material. Acoustical fabric can’t be dyed but there are a lot of shops online that offer a wide range of speaker fabric textures and colors. The fabric we used is bought at akustikstoff.com. A piece of 50x30cm is enough for one CX100 or a pair of CX50 so things don’t get to expensive here.
A lot of blogs and tutorials would recommend spray adhesive but we didn’t think it was great because the parts are quiet small and spray adhesive can get messy because it’s not precise. Instead we used a hot glue gun which worked perfectly for this purpose, because the glue stays a bit flexible at the start, so it’s easy to tighten the fabric when mounting.
Before you start sticking on the fabric, make sure you removed as much old glue as possible. Place the frame on the fabric and put hot glue on one side (preferably the top) of the frame.
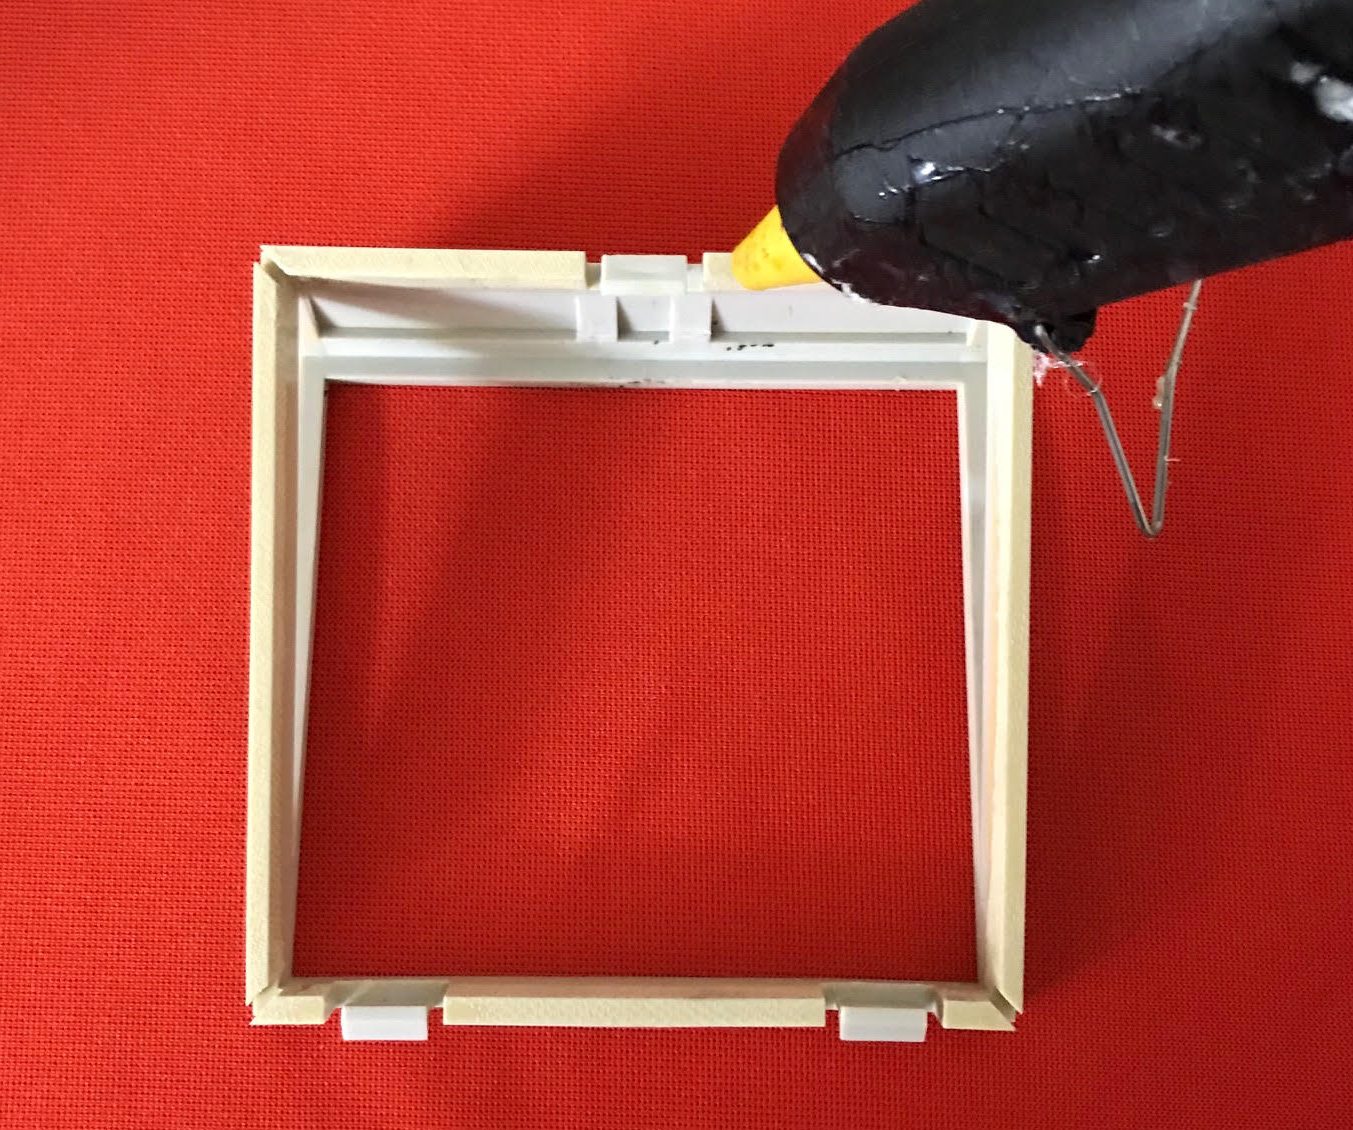
Fix the fabric on the upper edge and make sure not too much glue gets to the side. Do not place glue at the edges, since this will help you to tighten the fabric later.
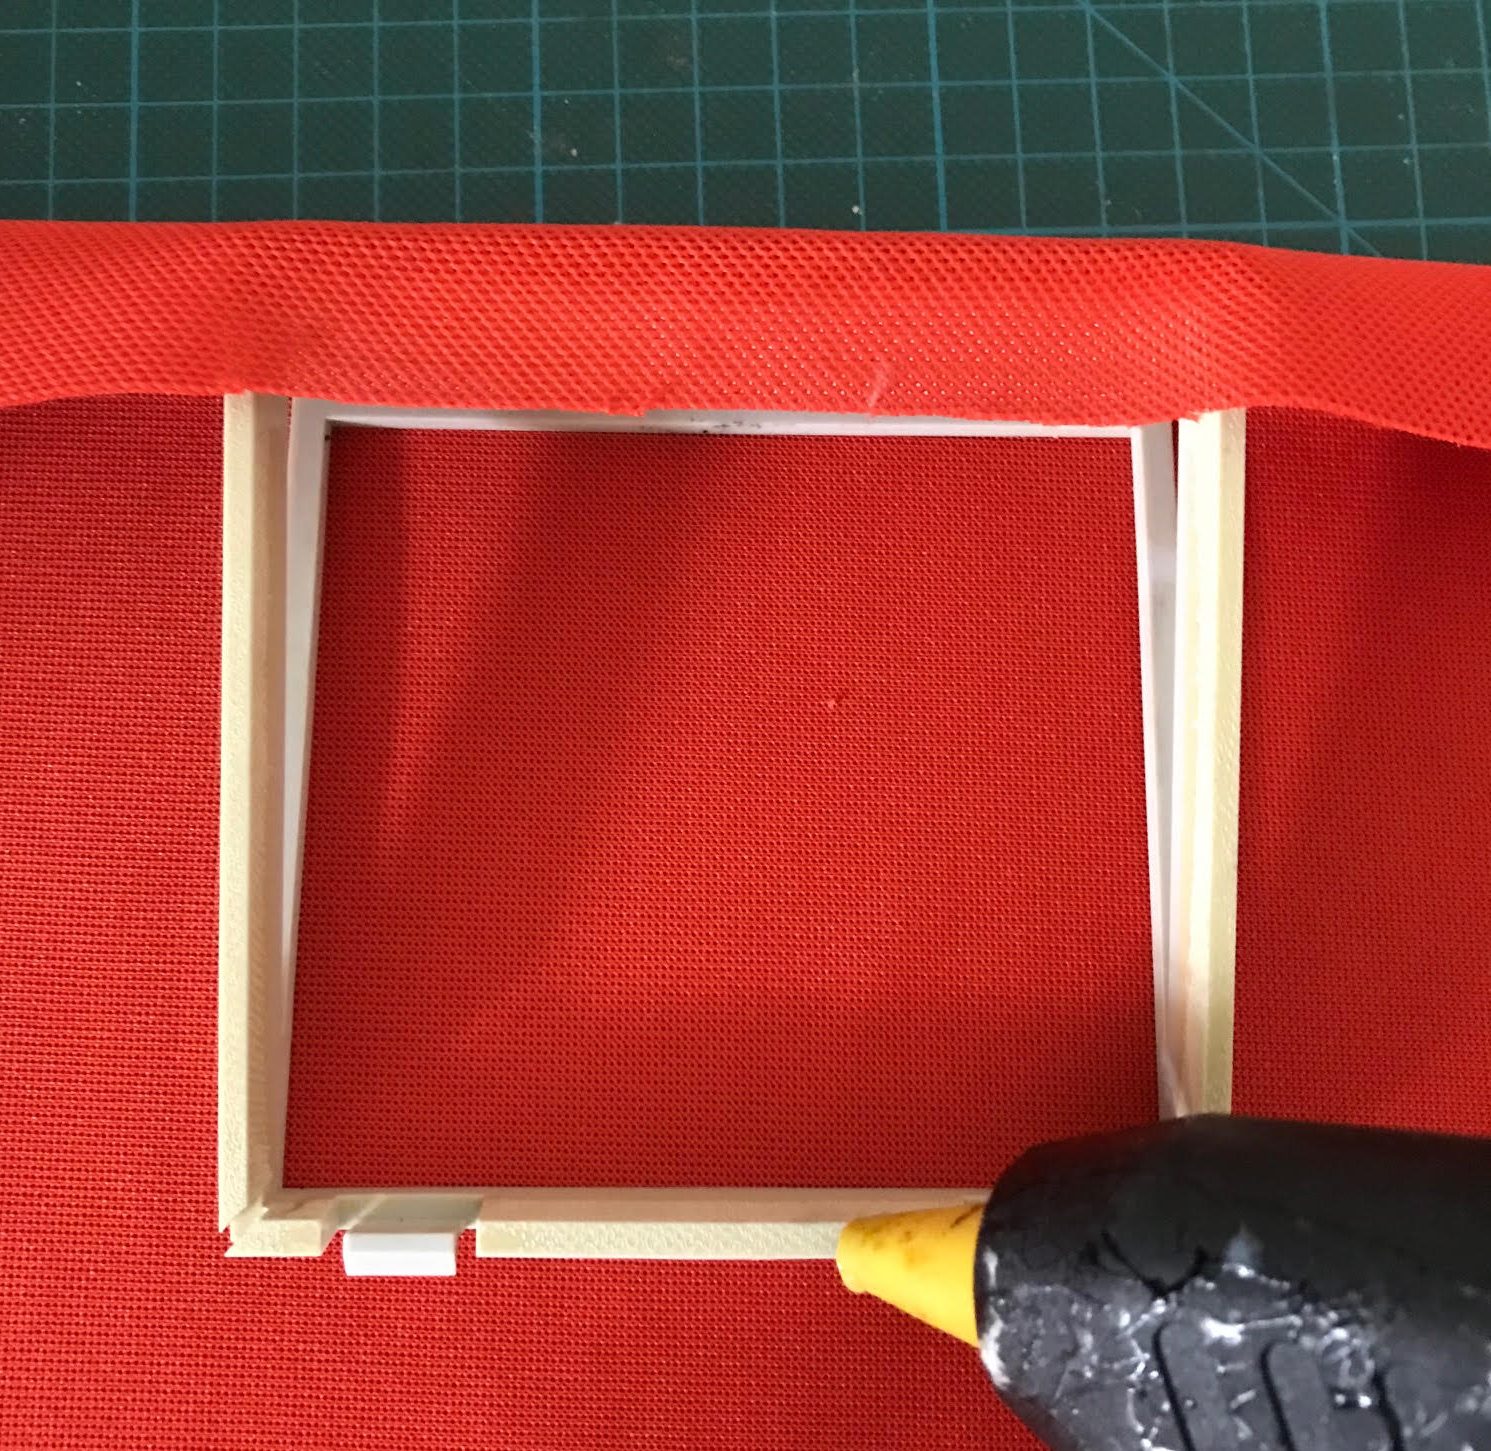
After the top edge is glued, pull the fabric tight and glue the bottom edge. Subsequently, the side edges are glued. To remove the last wrinkles, the fabric is pulled tight around the corners and fixed with glue. As you can see, the frame has small gaps at the corners, where the fabric can be fixed.
When everything is fixed, put an extra layer glue on top to make sure the fabric is well fixed. Cut the fabric carefully along the frame with scissors. The more you can remove, the easier it will be to fix the frame with the fabric later.
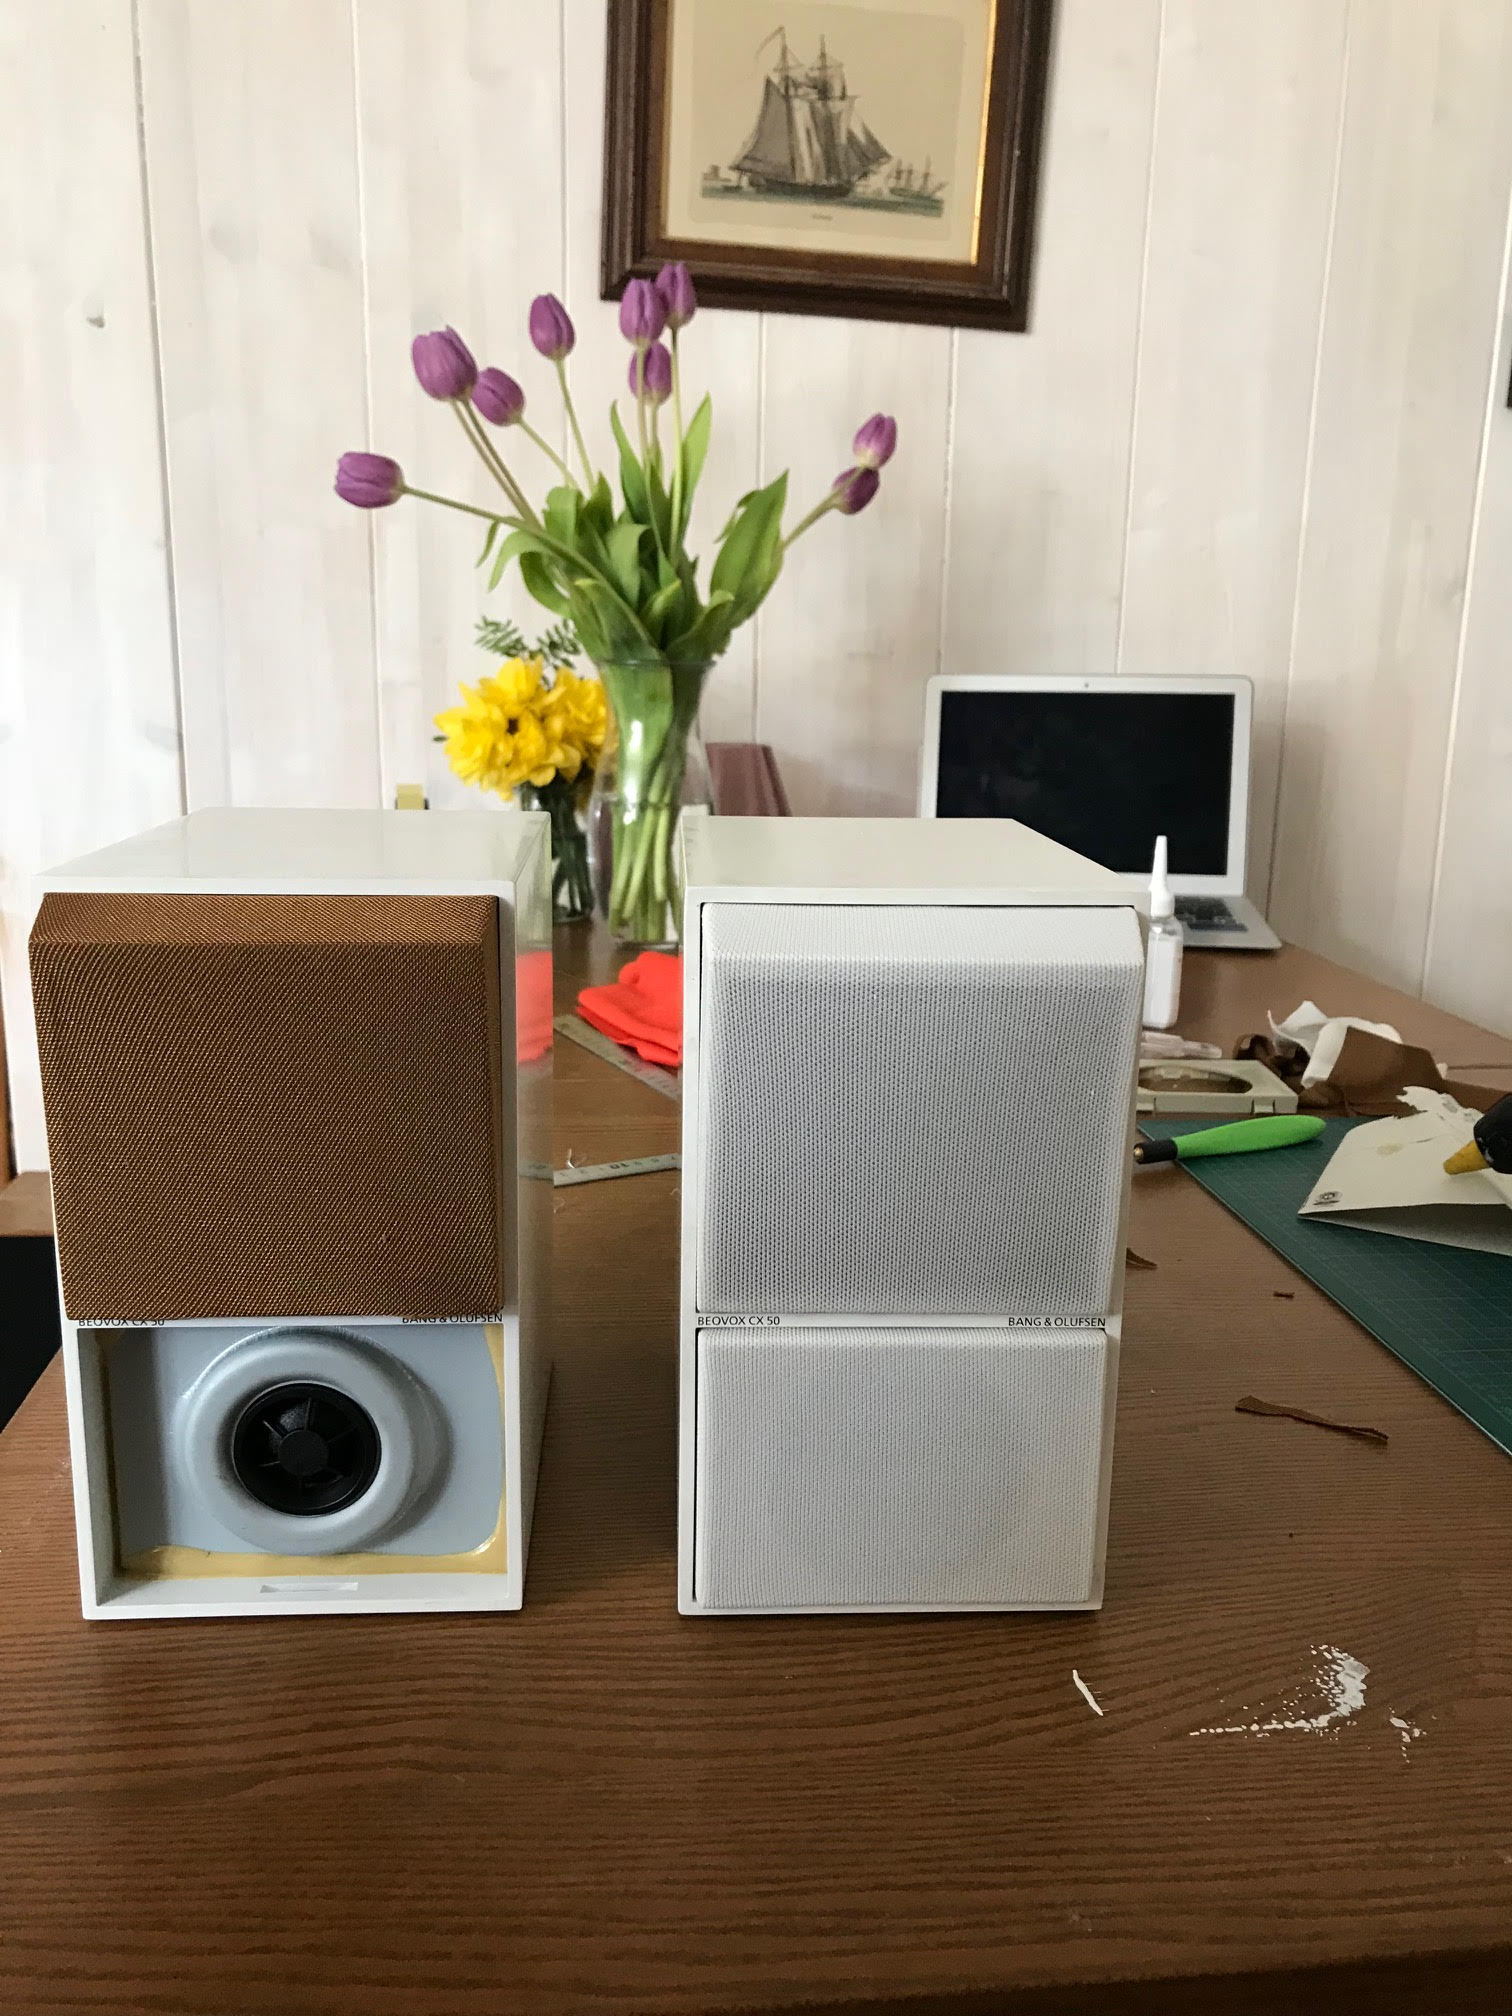
Your frame is ready and can be mounted on the speaker. With some of the speakers we up-cycled, the white clips broke of because of age, but we never had problems mounting the frame on the speakers even if all three of them broke.
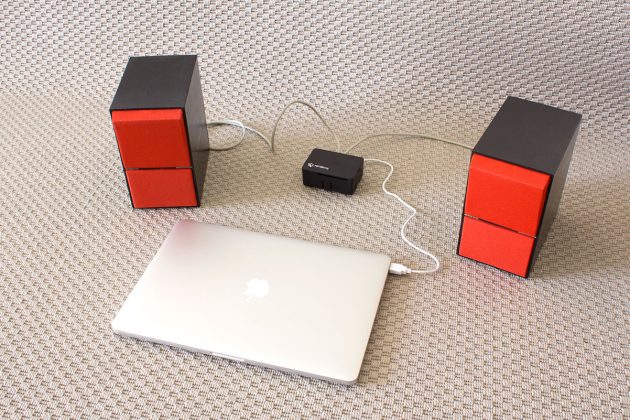
We hope you are looking forward to experimenting with fabric colors – and don’t forget to share your up-cycled #beocreate projects – we’re always excited to see what our customers do!
April 23, 2018