Blog
Introduction to sound tuning with equalisation
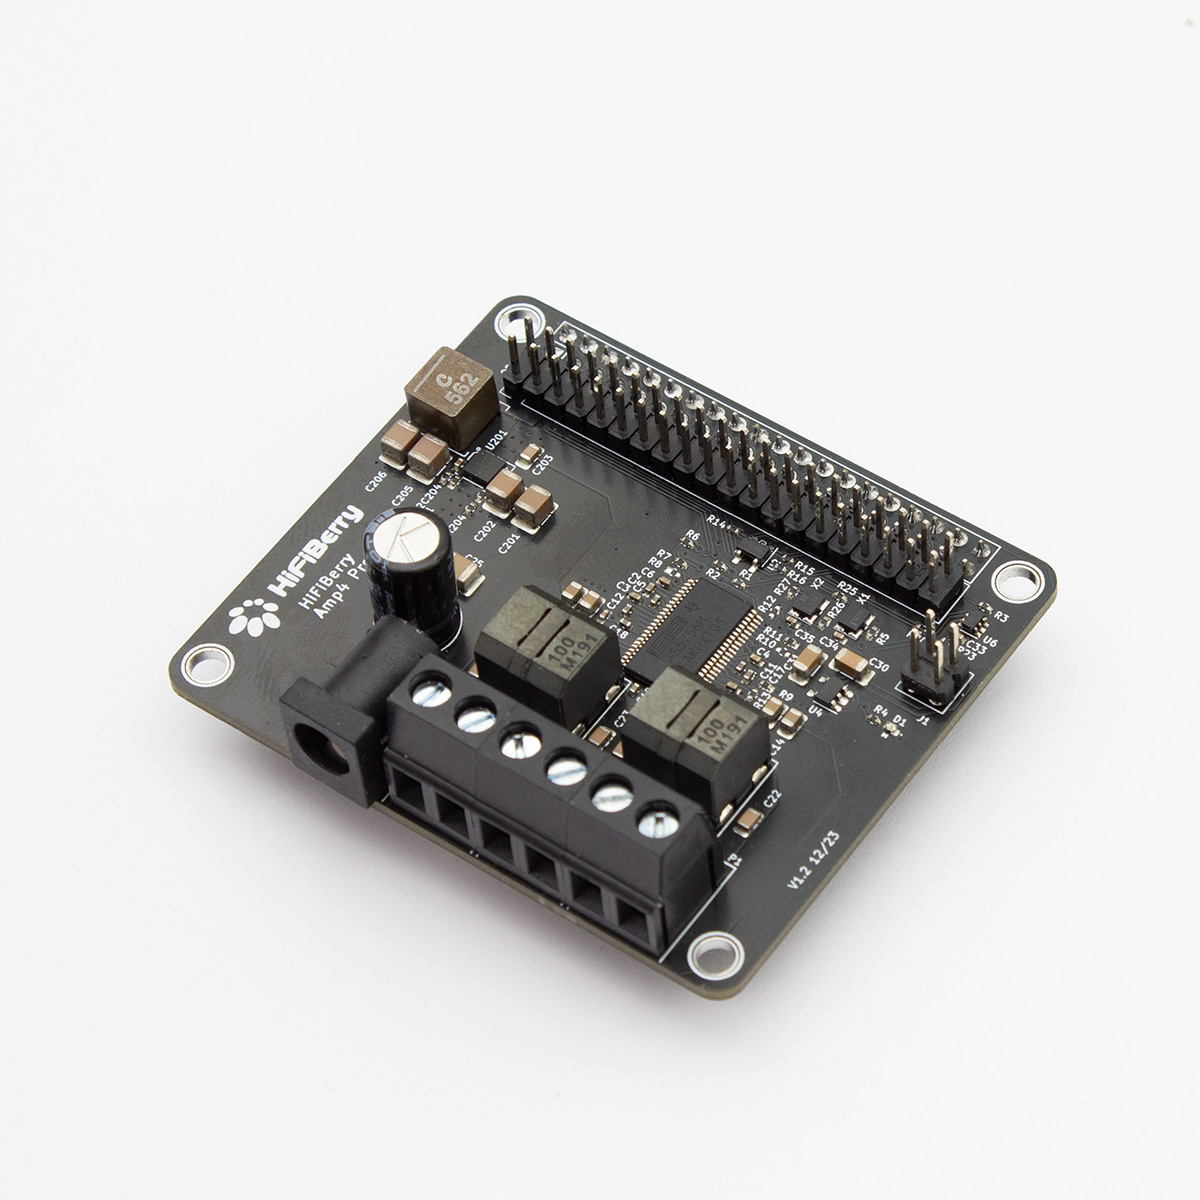
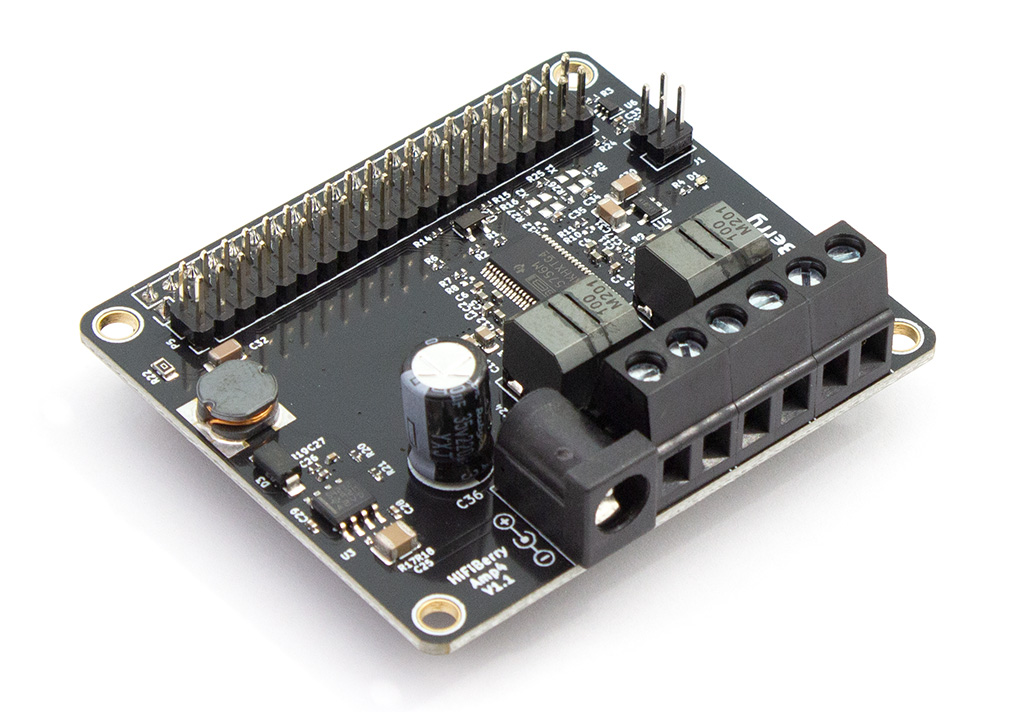
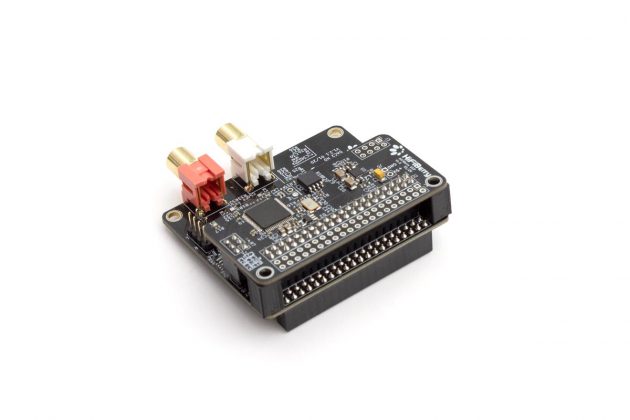
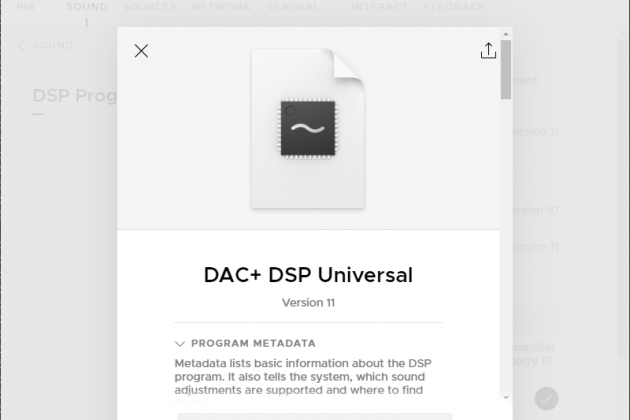
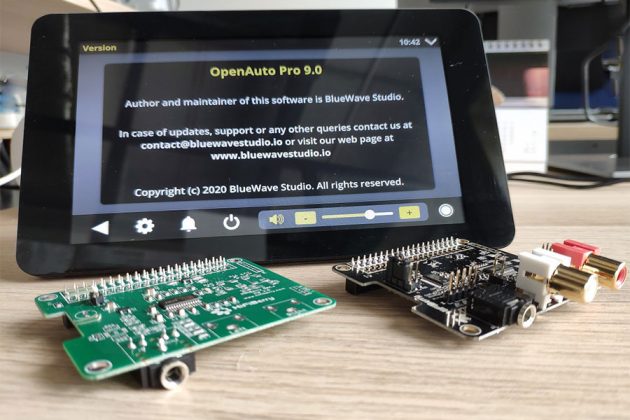
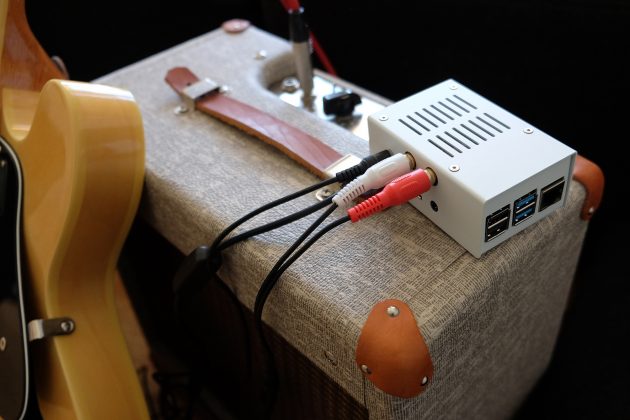
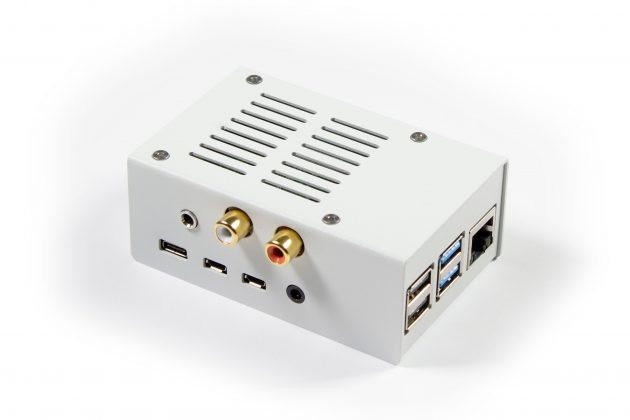
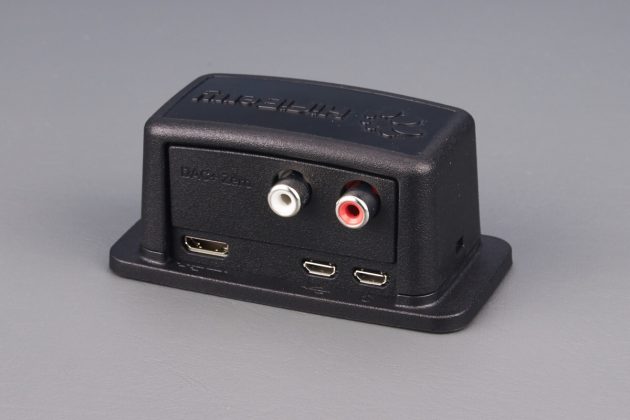
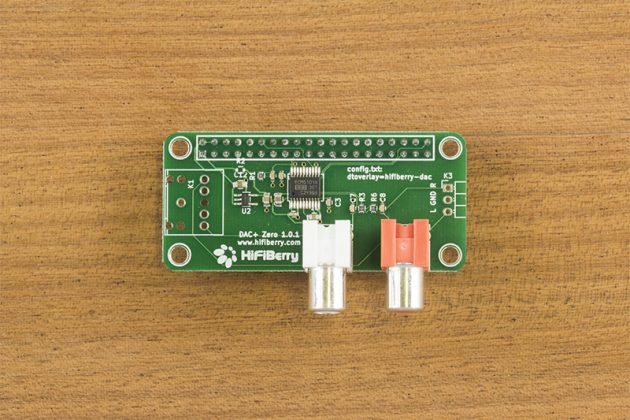
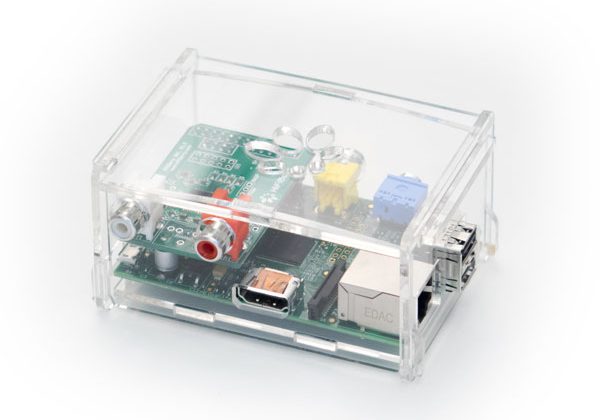
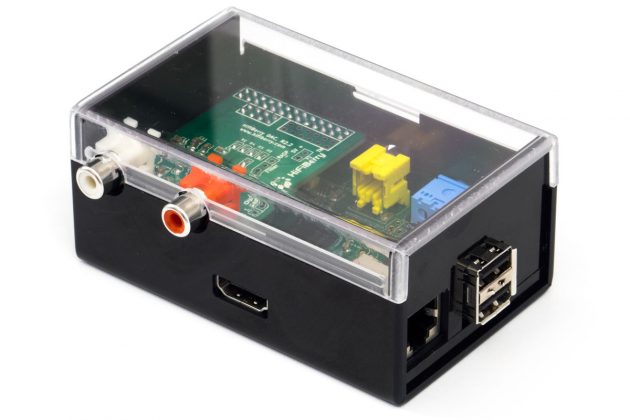
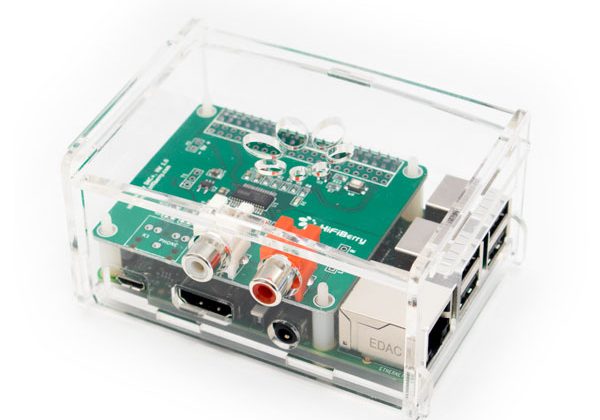
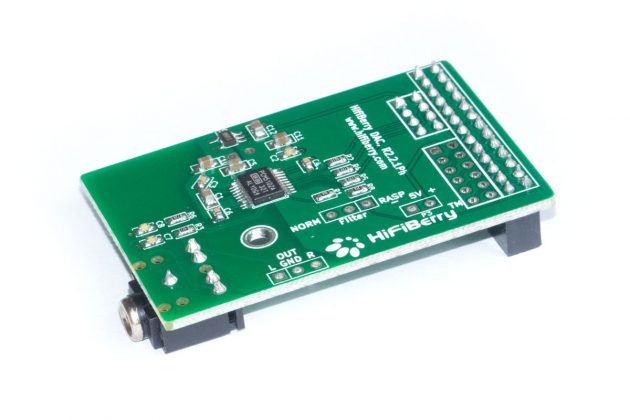
This guide will help you understanding the equalisation features with HiFiBerry sound cards with a DSP (DAC+ DSP, DAC2HD + DSP-addon, DAC2 Pro + DSP add-on, Amp100+DSP-addon).
We know that some high-end audio lovers prefer not to use equalisation as it changes the “original sound”. However, most of us are listening to music on normal speakers in our appartments. Even with the best available speakers on the market, this will never sound as it was mastered in the recording studio. You will also notice, that there is no “original” audio. Just listen to the same song on different streaming services or get different CD releases and compare these. They all will sound a bit differently. Somebody did the equalisation (and other stuff) already.
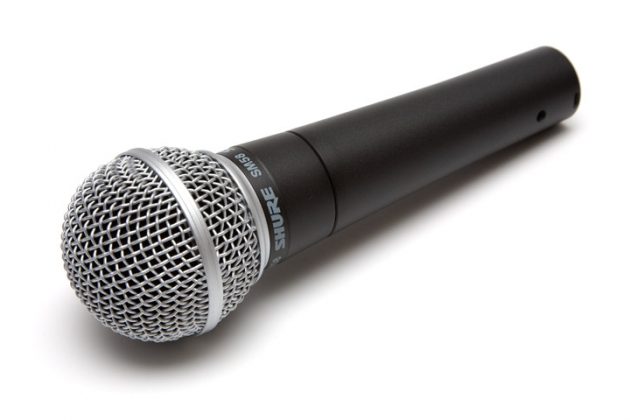
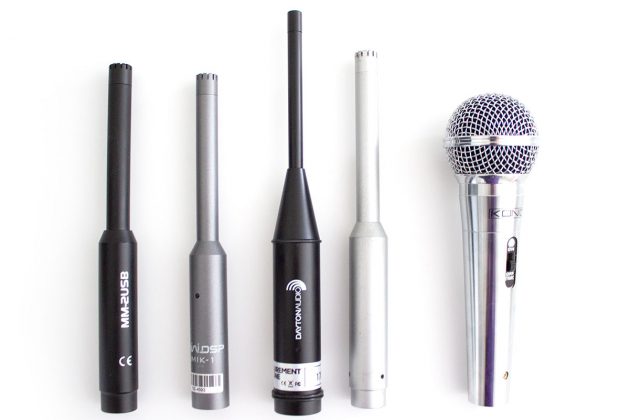
If you have a measurement microphone, try measuring the frequency response at different listening positions in your room. You will notice that it will be different at each position. There simply isn’t the one “right” way how a stereo setup should sound.
Yes, equalisation done wrong can mess up sound quality terribly. Therefore, we want to give you some tips what to try.
One thing that is important: Don’t do huge changes in the beginning. Yes, if you add a +20dB peaking eq at 100Hz, you will have a lot more bass immediately. But this is probably not the best idea for most speakers. Experiment with changes in the range of 3-6dB. Smaller changes will be very subtle. That doesn’t mean they are useless, but usually it’s better to start with changes that are clearly audible to understand the effect.
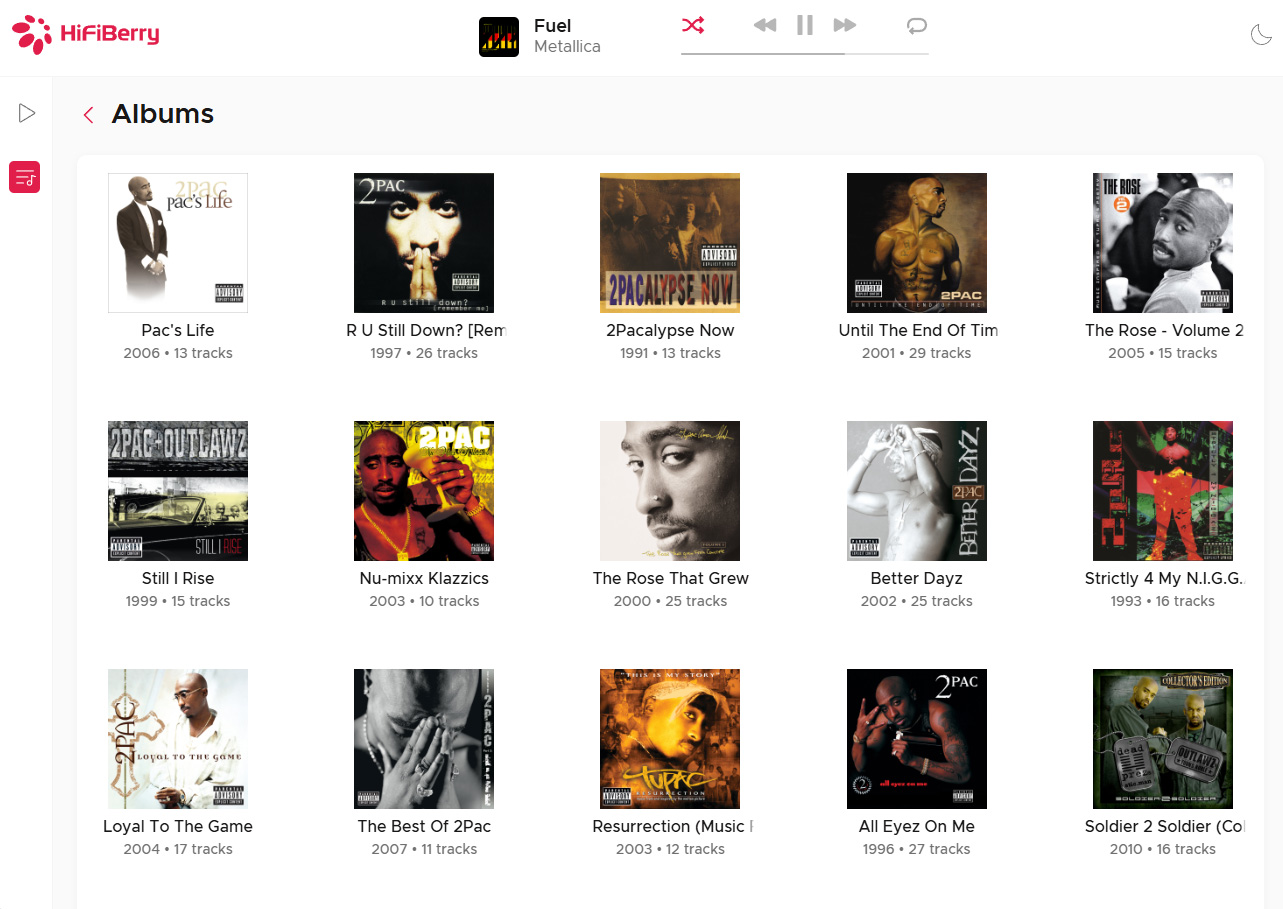
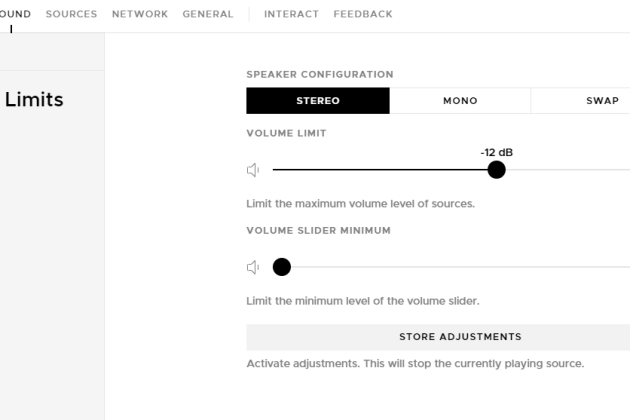
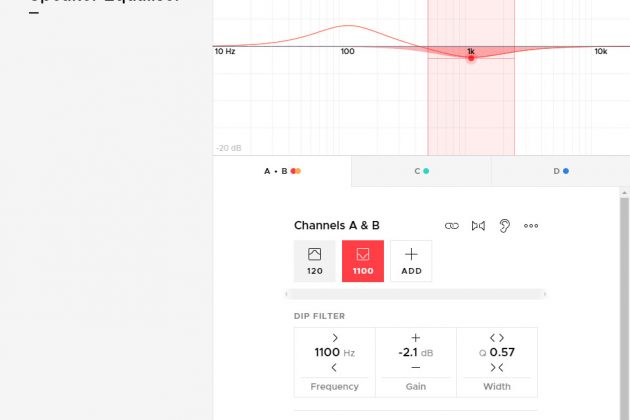
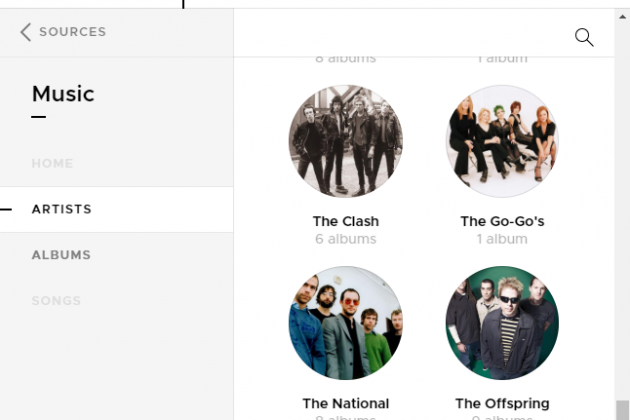
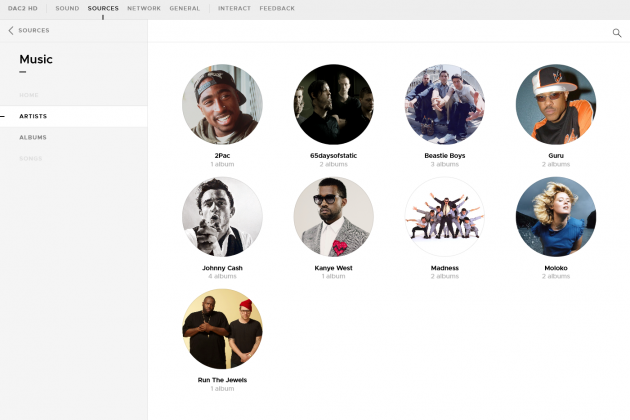
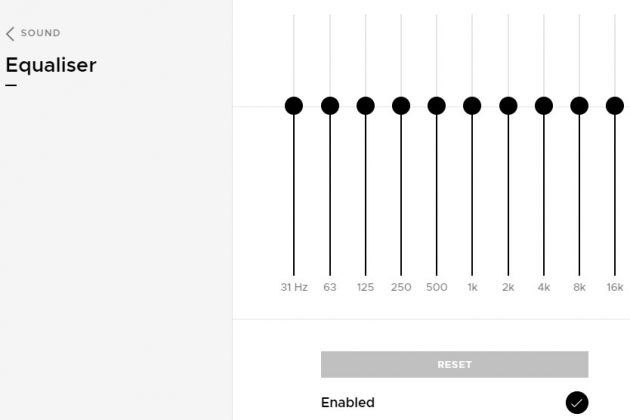
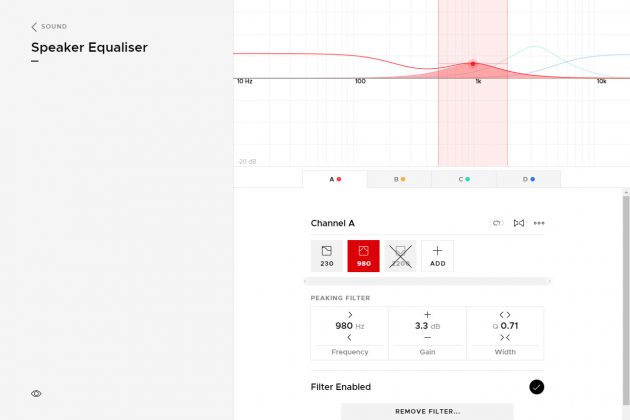
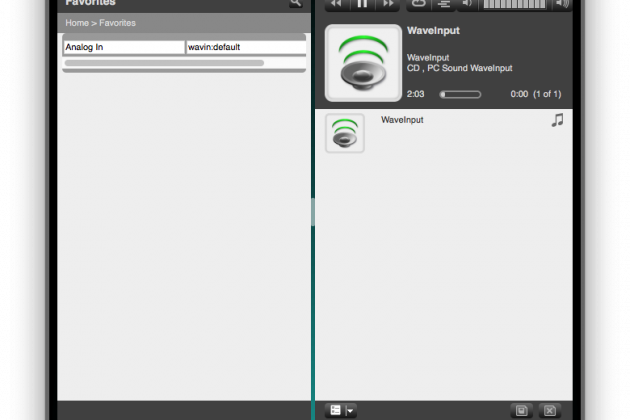
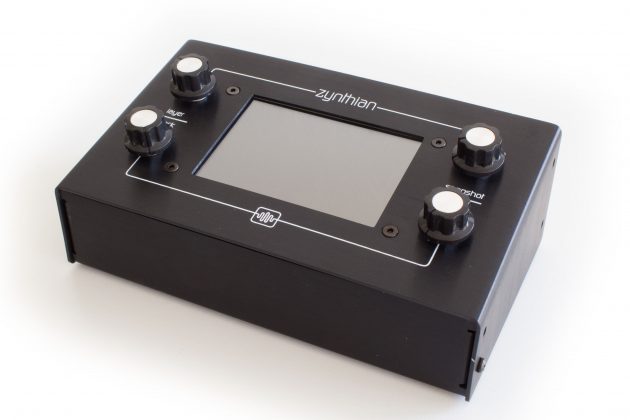
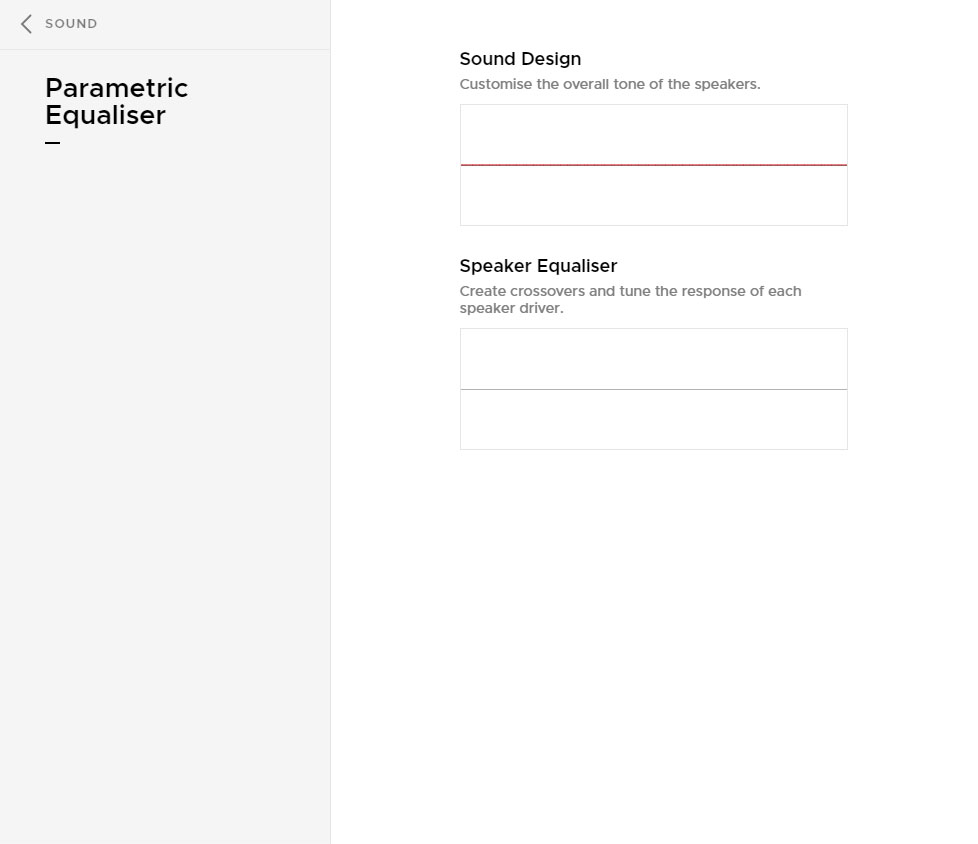
To start with equalisation, select the parametric equaliser section in the “sound” menu:

You can now either use the sound design or the speaker equaliser. Both can do almost the same thing. The idea having these two is that the speaker equaliser offers more options like high pass and low pass that allow you to design crossovers for multi-way speakers, while the sound design should be used for fine-tuning.
We will use the speaker equaliser here as it offers the option for a high-pass that we’re gonna use later.
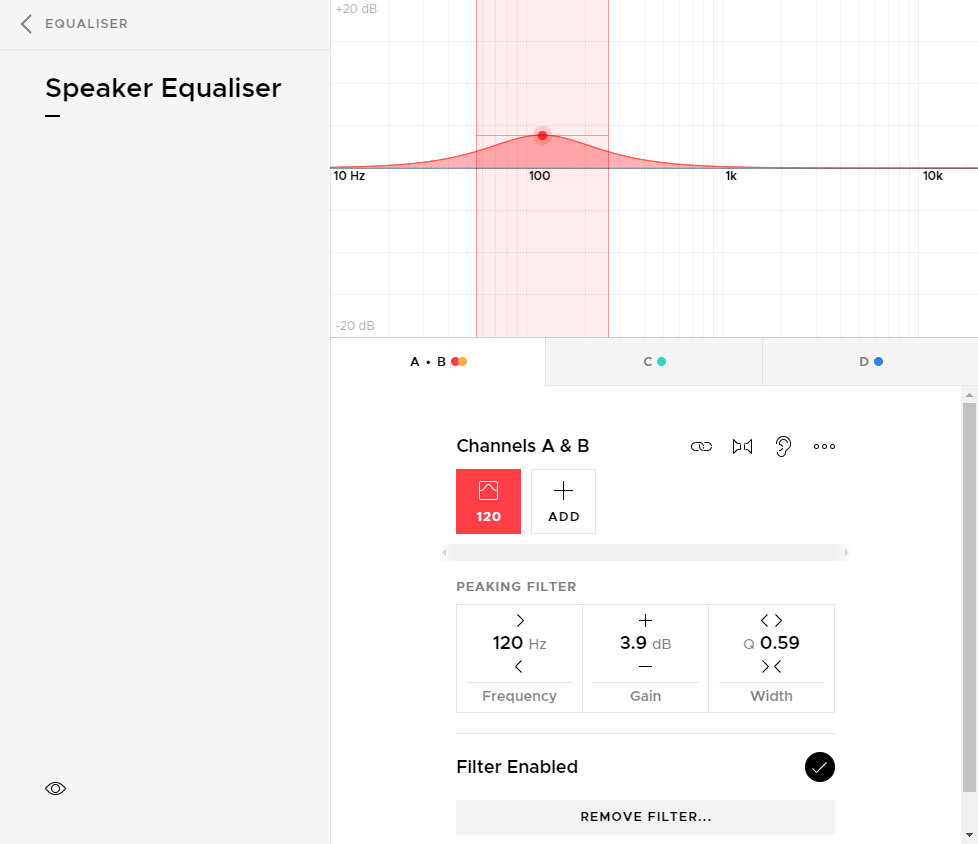
We’ll start with the low frequencies. That’s where you will notice the biggest effect. Start adding a filter at 100Hz and move it around with the mouse and listen to your music while doing this. Depending on your room, speakers, and position of the speakers and your listening spot, the best setting can vary widely. With some speakers you might want to decrease this. Especially many modern speakers show way too much bass. This might sound “bigger” in the beginning, but it doesn’t sound “right” after listening for some time. Experiment with frequency, gain and width of the filter.
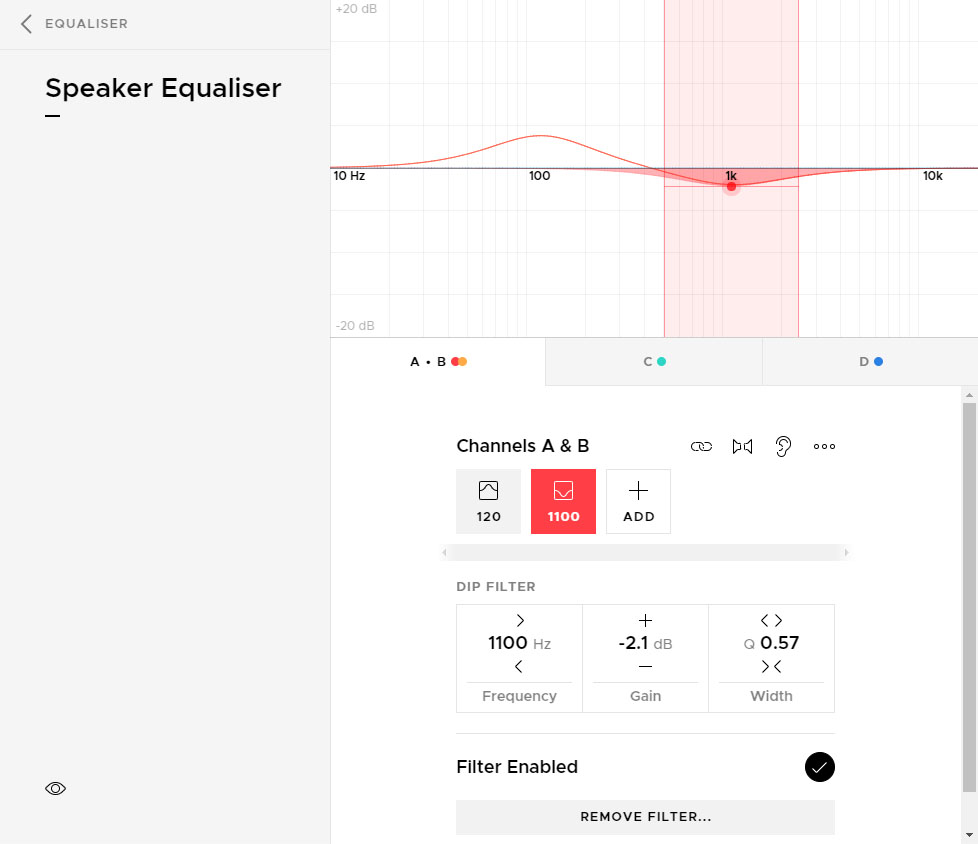
Next point that you might experiment is the mid range between 1-3kHz. If you feel voices are too aggressive, try reducing it a bit. Again: Experiment with frequency, width and gain. At this frequency room acoustics affects the sound of the speaker only very little. You’re now tuning the characteristics of the speaker.
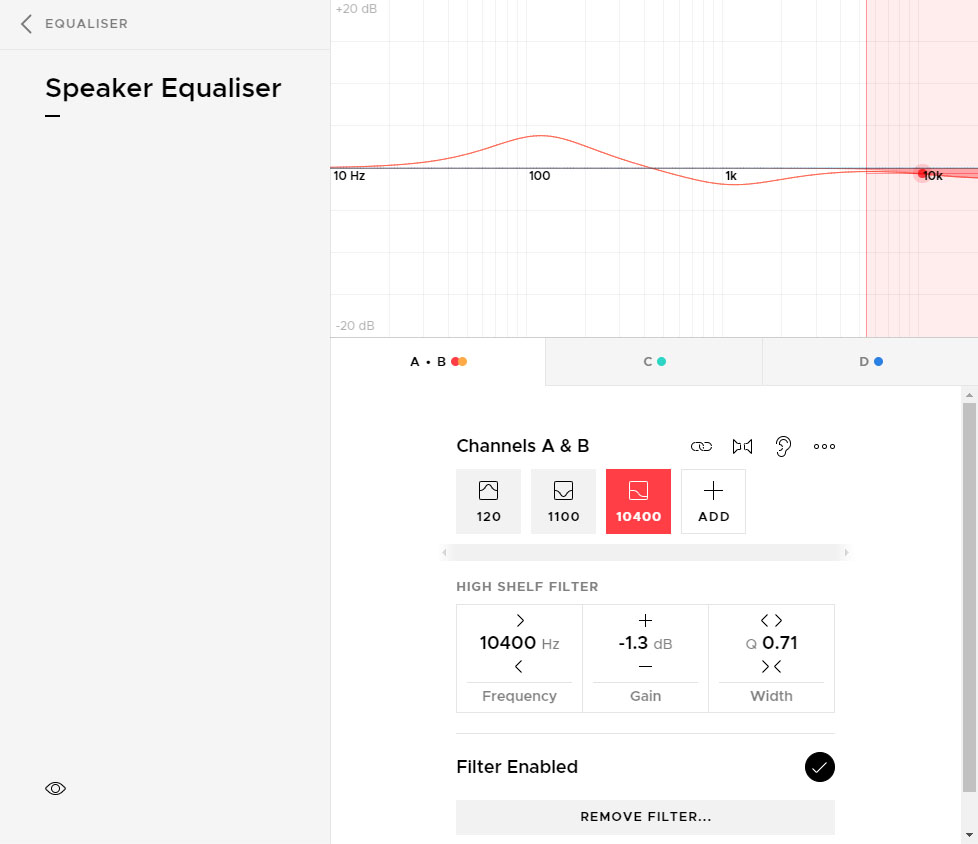
Now, it becomes even more subtle – the ultra-high frequencies >8kHz. The frequency response of most speakers isn’t flat here anymore. On most speakers, you will see already a slight roll-off after 10-15kHz. That’s perfectly fine. One thing you might notice with some speakers is that the might sound a bit “agressive” or “tiresome”. That might be caused by too much energy in this frequency band. You might experiment with a shelving eq. Changes here are extremely subtle and you might not notice it at all in the beginning. Just try small changes and listen to music for some time.
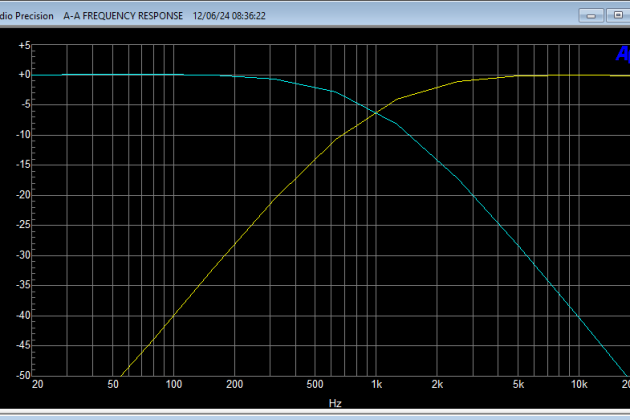
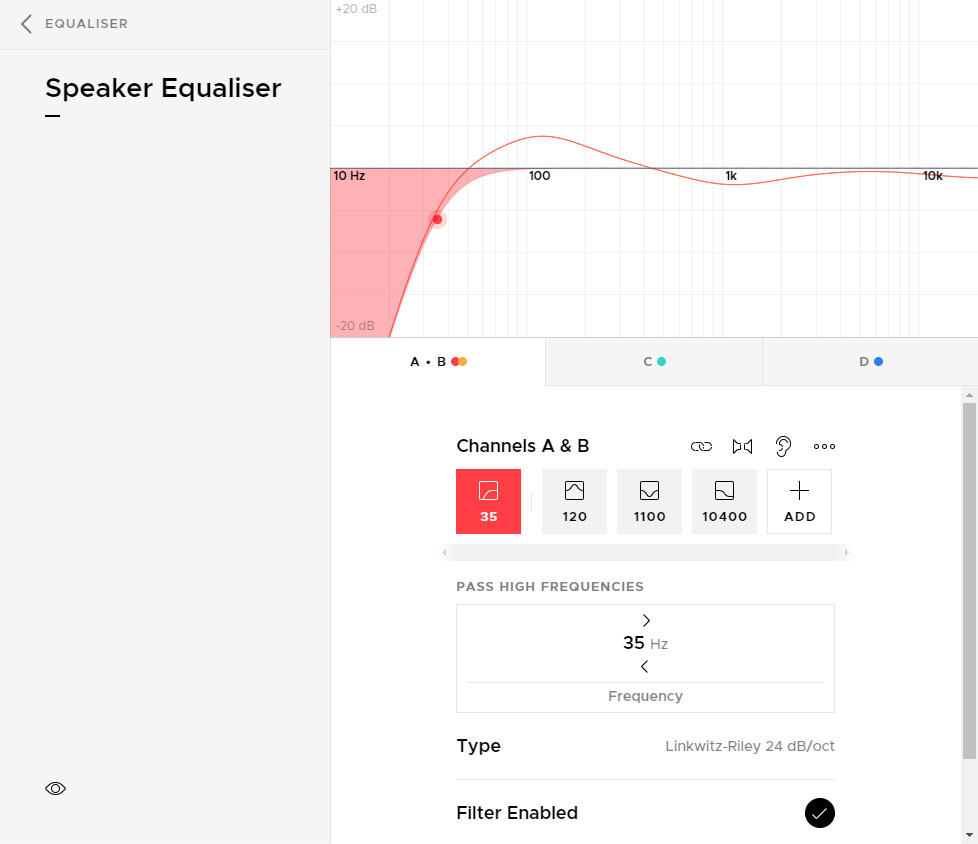
The last step is something that can help with smaller speakers. If you have large floor-standing speakers with 2 30cm bass chassis, you probably don’t have to care about this. However, if you’re using smaller speakers and listen at higher volumes, you might help your speaker a bit. How? Just filter frequencies that the speaker can’t reproduce anymore. Add a high-pass filter and experiment a bit with the frequency. It should have almost no audible effect. With large floor-standing speakers that might happen below 20Hz while many small speakers can easily be filtered at 80Hz without changing their characteristics.
I want to emphasize here again that this guide should just show you some settings that we think will help in many cases. But these are not “right” or “wrong”. In your situation, you might wantto add filters at different frequencies are filter much more aggressive. That’s perfectly fine.
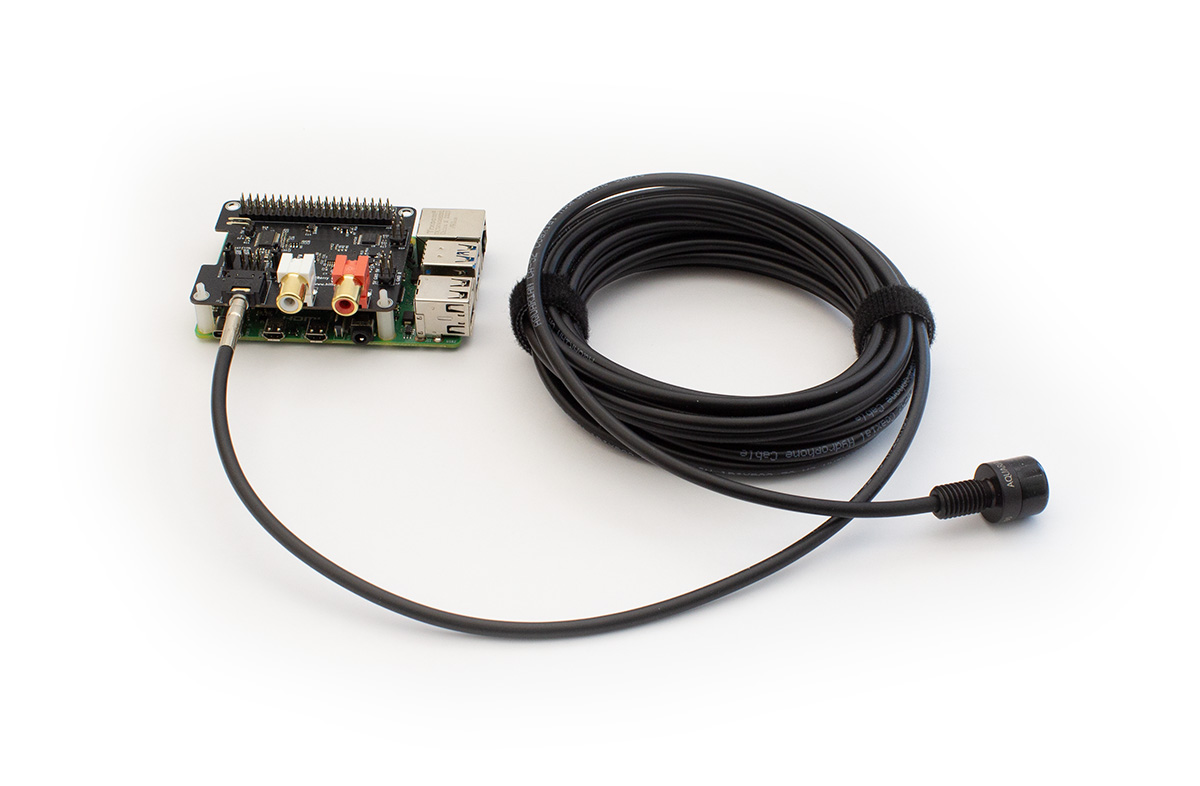
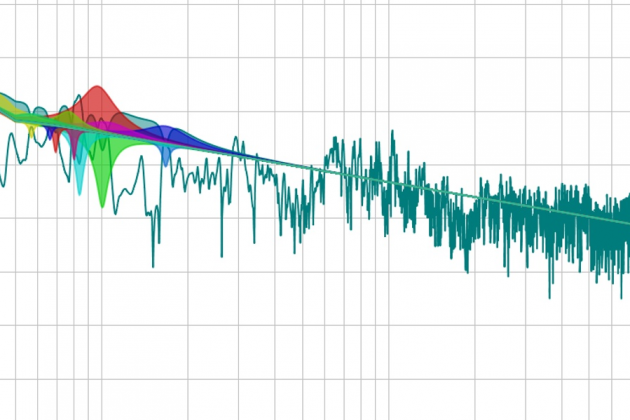
If you want to understand the frequency response of your speakers in your living room a bit better, have a look at the measurement microphone. Running measurements will give you better insights on the specific problems on your setup.
December 16, 2020