Blog
Jörg Schwieder, creator of iPeng about building a streaming device and his next audio project
Jörg Schwieder, creator of iPeng talked with us about his connection to music and his current audio projects.
What makes you an audio enthusiast?
I need music around me wherever I am, but I’m not happy to listen with headphones. So I wanted a music system in all of my rooms (yes, the bathroom is one of the most important ones, too), and I also wanted it to be easy to use.
In one of my previous jobs I got in contact with professional audio system design, and there I learned to notice and care about differences in sound quality. You can’t un-hear that once you are used to it, so audio quality is very important to me, too.
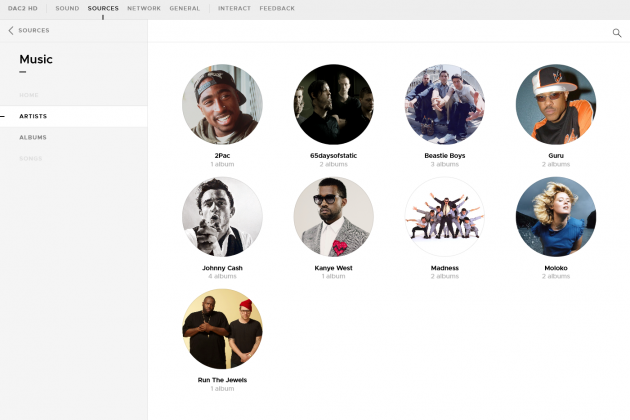
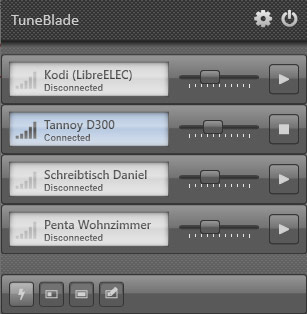
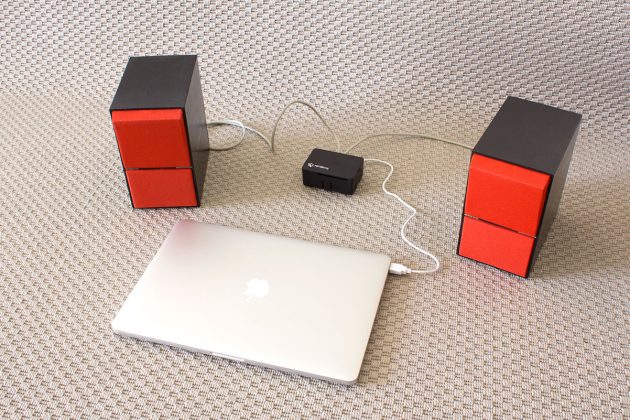
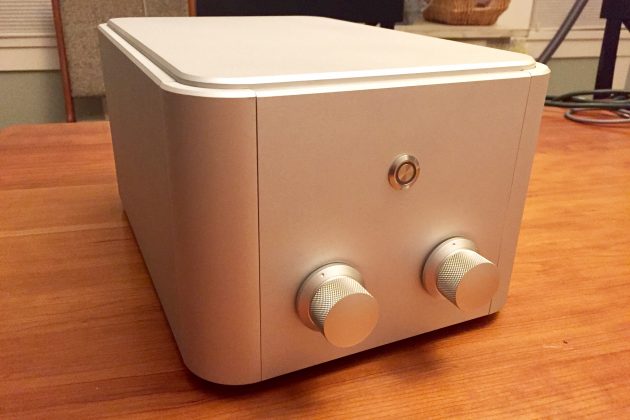
My solution when I started was to use a Squeezebox multiroom system because it had the versatility I needed through an open source software solution and a broad range of players with excellent audio quality. It works with streaming services like Spotify and Tidal just as well as with local music.
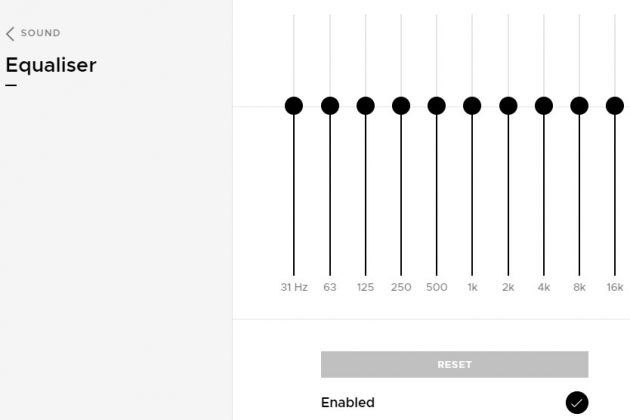
It didn’t have the usability I wanted, so I wrote iPeng for it, which is available on the App Store and of course still the gold-standard for remote control apps.
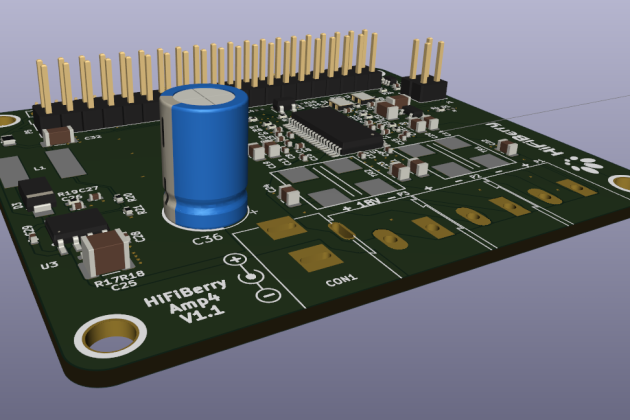
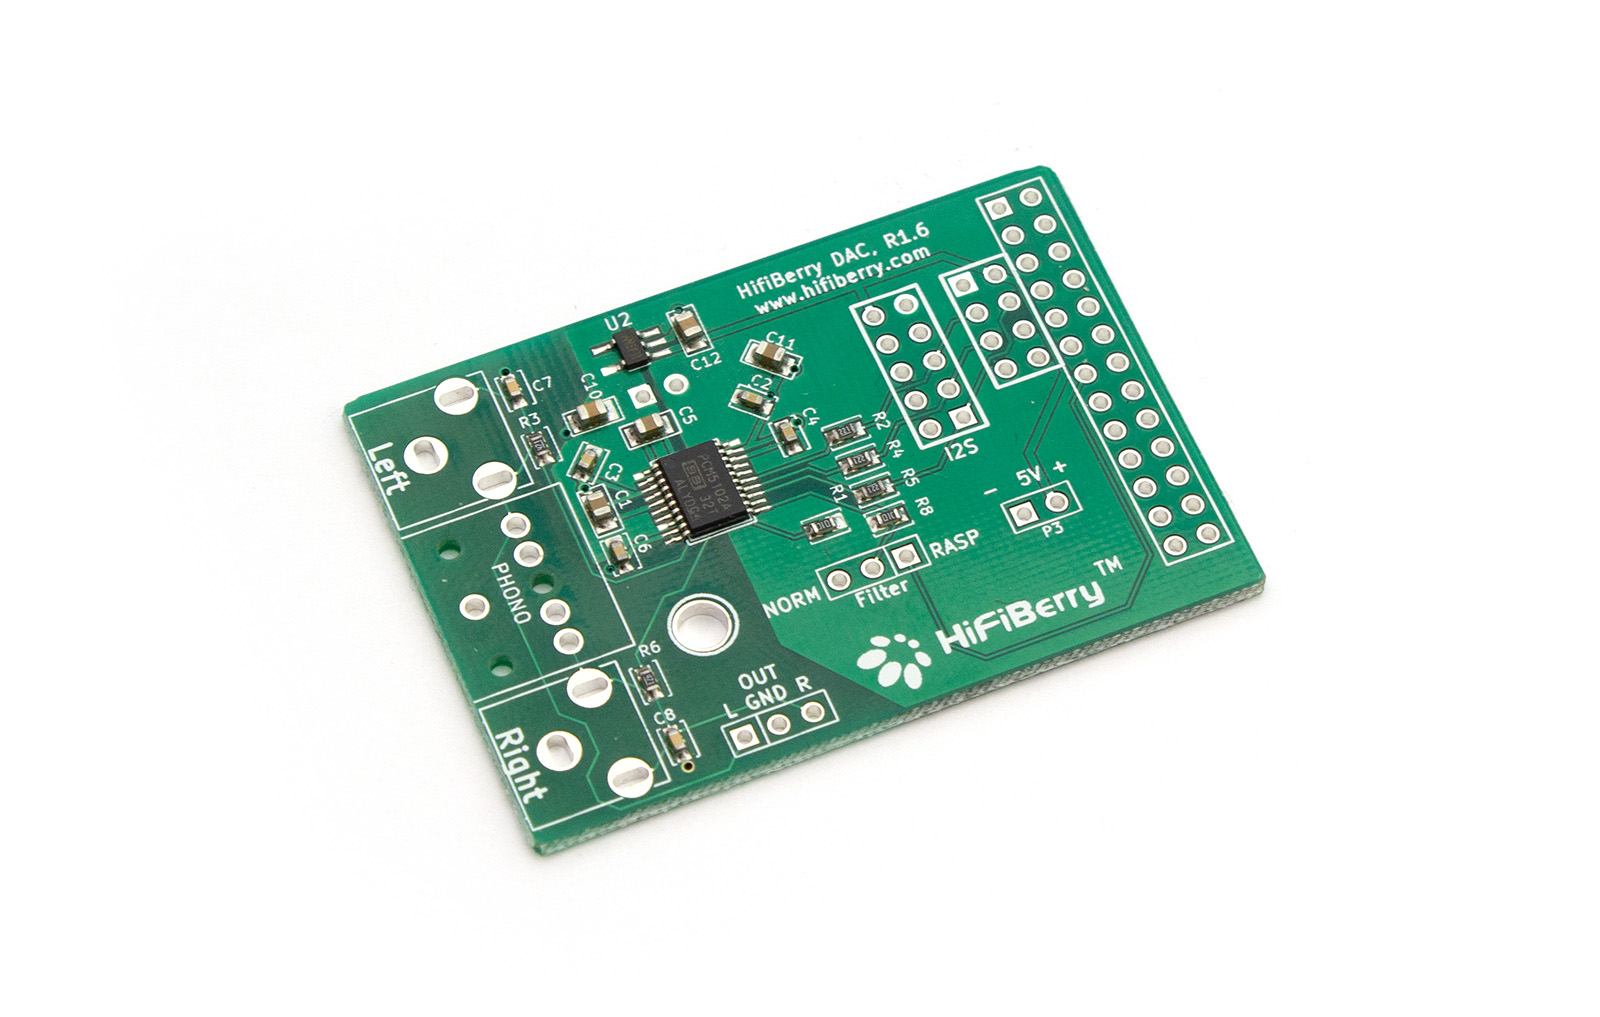
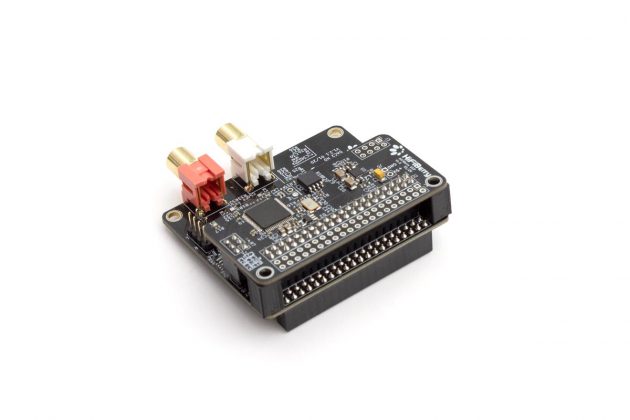
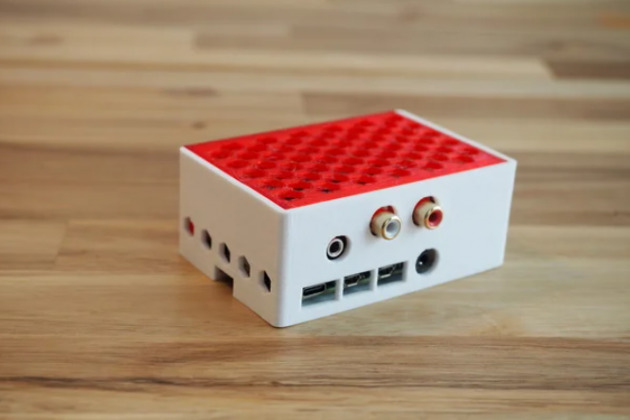
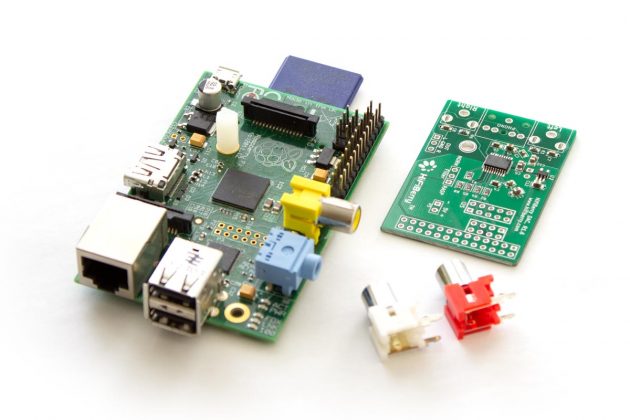
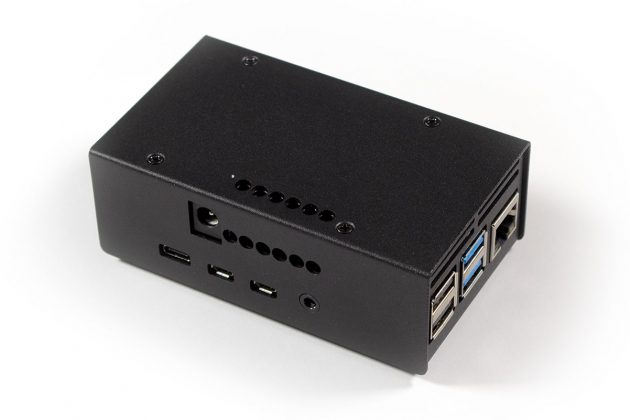
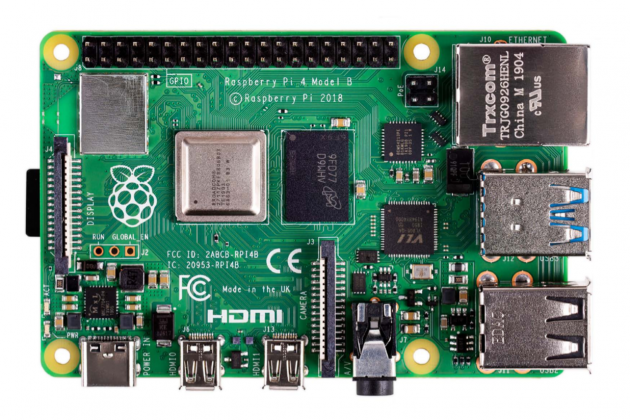
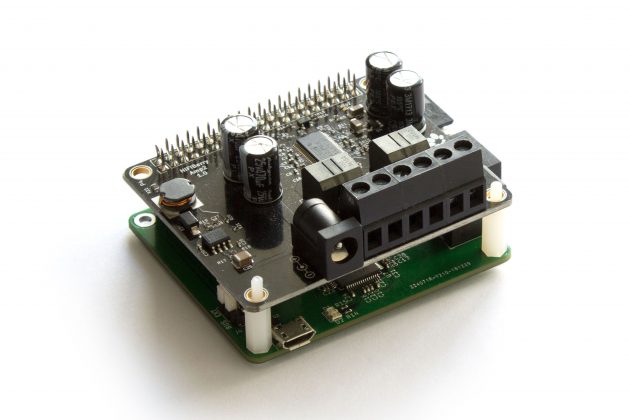
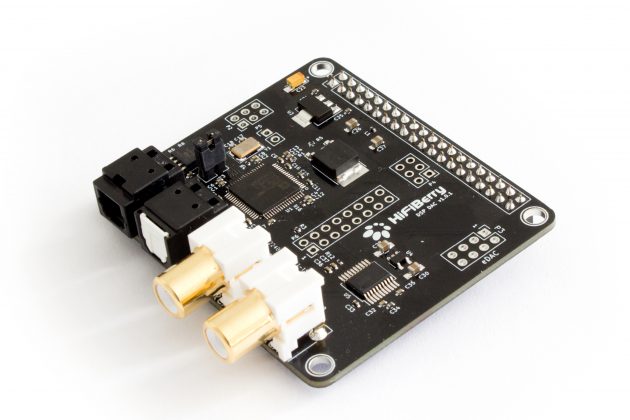
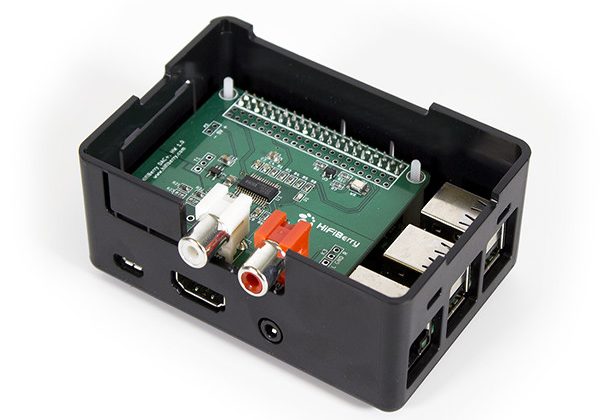
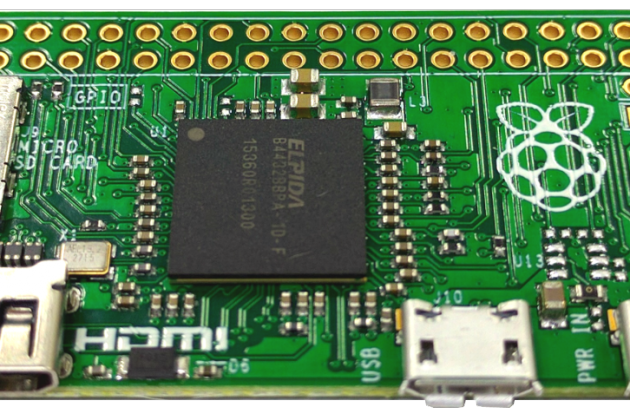
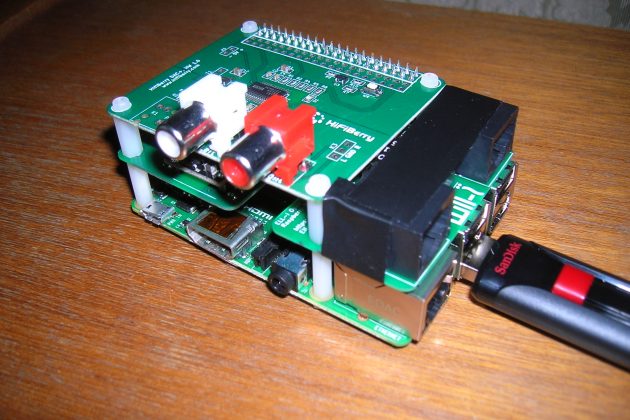
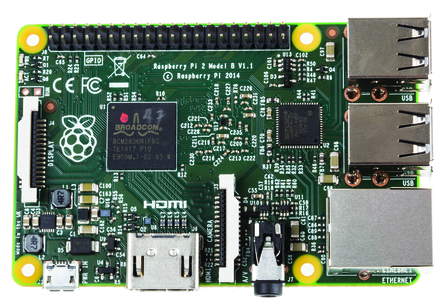
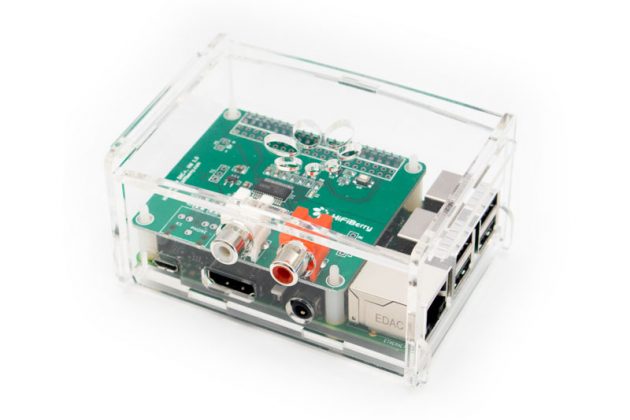
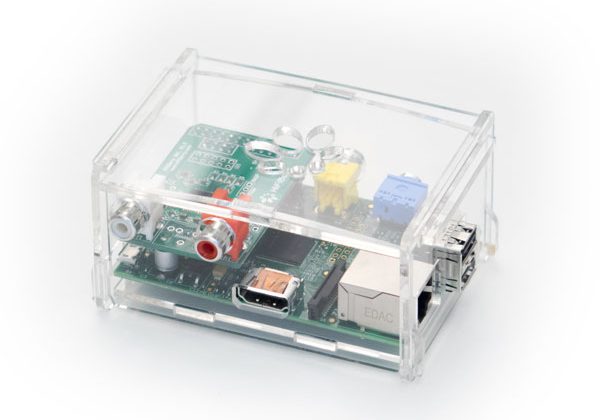
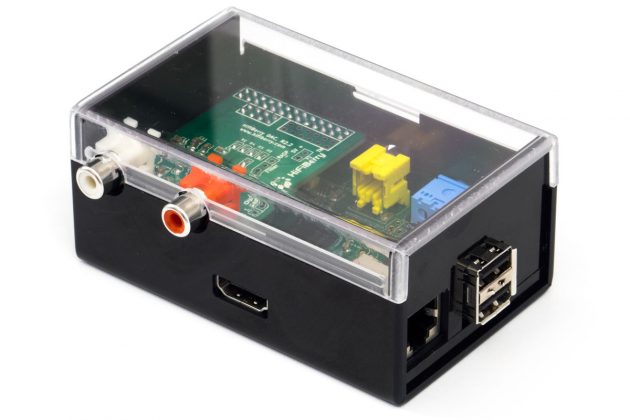
But the Squeezeboxes were discontinued years ago and so today you need other player hardware to extend the system and as things stand a Raspberry Pi with the HifiBerry DAC turned out to be just perfect for this application.
Now I have music everywhere in my apartment, and I’m a happy music listener.
Tell us about the last project you made with HiFiBerry.
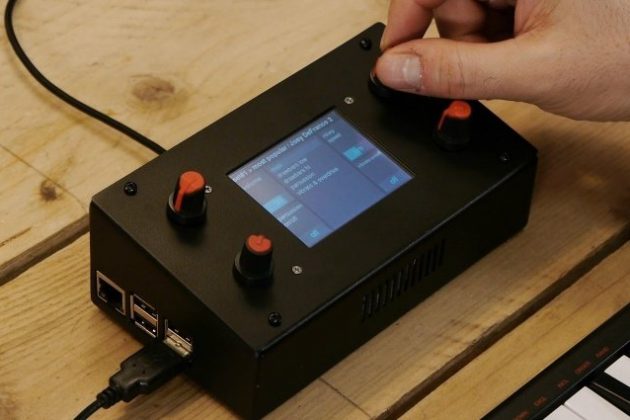
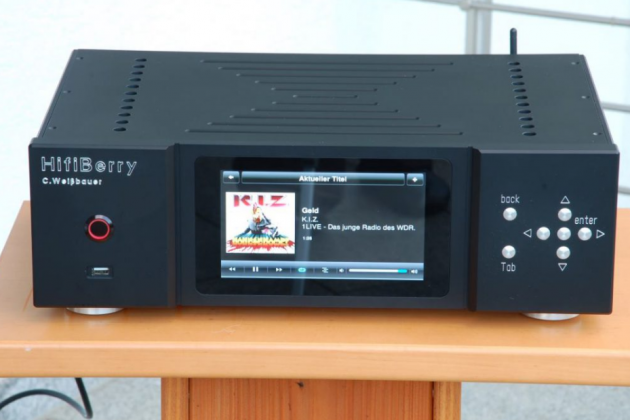
My mother wanted to use music streaming, too, and asked for a setup similar to mine, so I built a player/server for music streaming as a “seed” device for a multiroom setup for her.
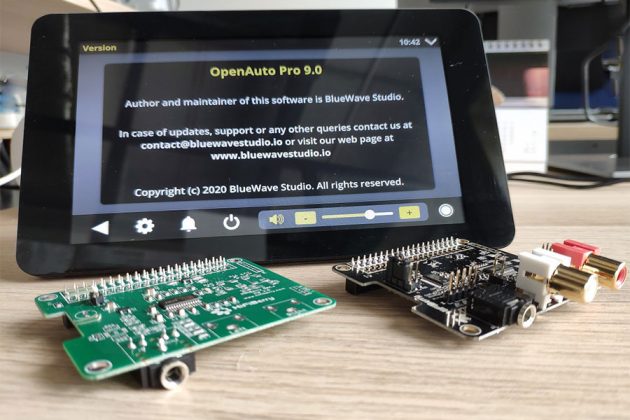
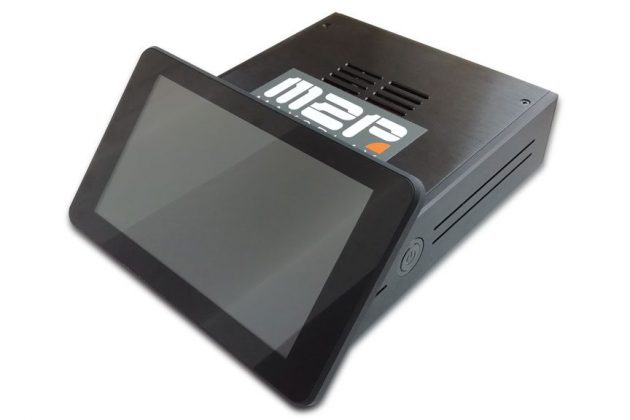
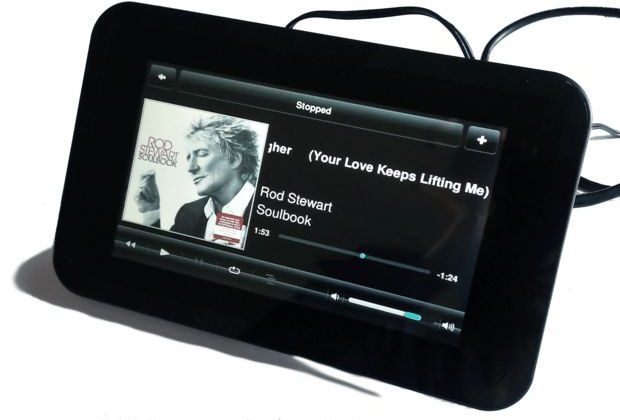
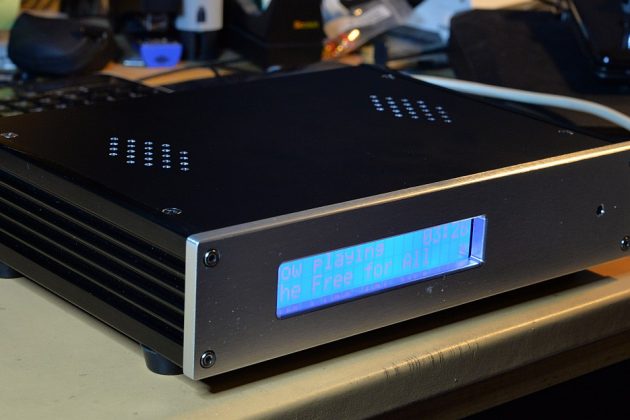
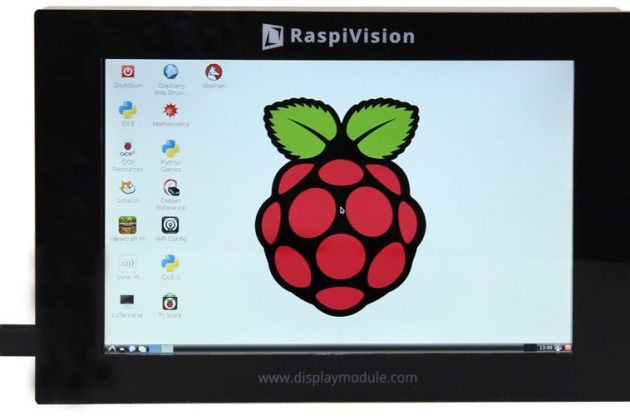
As an initial system I wanted it to be both powerful enough to run the multiroom server, it should have a display because it’s for the living room, and of course it needed the best audio quality because it’s connected to the HiFi system.
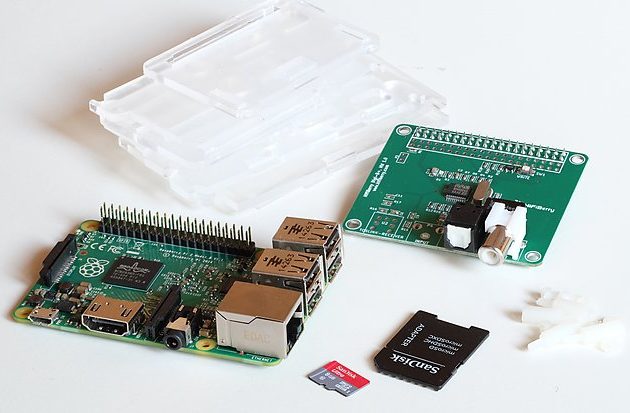
The components I chose:
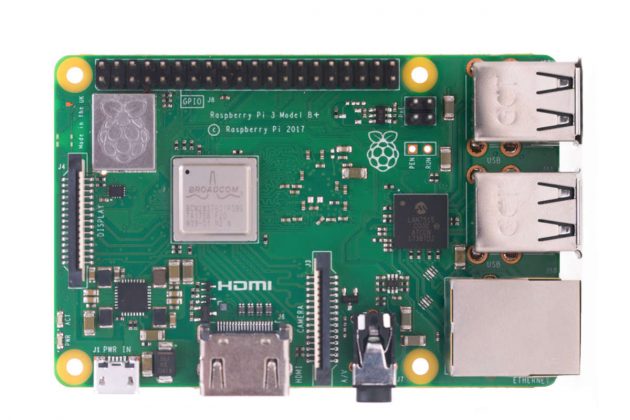
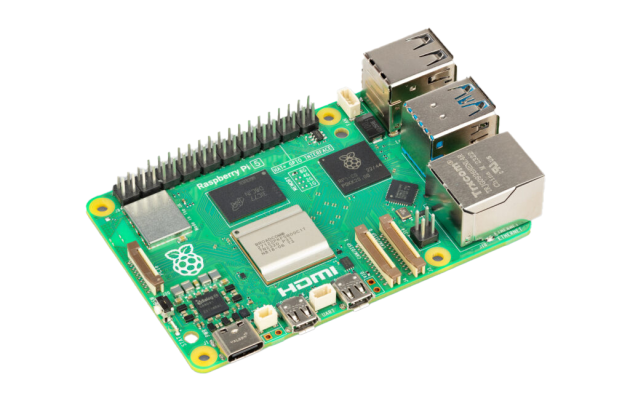
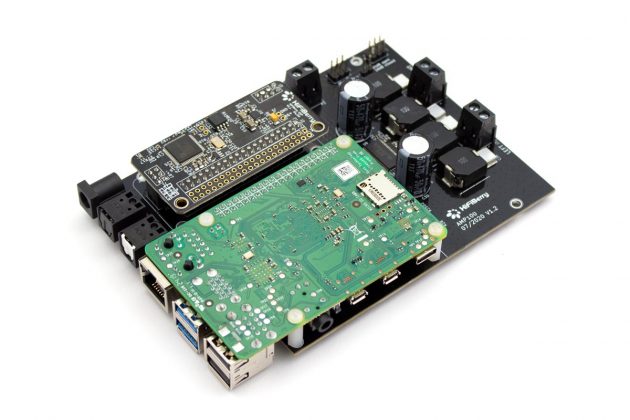
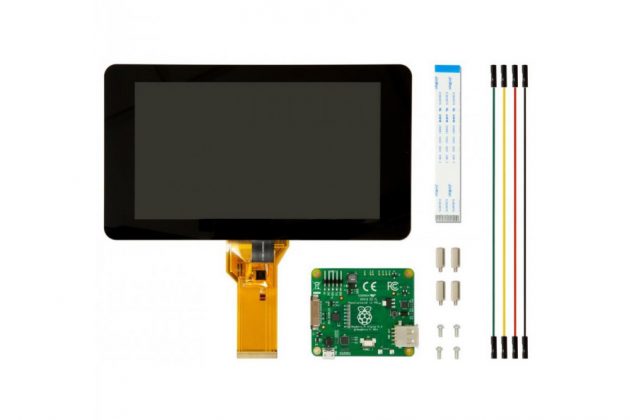
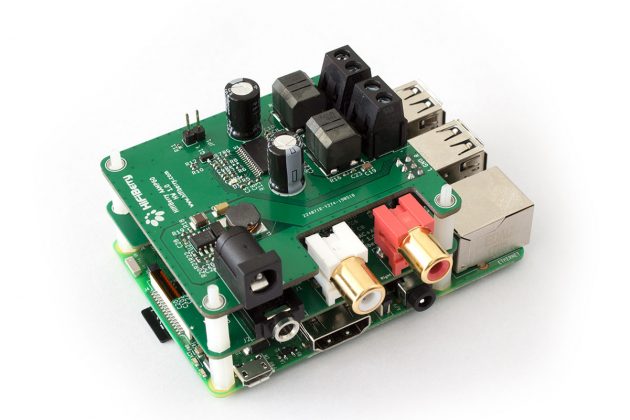
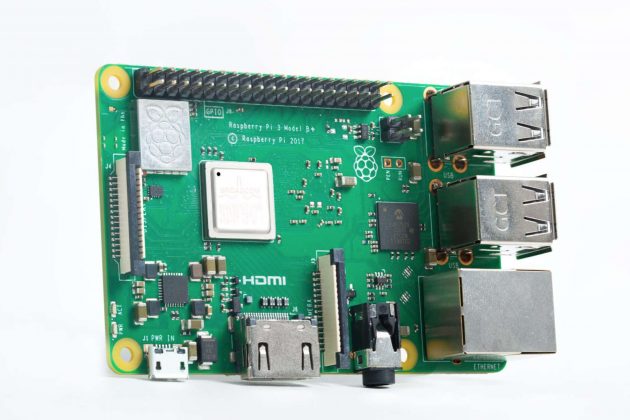
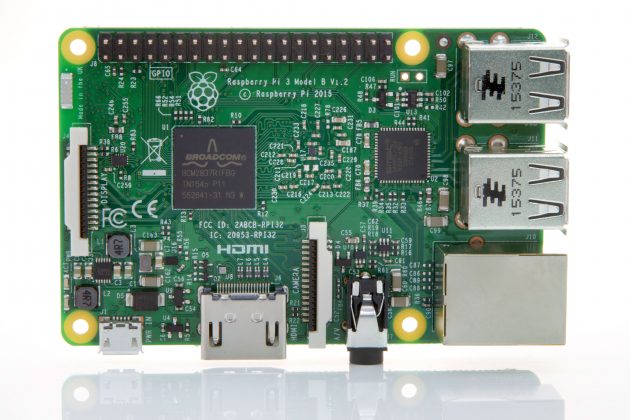
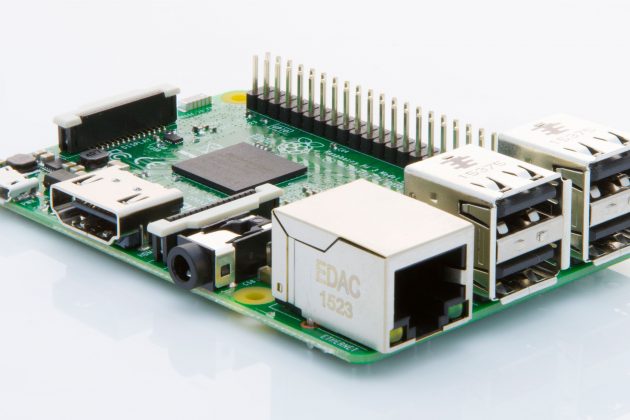
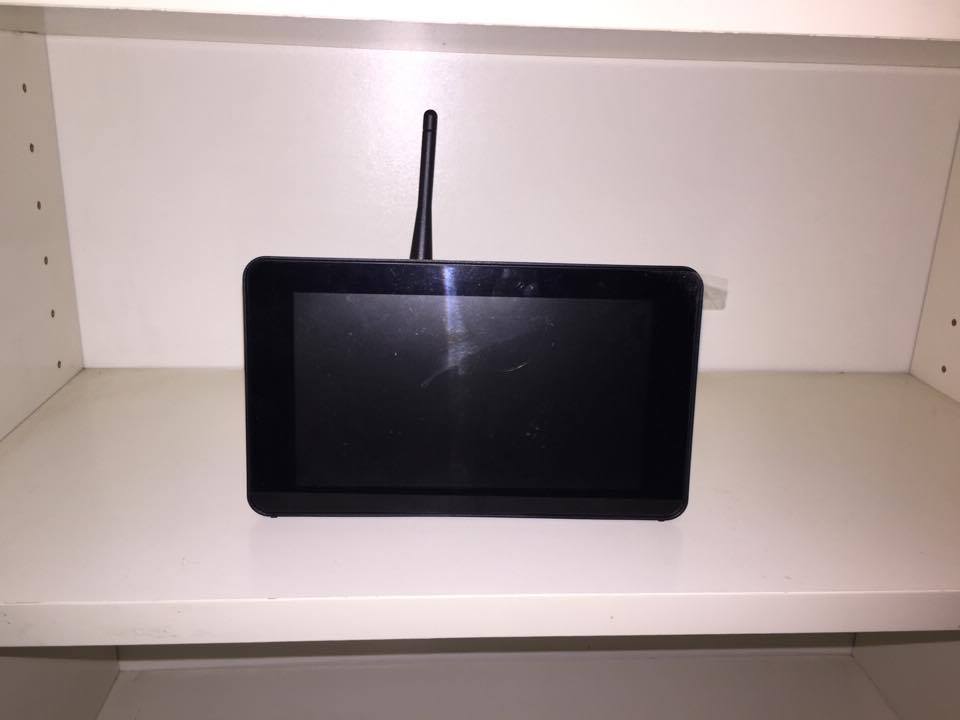
- Raspberry Pi 3;
- official Raspberry Pi 7” touch-screen display;
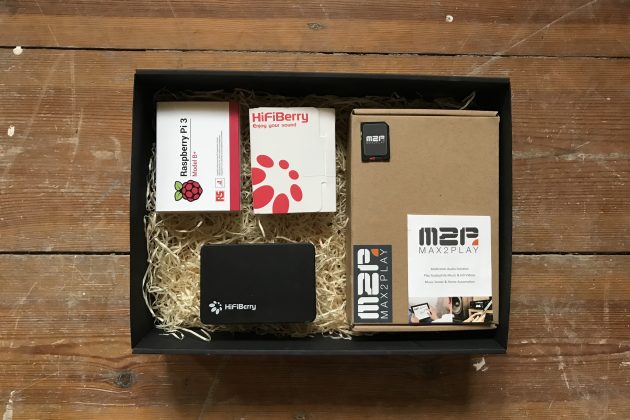
- official Raspberry Pi touch-screen case;
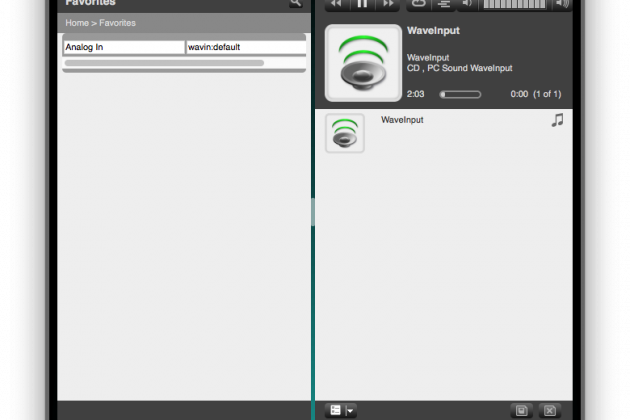
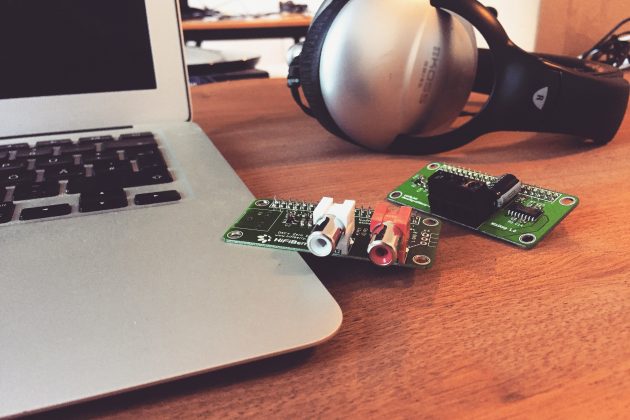
- a 16GB SD card with Max2Play Linux distribution pre-installed. Max2Play comes pre-installed with all the music server and player software I needed, Hifiberry drivers and a web-based configuration interface;
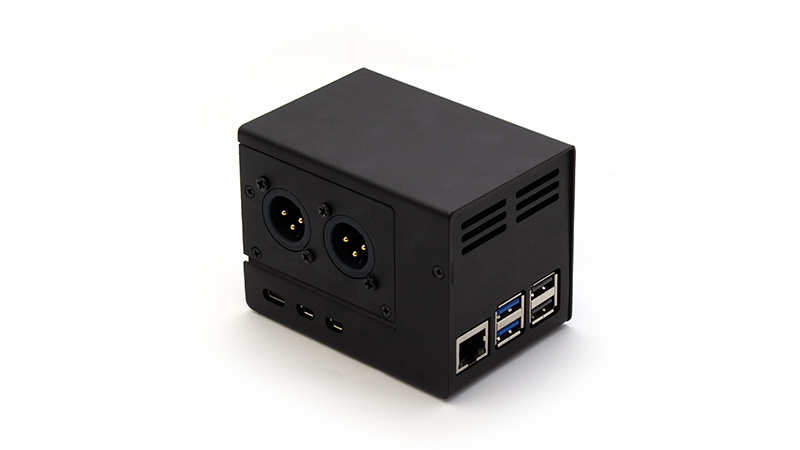
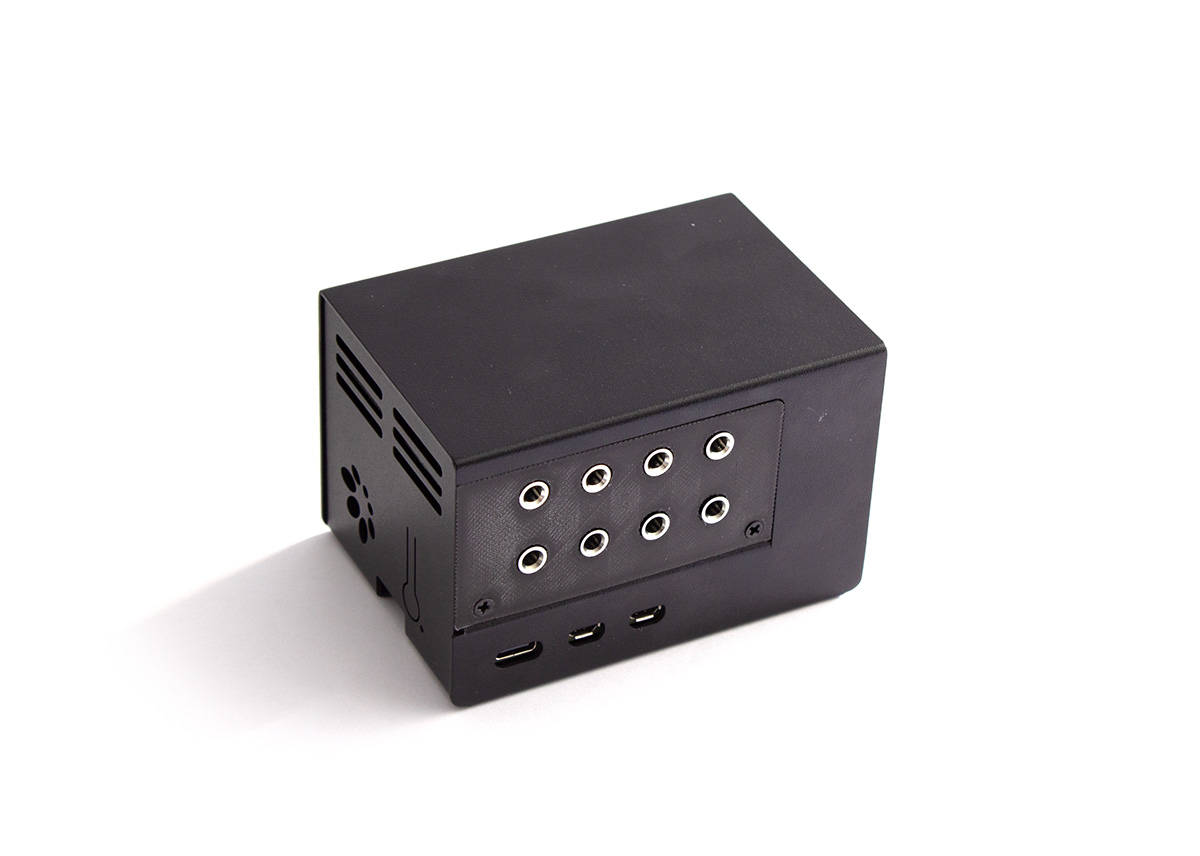
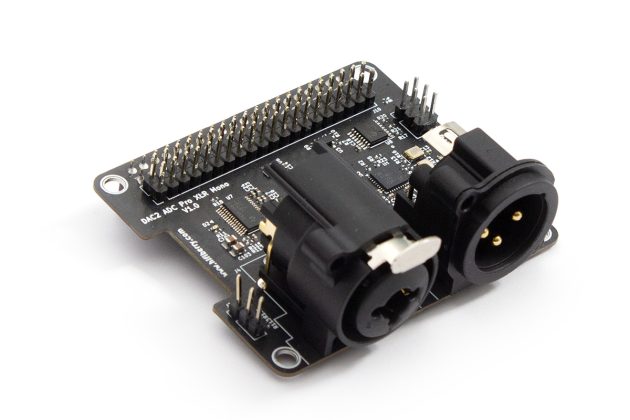
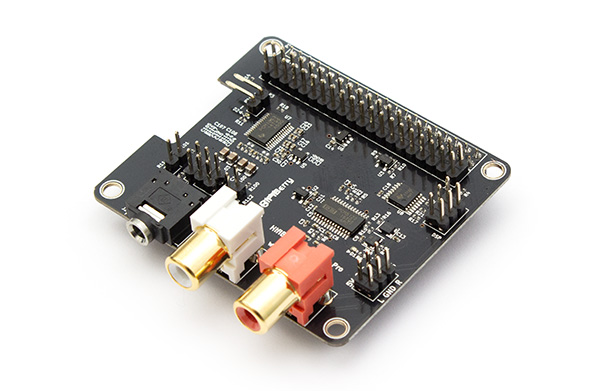
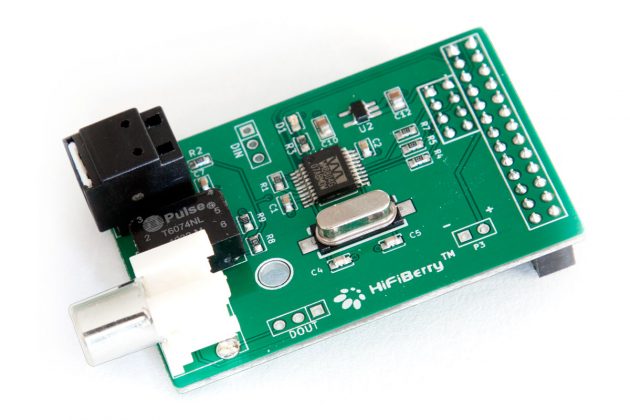
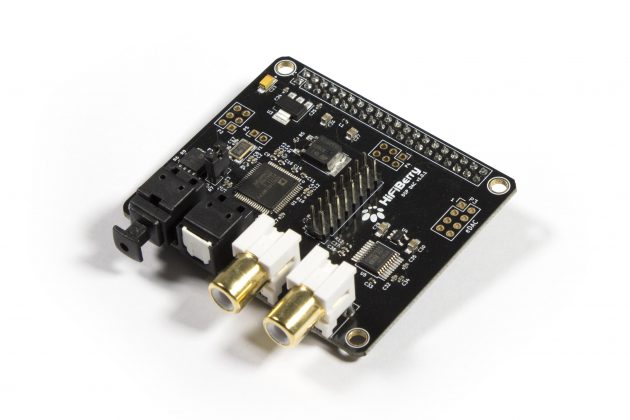
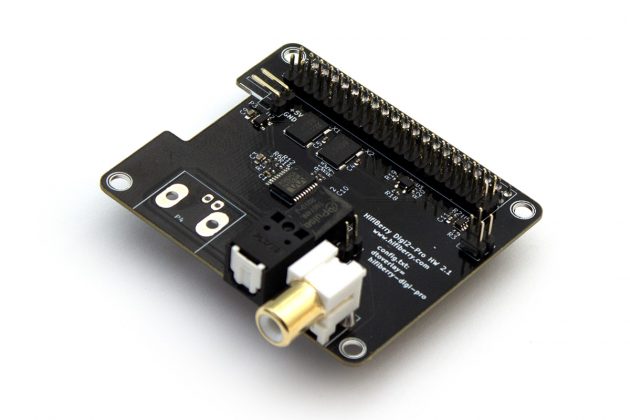
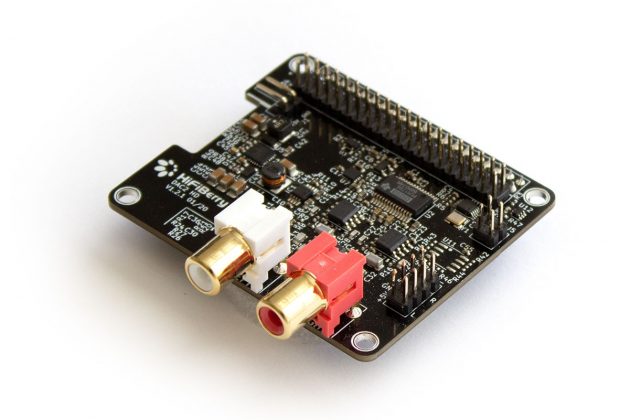
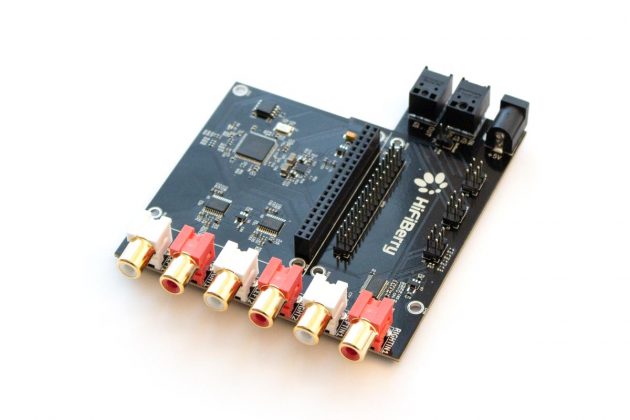
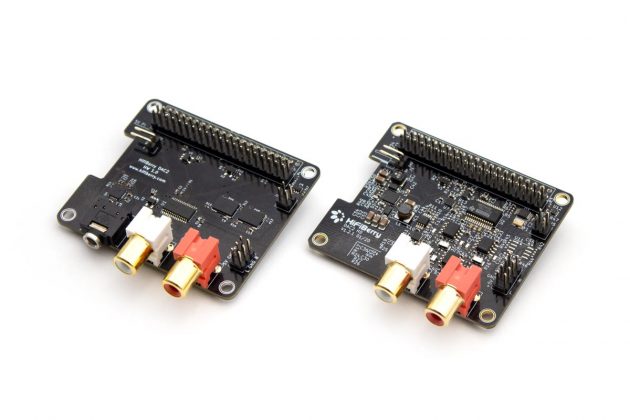
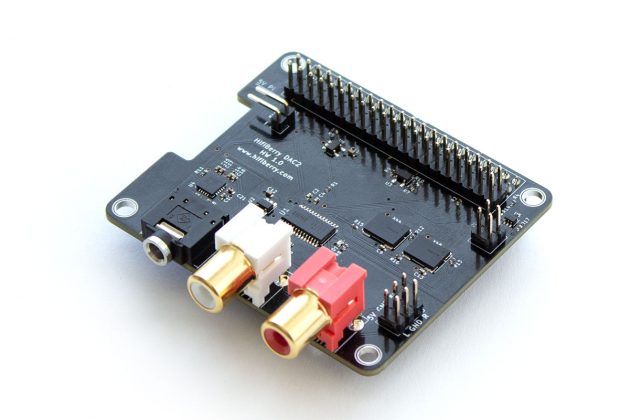
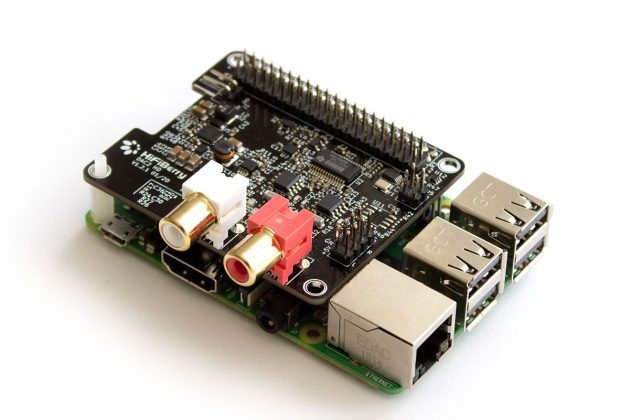
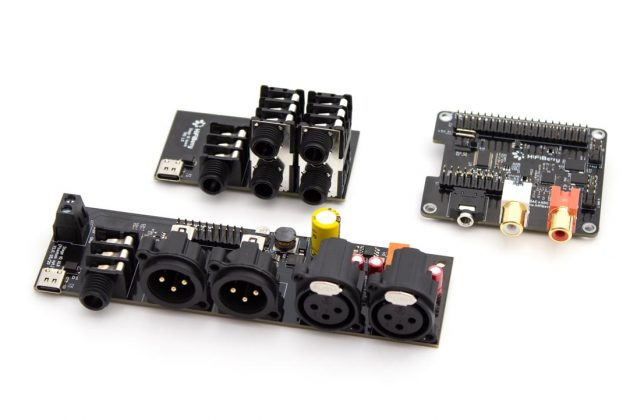
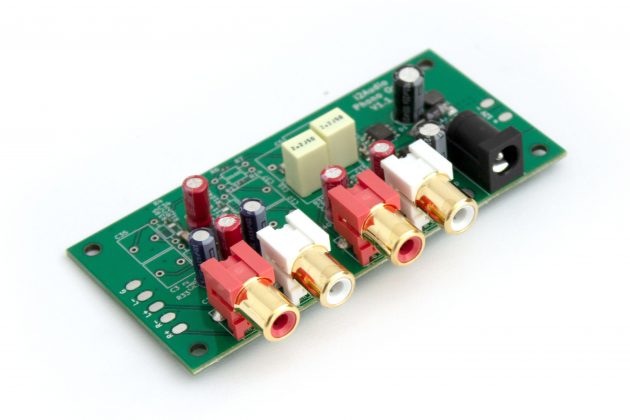
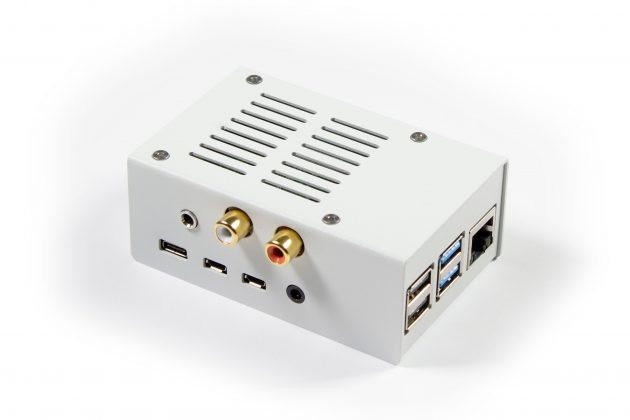
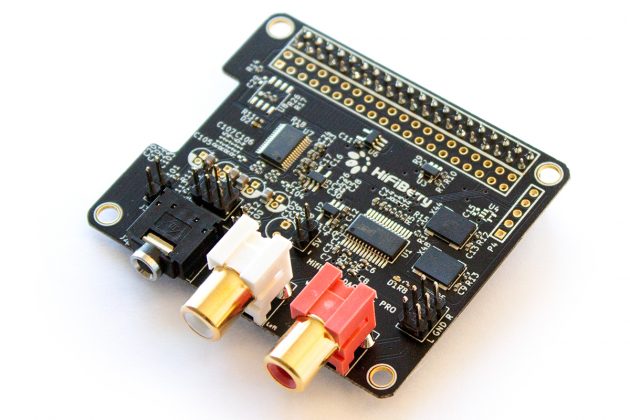
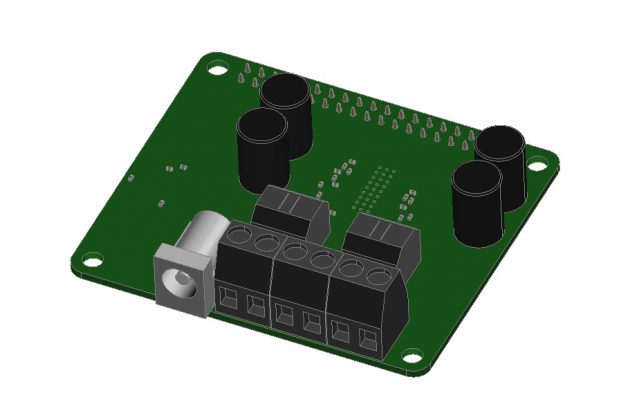
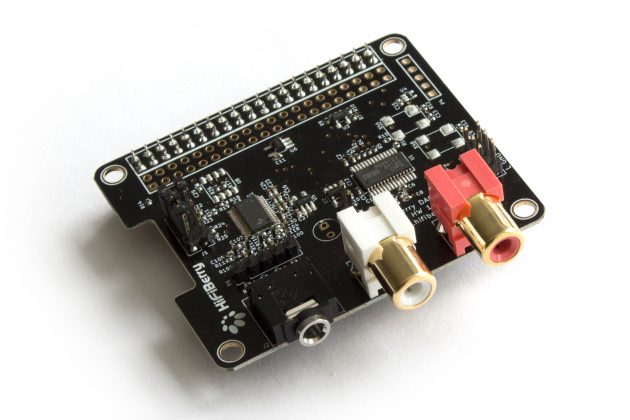
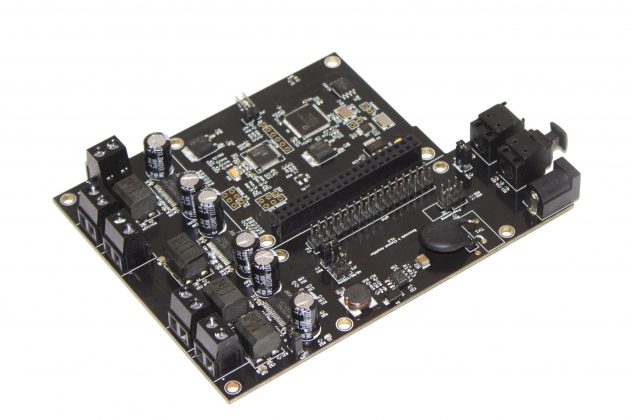
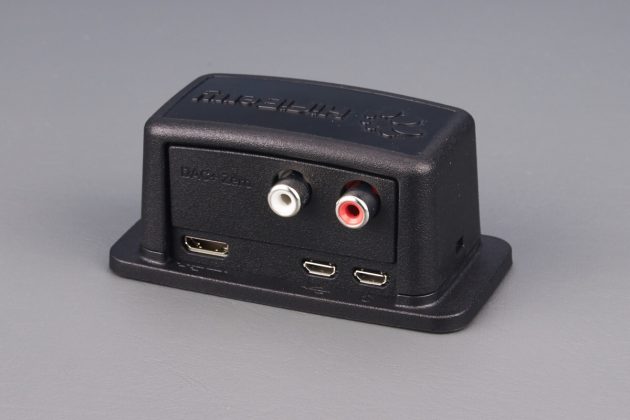
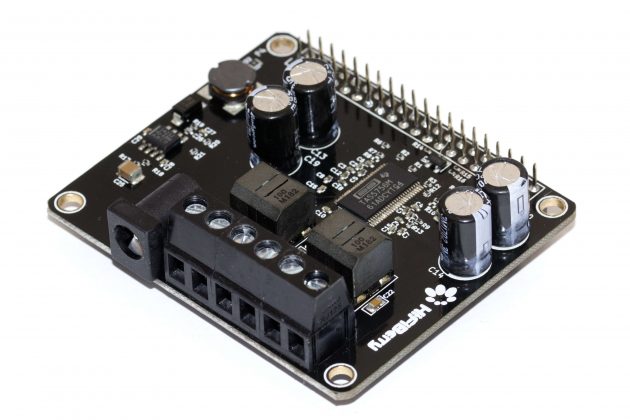
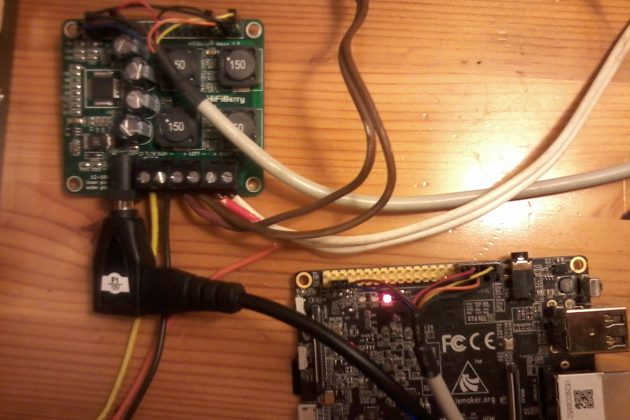
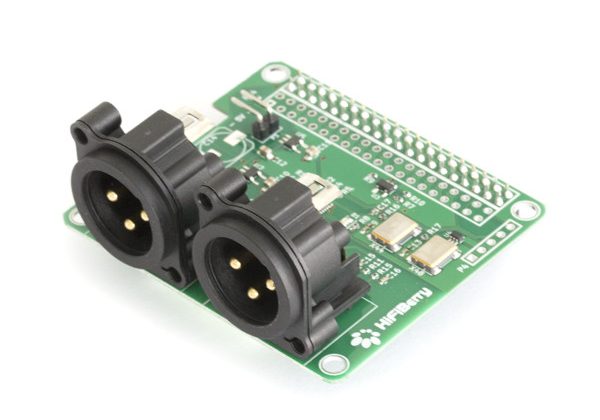
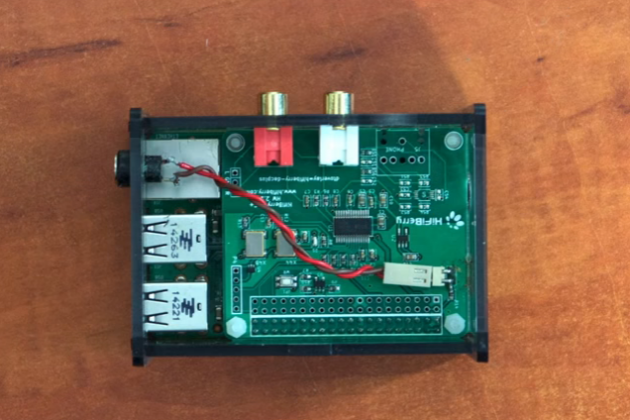
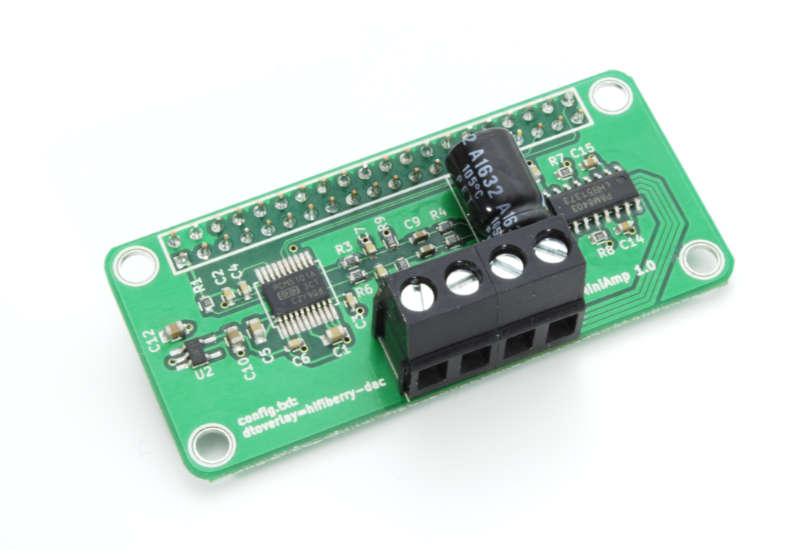
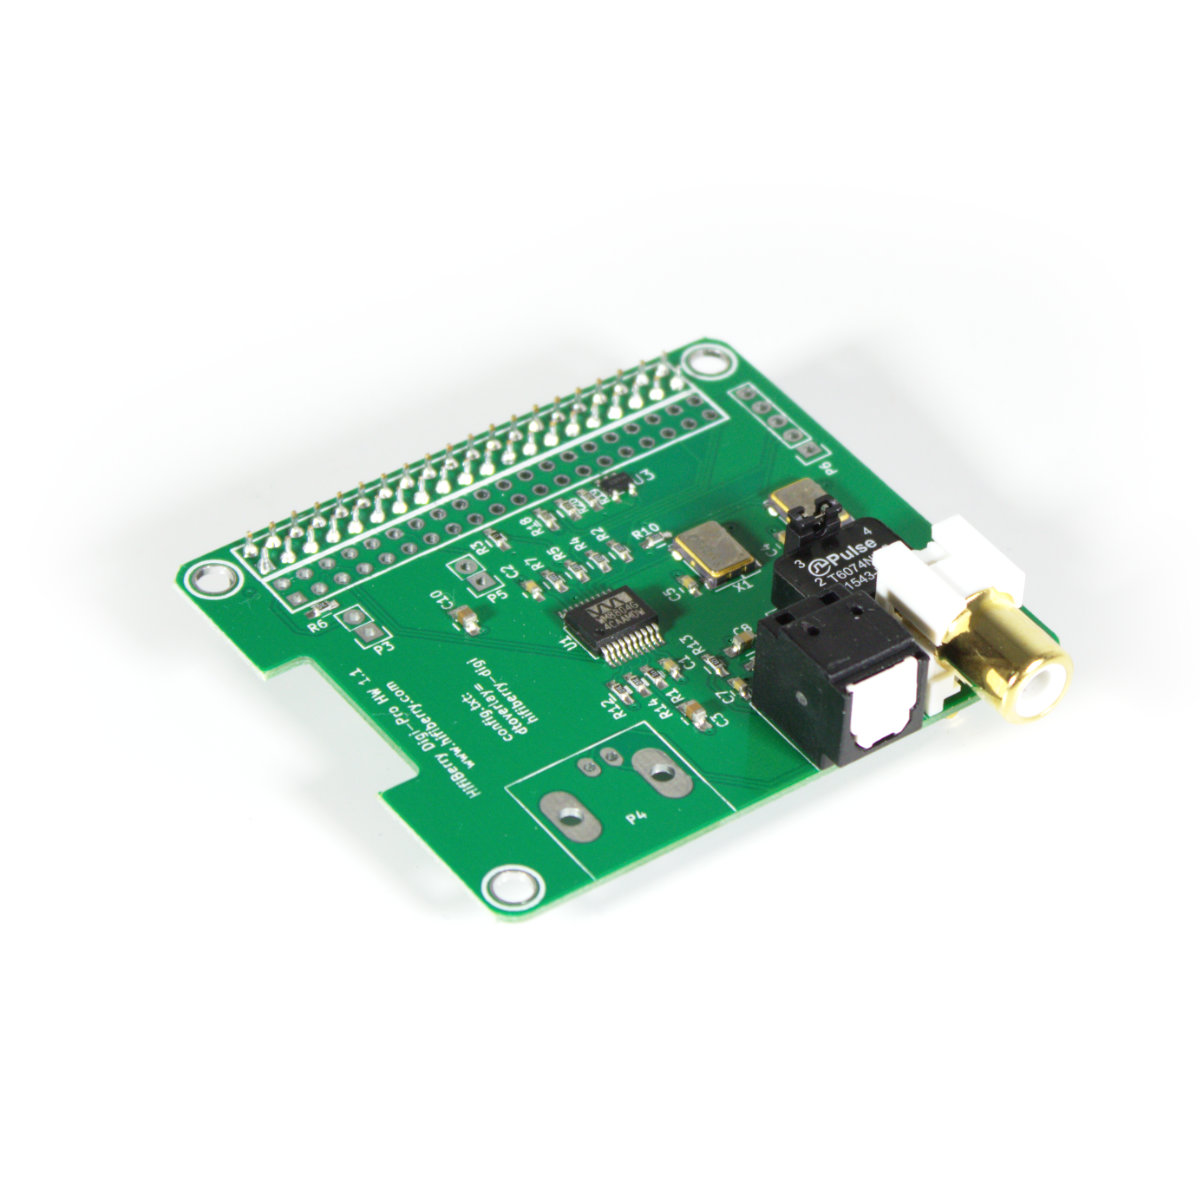
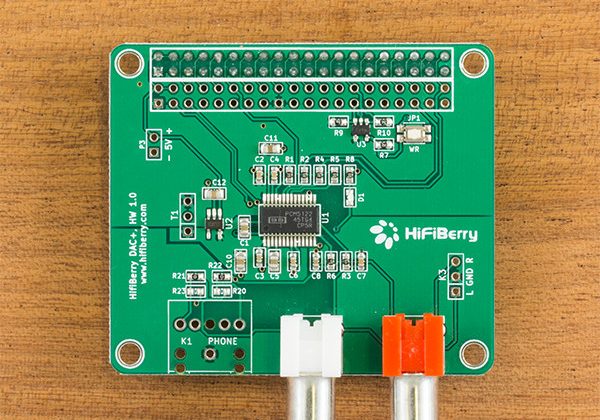
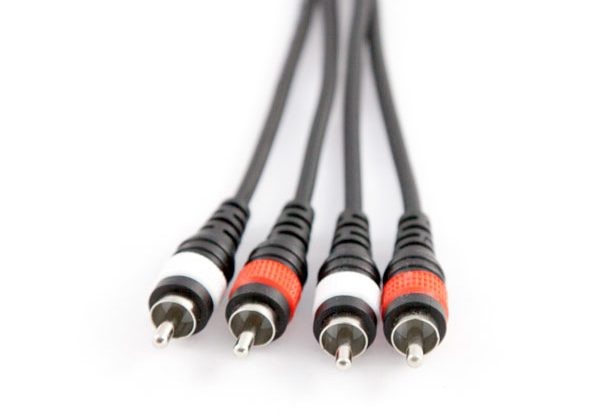
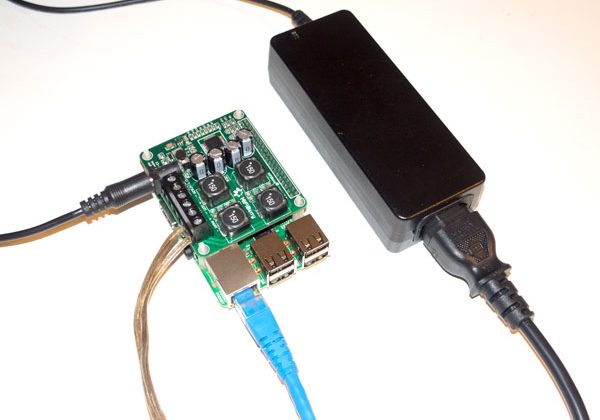
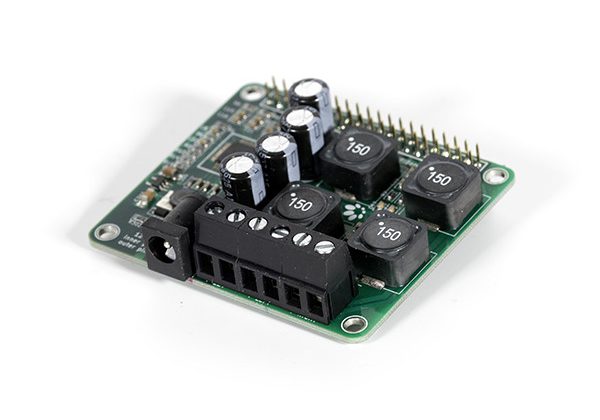
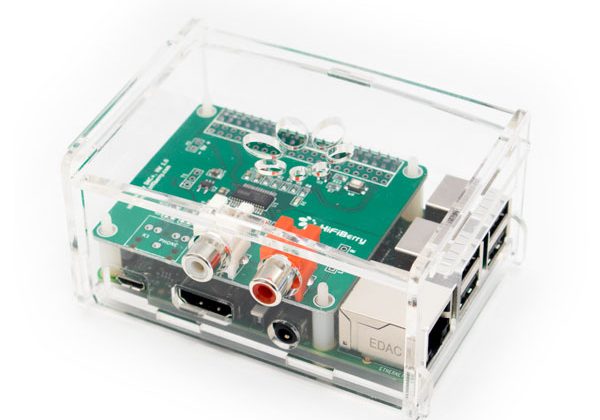
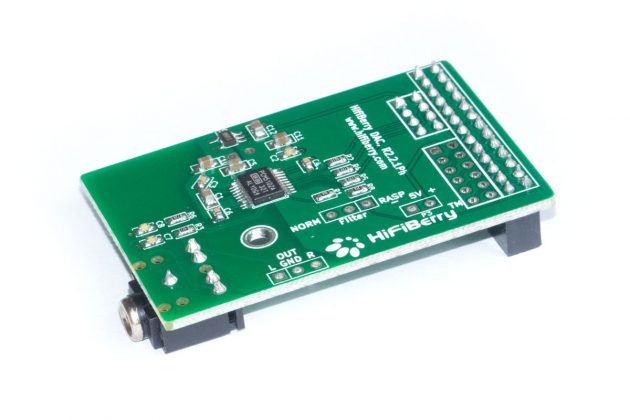
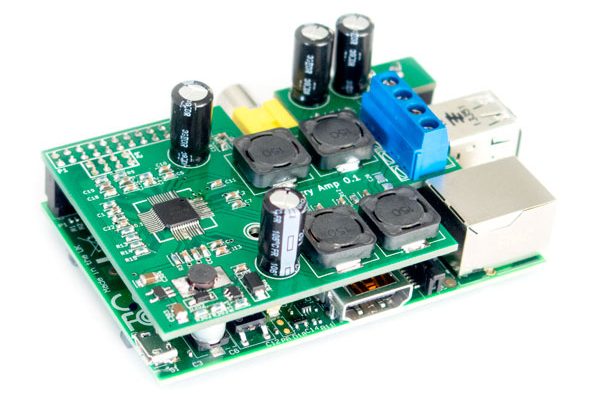
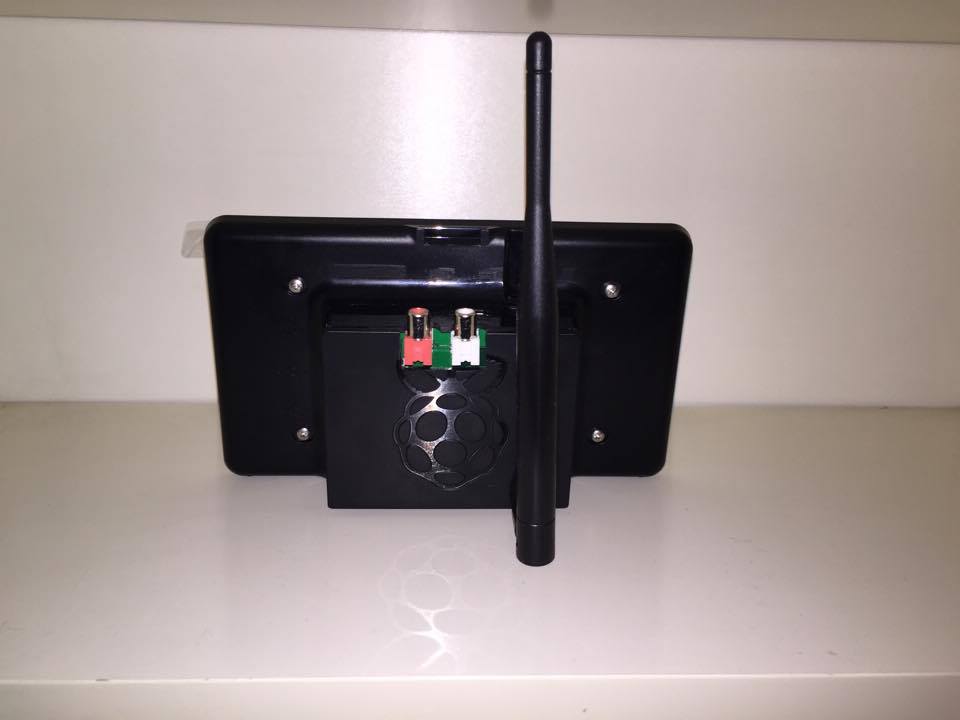
- HifiBerry DAC+ with RCA outputs
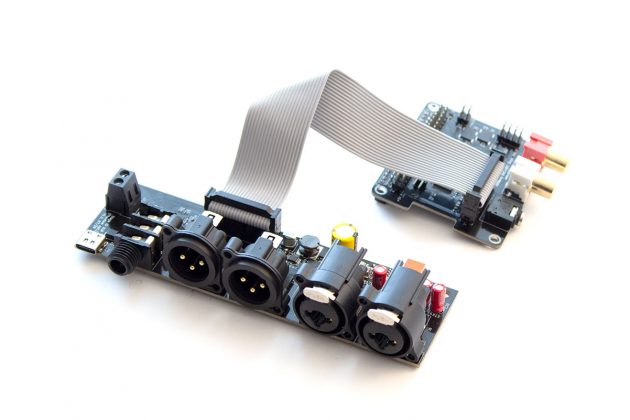
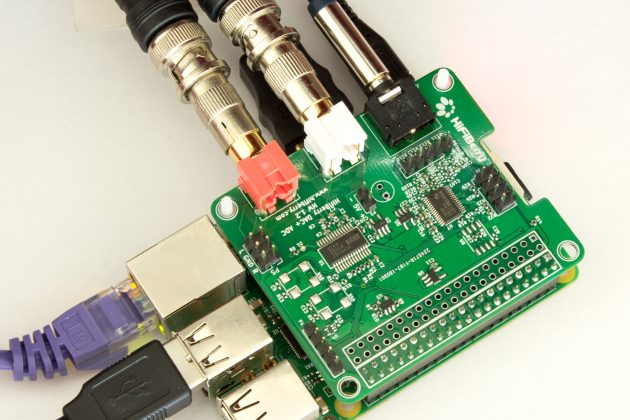
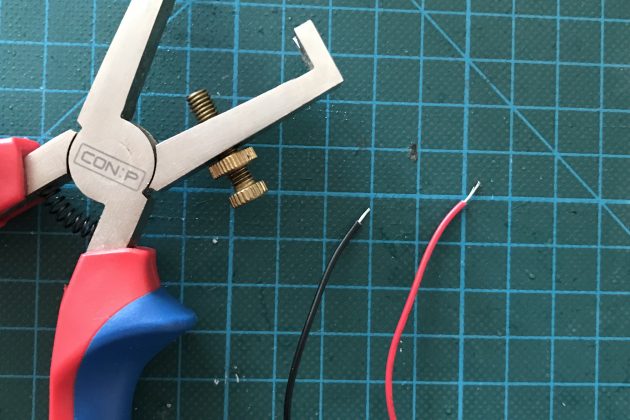
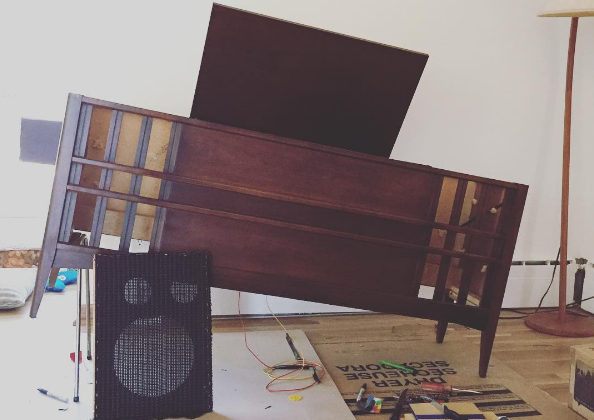
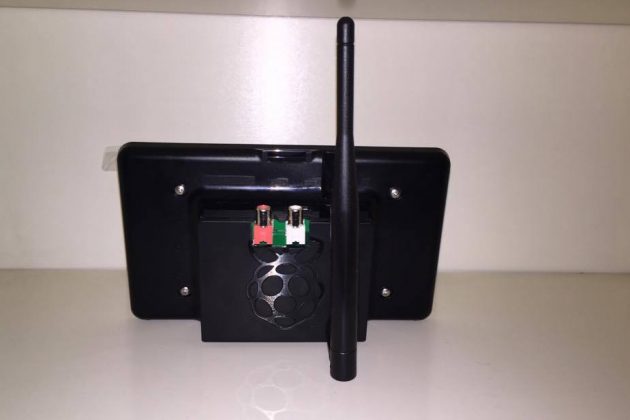
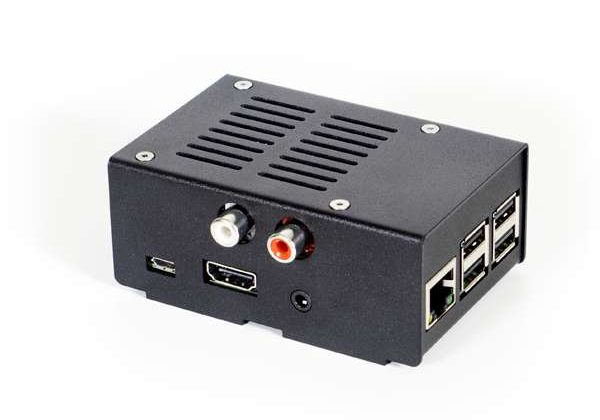
Mounting the Pi and the HifiBerry is straightforward, but to also connect the 7” display I needed to get an additional power connection. I got this from the HifiBerry board by soldering connector pins to the “P3” power connector spare on top of the HifiBerry.
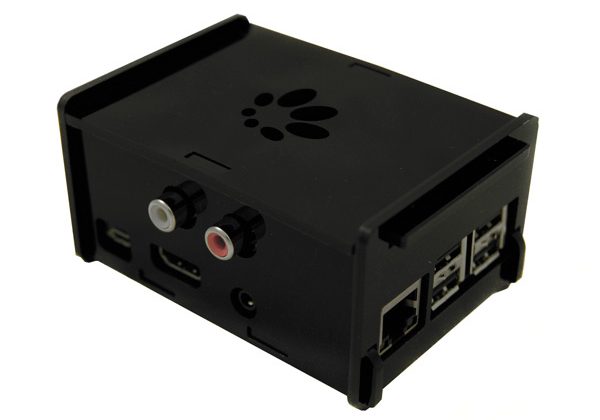
An additional challenge was that the touch-screen case didn’t have cutouts for the RCA connectors, so I had to do a little sawing, too, which was easily done using a normal jigsaw.
The result just looks like a touch-screen frame from the front. To beautify things up a bit, I added angled connectors (the Pi has all connectors at the top of the case), the gold-plated RCA connectors add to the overall appeal.
Because the intended placement required the use of WiFi but had somewhat poor reception, I also added a big external antenna.
The result was just as good as I had hoped. Easy to setup and maintain and gives me just the great sound I had hoped for.
What’s the next project you are going to build?
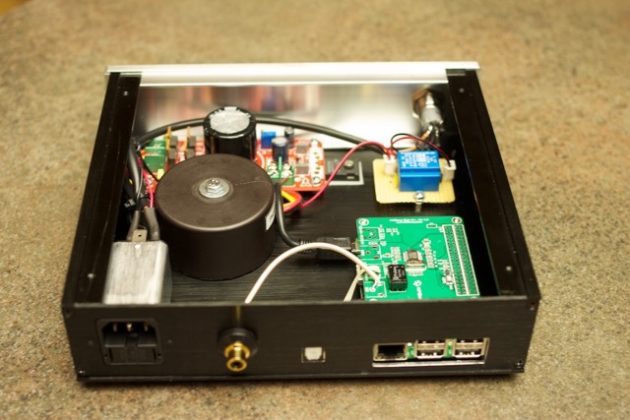
For the next project, I have upped the challenge. I want to build a mobile radio, probably using an old FM radio as a base, probably a Tivoli. This is going to be purely a player, so I need less power.
Basic requirements. These are the things I definitely want to include:
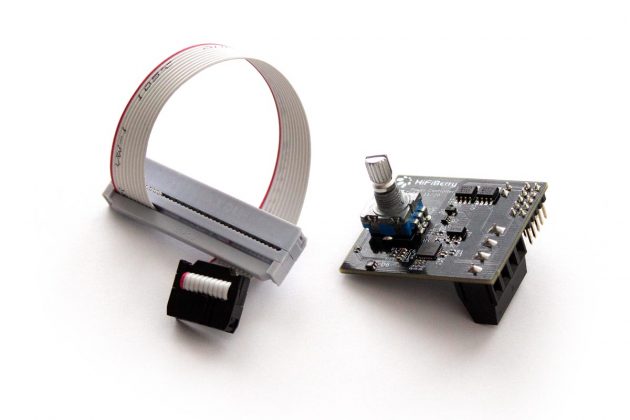
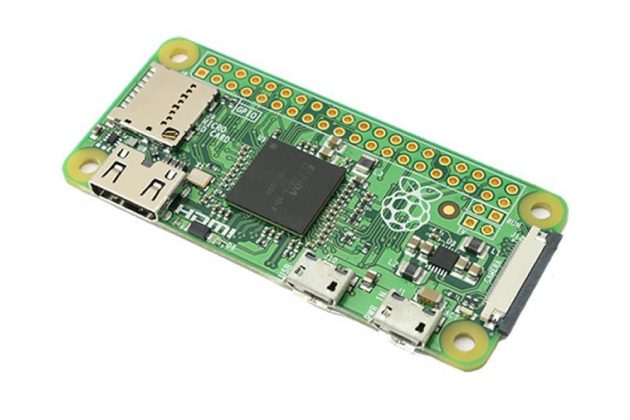
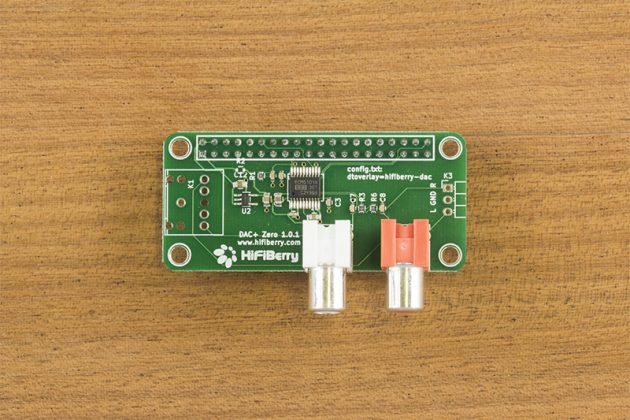
- Raspberry Pi zero for low power consumption;
- HifiBerry DAC+ zero;
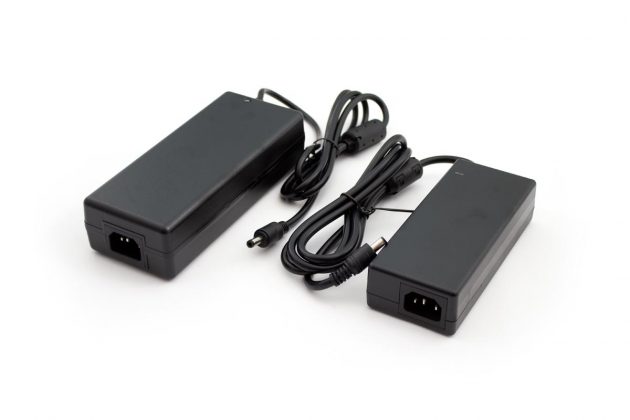
- internal power supply and power bank for mobile use.
And then there are some “nice to have”-things I have not yet decided upon, this depends a bit on the dimensions and available space in the radio I am going to modify:
- A 2.8” display for time and playback information;
- a play/pause switch;
- a rotary encoder for volume control;
- a ”snooze”-button to use the device as an alarm radio.
This will certainly be a bigger challenge than the last one, but you’ve got to grow with your projects.
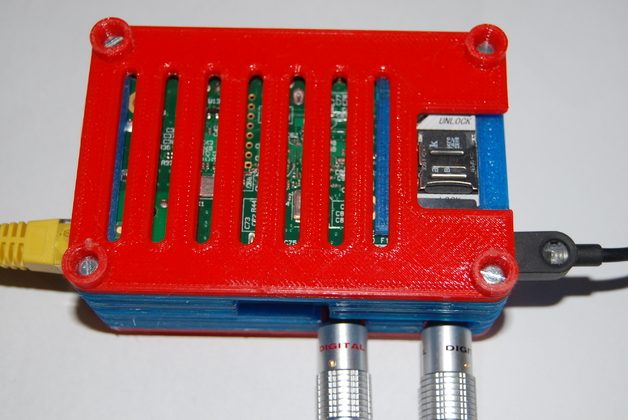
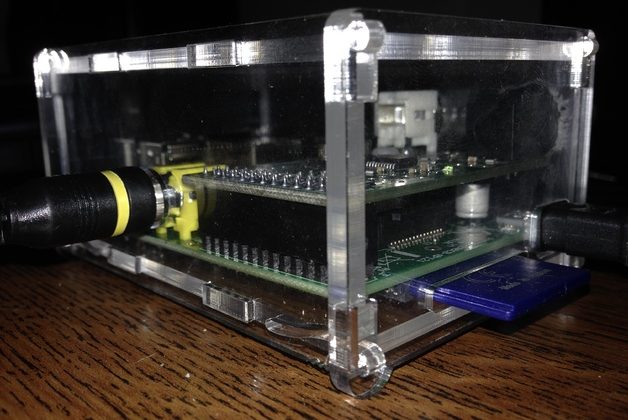
Jörg’s project can also be found in our new Gallery.
November 1, 2016