Blog
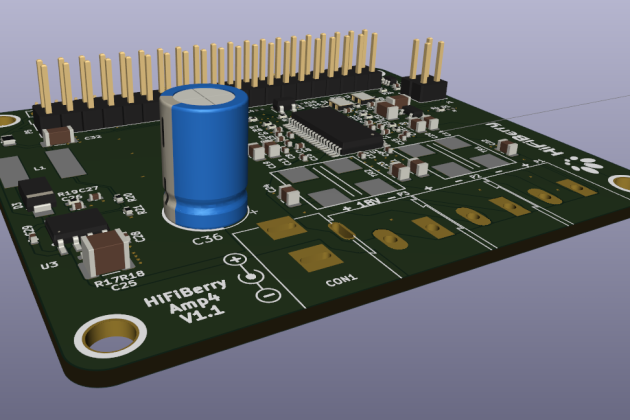
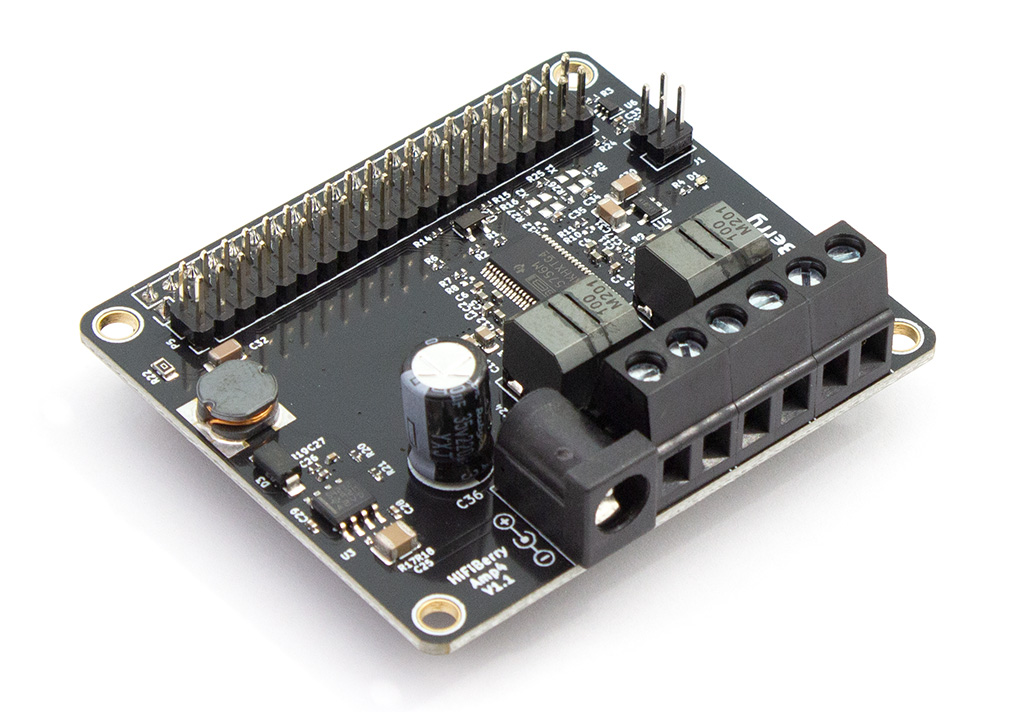
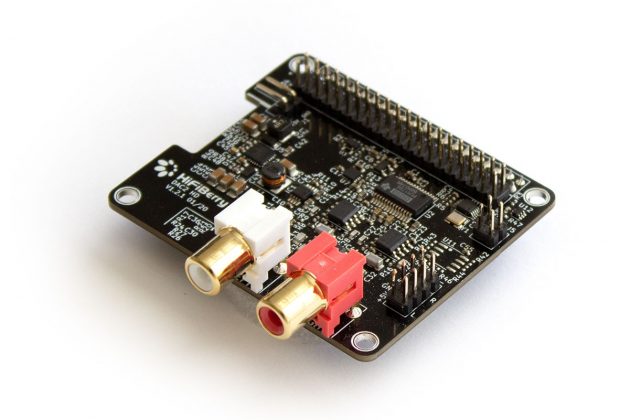
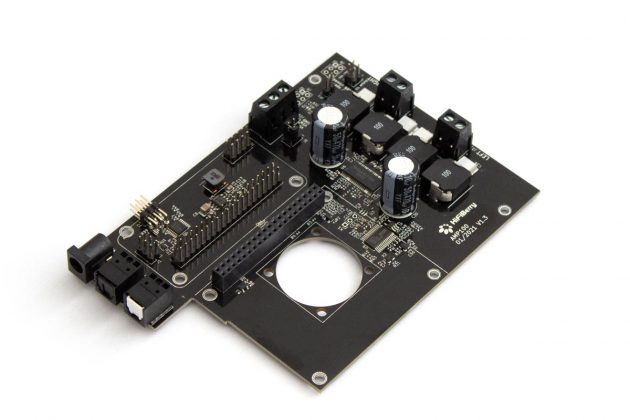
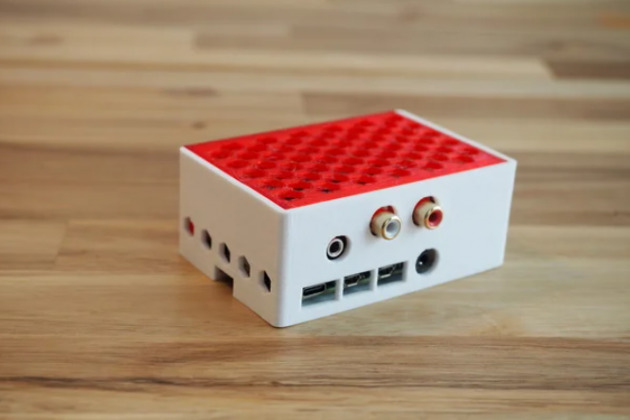
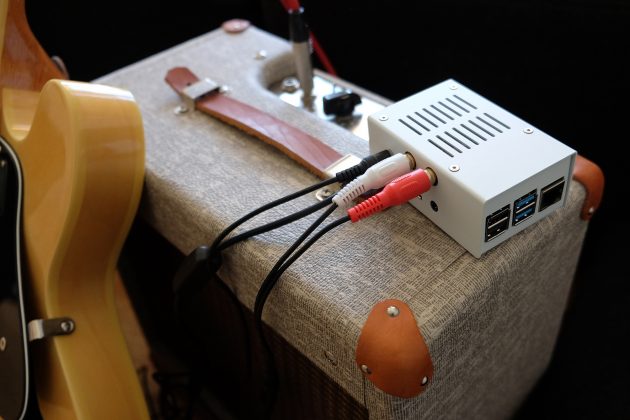
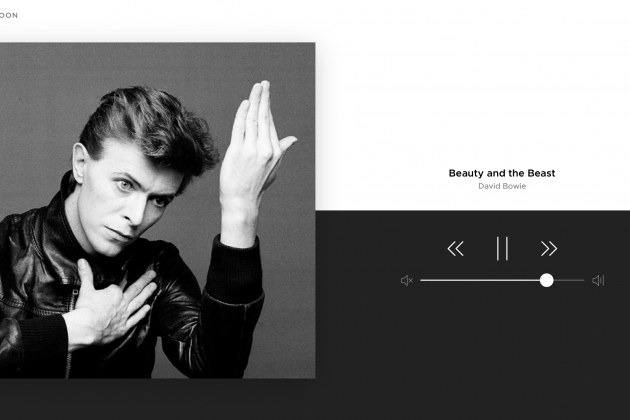
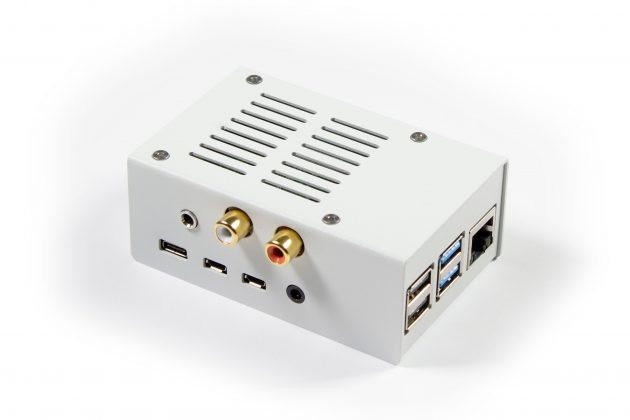
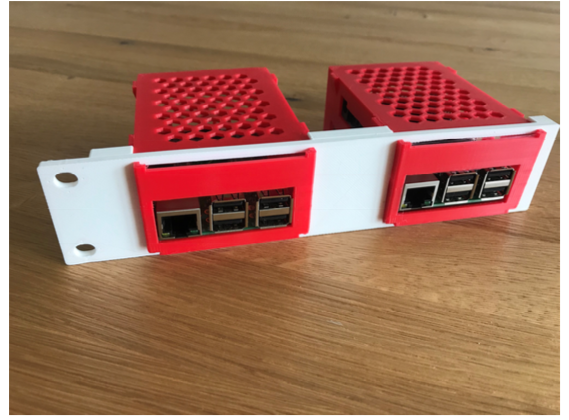
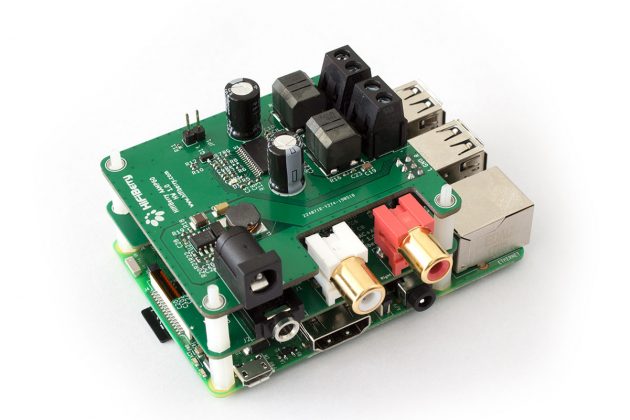
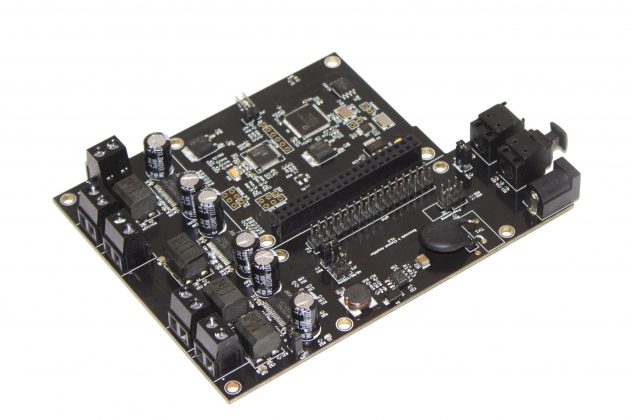
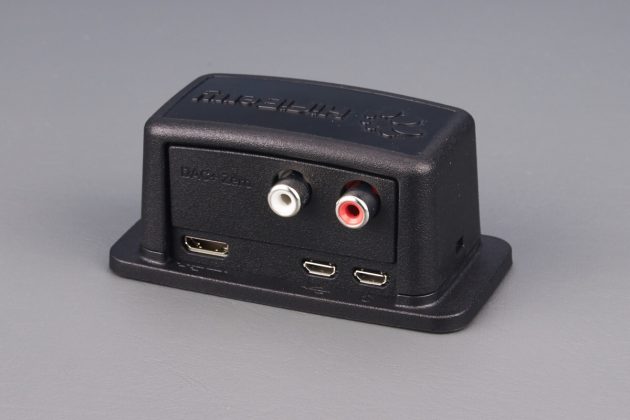
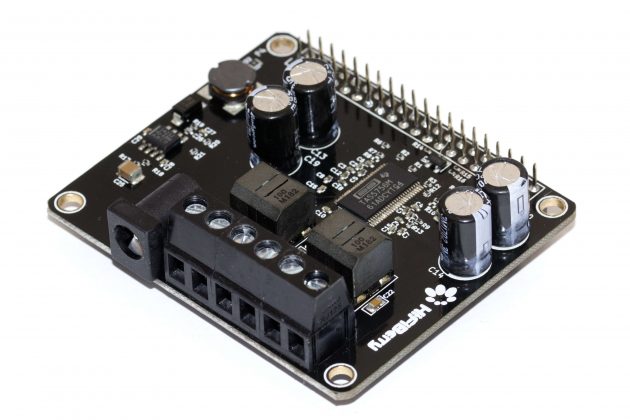
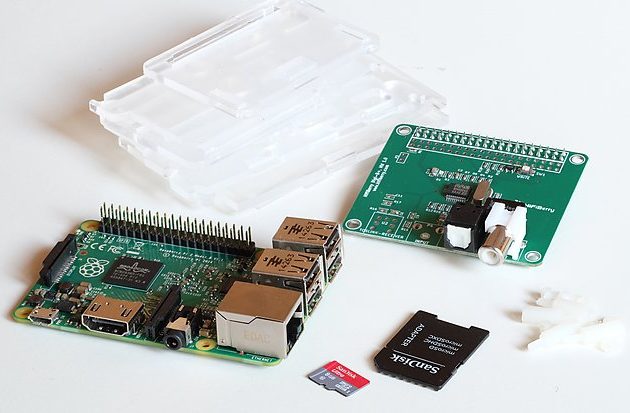
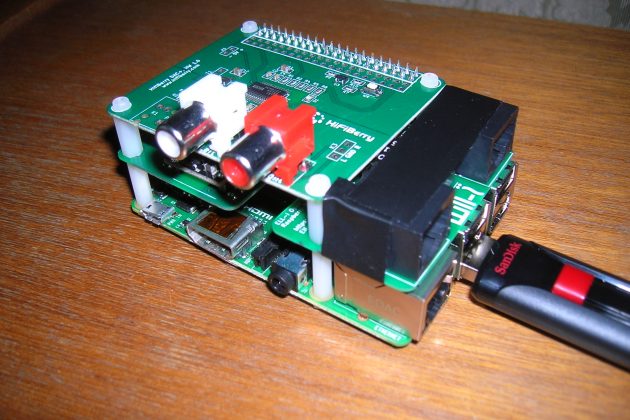
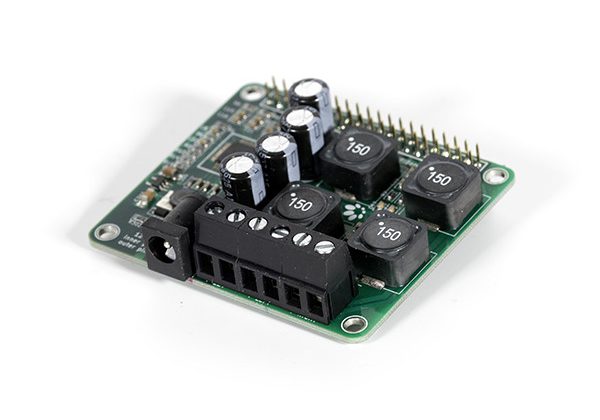
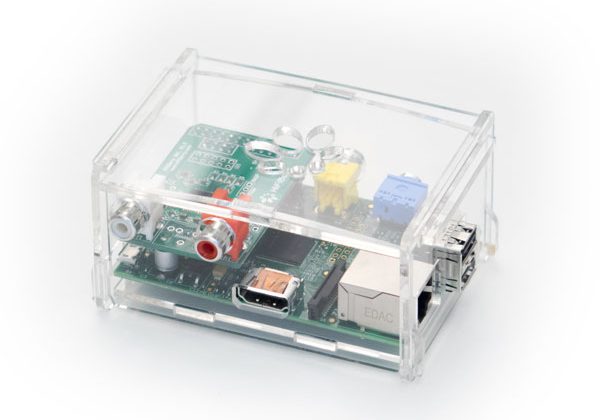
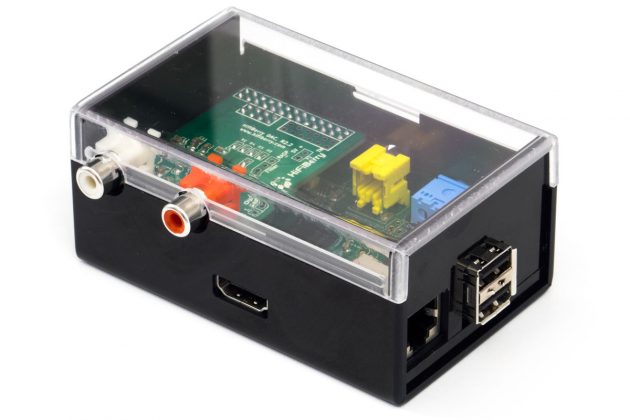
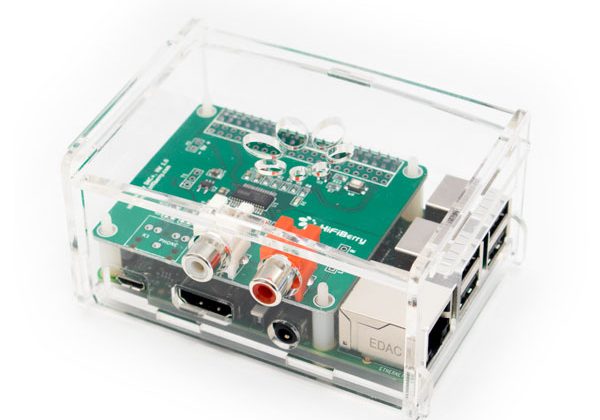
Using Roon with the Beocreate 4 channel amplifier
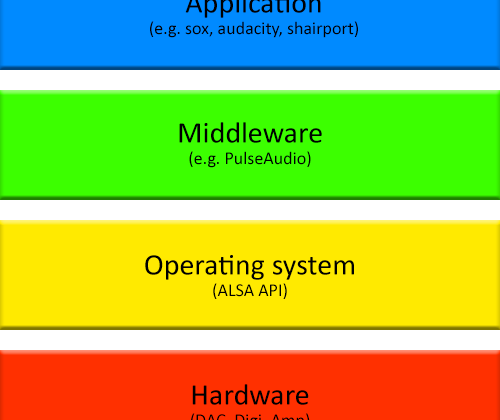
There are a lot of questions like “does the Beocreate 4 channel amplifier work with application X?”. In general, the answer is “most likely yes”. As long as they haven’t been specifically updated for the Beocreate board, they will see it as as “dumb” device, but that’s not a problem, if you just want to listen to music. We’ll show you how to make it work. As an example, we’ll show here how to setup a Roon client to use the Beocreate amplifier.
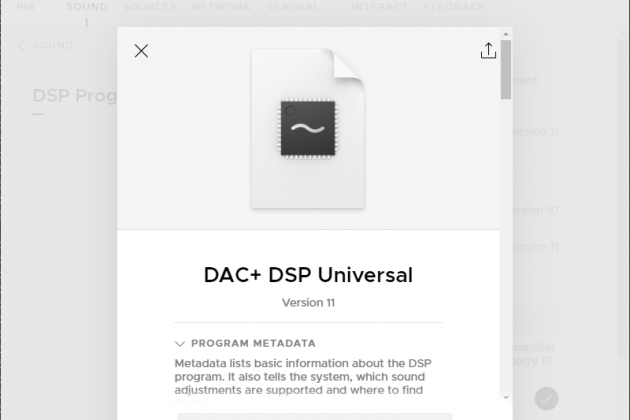
Setup the sound profile
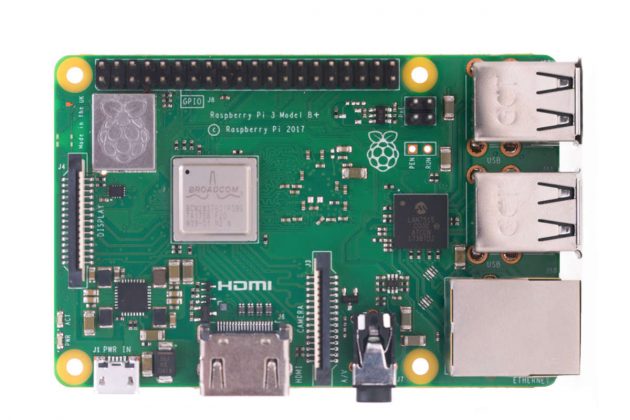
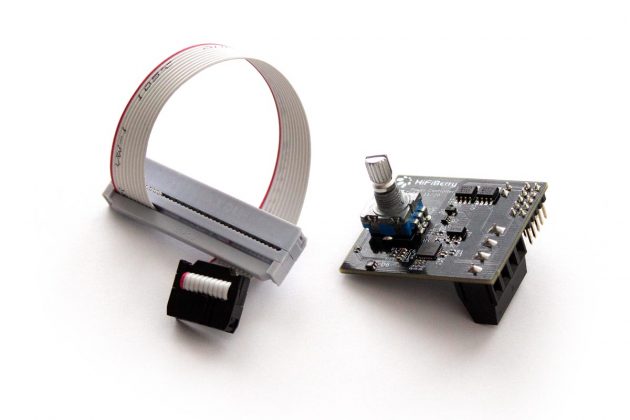
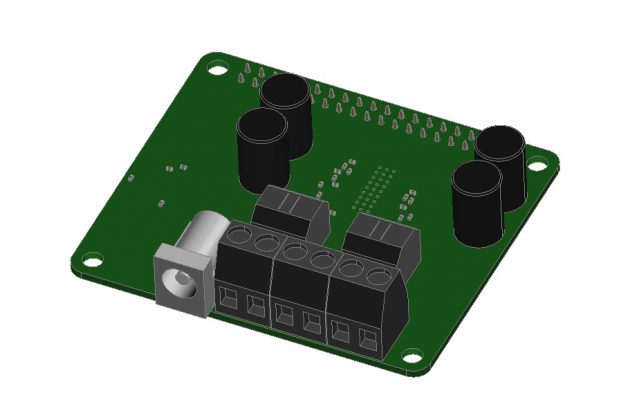
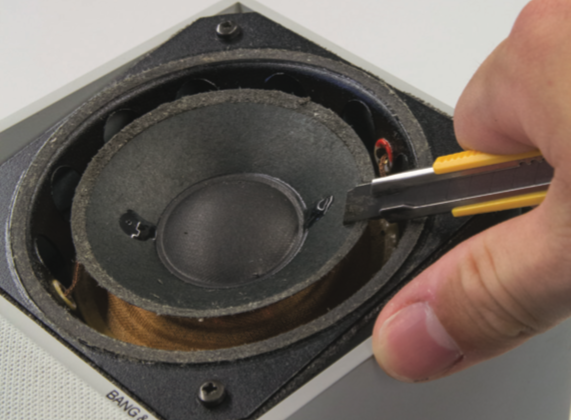
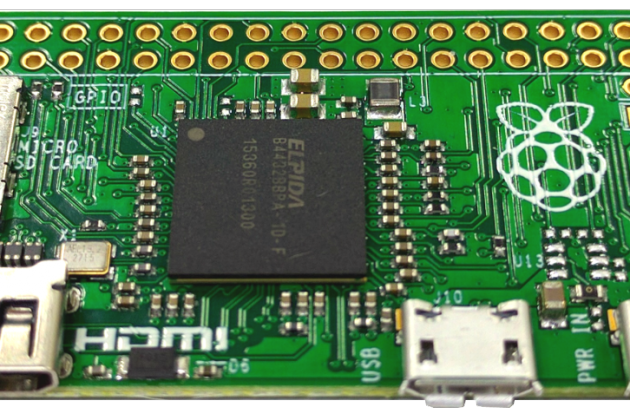
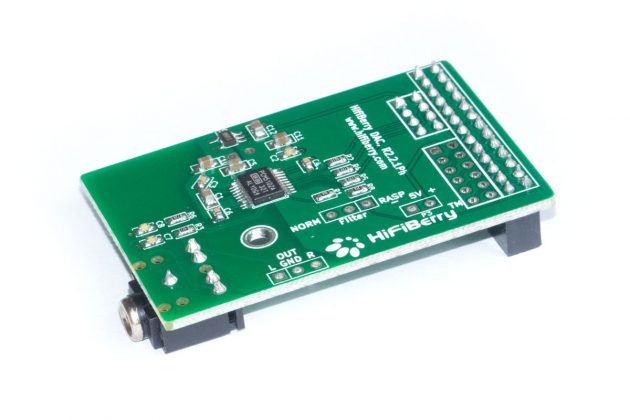
You first have to install and boot from the Beocreate software. This is necessary to write a specific sound profile the the DSP board.
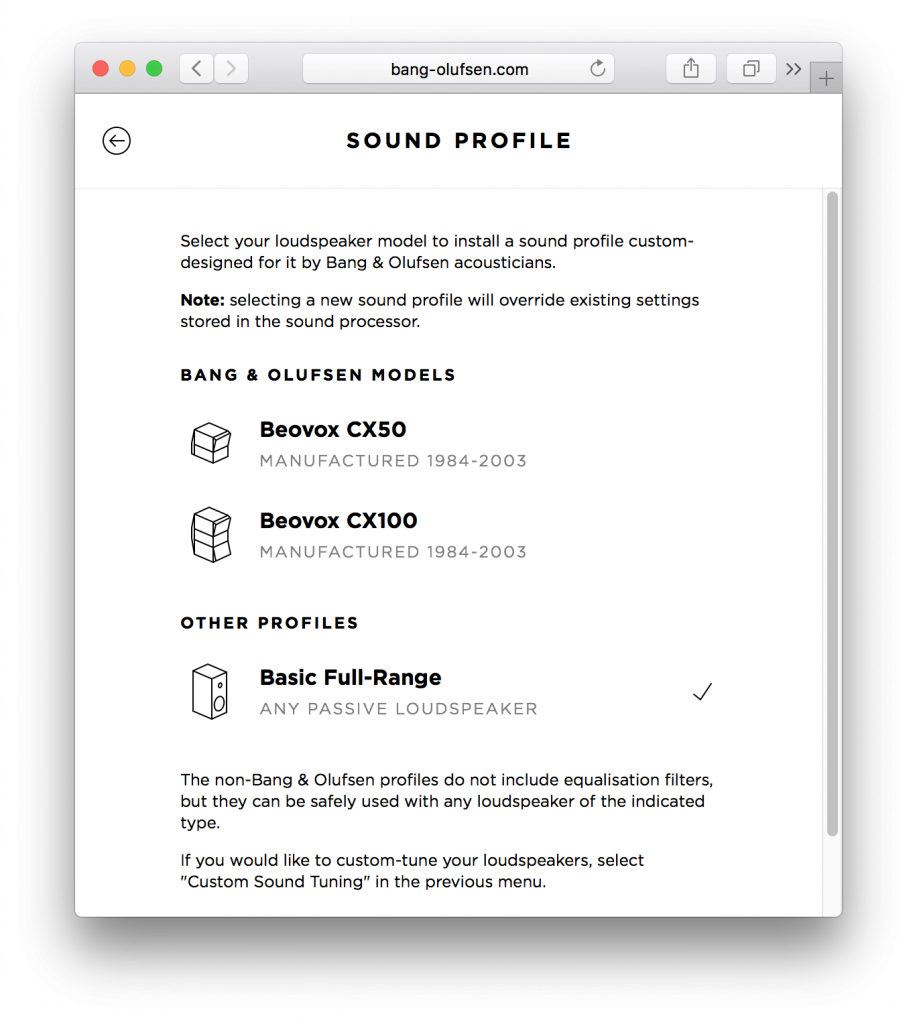
When you selected the sound profile, it will be downloaded from the Internet and stored directly on the Beocreate amplifier. This means that after a reset, this profile will still be available, even if you don’t use the Beocreate software.
Install and configure the software of your choice
We’ll show you here how to do this with DietPi or RoPieee.
DietPi
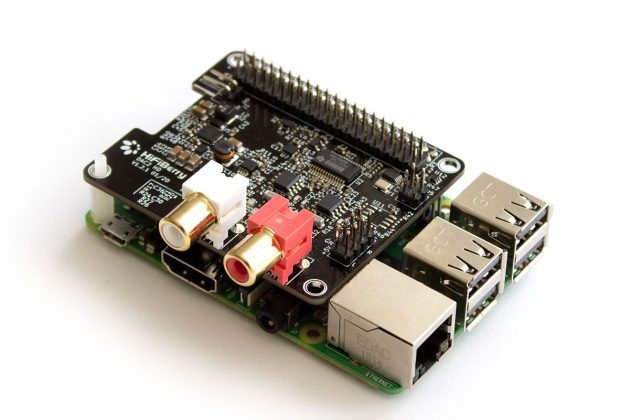
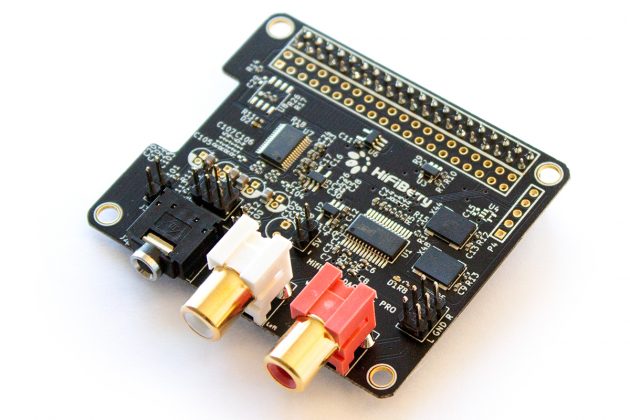
First, login to the system via SSH (user root, password dietpi) and configure the HiFiBerry DAC as the sound card: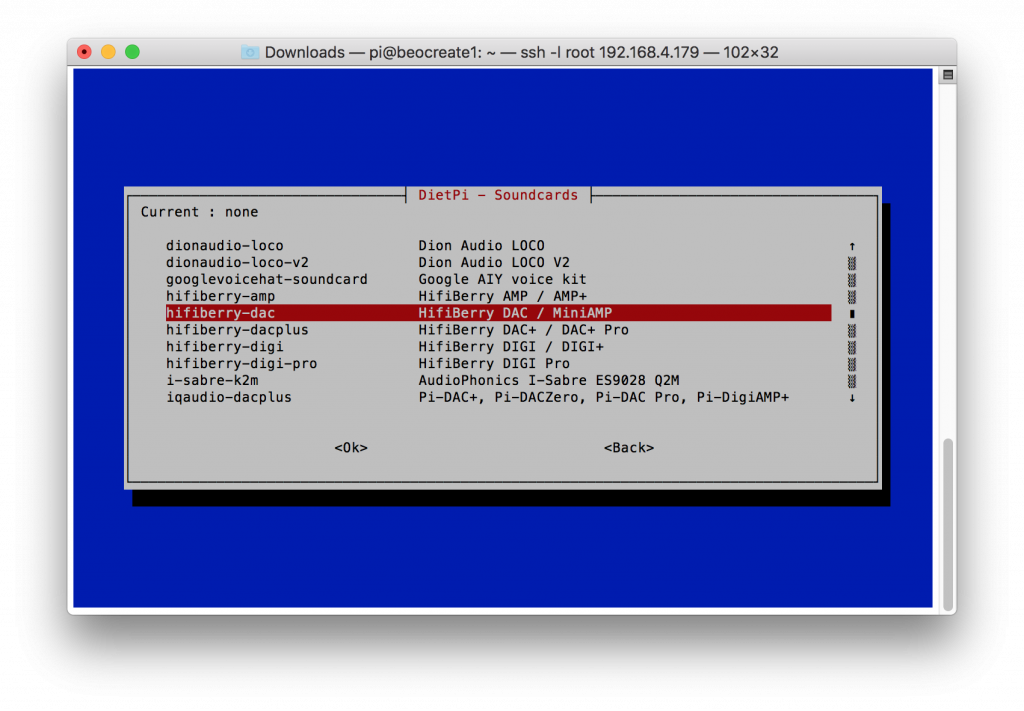
Under “software optimized” you will find the Roon Bridge software. Select and install this.
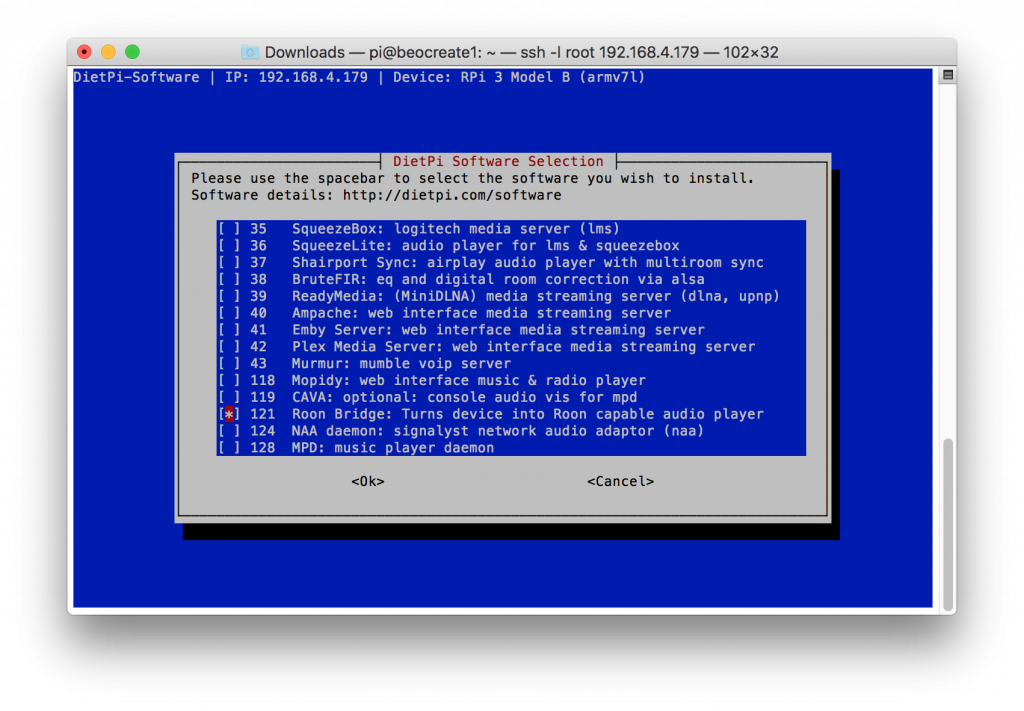
Now reboot and you’re ready.
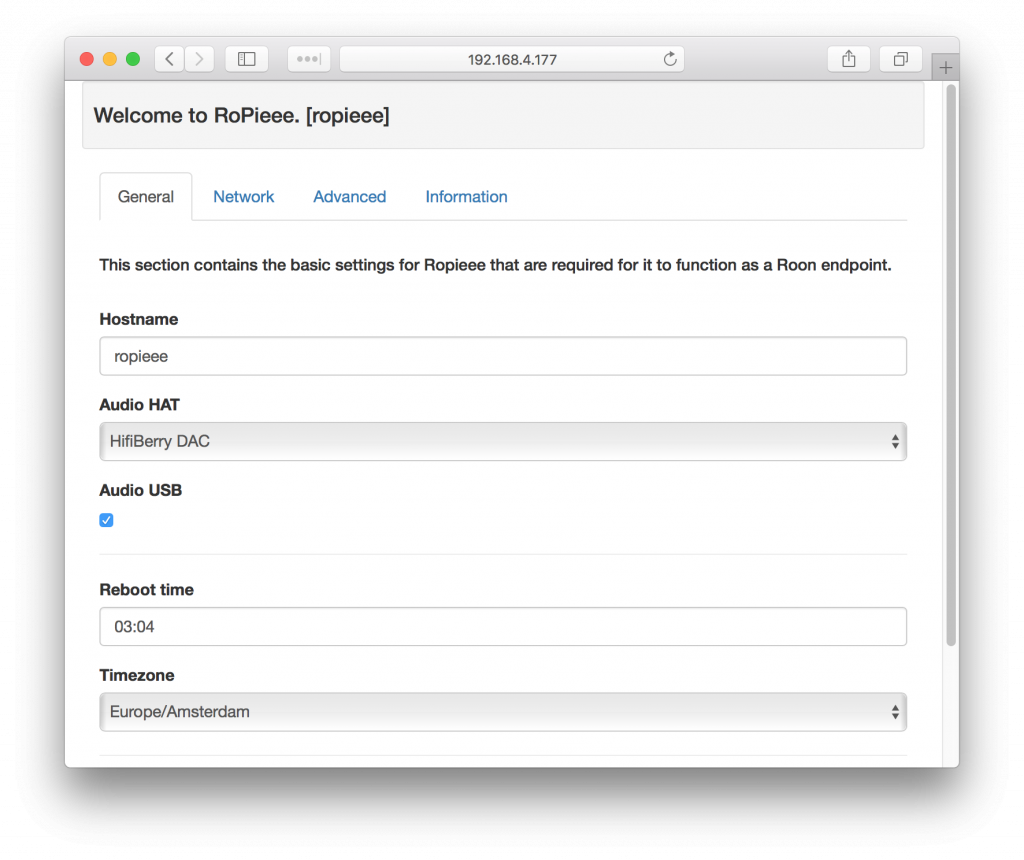
RoPieee
With RoPieee it’s even simpler as the system is designed already as a Roon client. You only have to select the HiFiBerry DAC in the settings menu ( type ropieee.local in your web browser to access the configurations menu).
Configure Roon
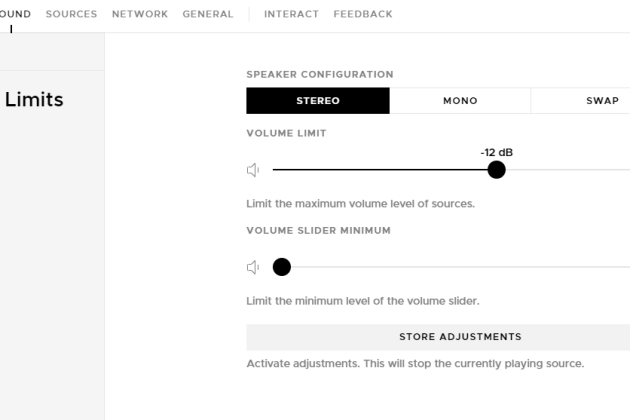
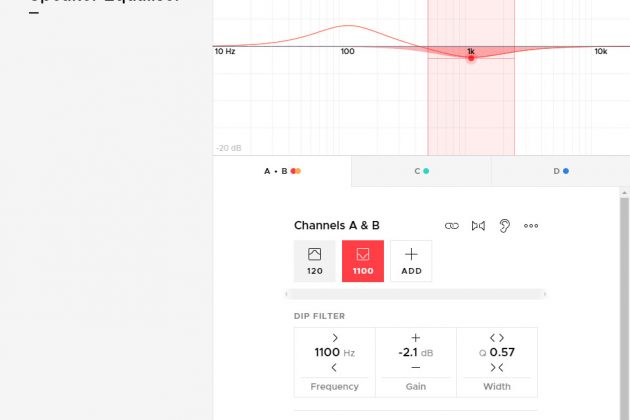
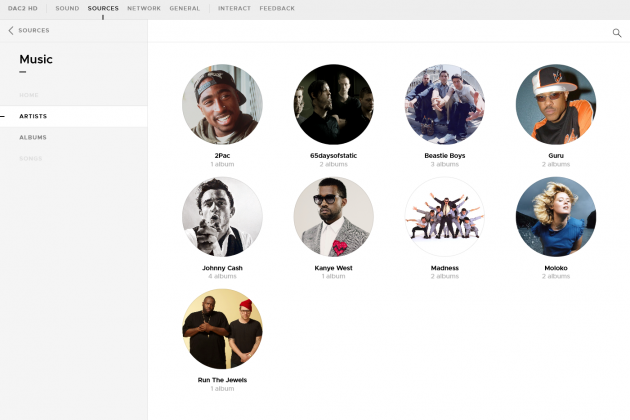
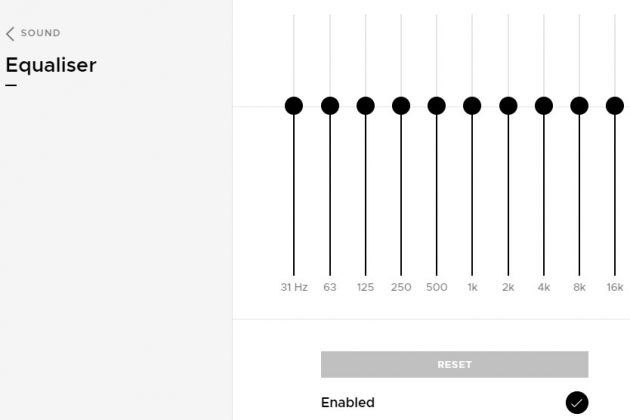
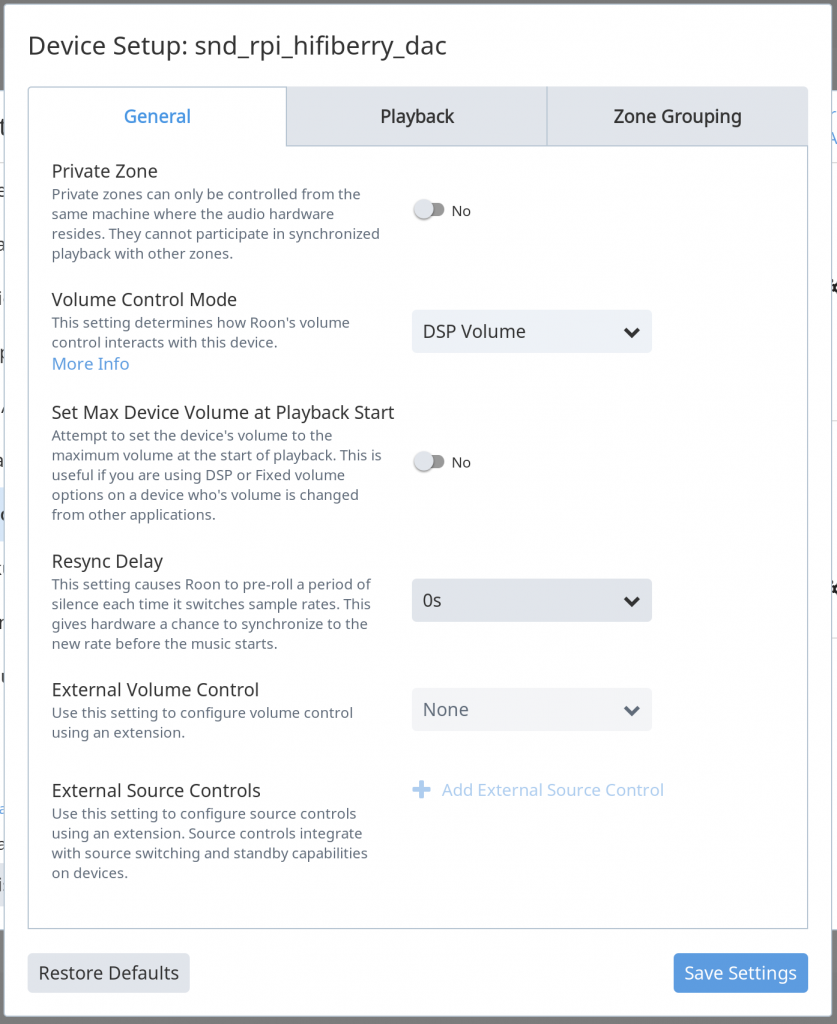
Now go to the Roon application on your Roon server and you should see the new Roon client under “Settings/Audio”. Click on “Device setup” and in “Volume control mode” select “DSP Volume”. You our now able to control the volume from Roon.
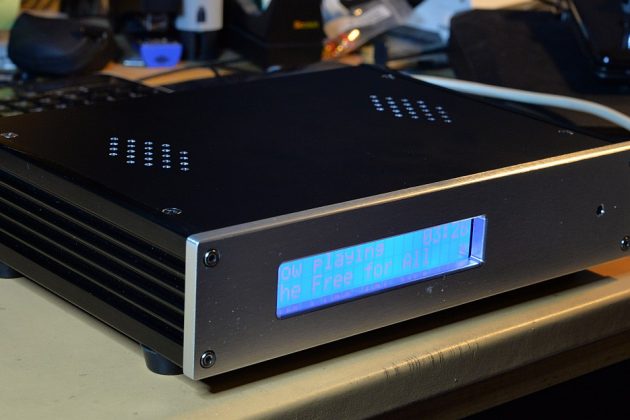
You’re done, start your music and enjoy it! We recommend to set the volume low at the beginning – the Beocreate 4 channel amplifier has enough power to be very loud with most loudspeakers.
February 23, 2018