Blog
Flash your DAC+ for automatic configuration
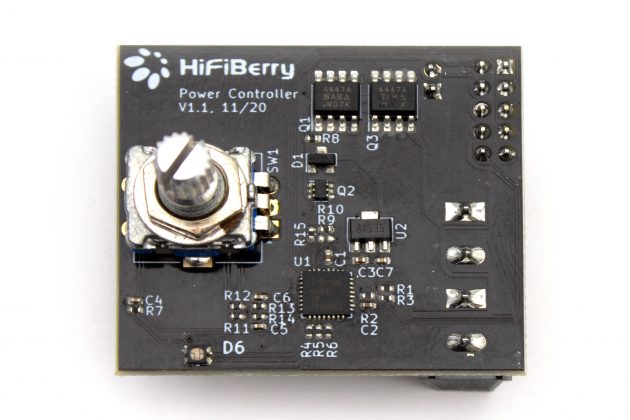
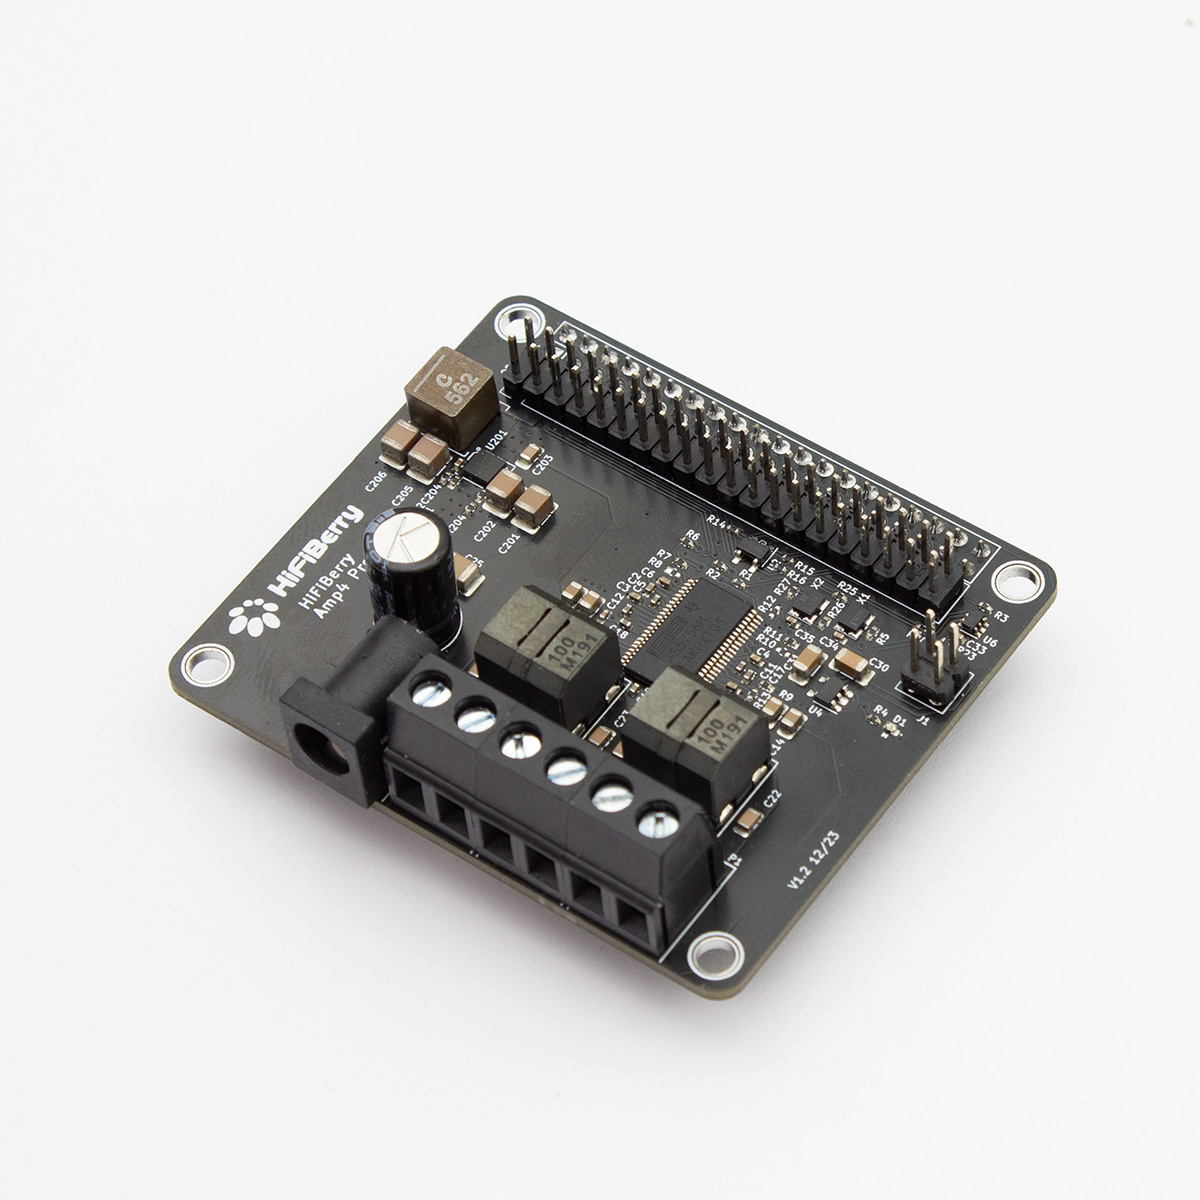
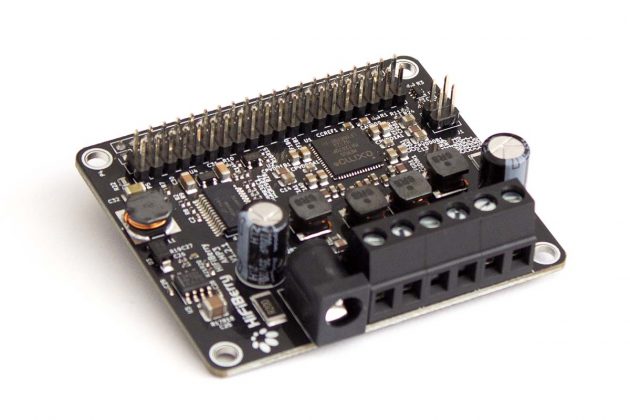
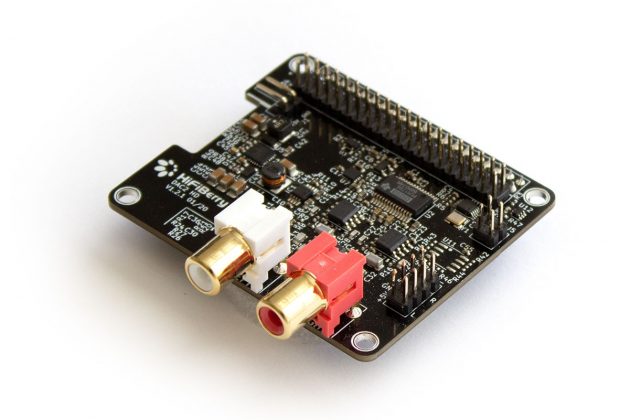
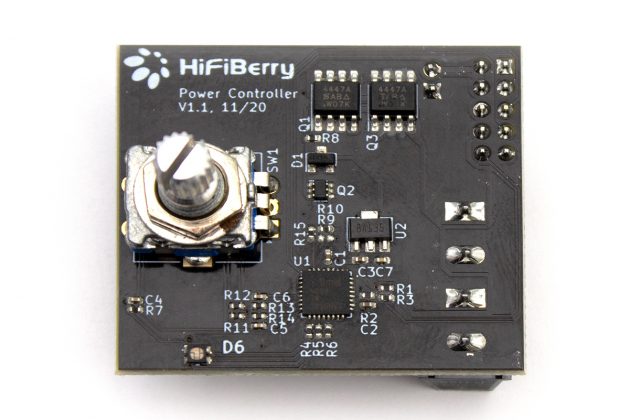
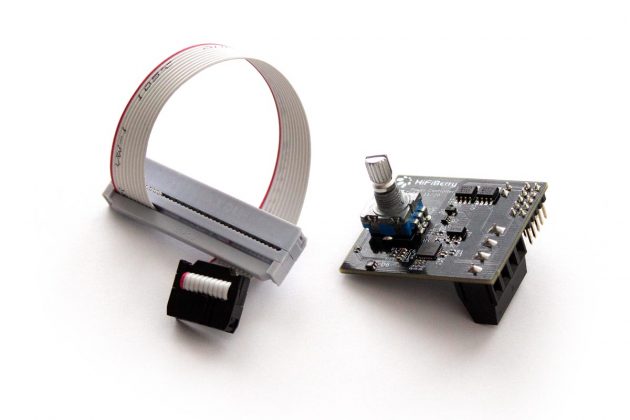
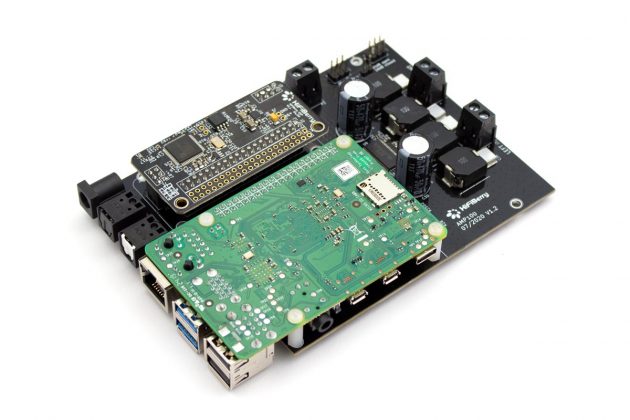
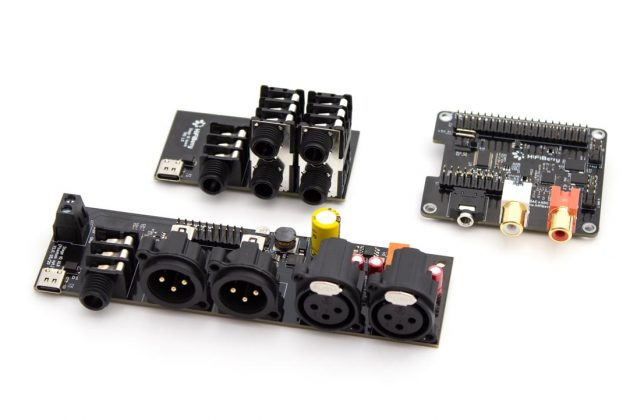
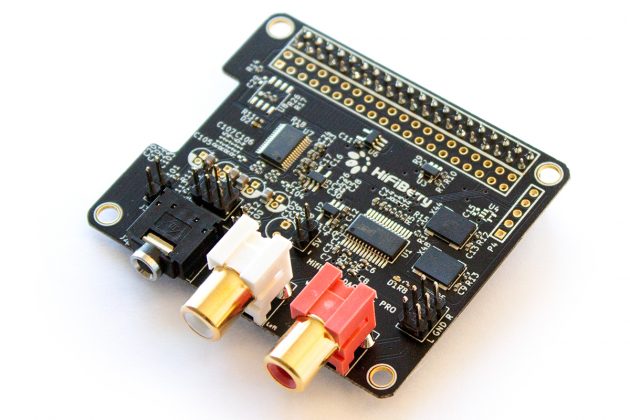
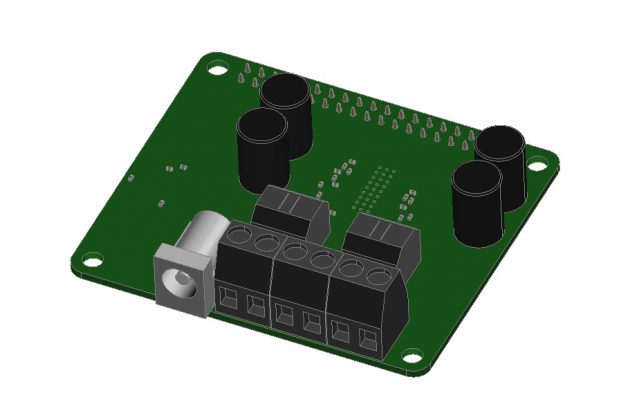
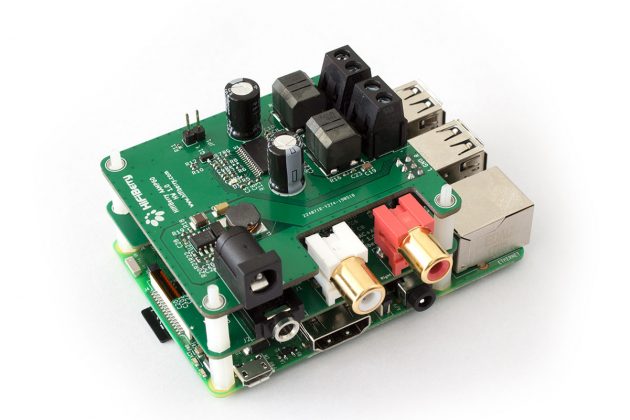
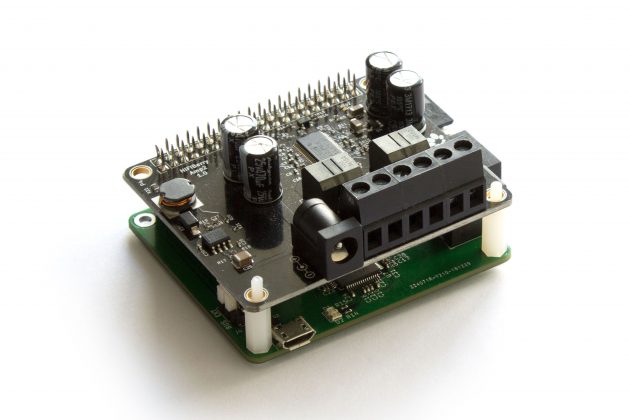
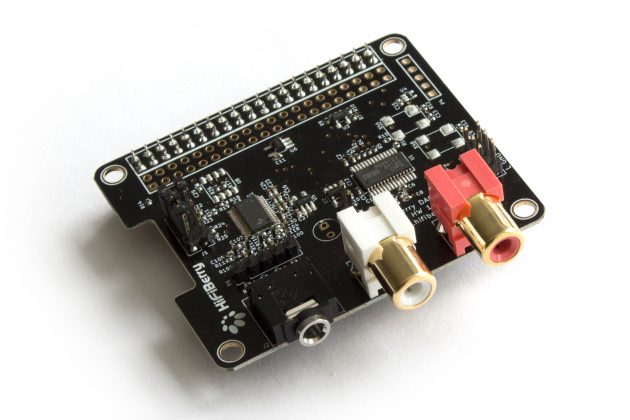
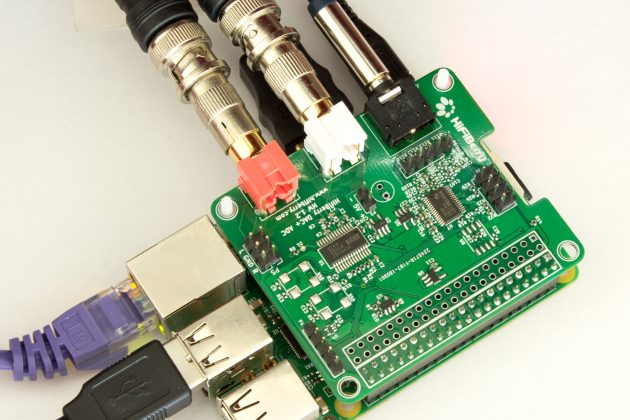
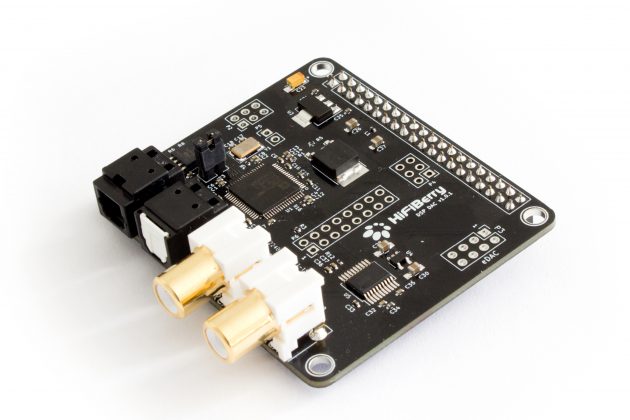
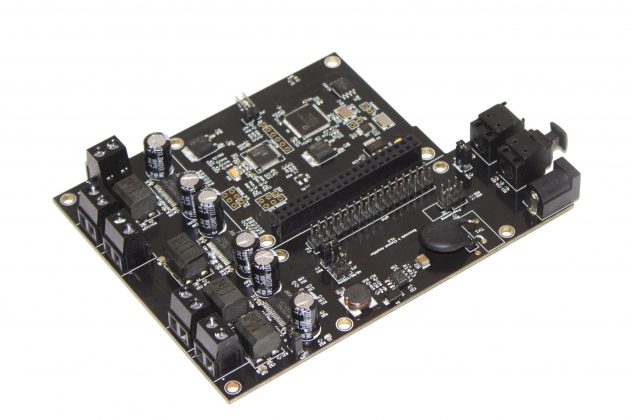
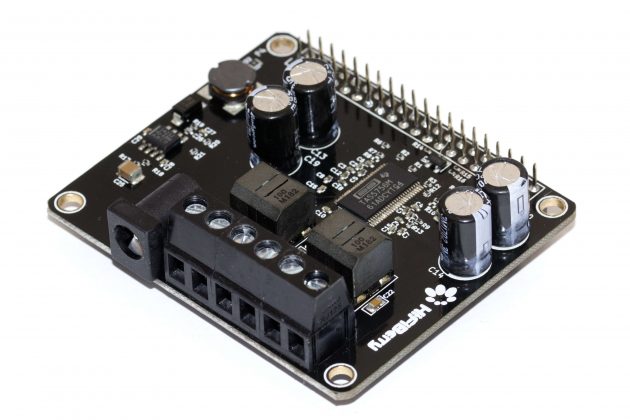
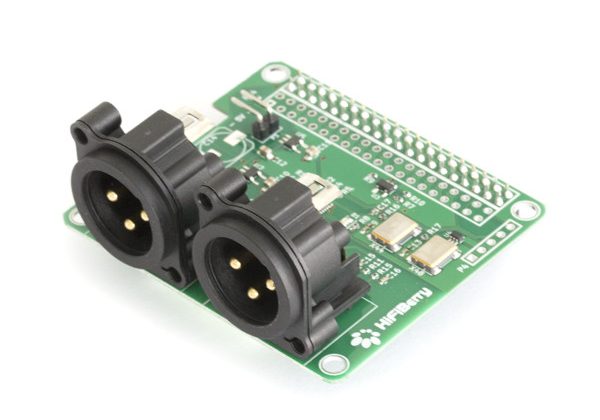
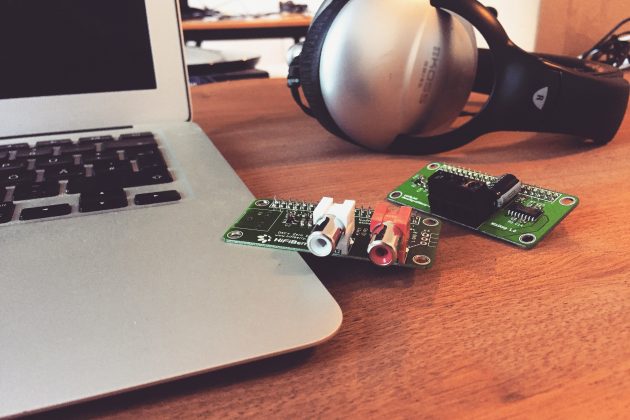
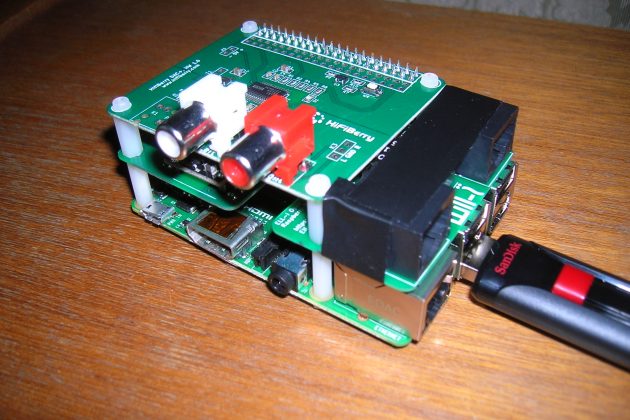
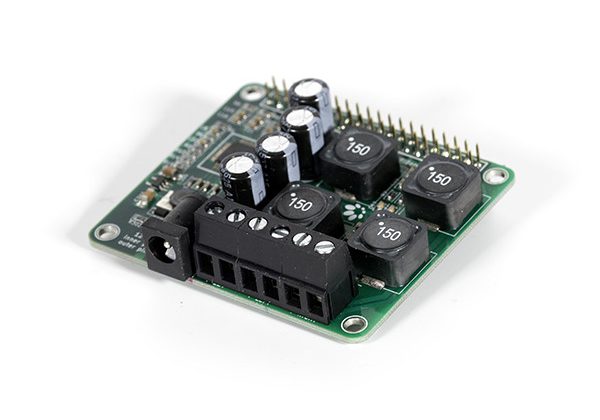
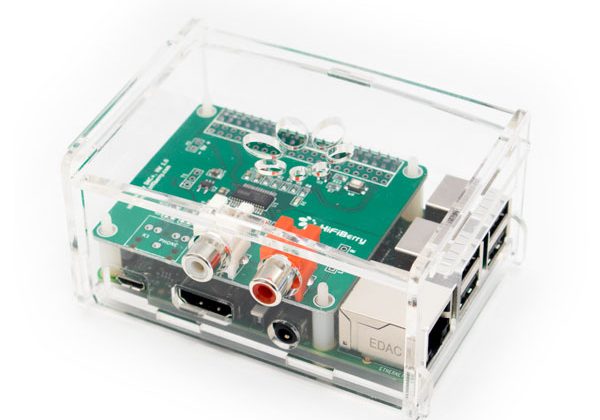
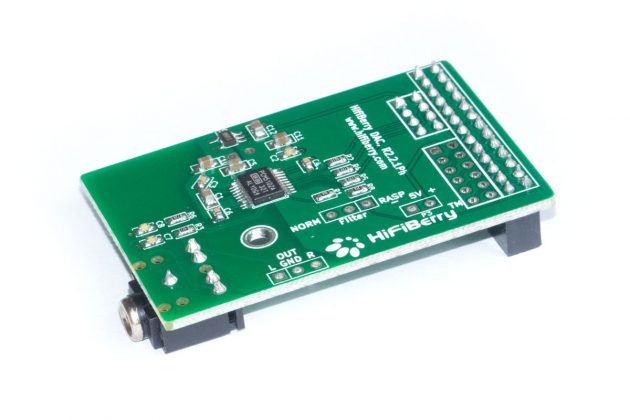
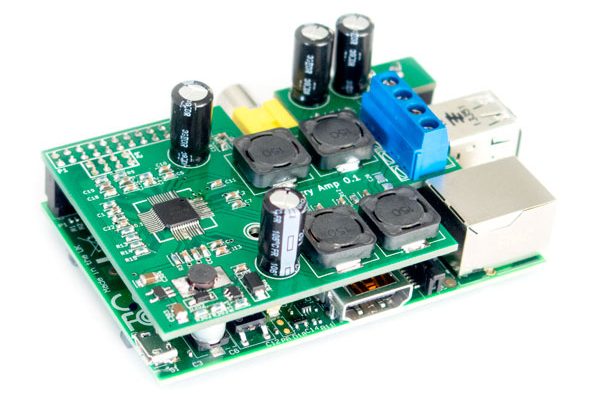
 Some people have asked why there is a button on board of some HiFiBerry cards. This button allows to write the EEPROM on the board. But what is it used for? It can be used to store configuration data for the HiFiBerry sound card. With the flash, the operating system can automatically detect what drivers need to be loaded for your HiFiBerry sound card. This means there is no need for editing config.txt anymore.
This makes the flash especially interesting for people that want to experiment with a lot of distributions.
Do you need to flash your card?
No. If you have your system configured already, you can just keep it as it is.
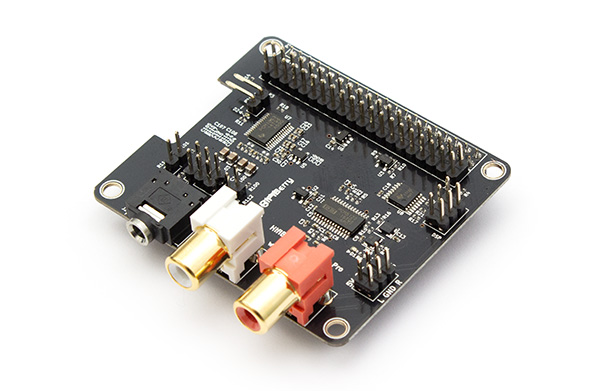
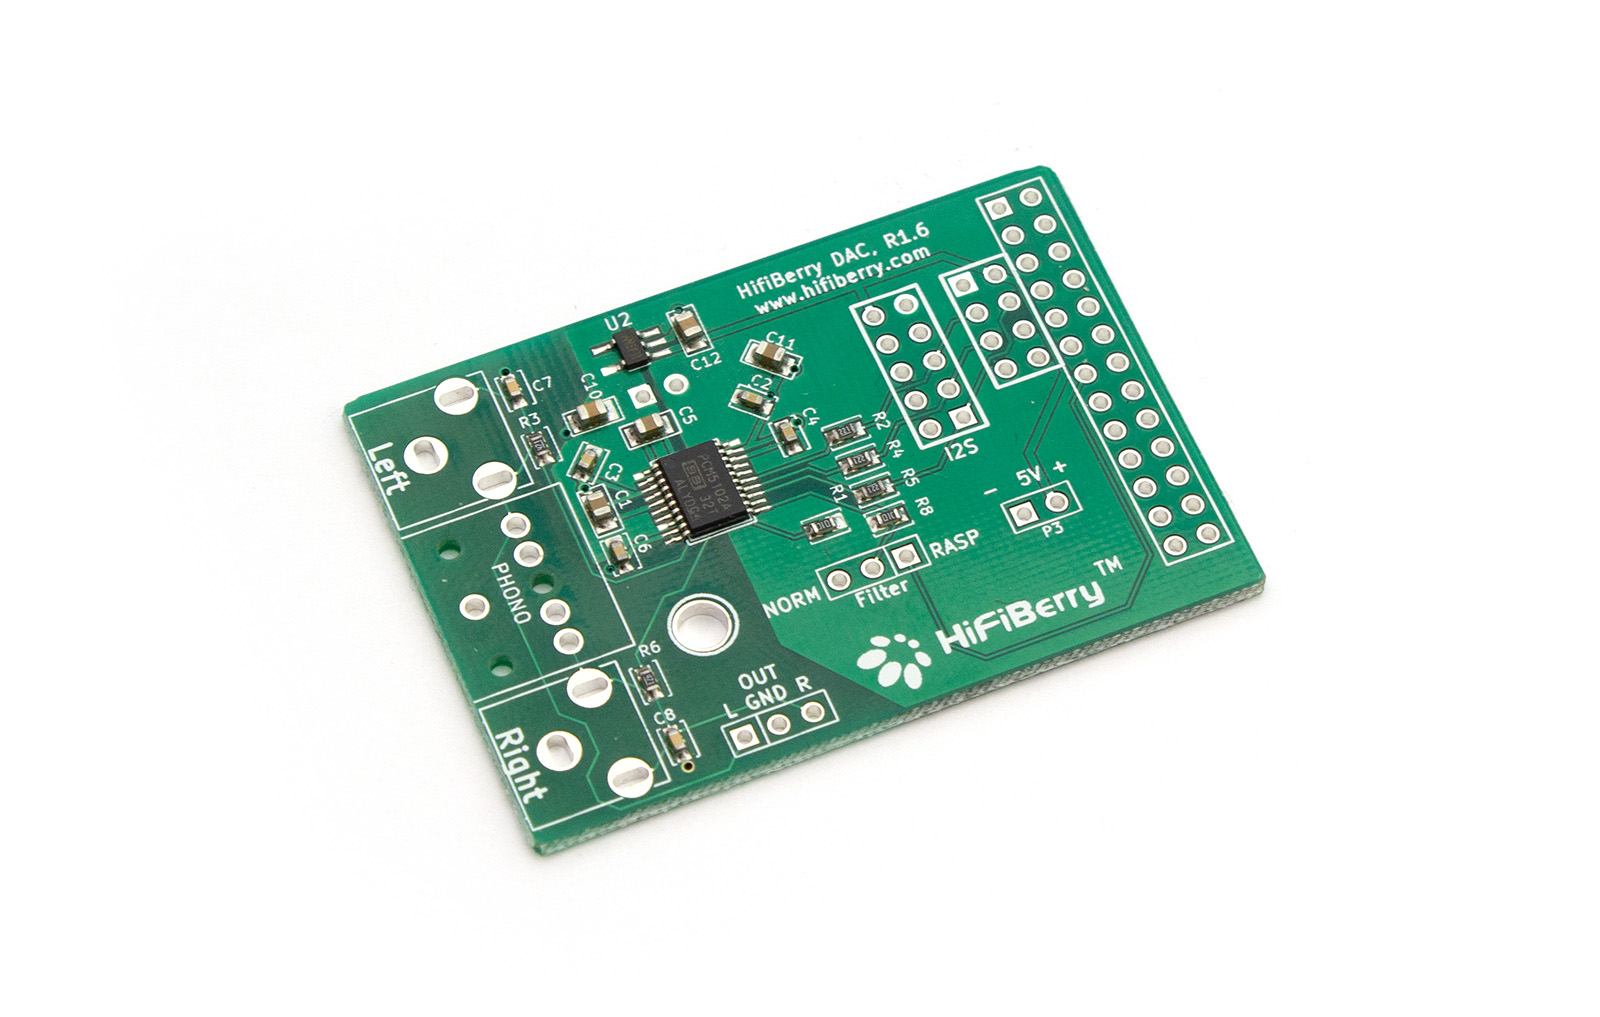
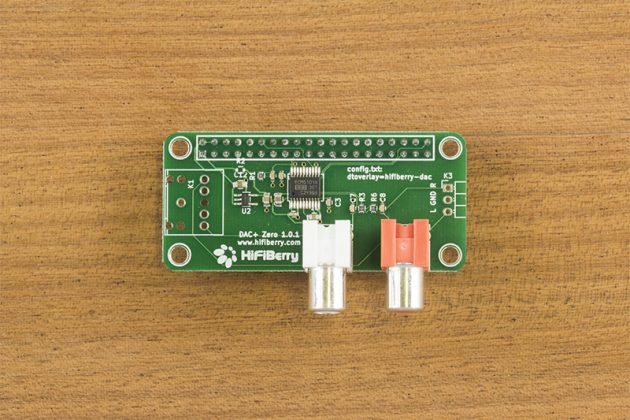
What do you need to do to flash your HiFiBerry DAC+?
- Download the flash image from here and extract the ZIP file.
- Write the file flash-dacplus.img to an empty SD card
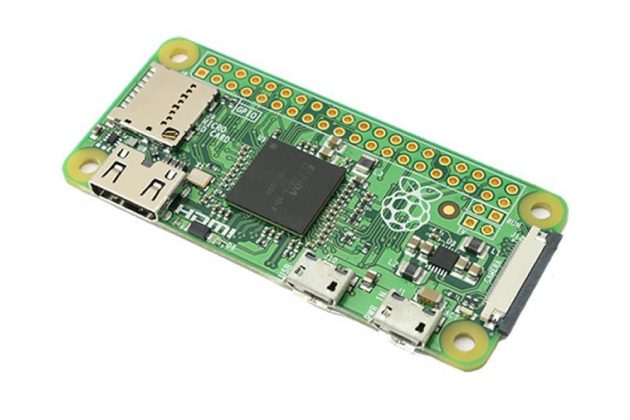
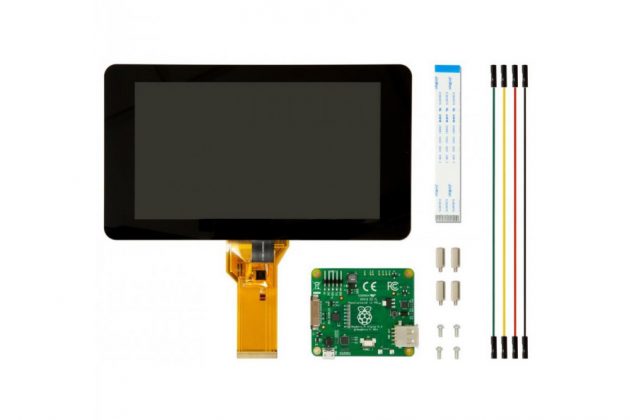
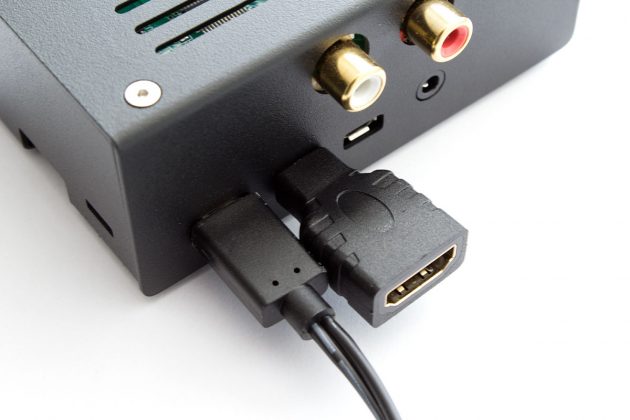
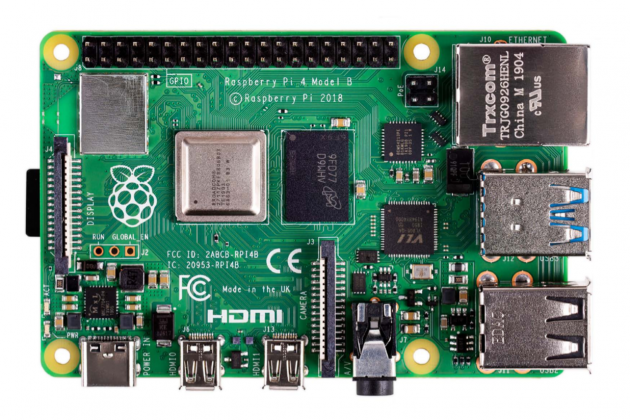
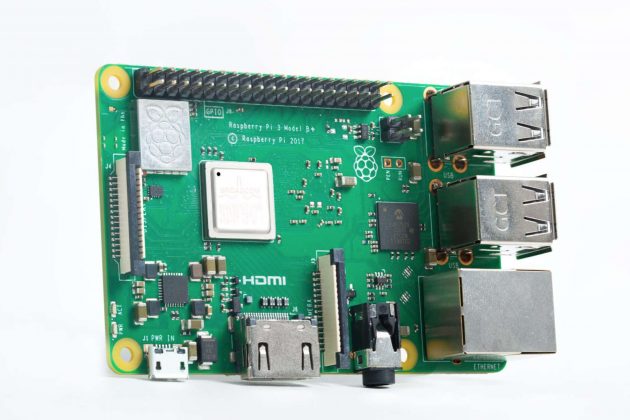
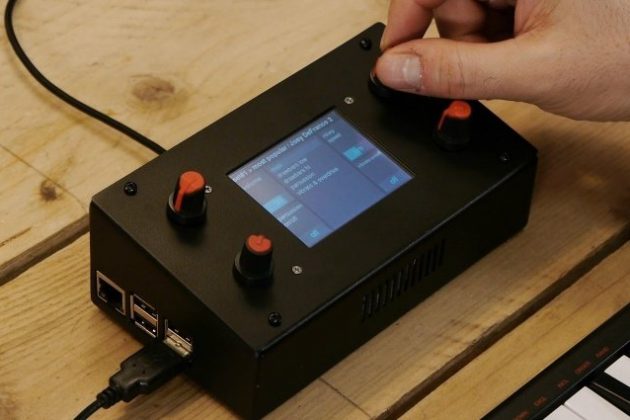
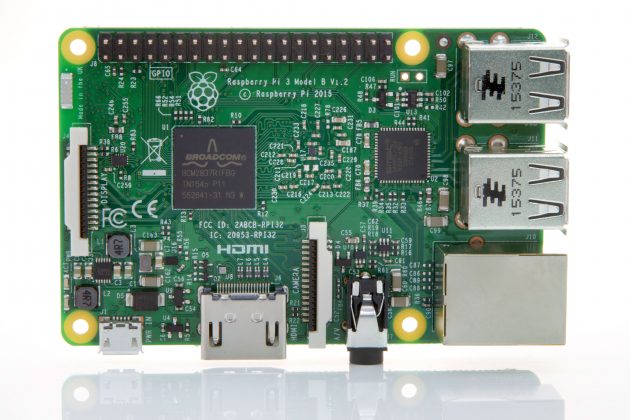
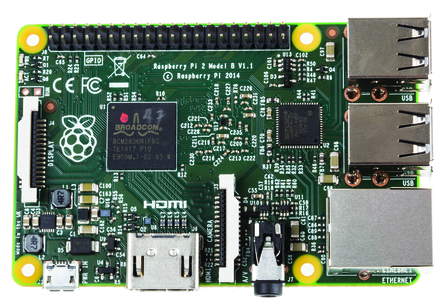
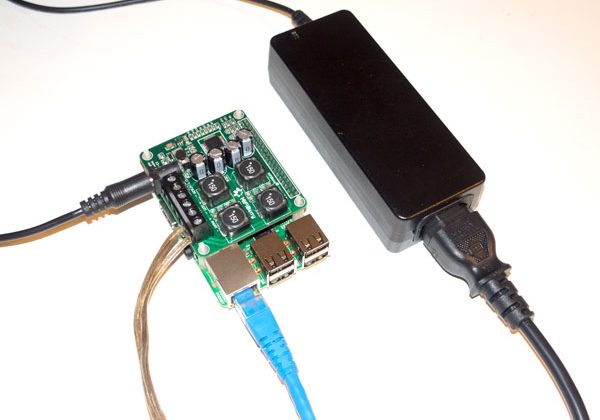
- Connect a display to your Raspberry Pi and boot from SD card you just wrote to
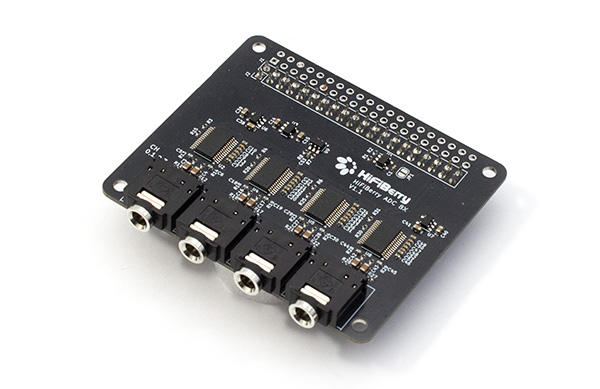
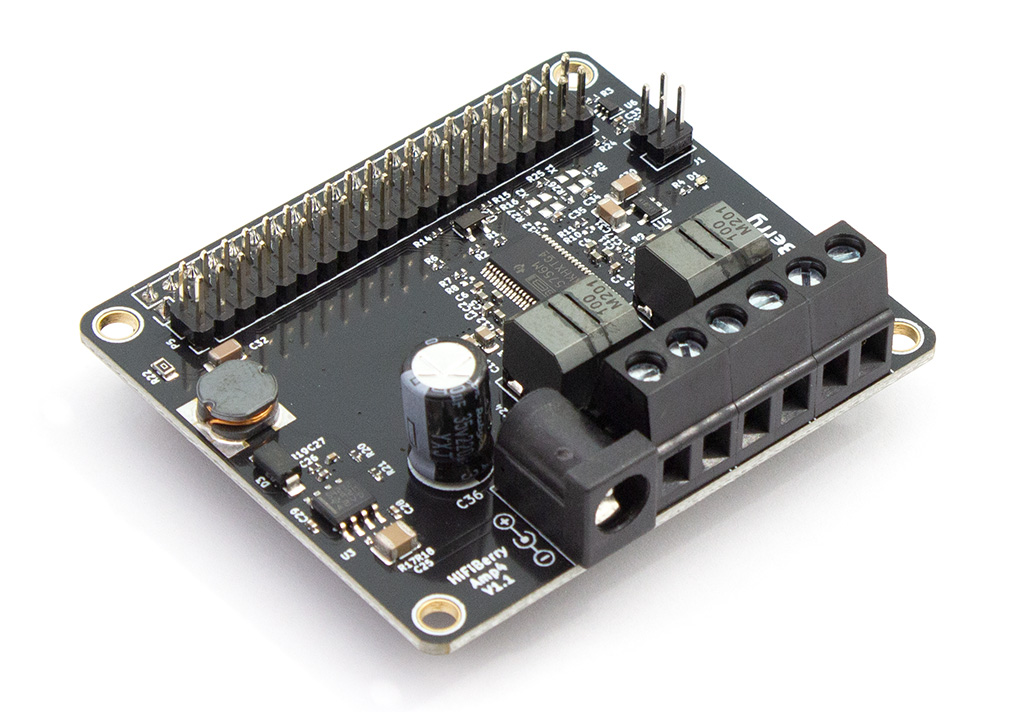
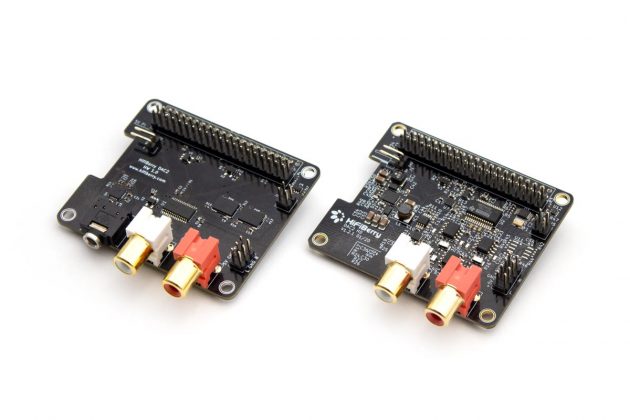
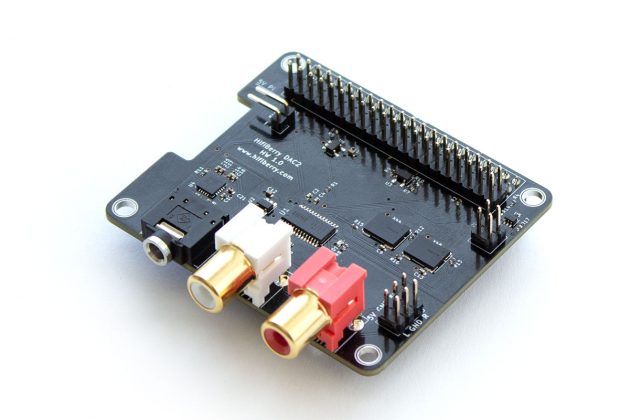
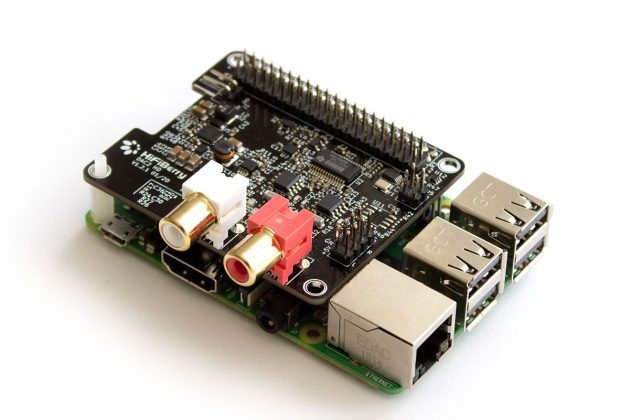
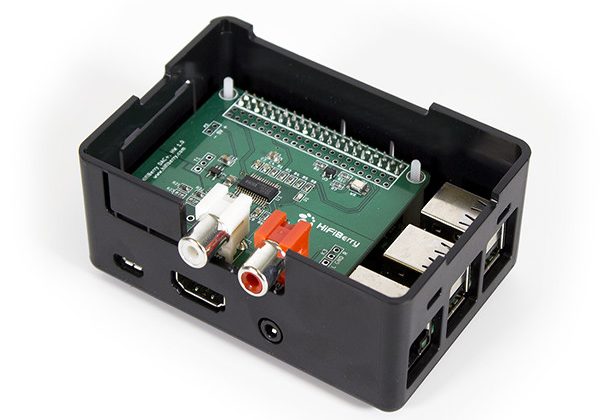
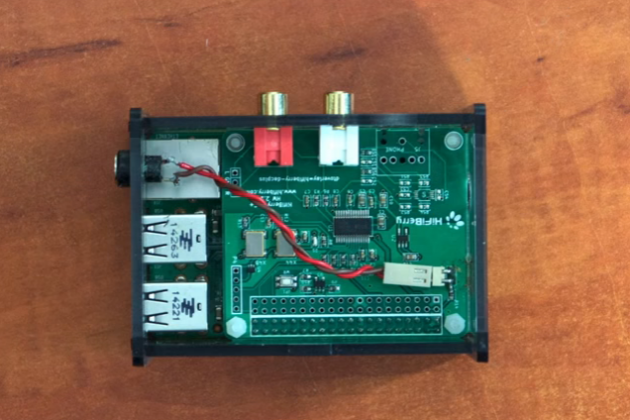
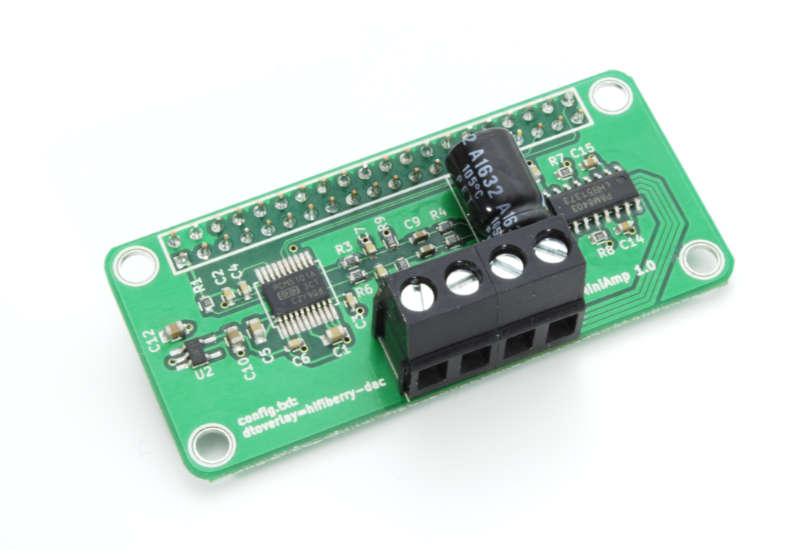
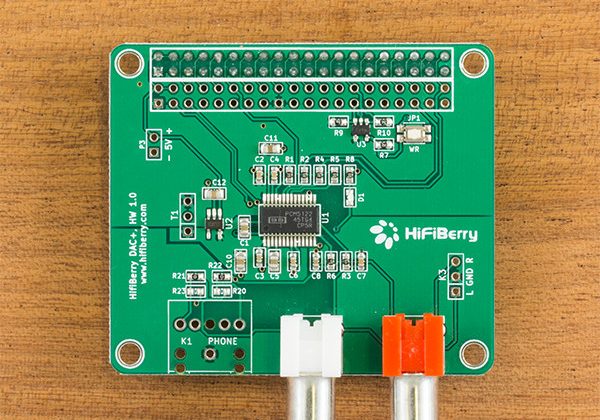
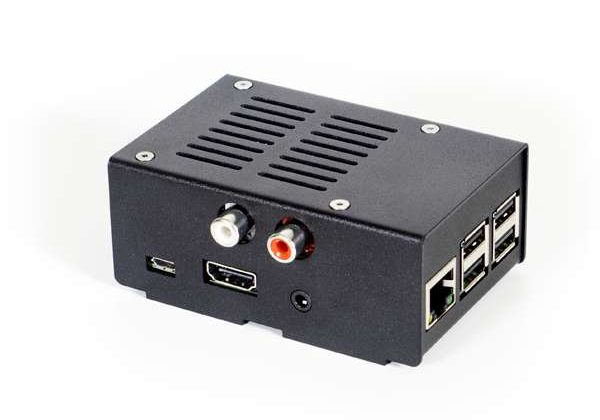
- When the flasher says “Press WRITE button”, press the white button (named “WR”) on your HiFiBerry DAC+. You need to press the button for about 40-60 seconds.
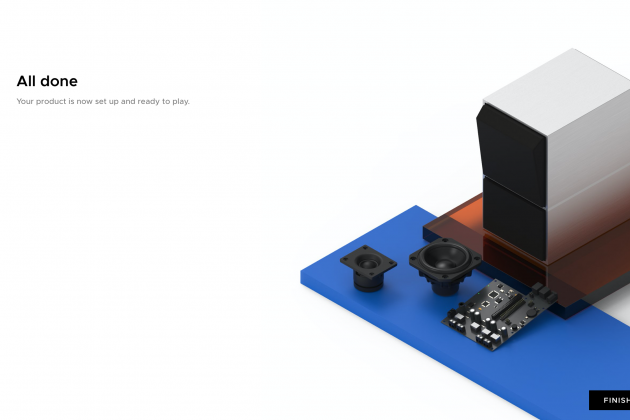
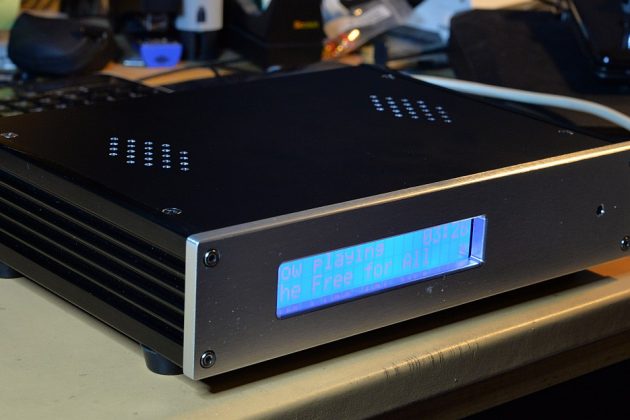
- When the data is written to the EEPROM the Raspberry Pi will reboot and play a (loud) test tone.
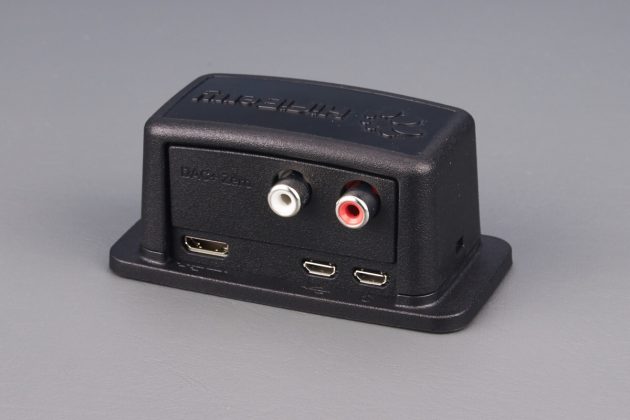
Is this only available for the DAC+?
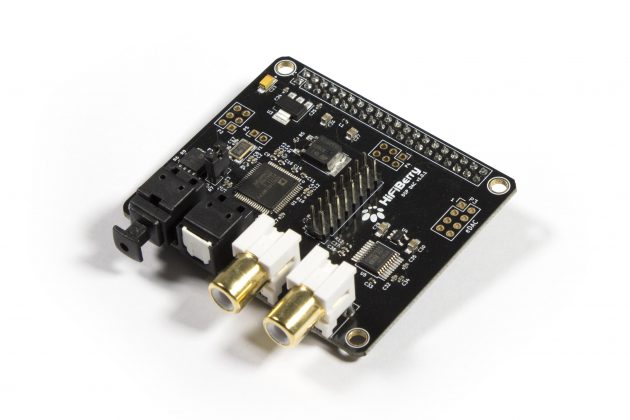
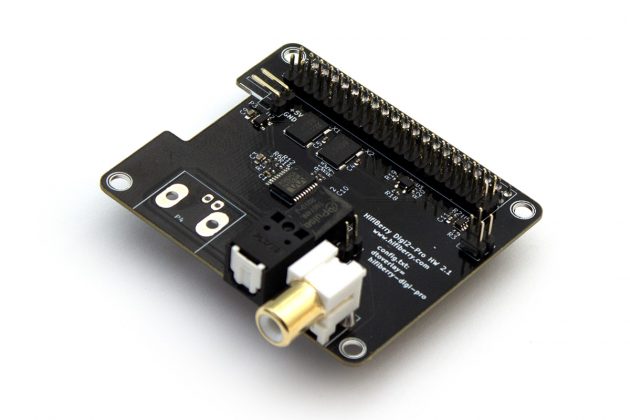
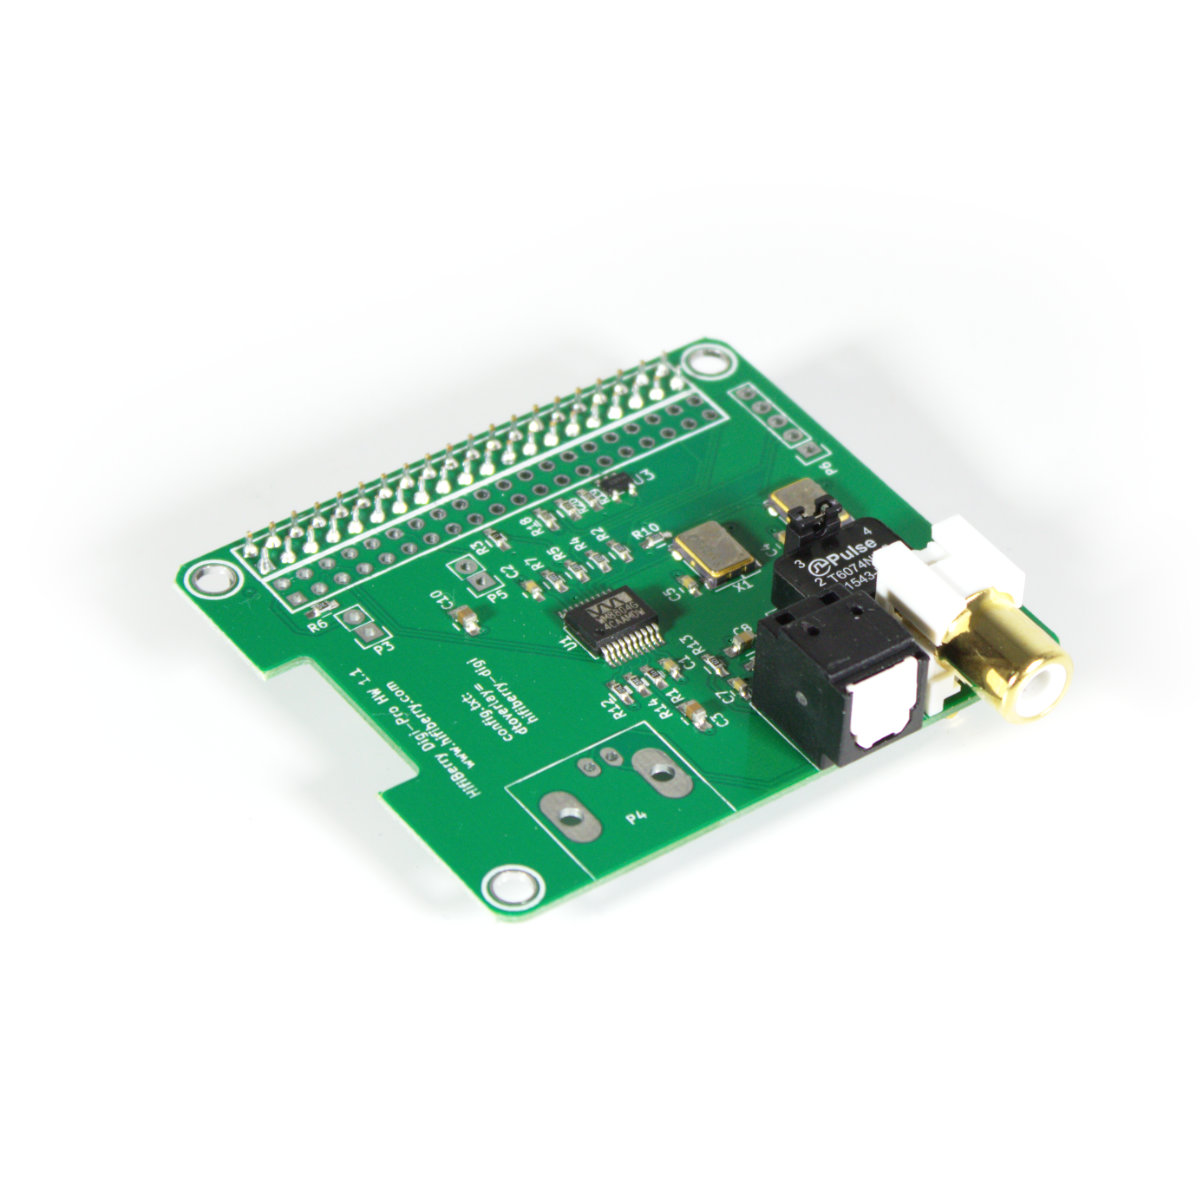
We want to test this first with one card. At this time, only the DAC+ Standard and DAC+ Pro are supported. If everything works fine, we will provide a flash tool for the Digi+ in the near future.
Does it work with the DAC+ Light?
No, the DAC+ Light is not a “HAT” and does not have an integrated EEPROM for automatic configuration.
Something isn’t working.
Please post your questions in this topic on our support page.
August 19, 2016