Blog
Techtalk: I2S != I2S
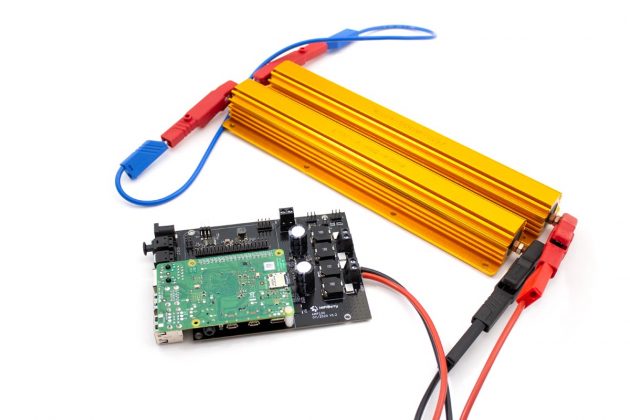
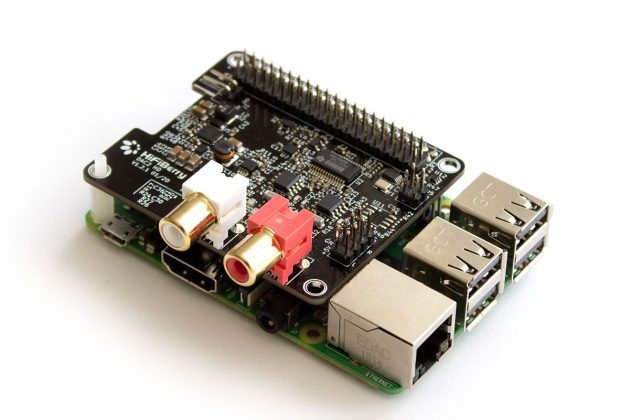
In our article about external DACs, we already talked a bit about I2S. There are many boards on the market that say that they use an I2S interface. Sounds like a good thing – just connect any I2S DACs to any I2S sender. Right? Unfortunately not. Let’s have a look into the complicated world of I2S.
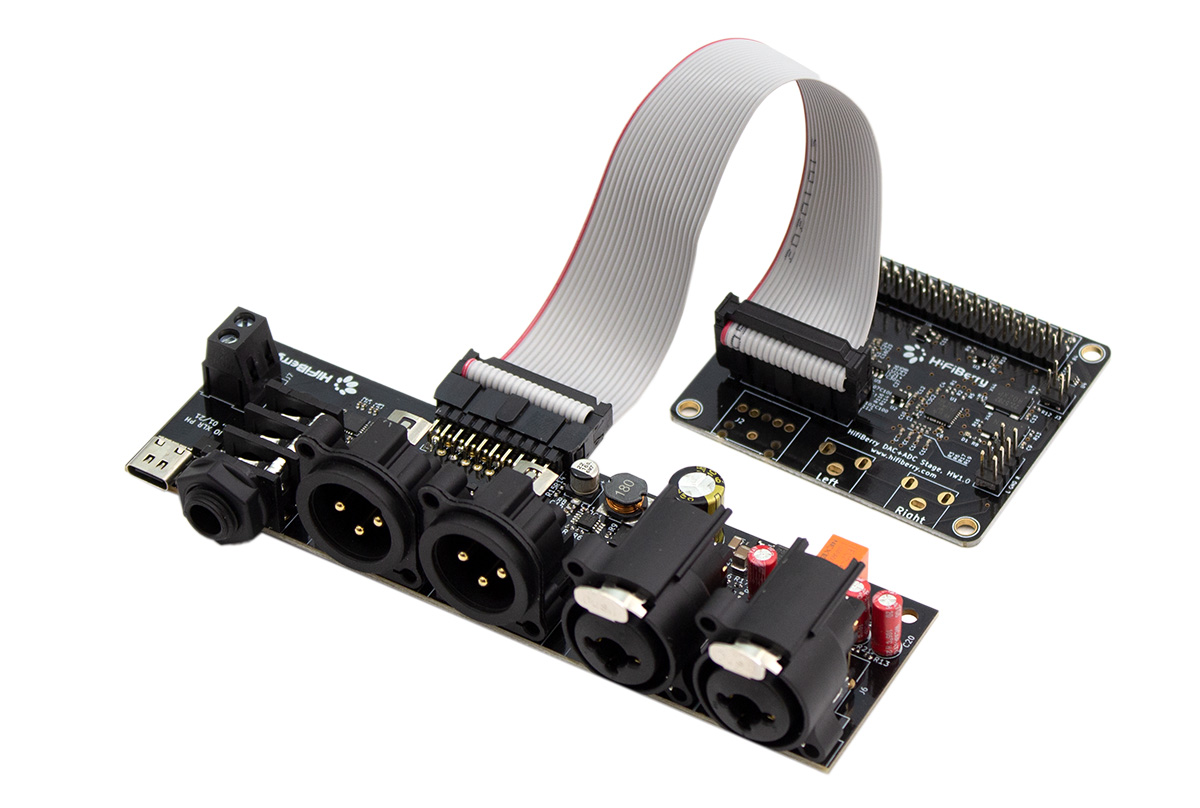
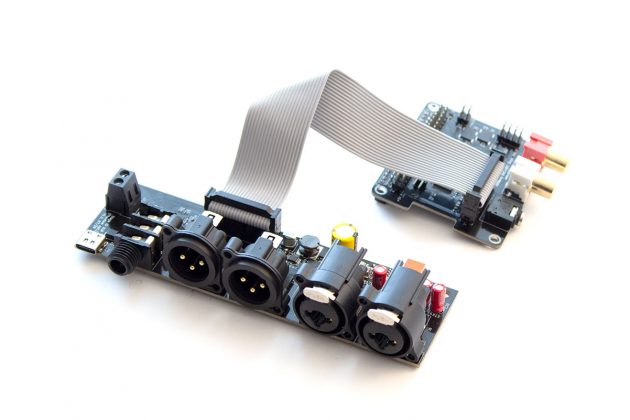
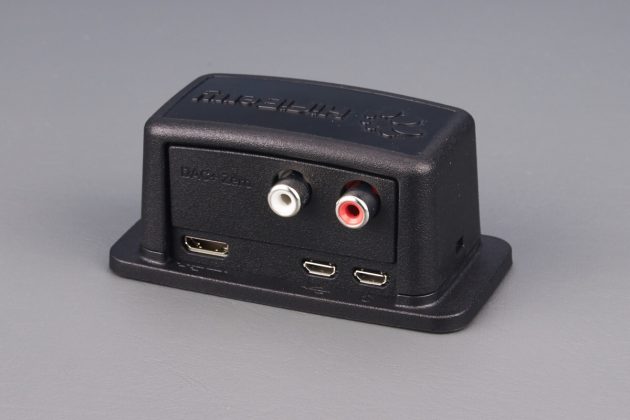
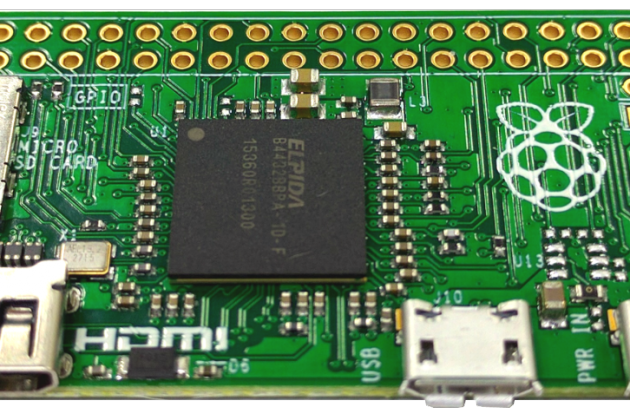
I2S stands for “Inter Ic Sound” – IIC. That means it was designed to connect chips to transfer audio between them. You might have seen some manufacturers using this to connect external DACs. This is not what I2S was designed for and we think it’s not a good idea to do this.
Let’s first habe a look how I2S “works”:
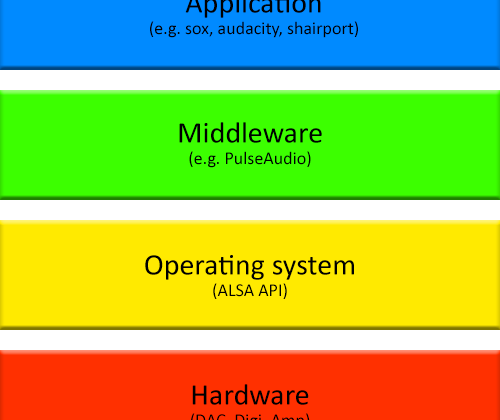
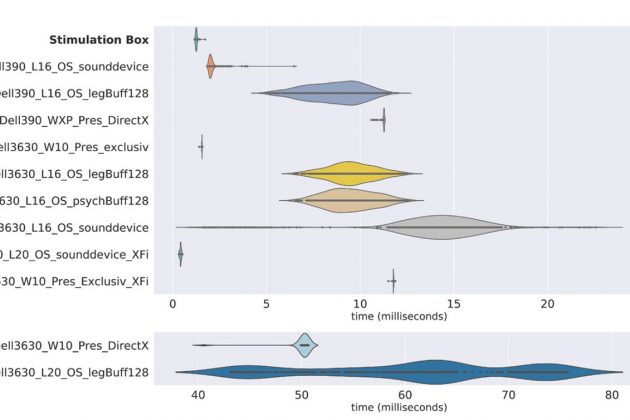
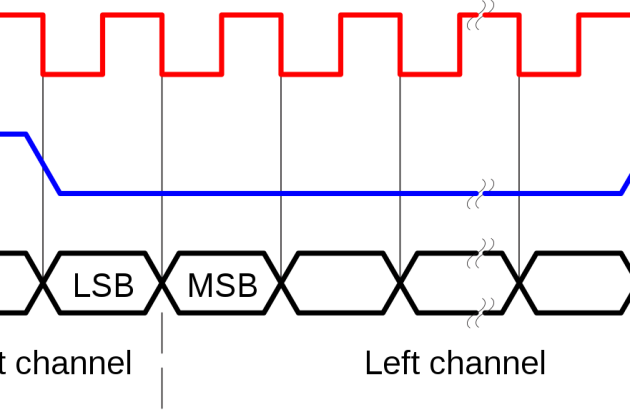
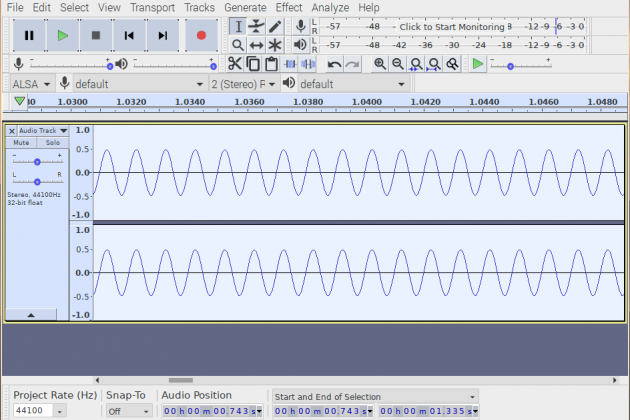
The standard defines 3 signals: 2 clock signals and a data signal:
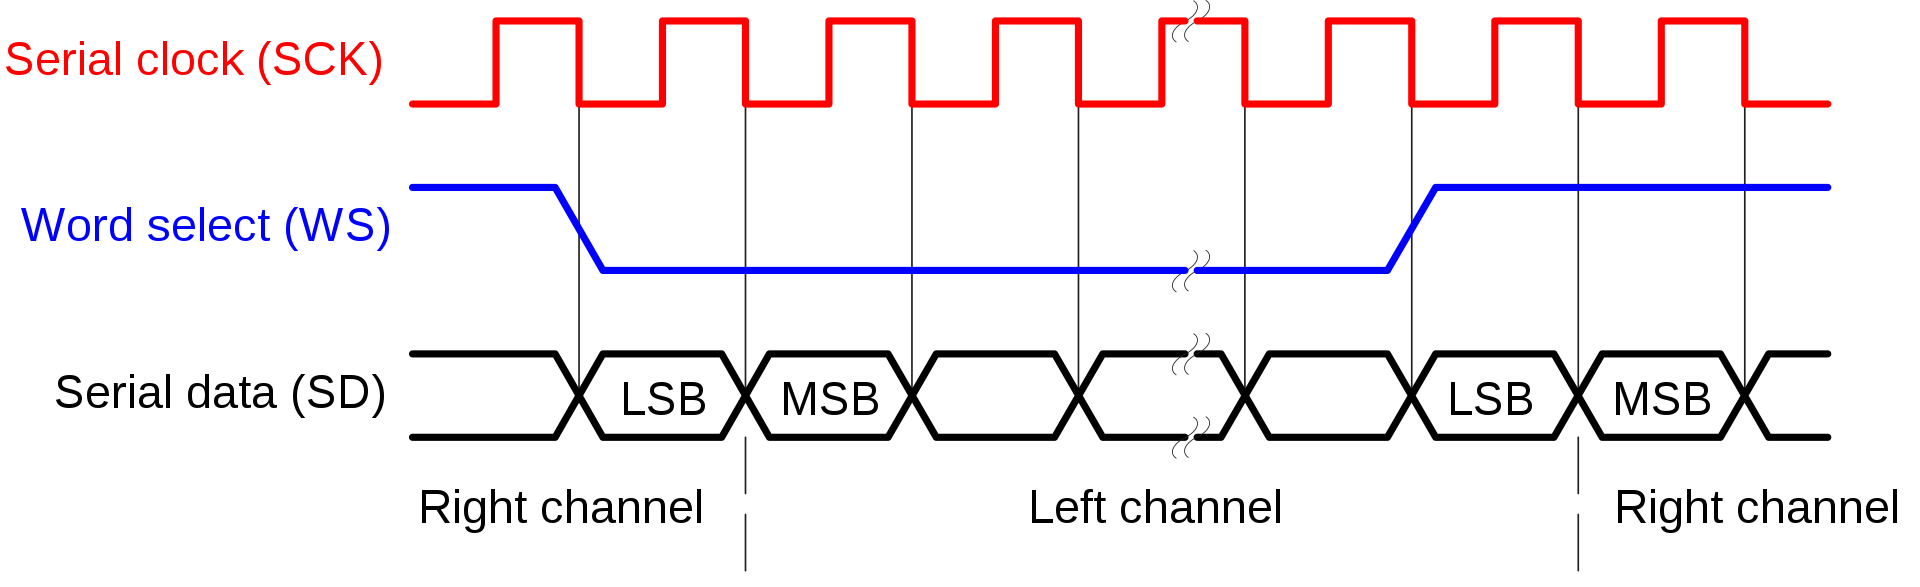
Source: Wikipedia I2S_Timing.svg (c) CC BY 3.0
The serial clock just defines a clock for the data bits. The word select signal signals if this is data for the left or the right channel. This means it can’t be used for multi-channel audio. There is a similar protocol called TDM that allows this.
Looks quite simple – right? It does. The problem is everything that the standard does not talk about:
- master/slave roles
- supported numbers of bits per sample
- supported sample rates
- supported clock frequencies
- voltage levels
- additional clocks (often a so-call master clock is also needed)
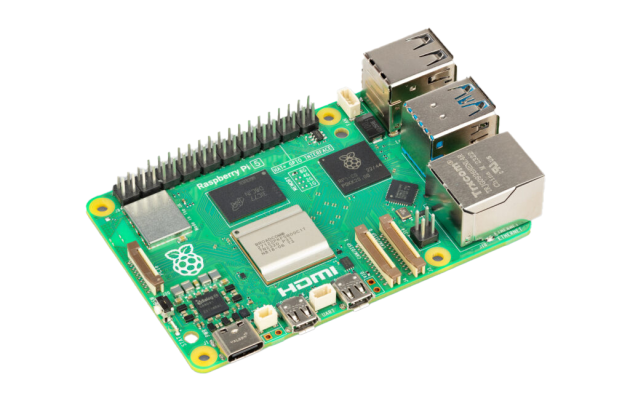
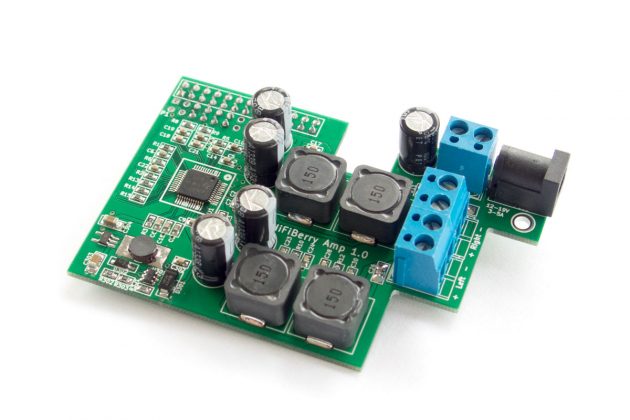
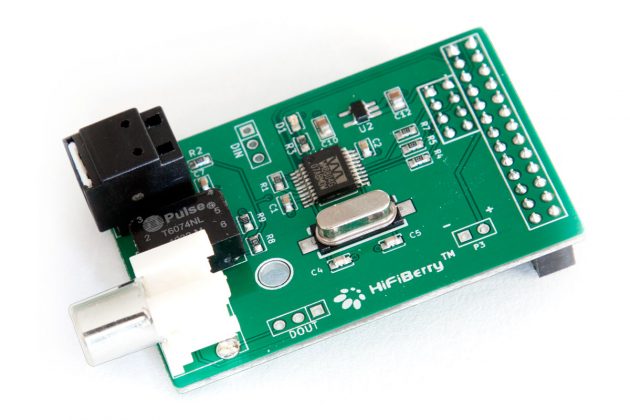
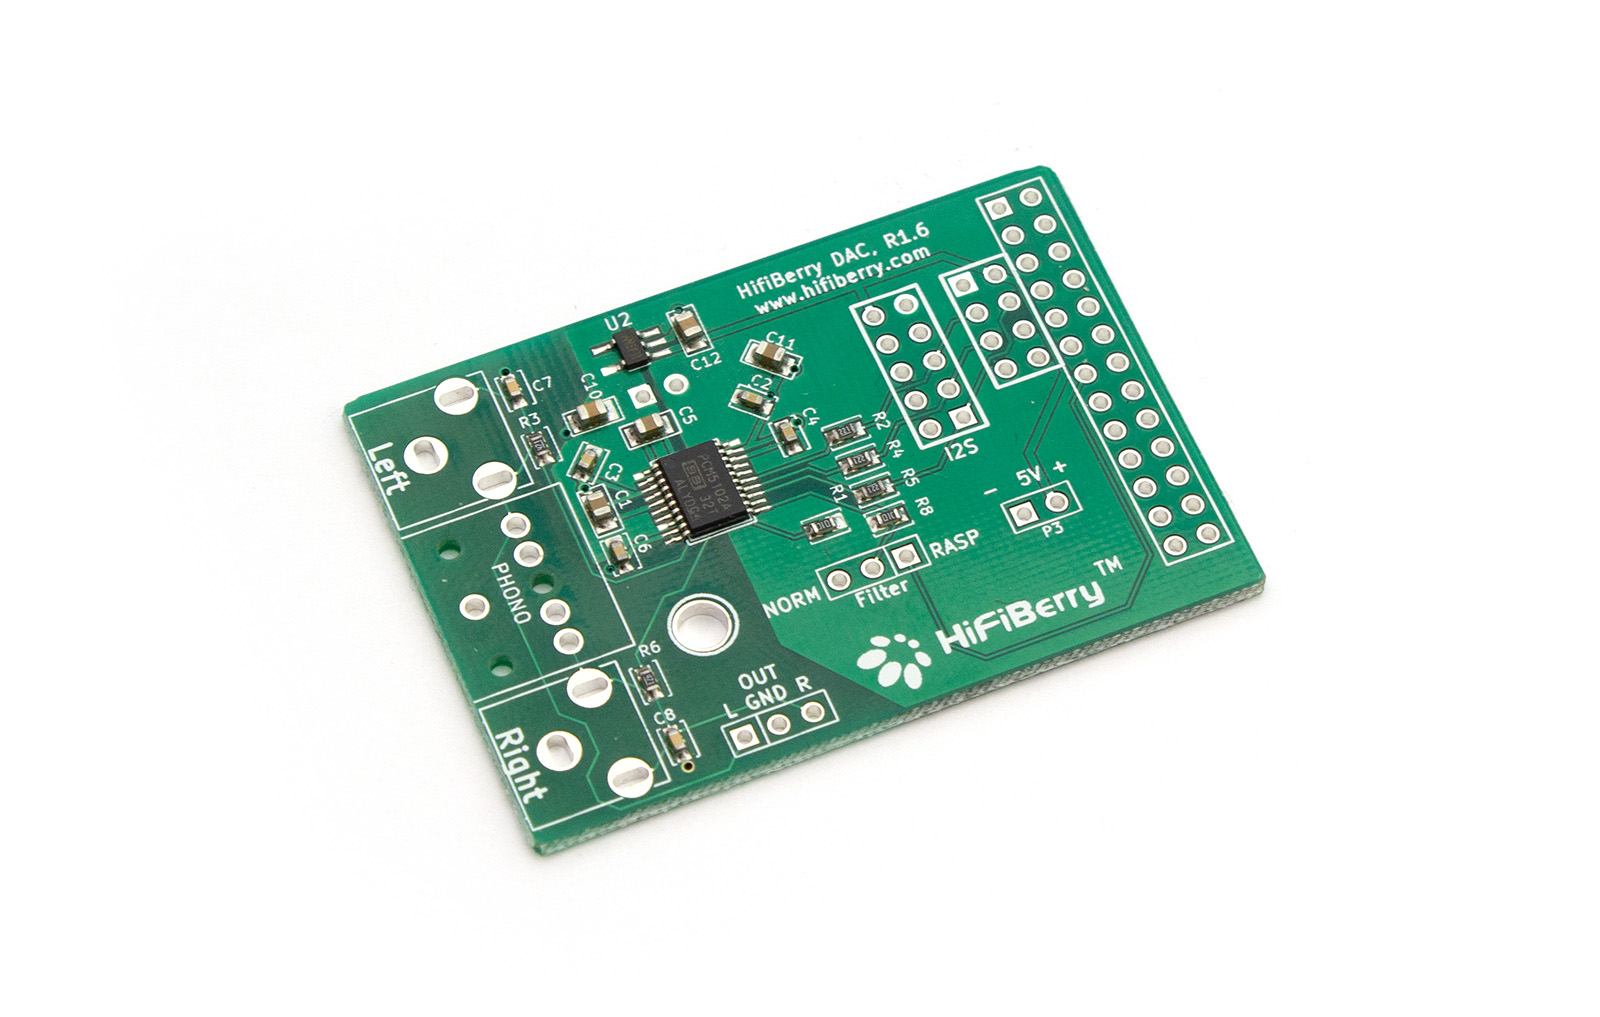
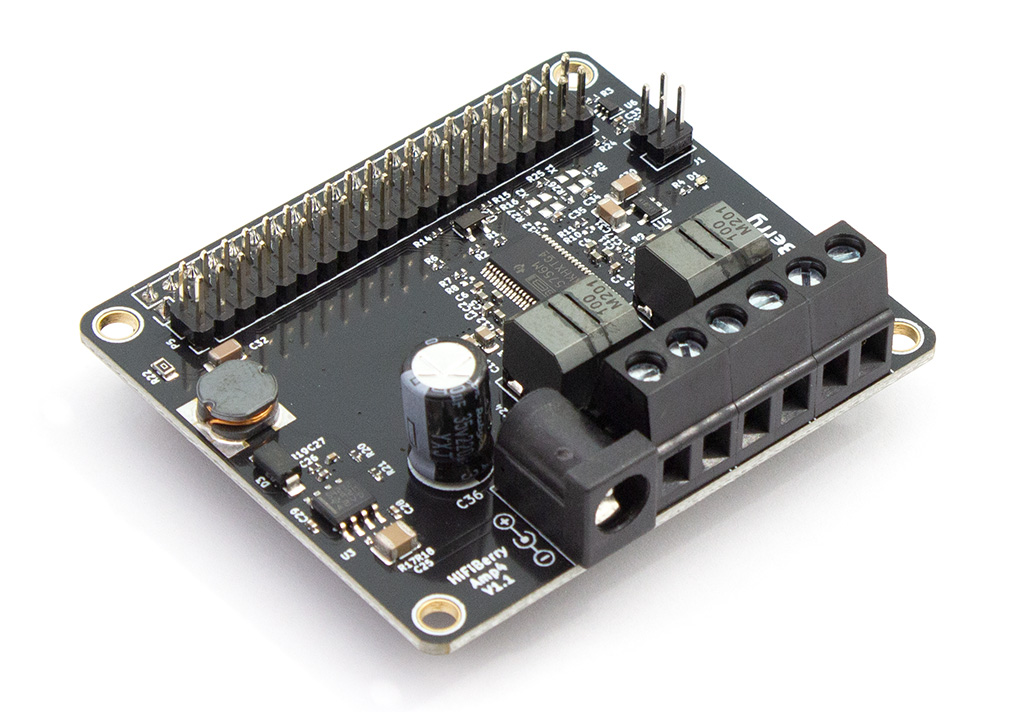
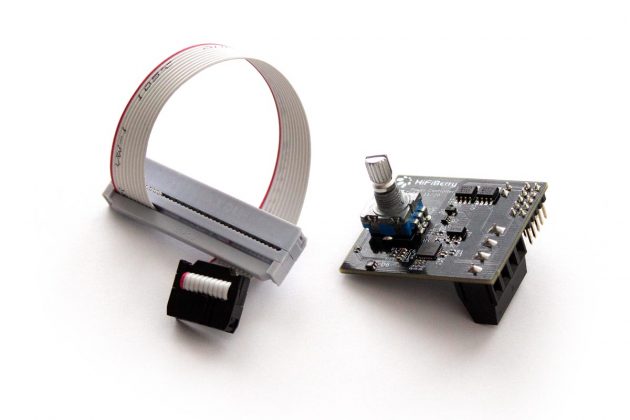
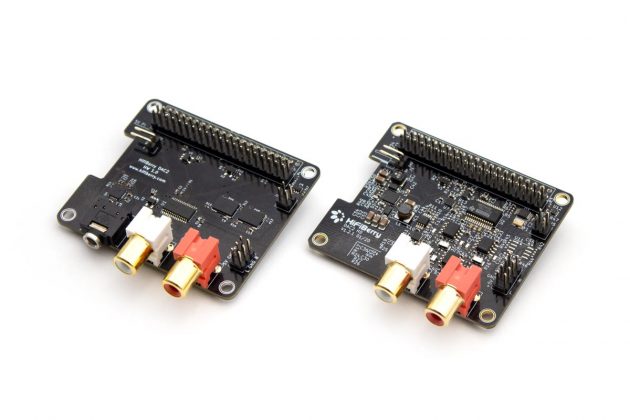
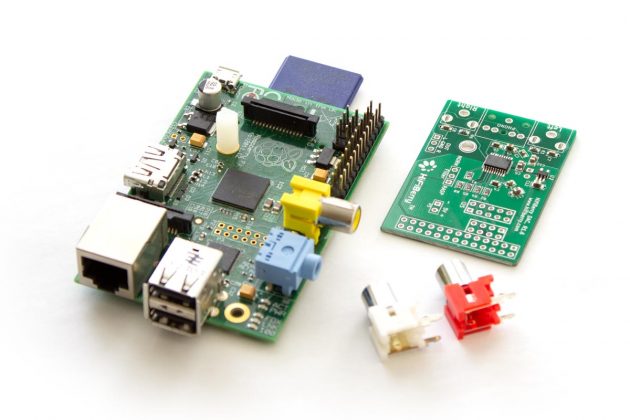
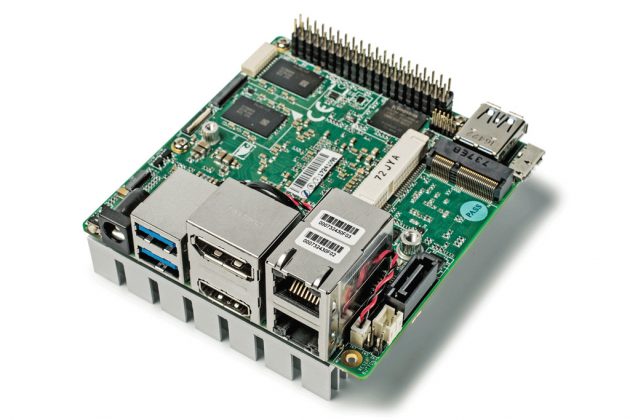
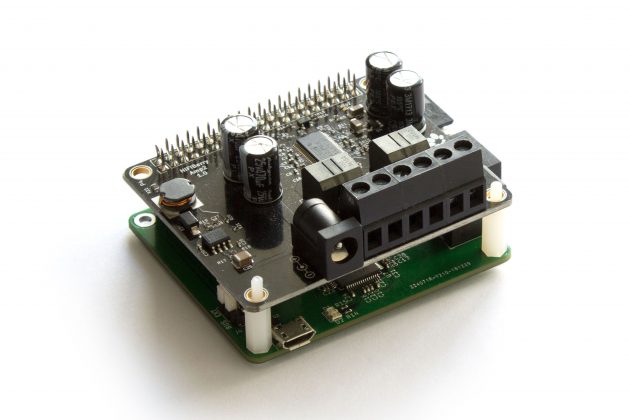
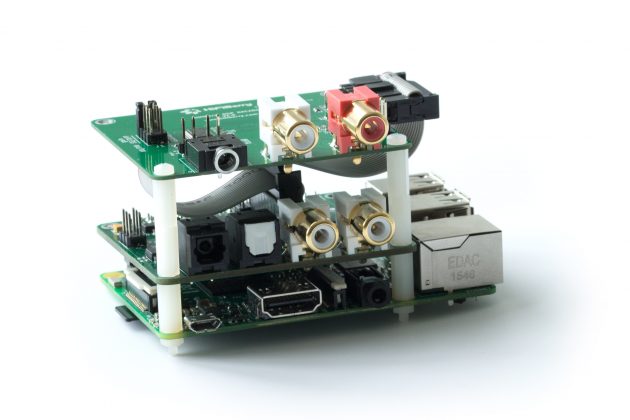
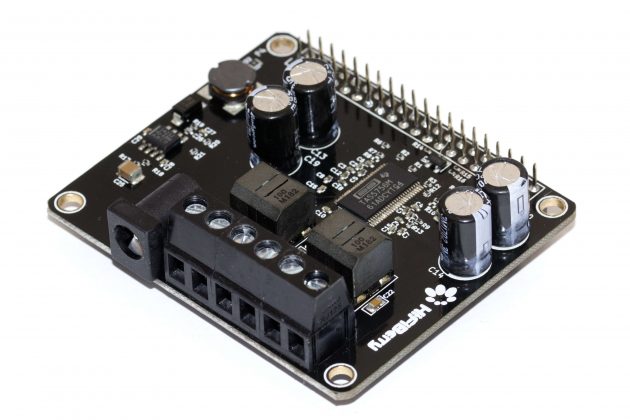
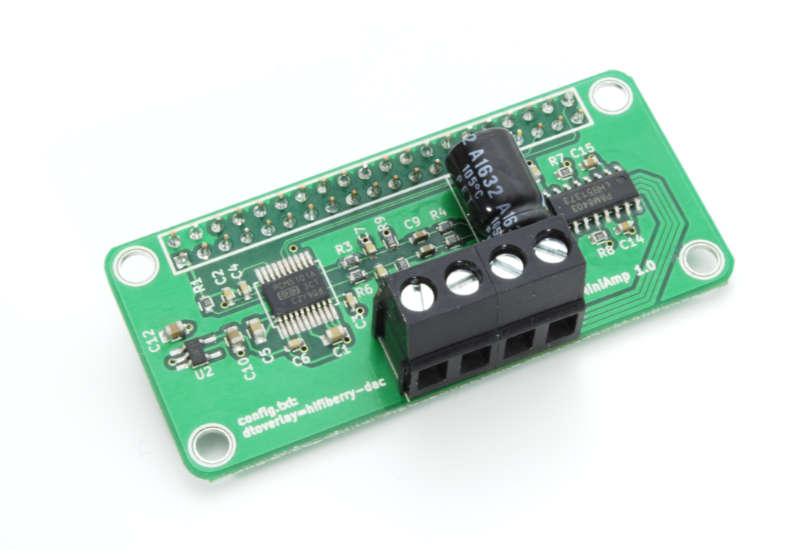
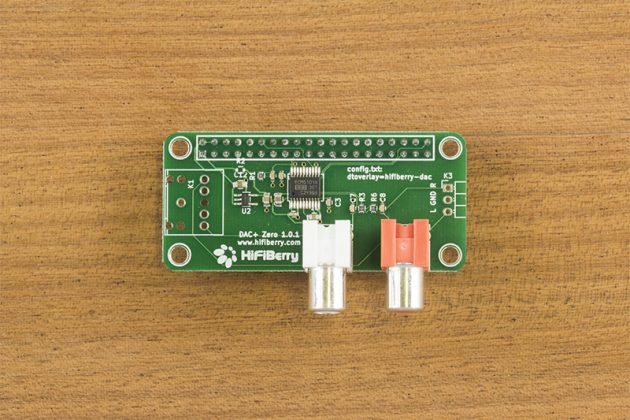
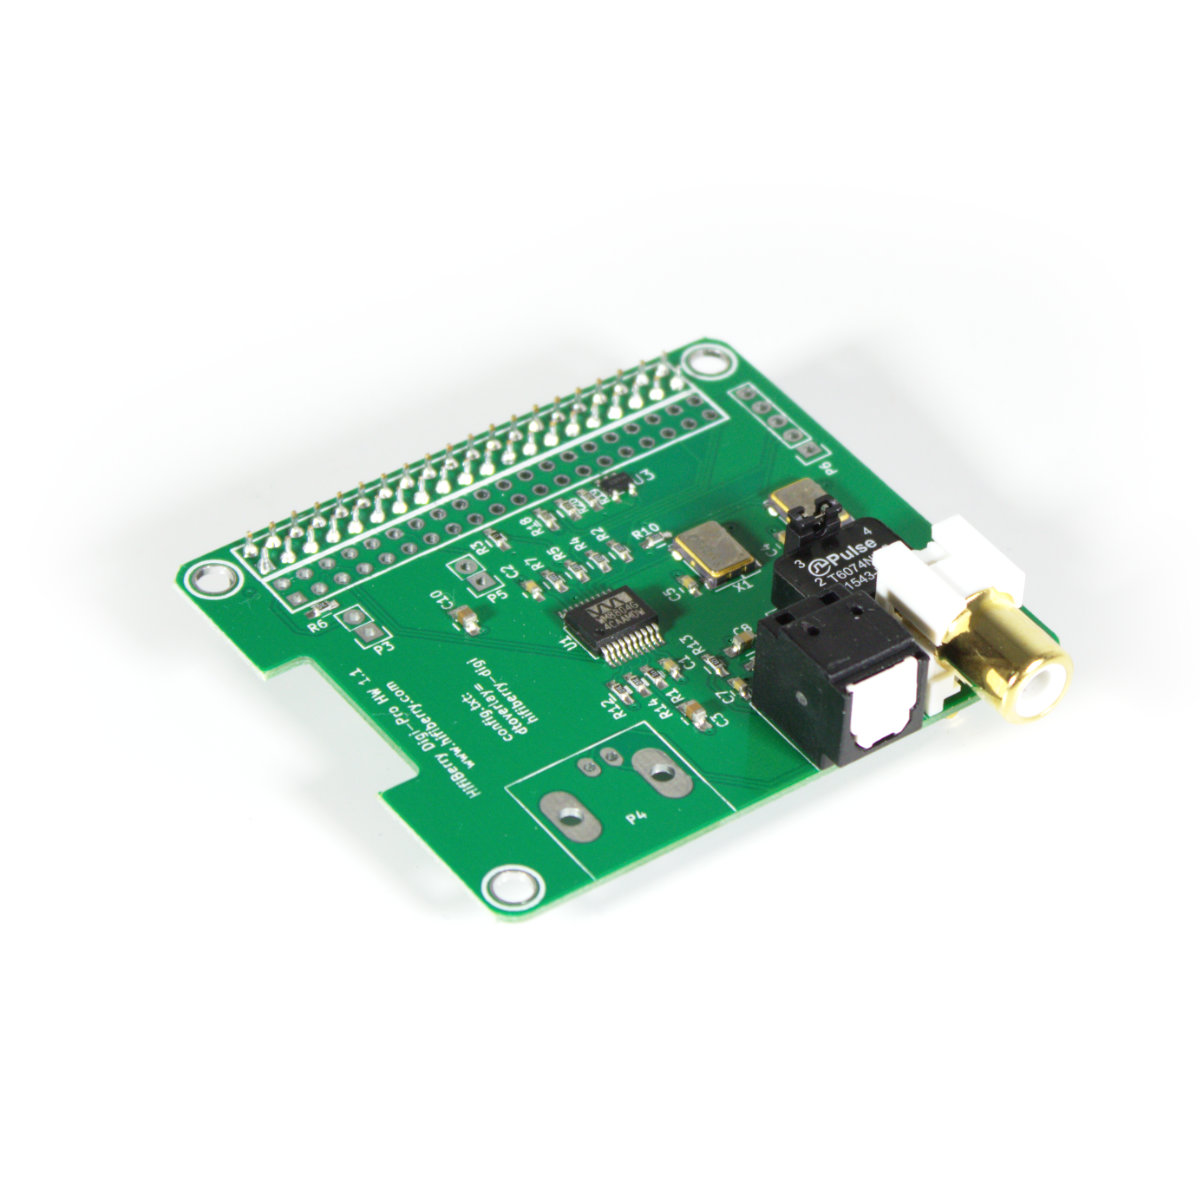
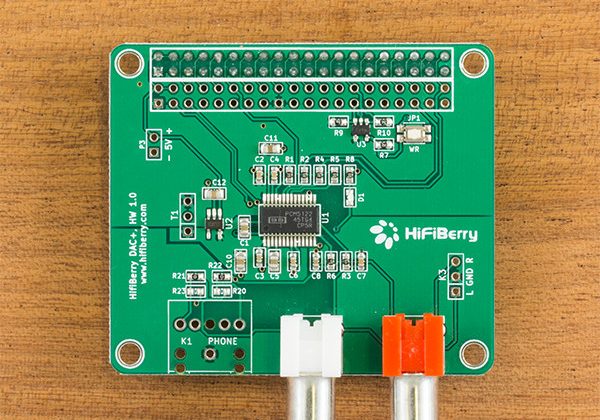
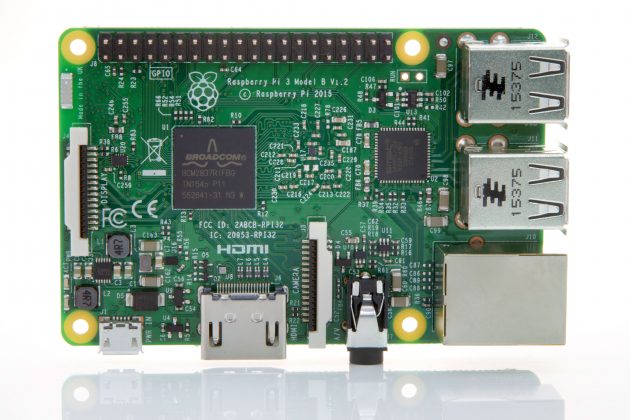
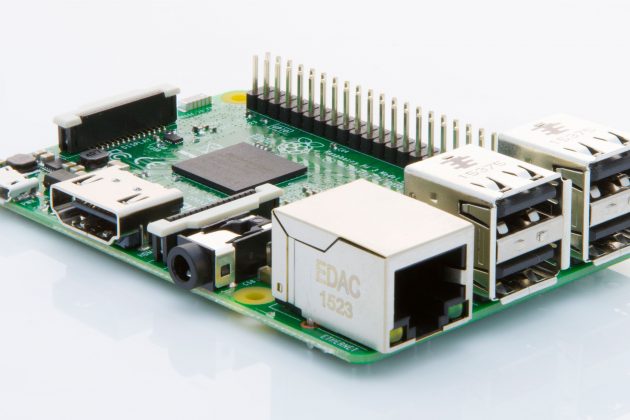
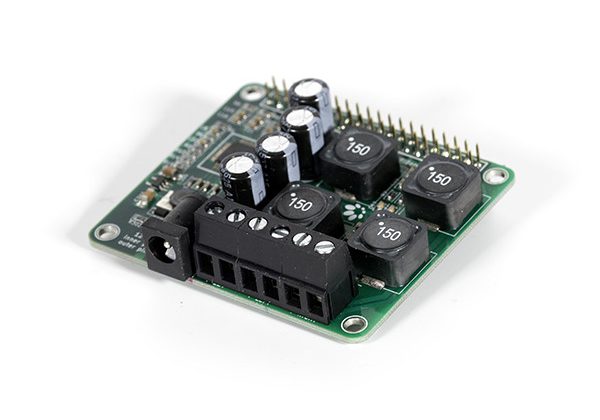
All these things have to fit exactly and both sides – sender and receiver – have to use the same parameters. It’s even worse. You might think that there is always one side that sends and one side that receives. But in reality it’s often not like this. Many of our HiFiBerry boards are both sender (master) and receiver (slave). Why? Because they generate the clock signals internally and send it to the Pi, but expect the Pi to send the audio data.
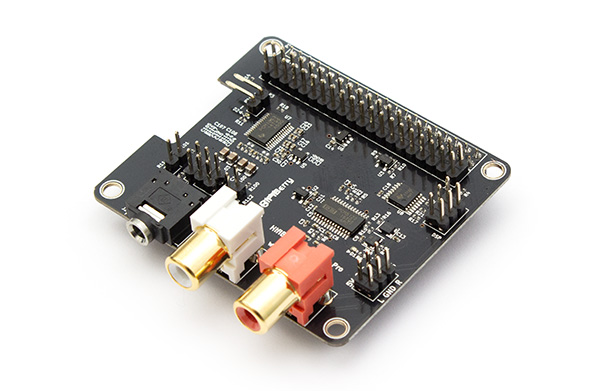
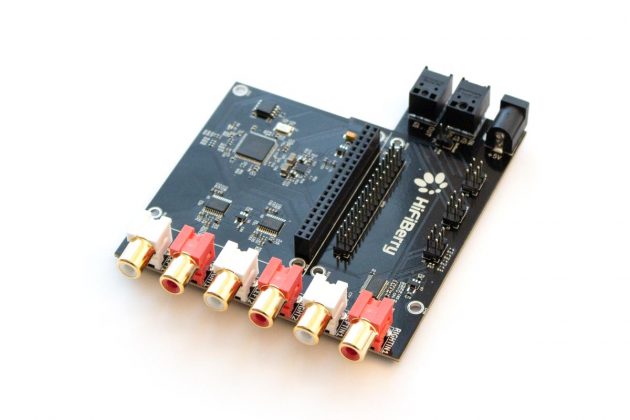
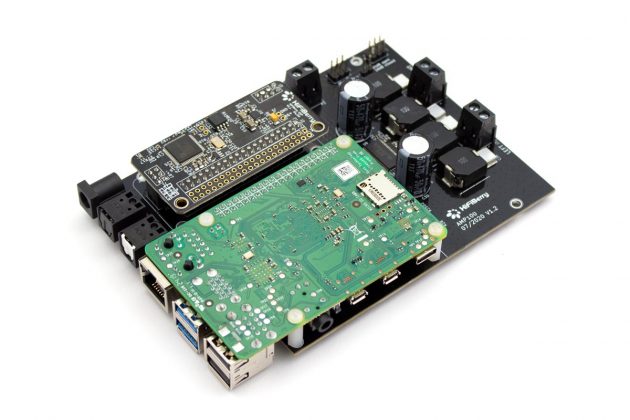
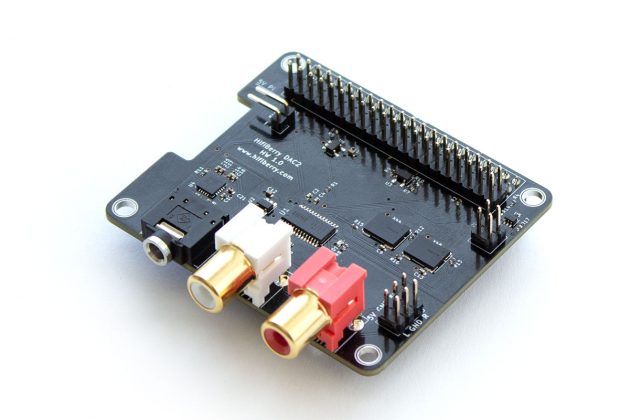
But even if you get all this done correctly, it probably still won’t work. Why? Because many DACs require additional configuration information. These can be simple things like volume setting, but often it can be quite complicated settings not just for this specific DAC chip, but for a specific DAC circuit (different DACs with the same chip might still require completely different settings). This is something that the Linux sound card driver on your Raspberry Pi deals with. It often does a lot of stuff just to start a simple music playback. On some of our boards (e.g. the DAC2HD), it does not just configure the DAC chip itself, but also additional chips. Without these configurations, there would be no sound output at all.
Sounds more complex now? For an electronics designer with some experience in digital audio It’s not rocket science. However, it not something that you can just plug together and expect it to work. Therefore, we do not recommend to try just connecting a DAC you got from some Internet shop – it probably won’t just work. We also do not recommend to connect external DACs via I2S. The standard wasn’t designed for this and interoperability won’t be guaranteed.
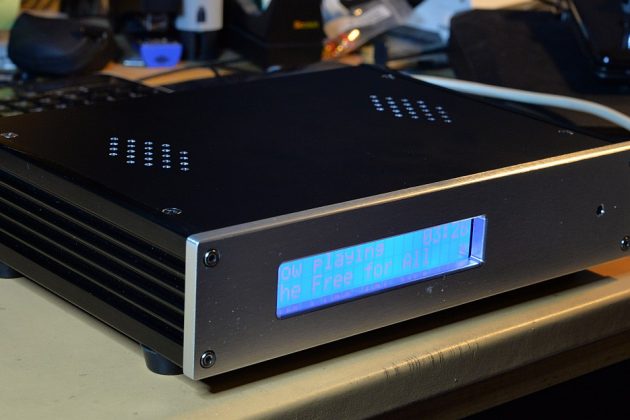
What does this mean for you as a normal and user? Just ignore all the I2S stuff! You don’t have to care. Just use your HiFiBerry boards with a Raspberry Pi and a supported distribution (almost any distribution should work) and let the HiFiBerry board and the driver just do their job. The driver will make sure that both the Raspberry Pi and the HiFiBerry board are configured in a way that they work together. You don’t have to deal with the internals of this.
You still want to learn a bit more about it? Have a look at Wikipedia.
February 18, 2021