Blog
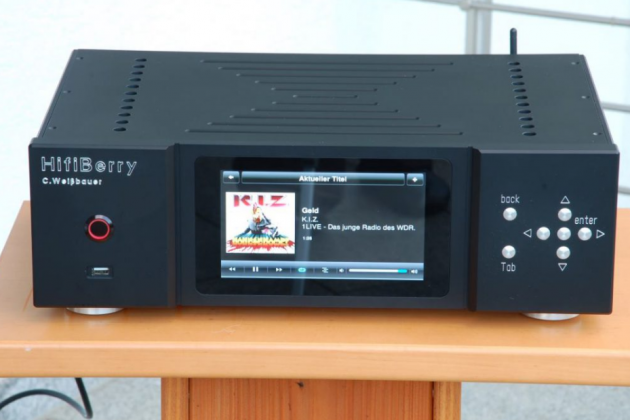
Listen to your existing MP3/FLAC music library
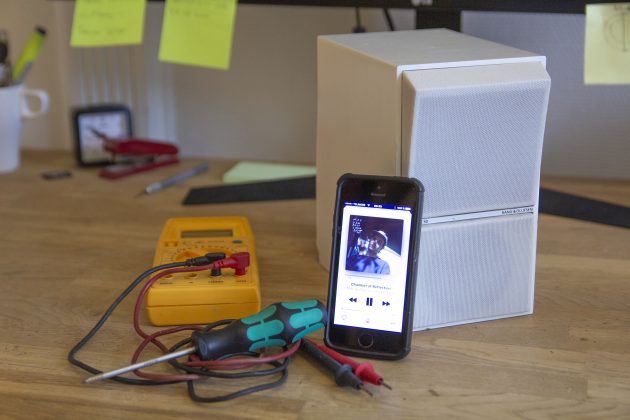
While many users have adopted streaming services like Spotify to play their music, we know that a lot of you still use their local music archives and perhaps you still have a large library of FLAC files stored somewhere, but you don’t use it anymore because it’s too complicated.
With HiFiBerry OS, it’s easier than you think!
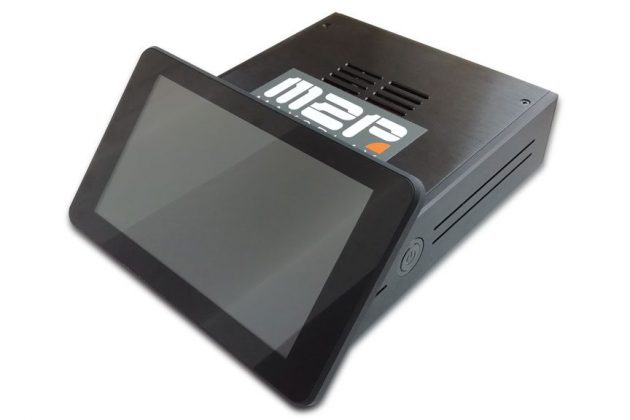
There are many ways to organize and listen to your local music library. According to our users, the most popular are Volumio, Logitech Media Server, PiCorePlayer, Max2Play and HiFiBerryOS. However, in this small guide, we’ll focus on HiFiBerryOS.
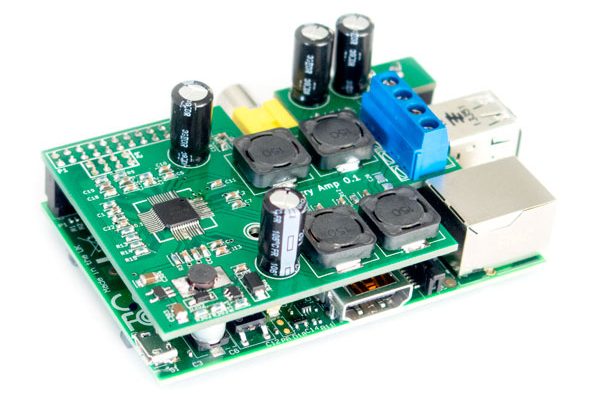
Install HiFiBerryOS
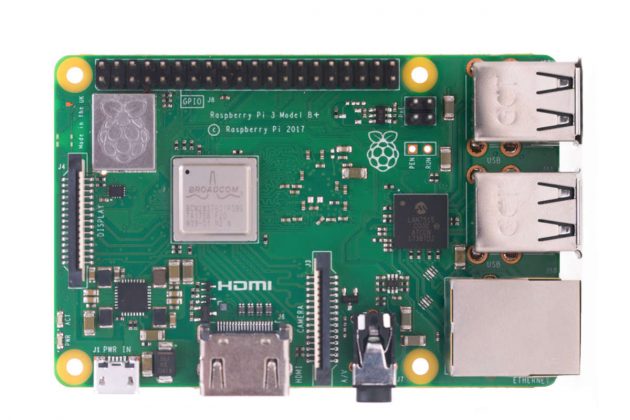
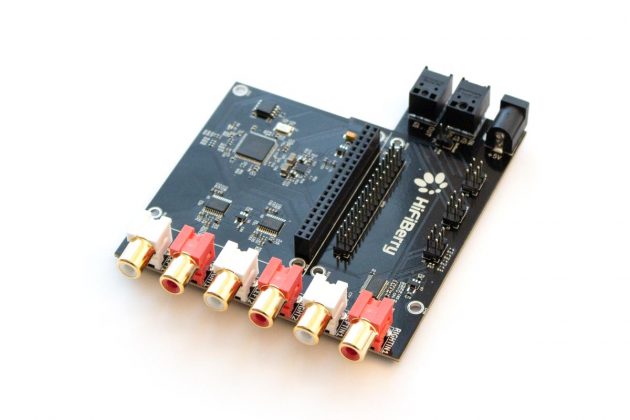
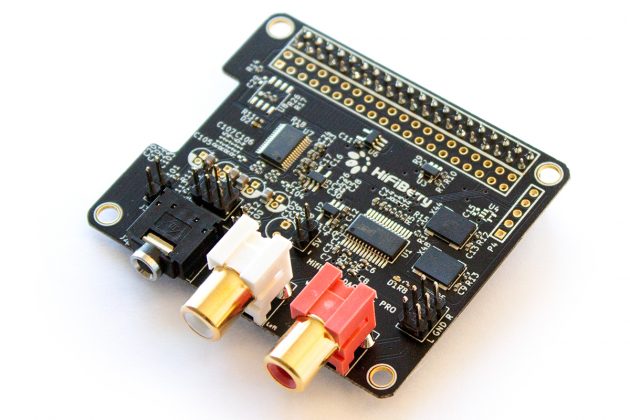
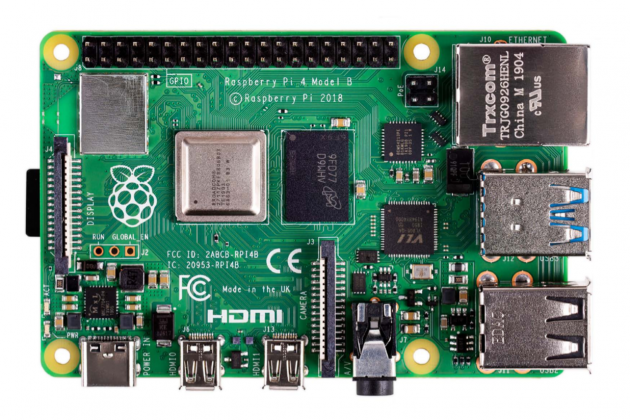
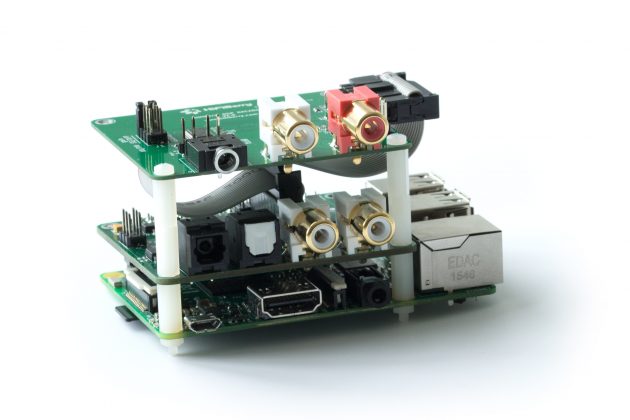
Just download HiFiBerryOS, write it to an SD card and boot from it. On initial start, it will detect your HiFiBerry sound card and configure the system. This might take a few minutes.
Initial configuration
Point your browser to http://hifiberry.local and use the configuration agent to finish the setup. If you’re doing this from your Android phone, note that this doesn’t come with mDNS name resolution. On Android, you have to connect using the IP address of your system. To make that easier, download any IP scanner apps from the Play store, and you’ll be able to identify the address and use your browser for access. However, usually the easiest way is to do the initial setup from your PC.
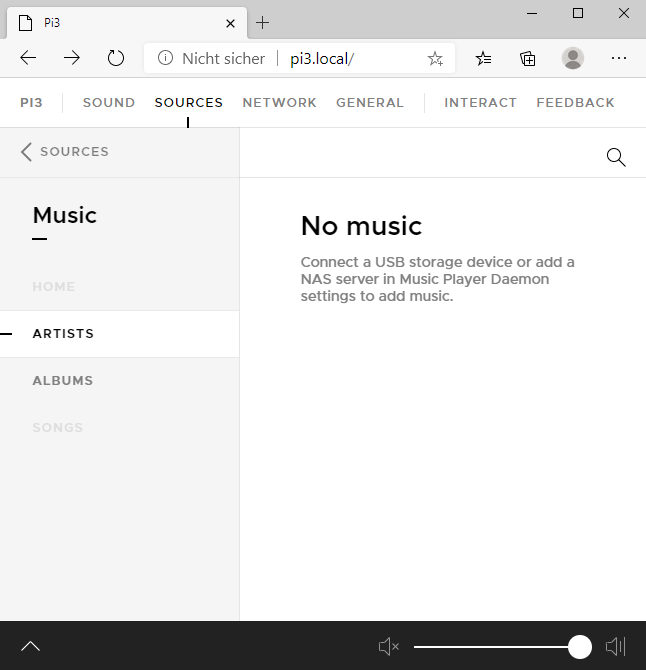
Music library
Clock on Sources/Music to access the music library. It will be empty:
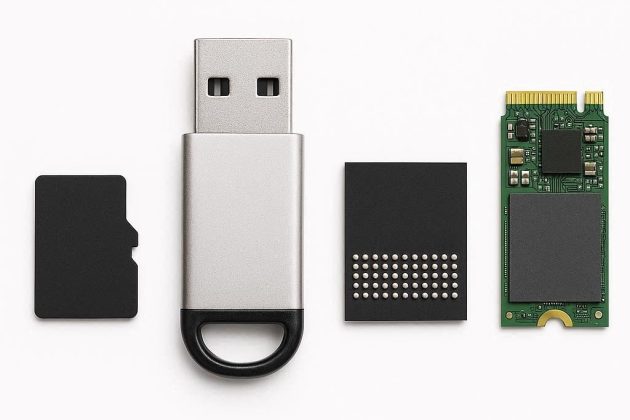
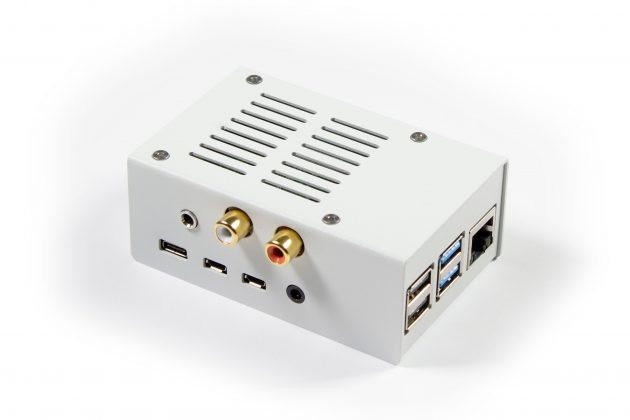
Add USB media
If your music is stored on an USB stick or an external USB hard disk, you can just connect this to the Pi and it will be scanned automatically. Depending on the size of your library this might take a minute or much longer. No worries: While the initial scan takes quite a long time, the library will be stored internally.
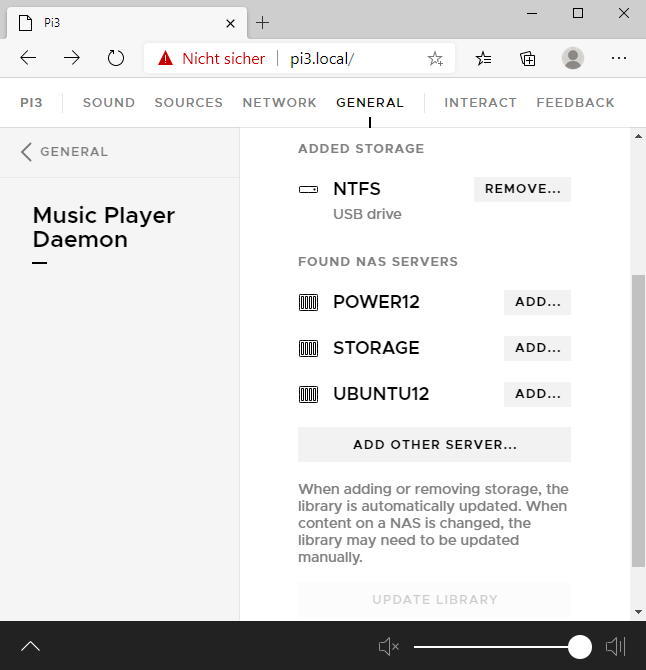
Add Samba mounts
Many users will not have their music on a USB drive, but on a network attached storage (NAS). In most cases, this is the recommended way as it makes it easy to access the same music files from different places, for example, if you’re installing a multi-room system.
To connect to a NAS, go to General/Music Player Daemon. This will automatically search for servers on your network. Wait a few seconds and it will show your the servers that have been detected:
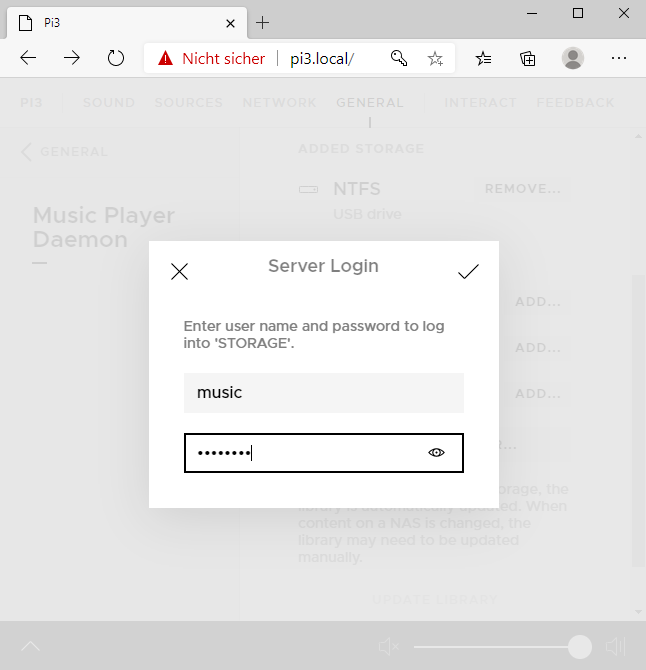
To connect to a server, enter your username and password for this server:
Now select the share that you want to mount:
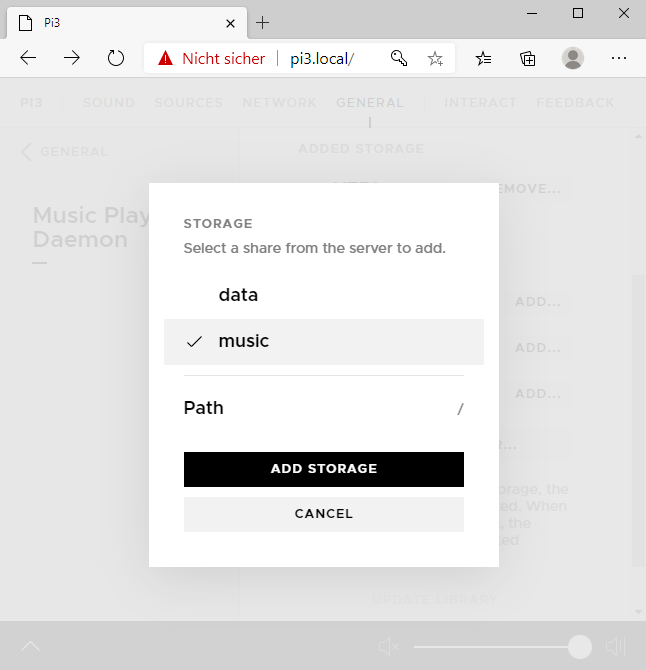
If you just want to access a subdirectory (e.g. if you have a share that’s not used only for music), you can enter the subdirectory at “Path”. Otherwise just leave this blank.
Now click on “Add storage”. You see now that the storage has been mounted. You might need to refresh your browser if the storage is shown as “unavailable”.
Note the “Updating library” indicator that shows that the system now scans the share for music.
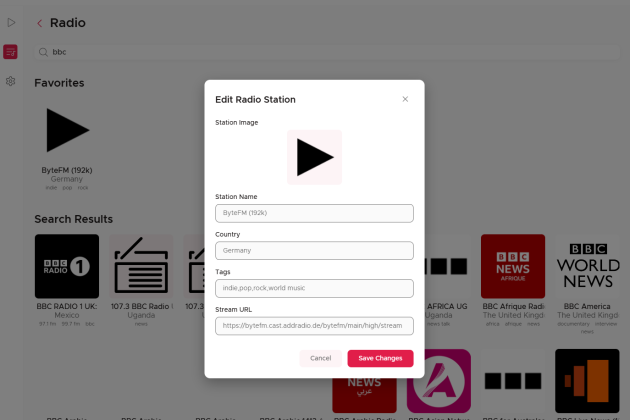
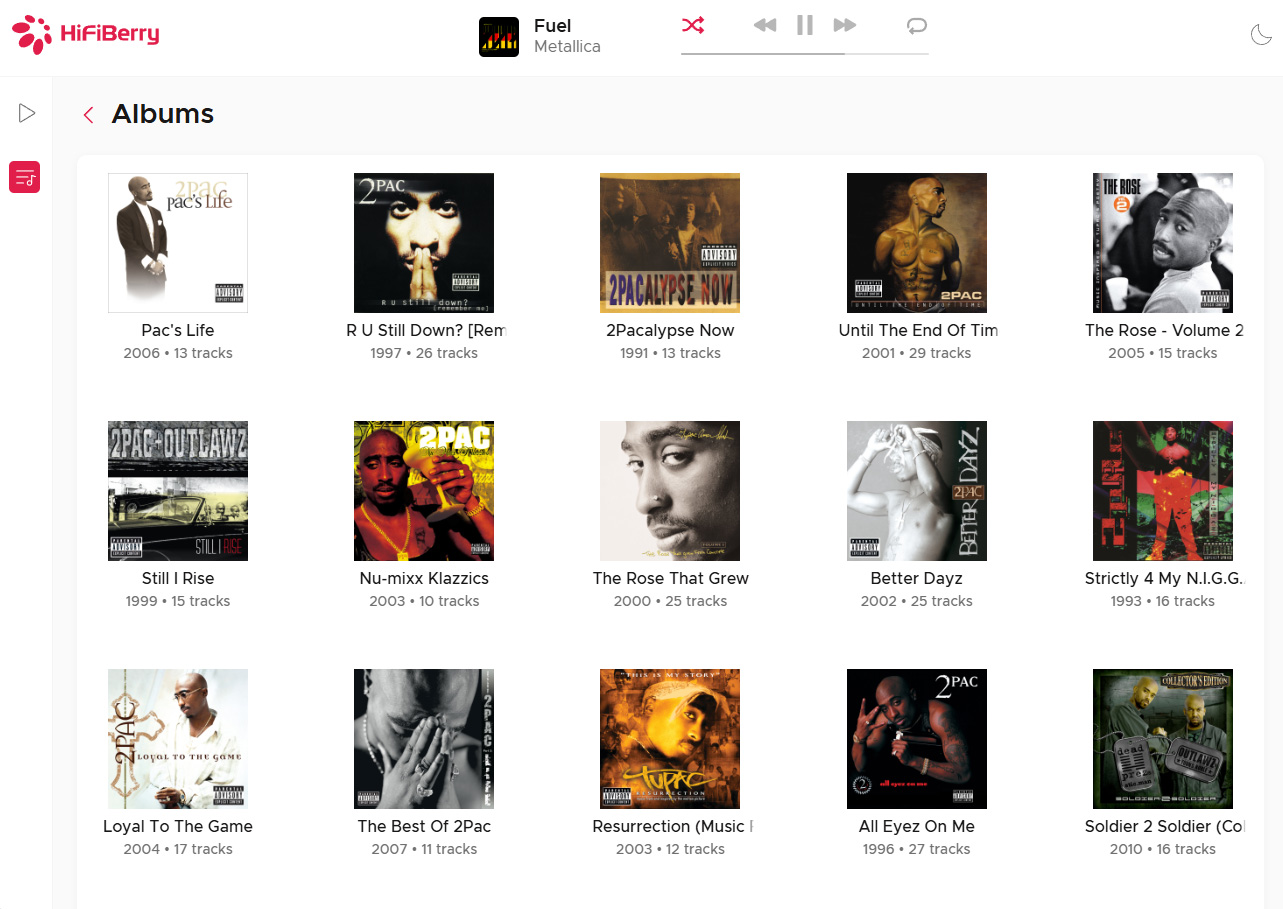
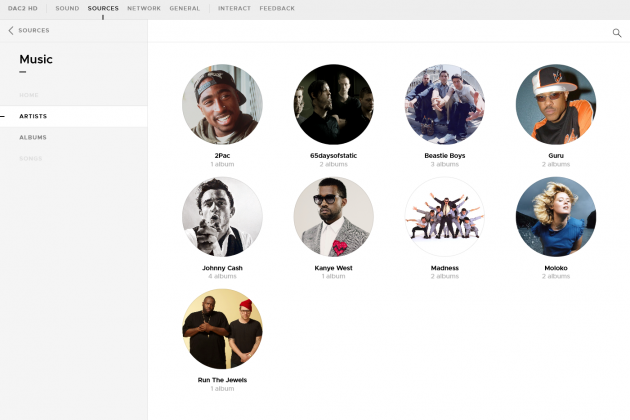
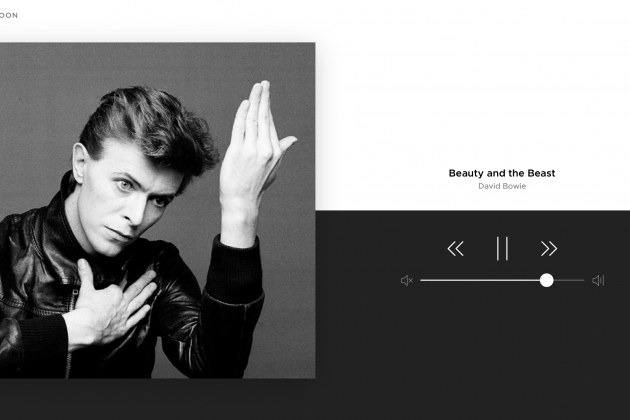
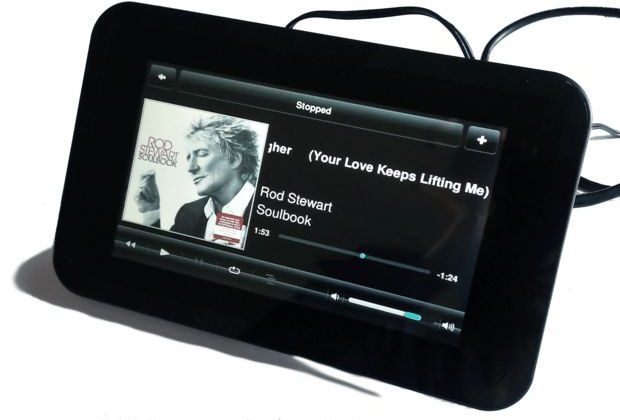
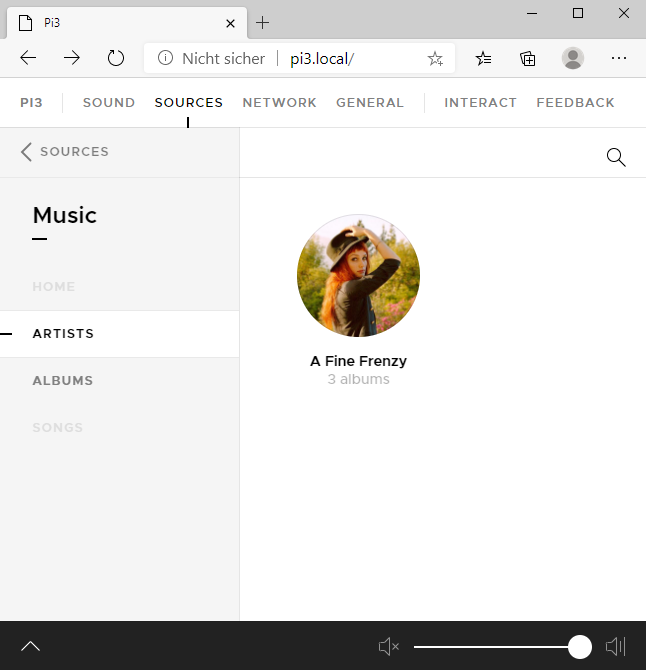
Listen to music
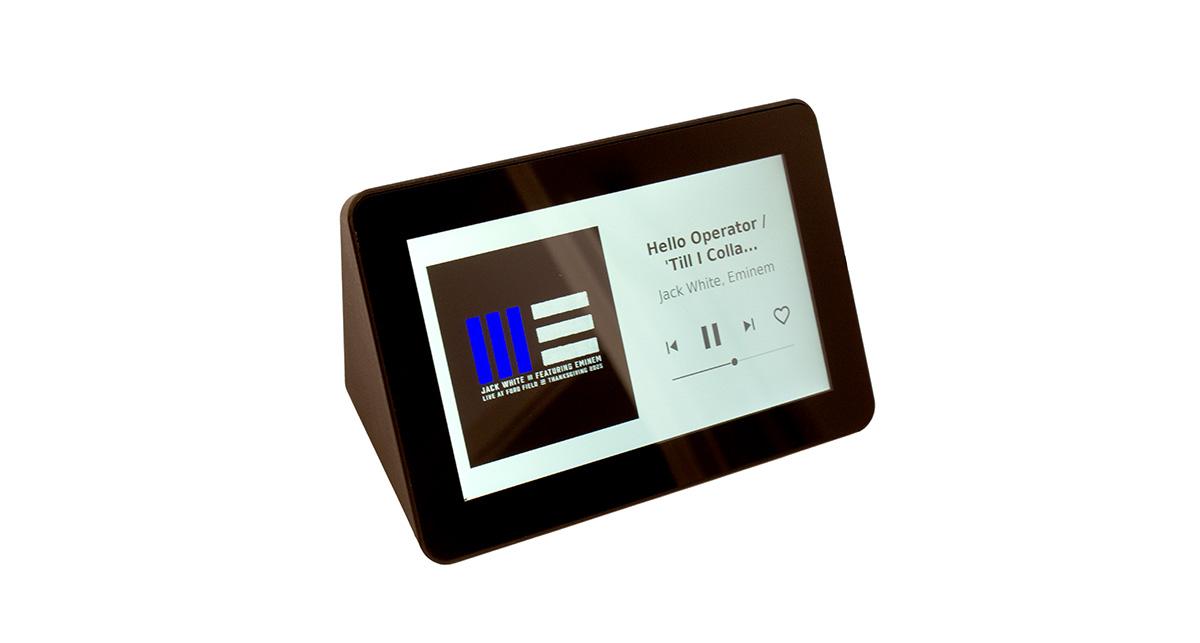
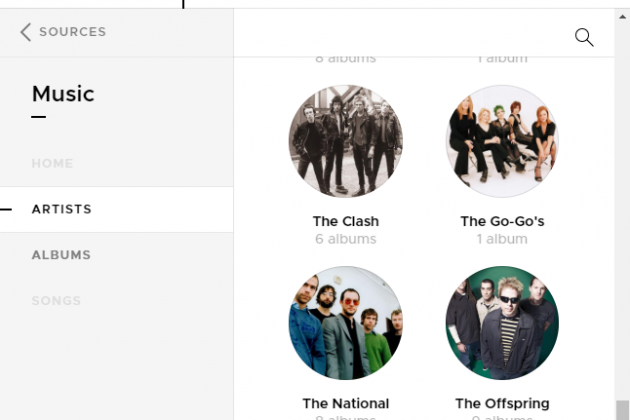
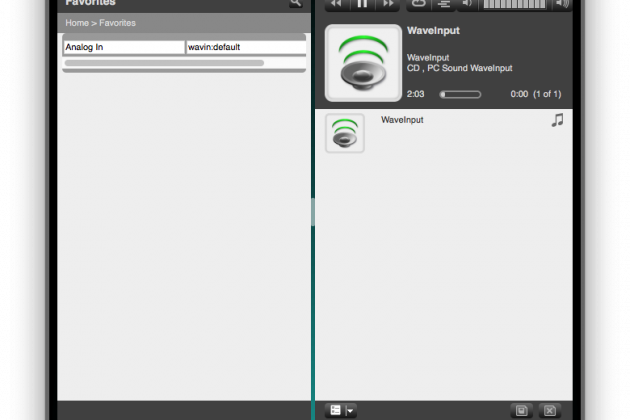
If you now go back to Sources/Music you will see all your music.
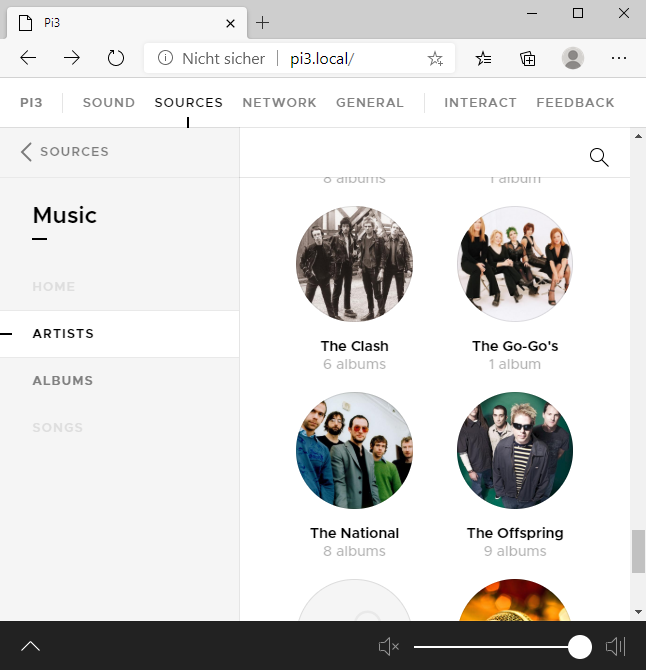
Just browse your library and start listening to you music.
September 14, 2020