Blog
Multi-Room Audio: A Beginner’s Guide

What you need, where to start, how to plan
Often our customers are confused by where to start with a Muilti-Room Audio system. Today, we’re going to discuss what Multi-Room Audio (MRA) is, what you can do with it, what you need, and an overview of how to set it all up.
The Basics:
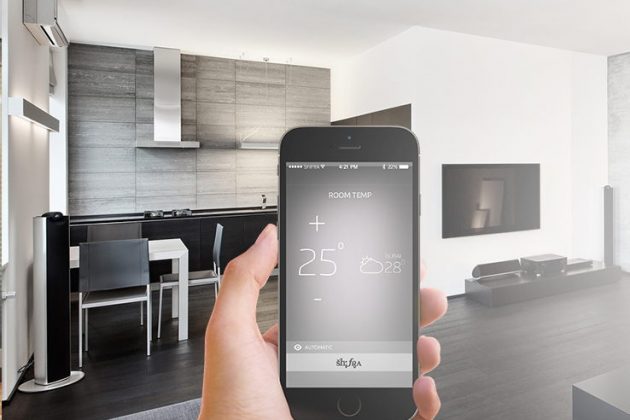
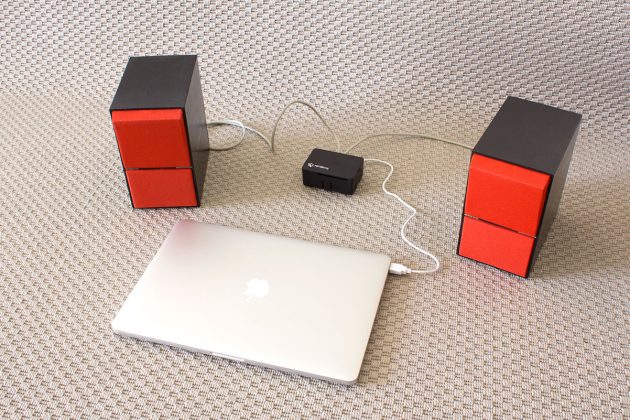
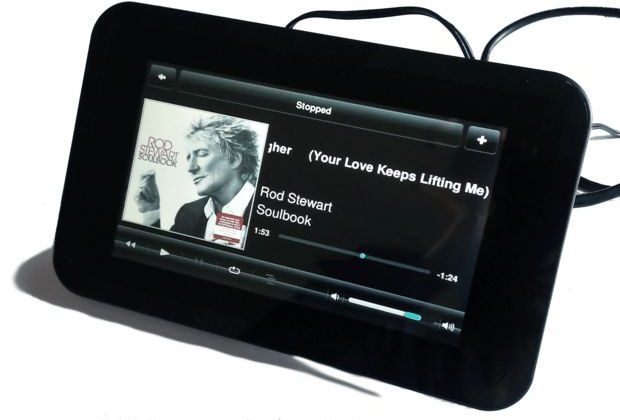
As the term implies, Multi-Room Audio (MRA) is a method of delivering audio programming of any sort – music, podcasts, internet radio, and so on – throughout your home – with the convenience of control by a PC, Smartphone, or tablet.
MRA is managed in two ways: synchronized and unsynchronized (or, technically, ‘asynchronous’) meaning independently. With synchronized audio, you can have the same content playing in every room, so that no matter where you go, the sound is as rich and full as it can possibly be and it can be heard wherever you go. This would be useful if you’re listening to an audio book or podcast while doing chores around the house, for example.
Asynchronous audio means that you can customize each room with different content. For example, you can play classical in the kitchen, latin in the living room, disco in the dining room, jazz at the jacuzzi and Bach in the bedroom. Another example is sound ‘conditioning’ using soundscapes of nature like rain, waves, wind and crickets. Though this method is often used in museums to accompany displays, or other public installations where recreating an experience is required, some customers use MRA systems with soundtracks to help themselves and their children fall asleep, meditate, create a mood for a party, or even wake up with certain software settings as an alarm clock.
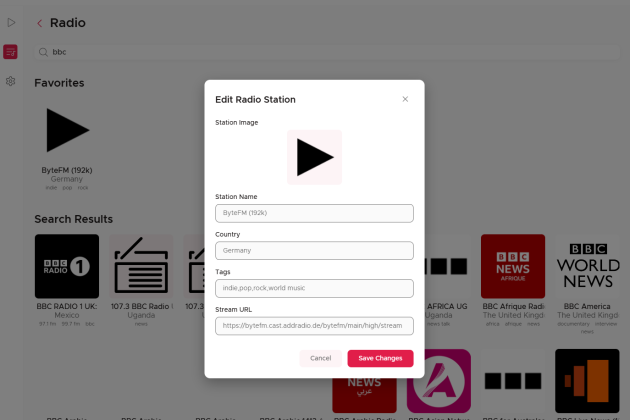
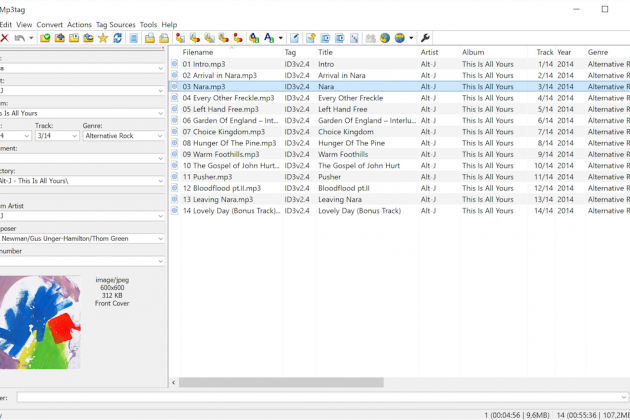
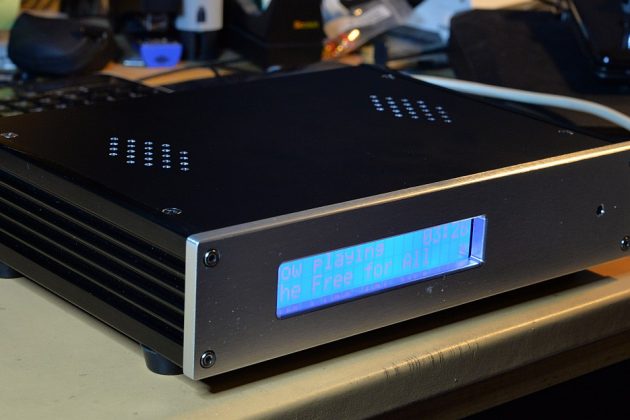
Typically, the content resides in one location, such as a server (i.e. a Synology, Western Digital or Qnap NAS), a USB stick, or some other sort of removable media on any network-accessible location. Another option is internet-based sources, such as internet radio or streaming services such as Tidal, Spotify, Deezer and so on.
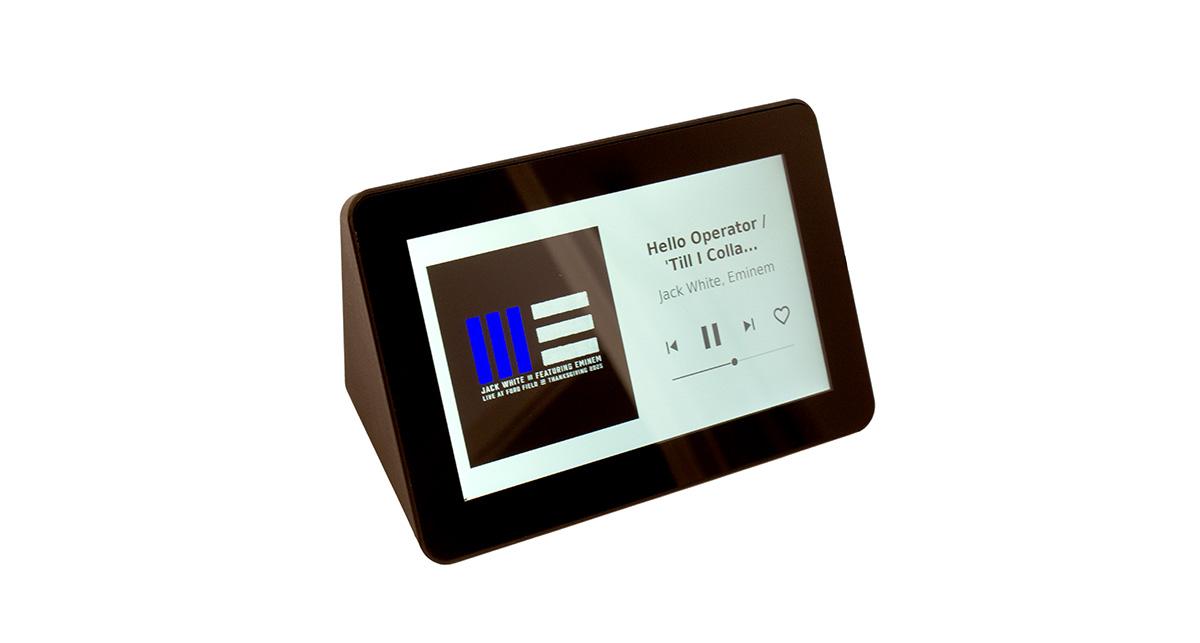
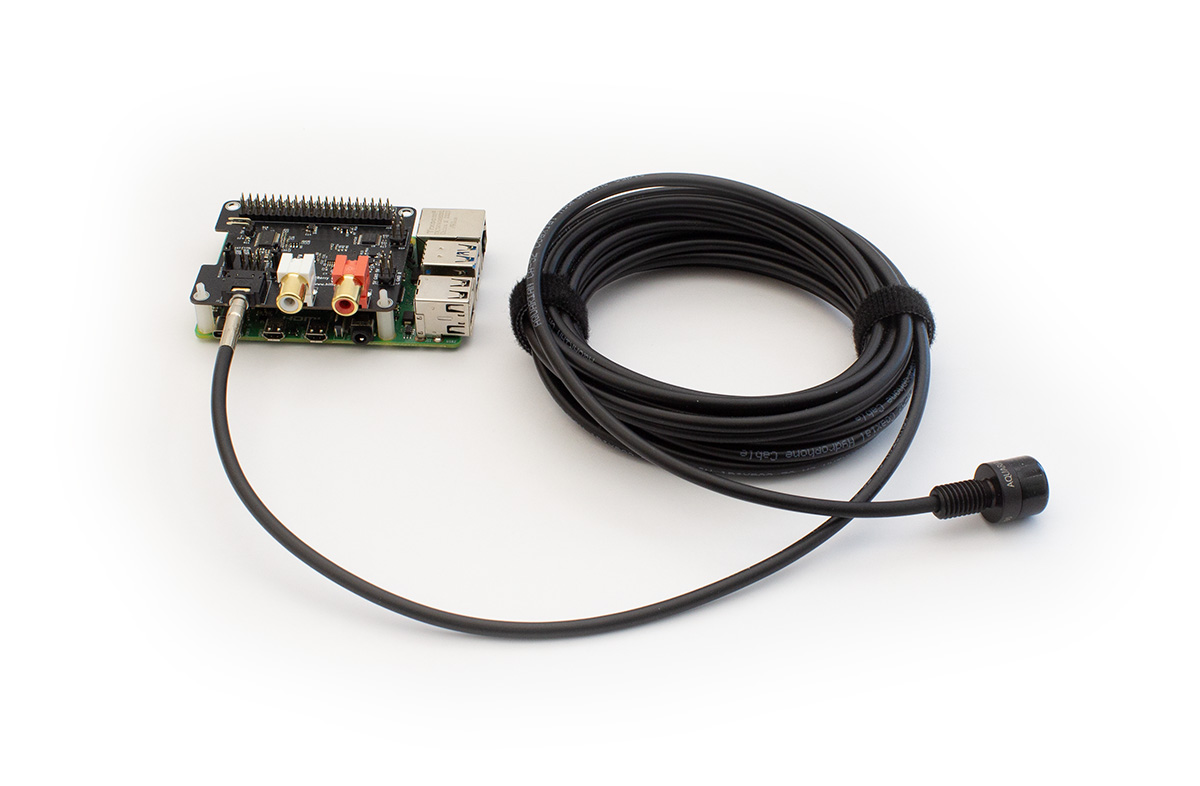
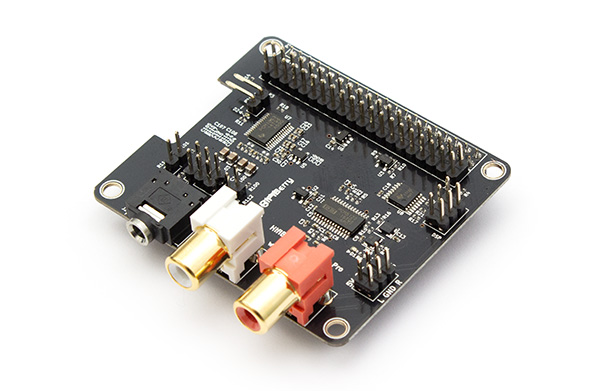
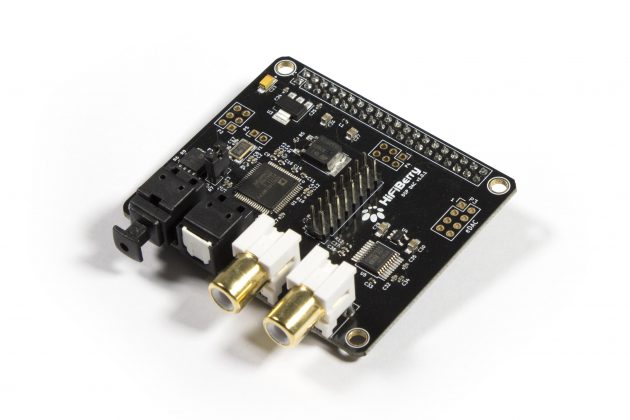
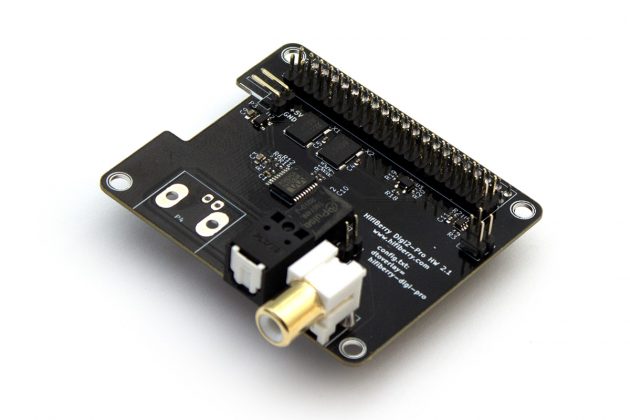
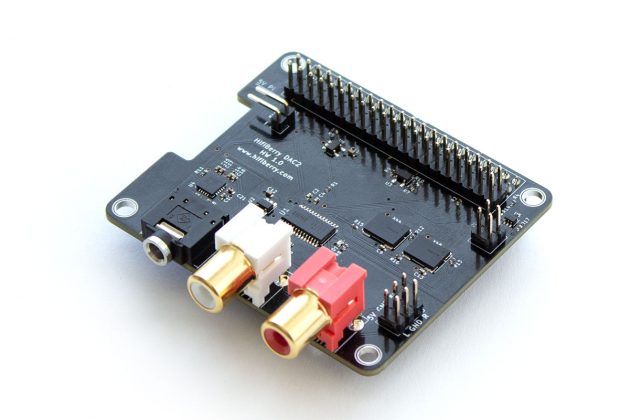
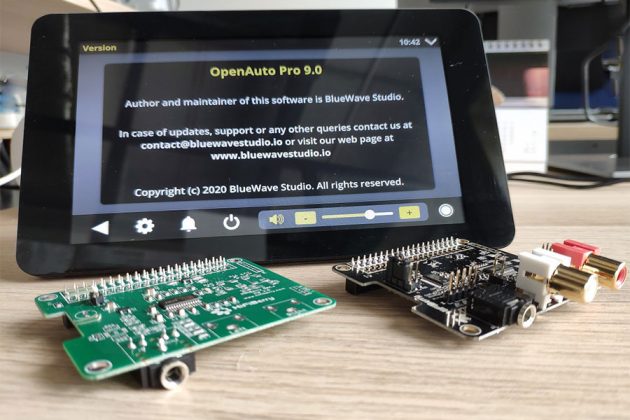
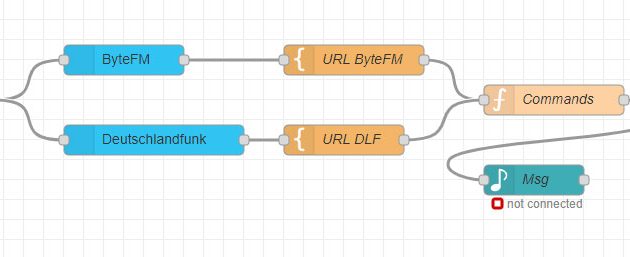
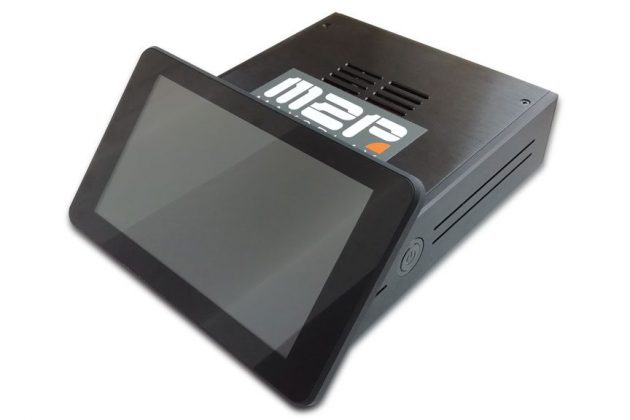
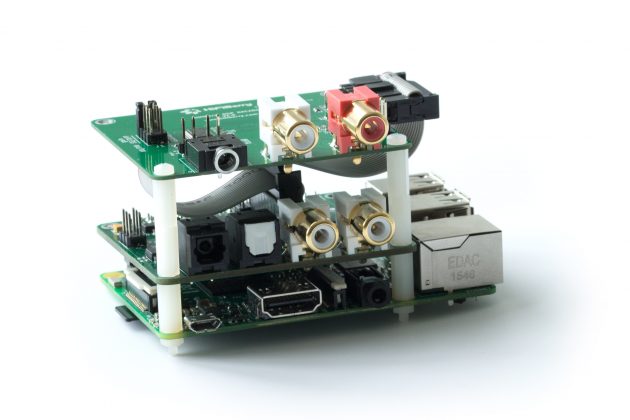
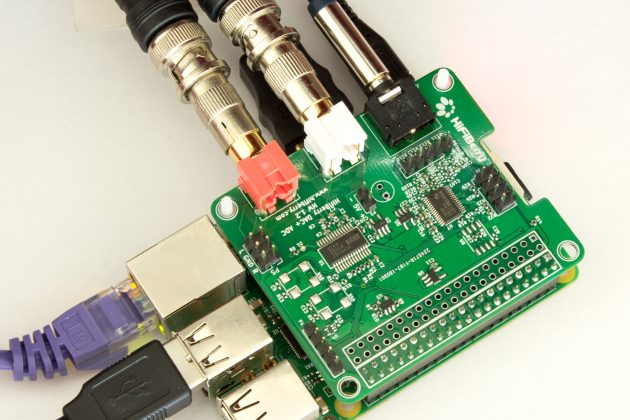
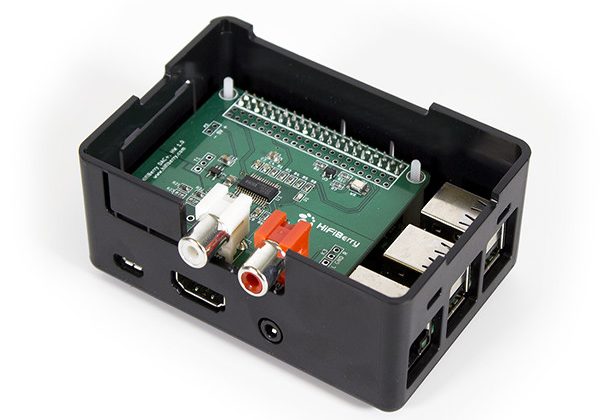
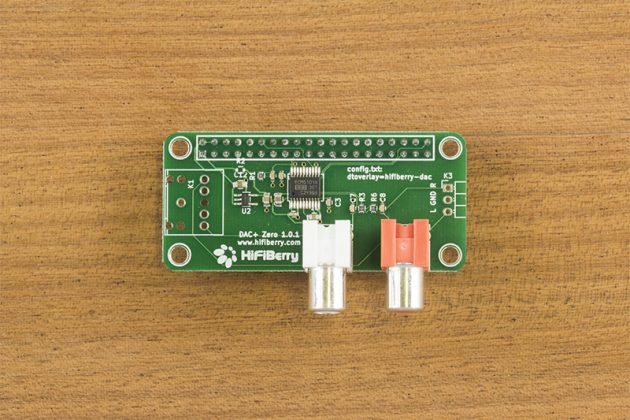
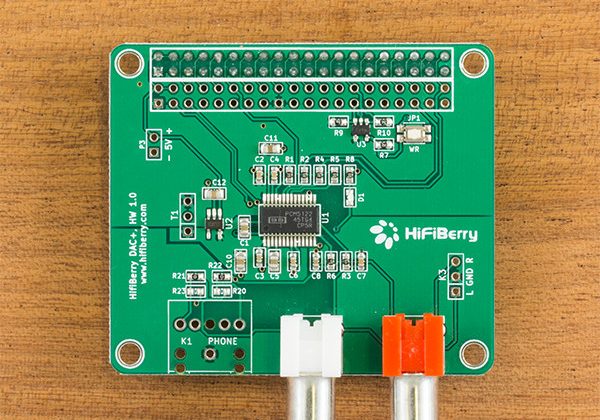
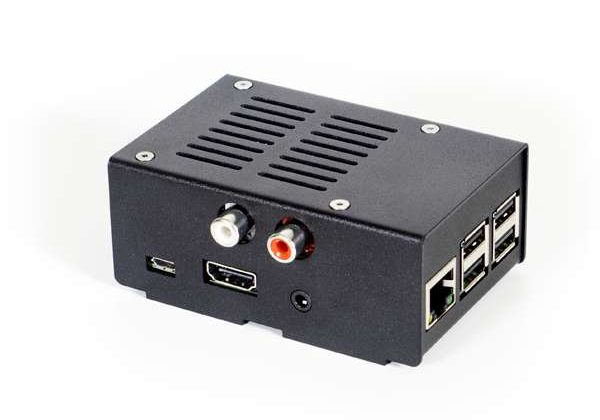
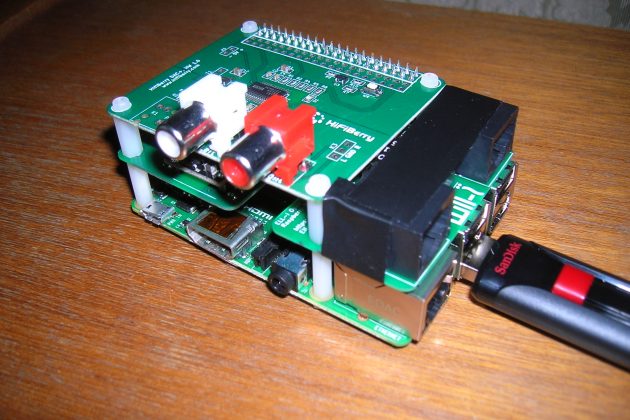
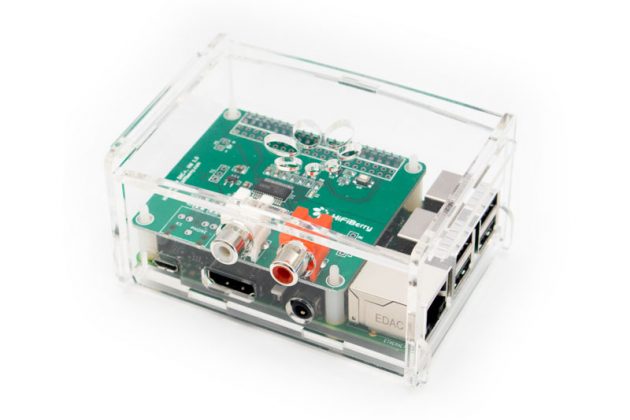
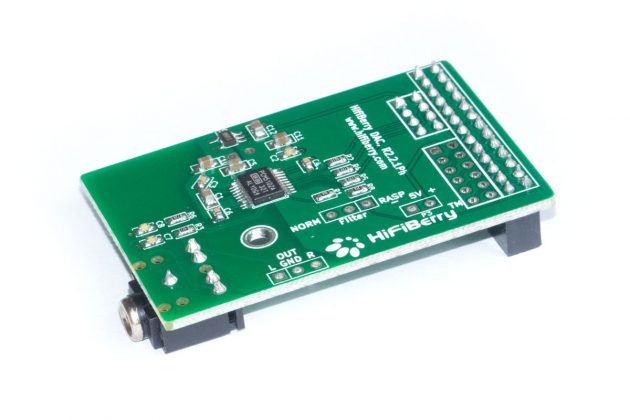
One device runs software that works as the “traffic cop” to respond to your instruction for which source to access, it then ‘steers’ the digital audio to its proper destination and is rendered (reproduced) at the ‘end point’ via a HiFiBerry DAC.
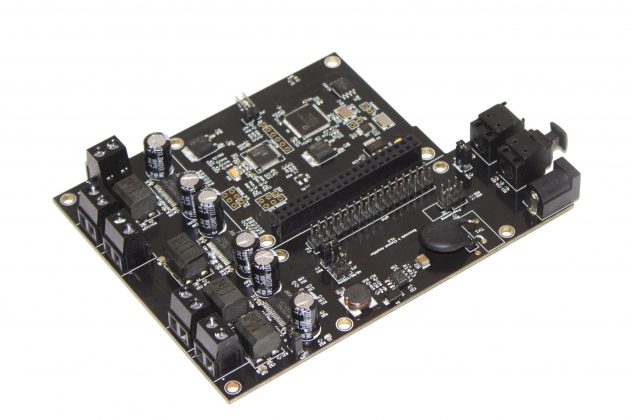
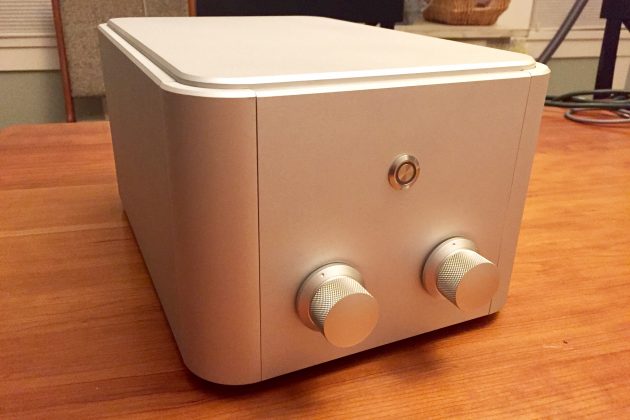
For further discussion, we will assume an AMP2 or BeoCreate as the examples.
Getting Started:
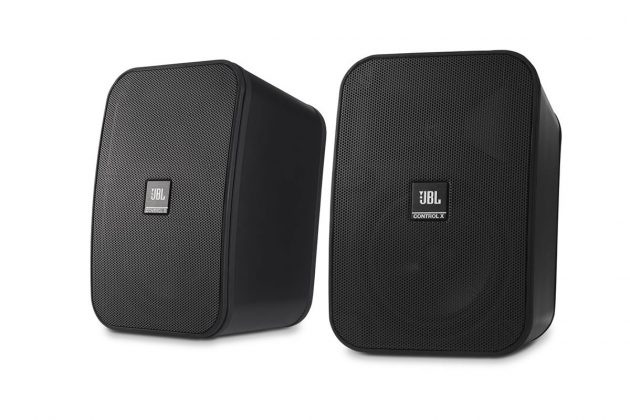
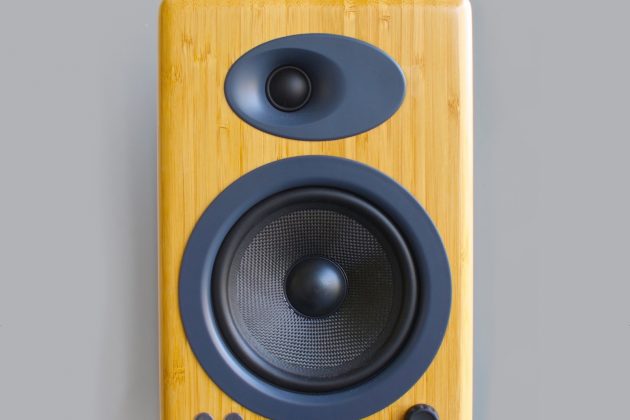
The first place to begin with multi-room audio is to decide how many rooms you want to have set up with speakers. Generally, you will want two speakers (for stereo) in each room. You will also need to decide if you want to run wire to a central location in the house (attic, basement, closet or under a stairwell) and have all the speaker wires going to that one place, or if you want to run wirelessly. There are pros and cons to each.
Centrally wired installations are convenient for maintenance such as changes to software and wiring each device. But if your home was not built with provision for running wires, you will be doing a lot of drilling and in existing construction, that can be a challenge, especially for a larger home with long runs. Another disadvantage to centrally wired installations is – again for larger homes – the more wire you use, the more resistance (thus, lower volume) and more risk of damage to the wire in the walls from ‘critters’ who just love chewing on electrical insulation.
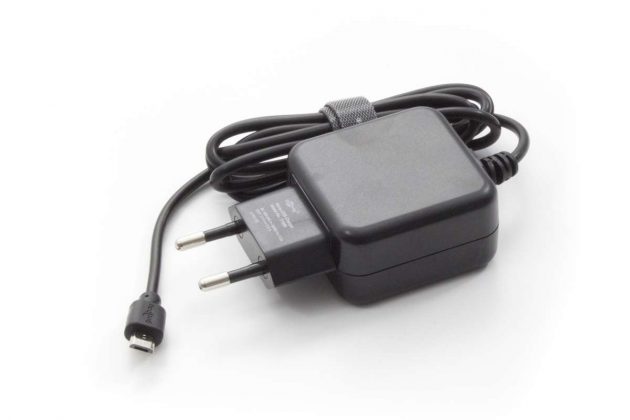
Wireless installations are simpler. Although there are still wiring requirements such as having to connect the speakers to the device and supplying electrical power to the transformer, that can often be more easily done since the distance from the ceiling in any one room to a wall outlet is often not far. The downside is that you will then need to be concerned with how to hide the AC adapter, and whether you have enough network signal to reach to the farthest point in your hose. With regard to hiding the adapter, it can always be tucked away in the wall or ceiling behind the wall board. As to network signal, a solution is to add an inexpensive range booster.
Hardware and Gear:
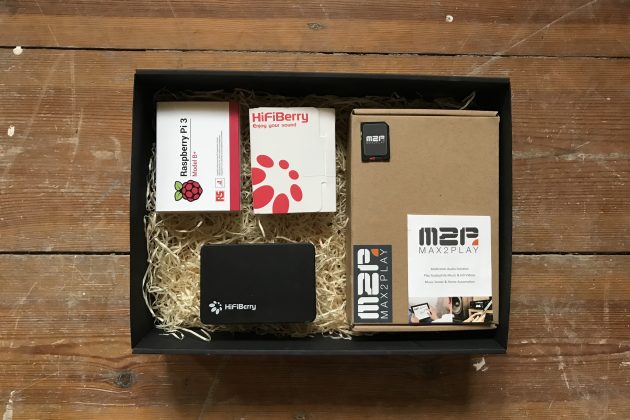
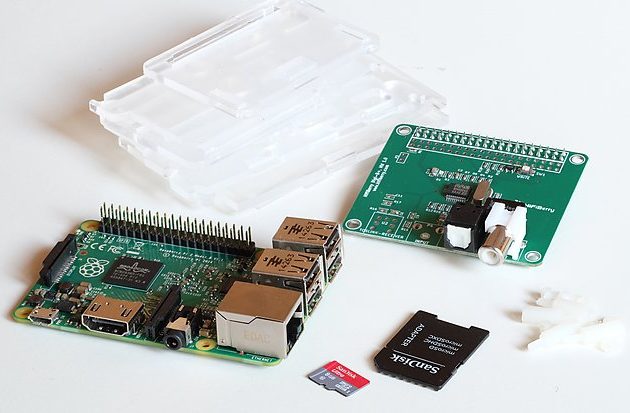
Once you’ve decided how many rooms are in your plan, and how you want to connect them (wired or wireless) you need to go shopping. For each ‘endpoint’ (room) you will need:
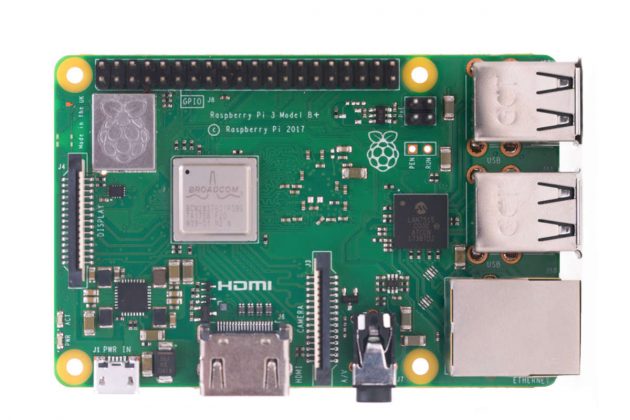
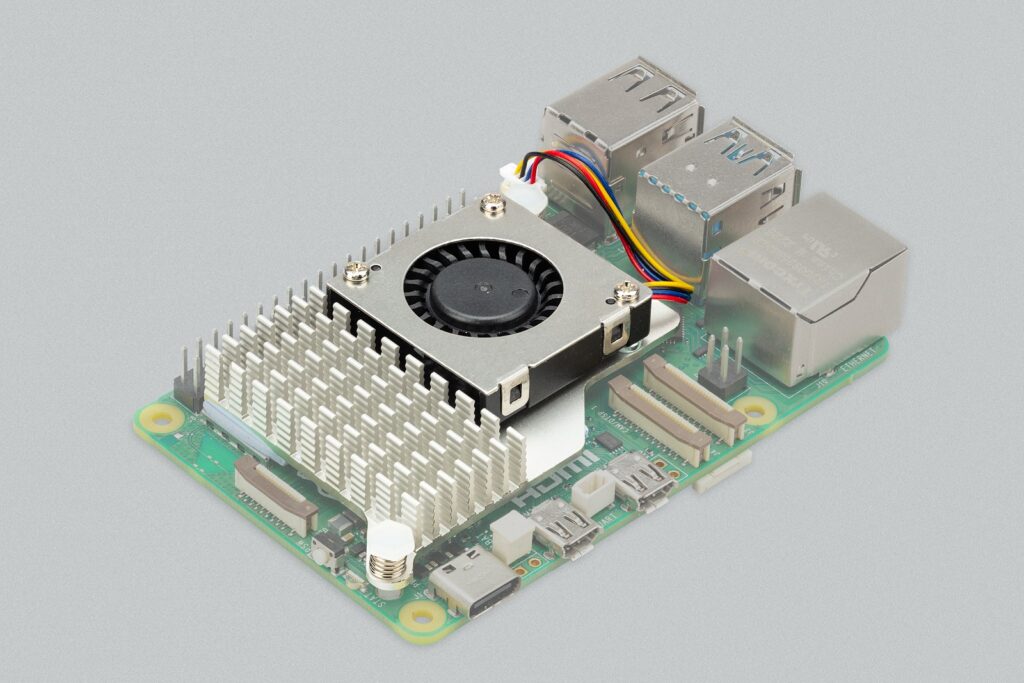
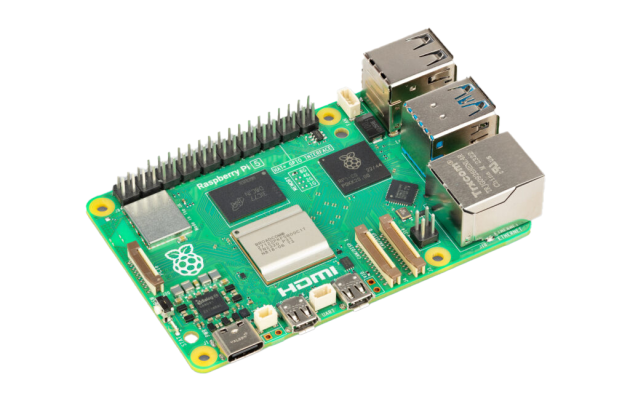
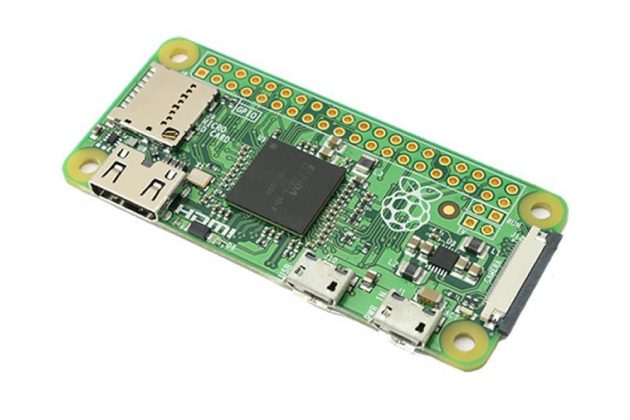
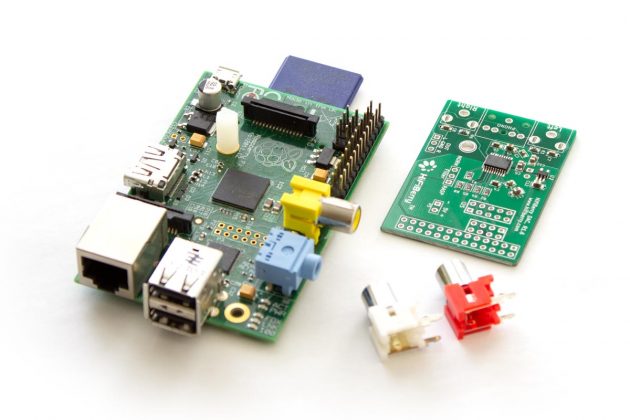
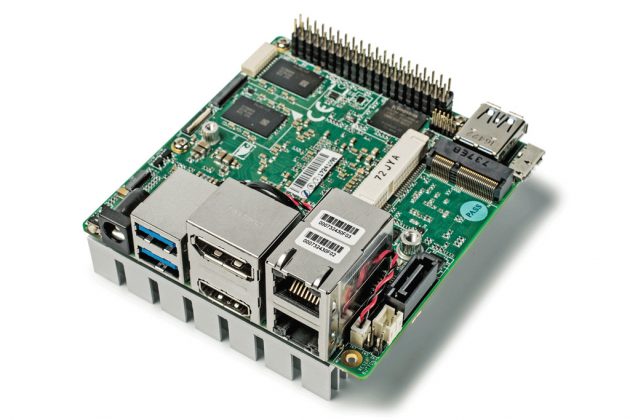
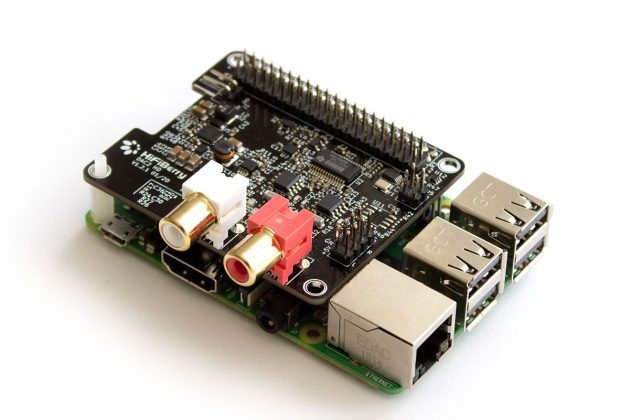
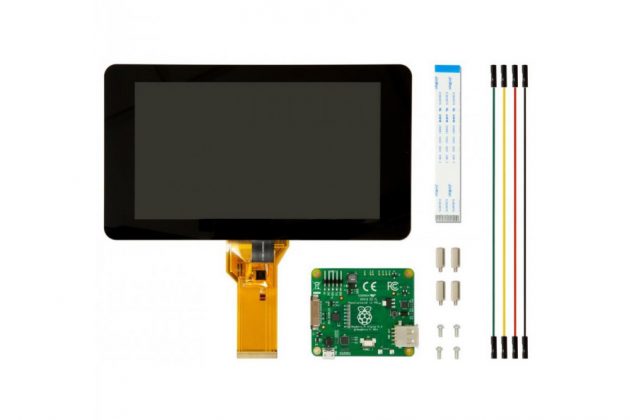
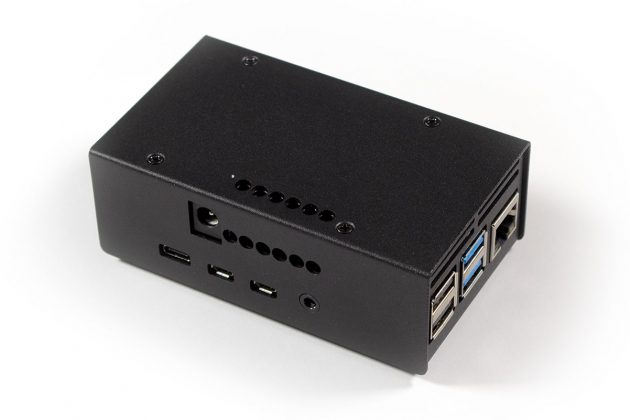
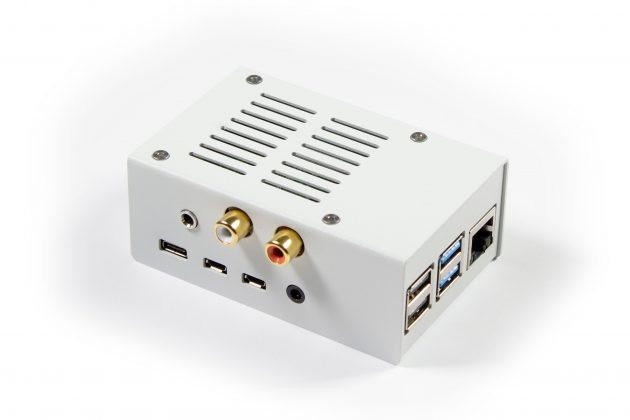
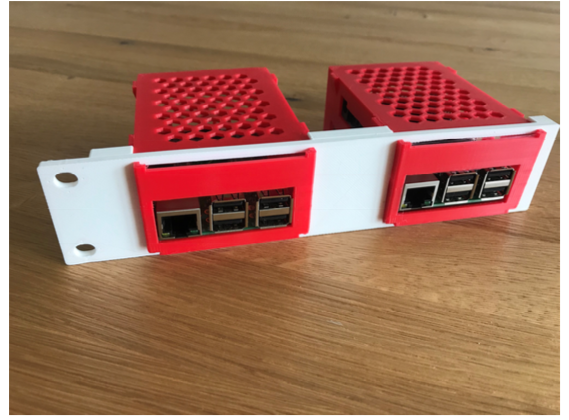
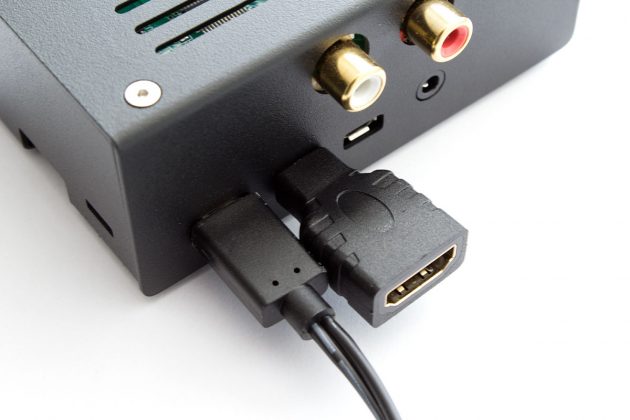
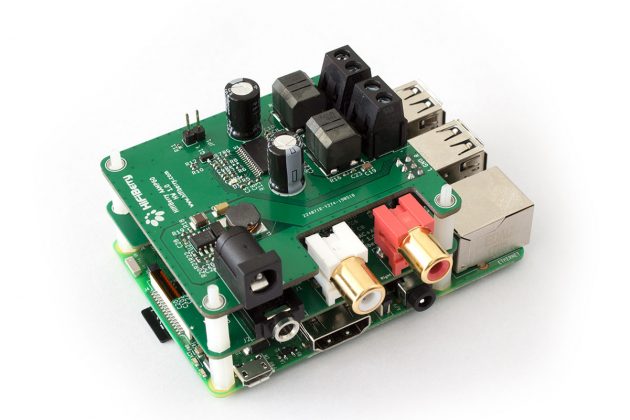
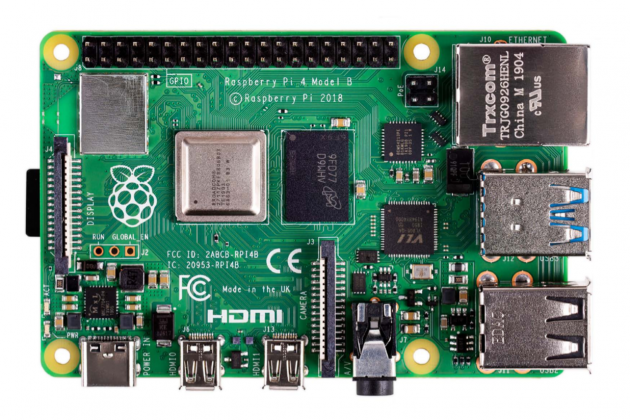
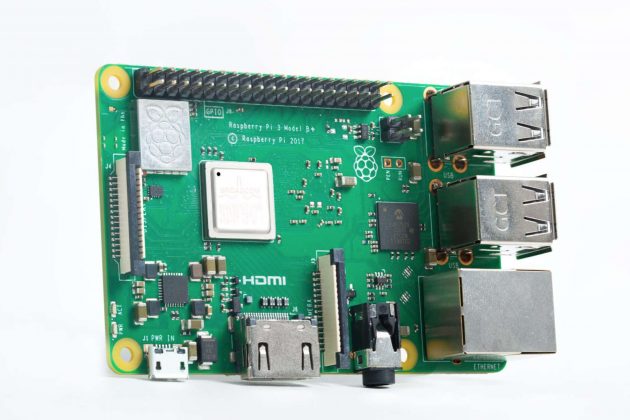
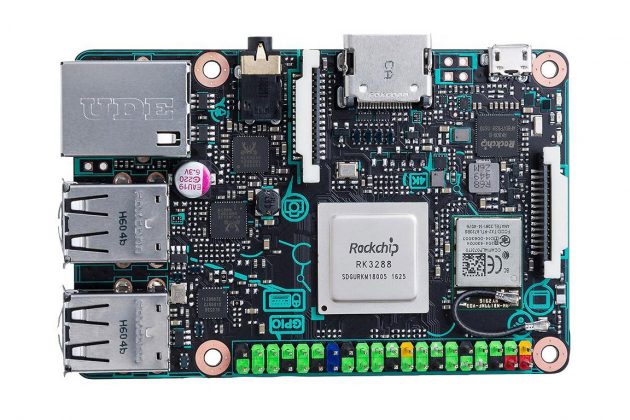
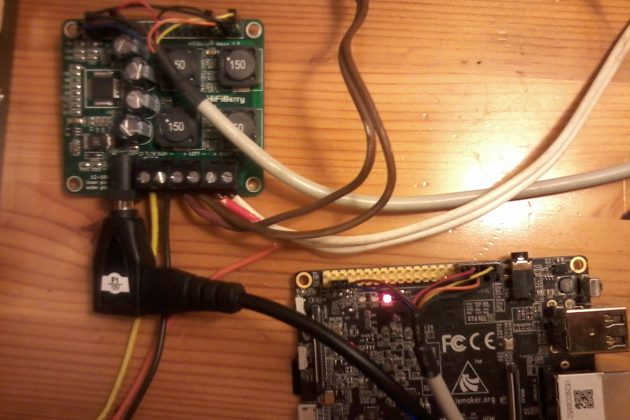
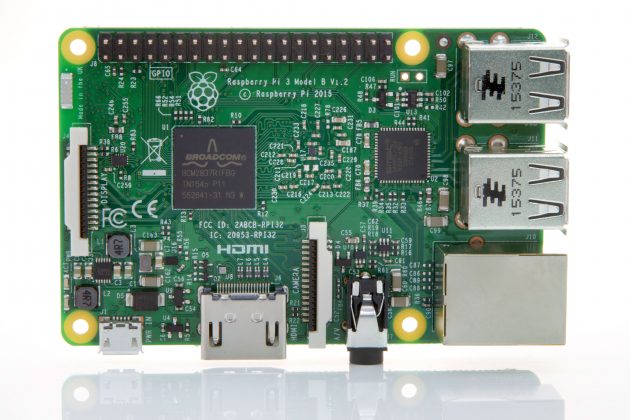
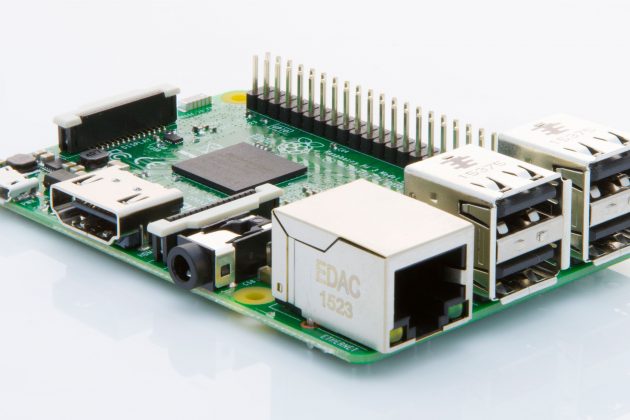
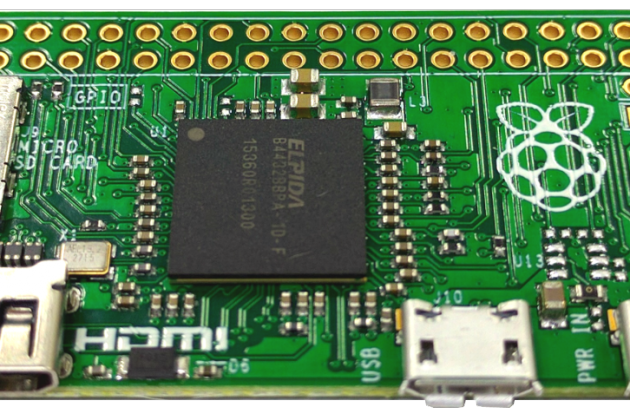
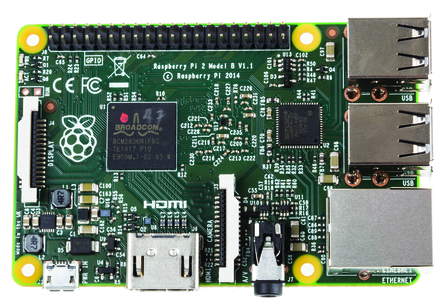
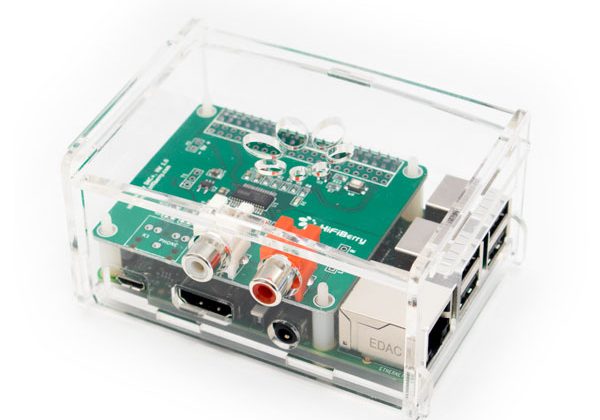
- 1 Raspberry Pi
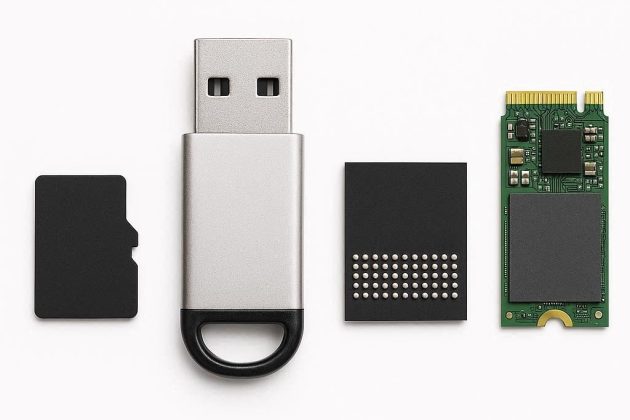
- 1 Micro SD card
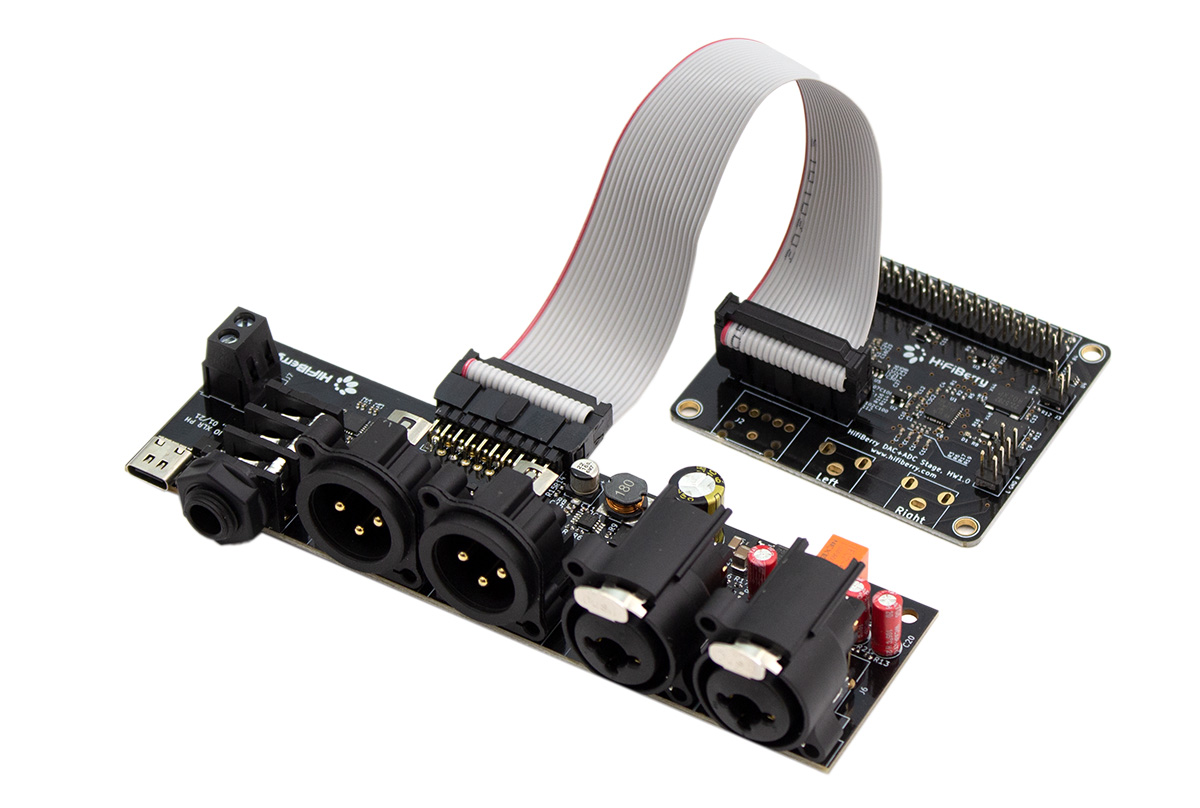
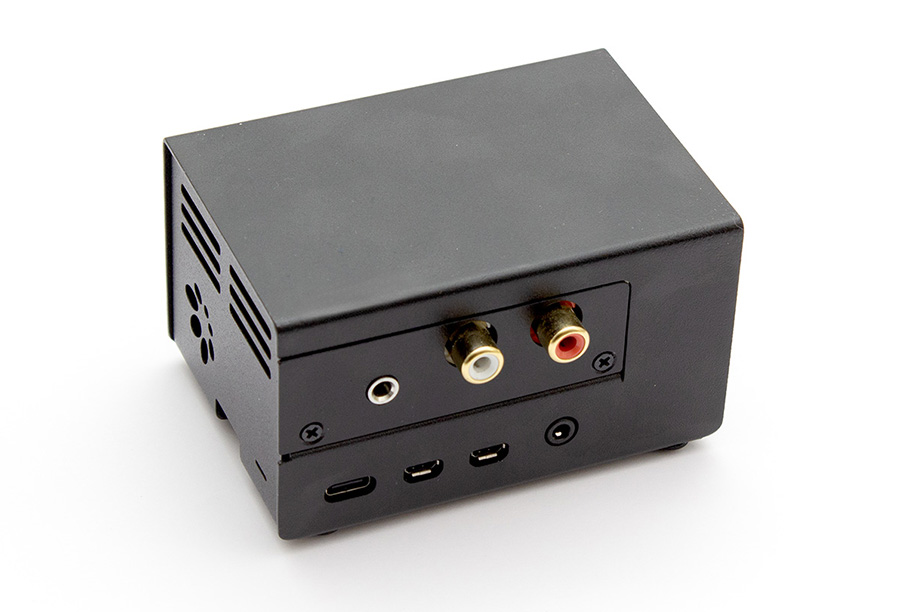
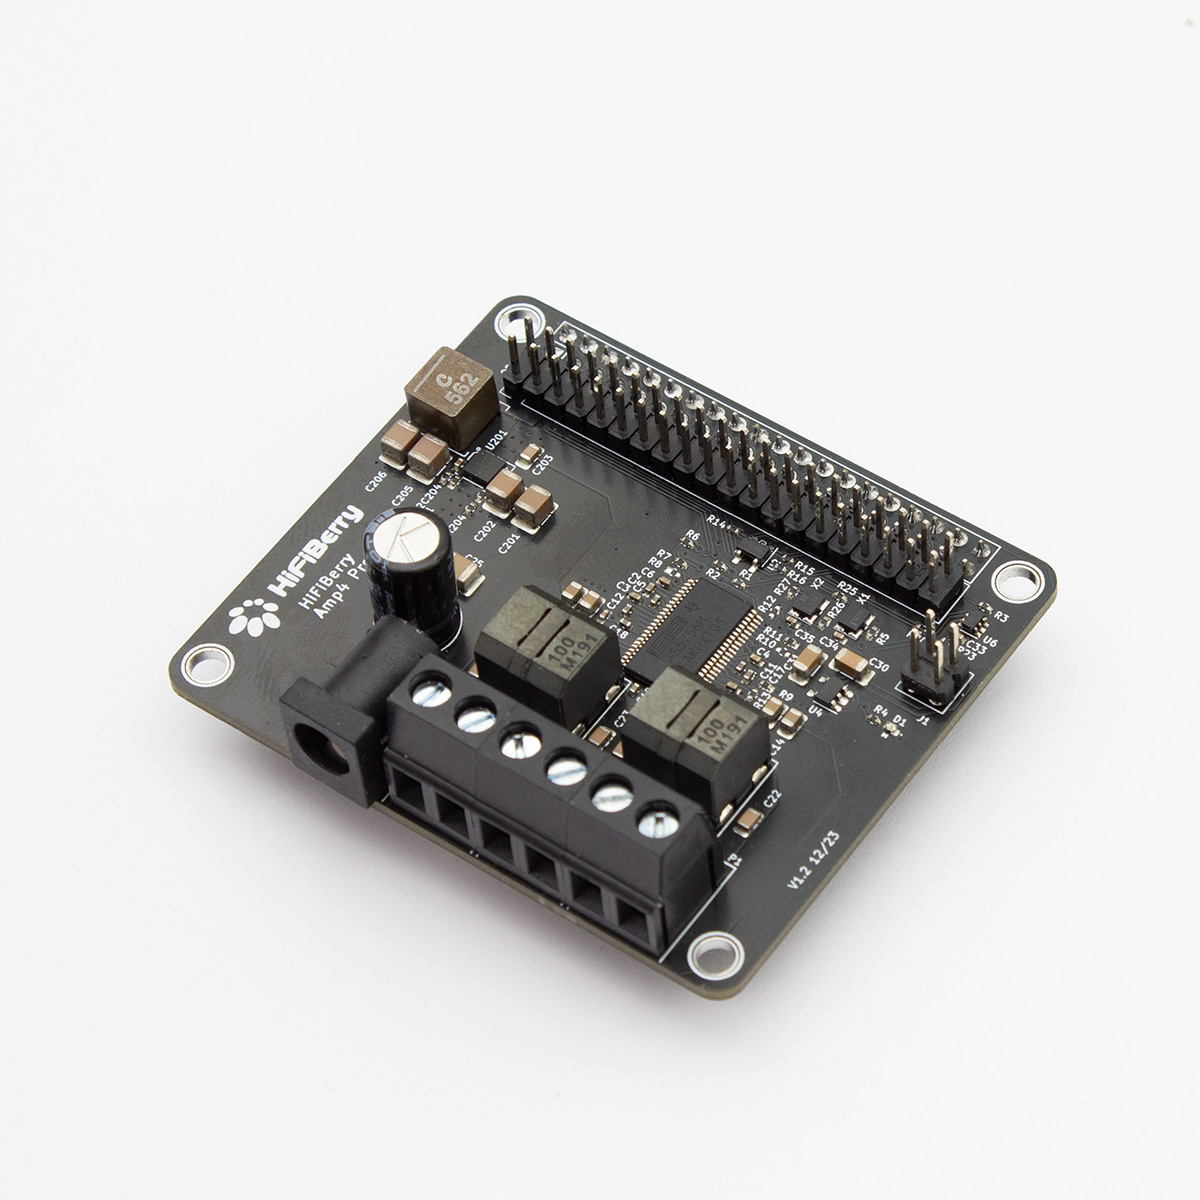
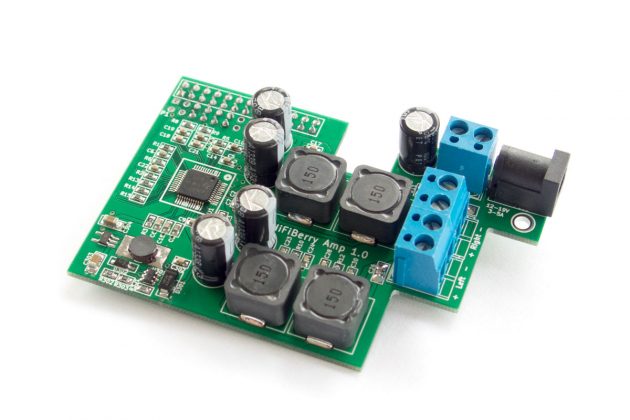
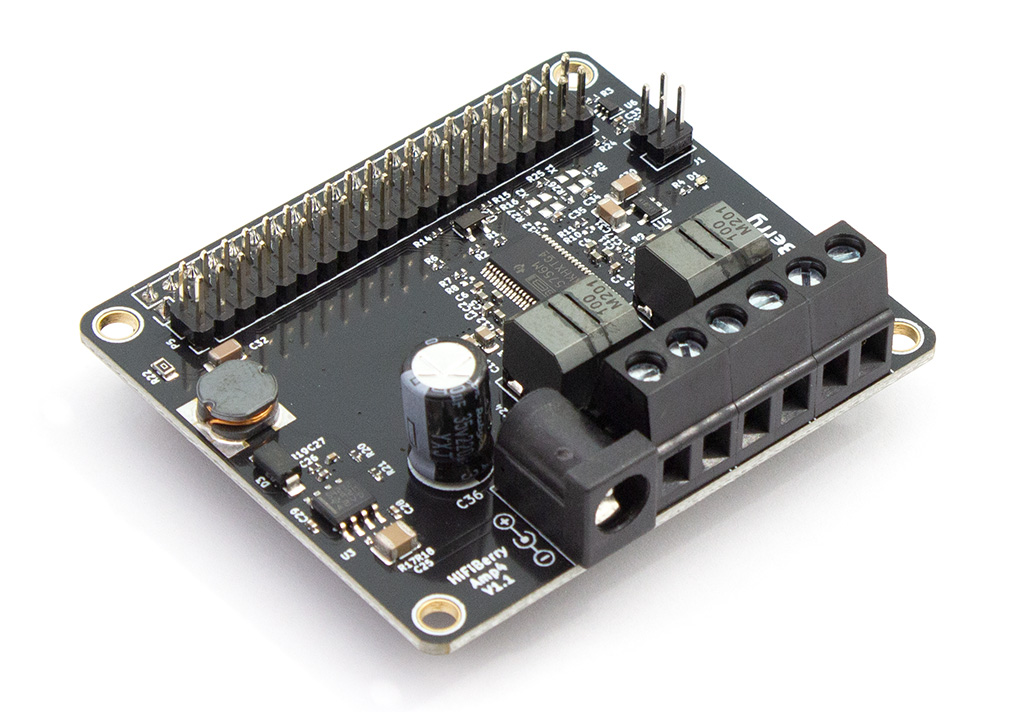
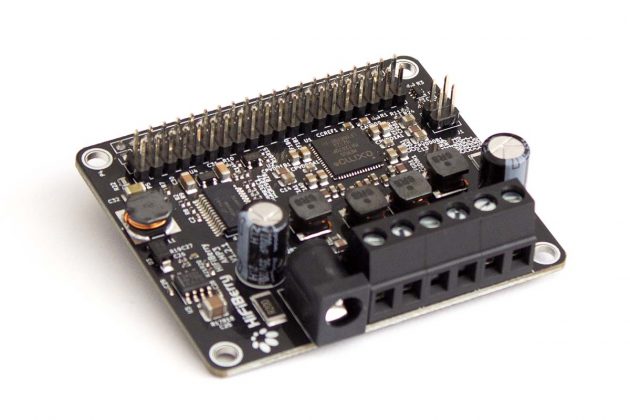
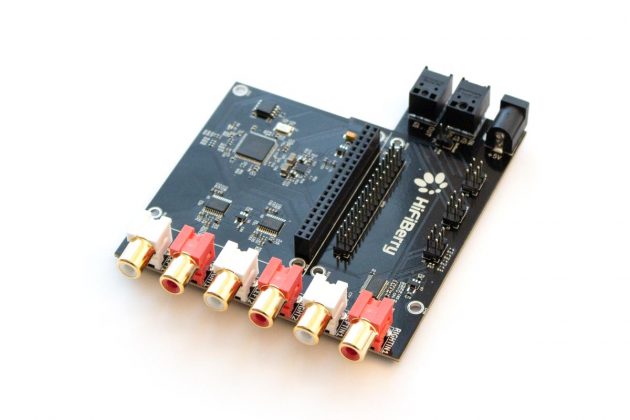
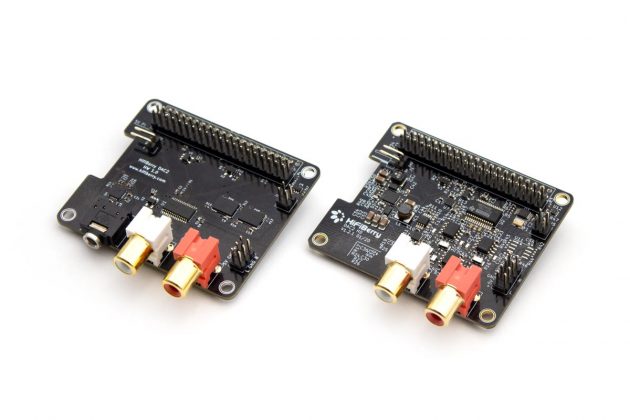
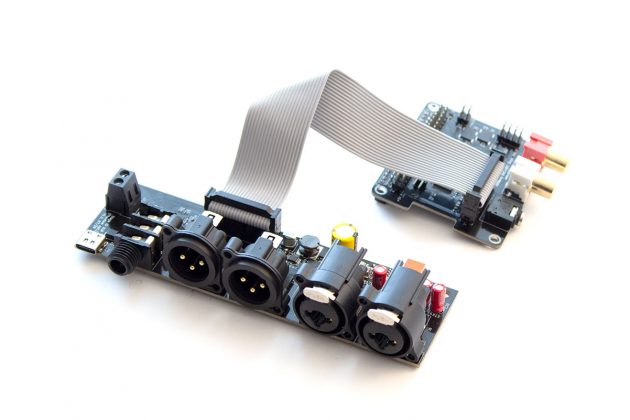
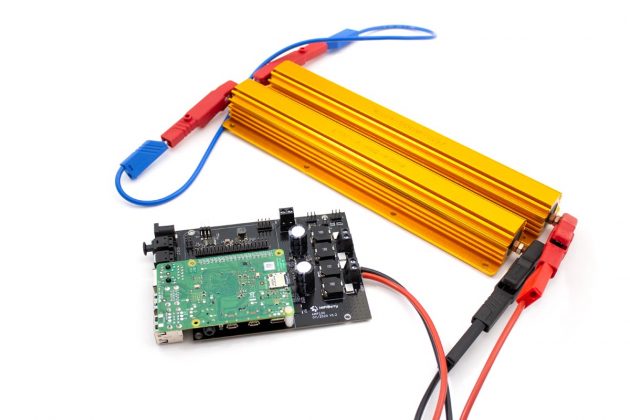
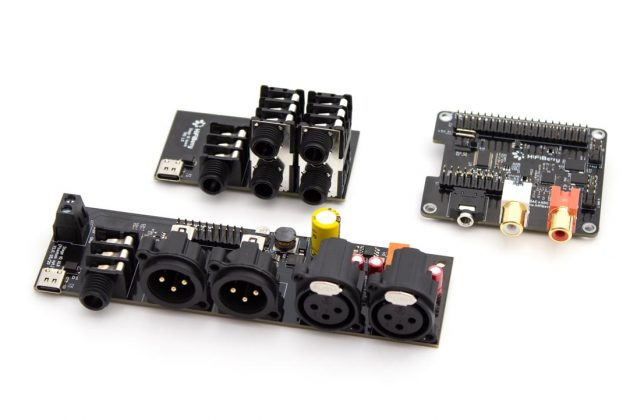
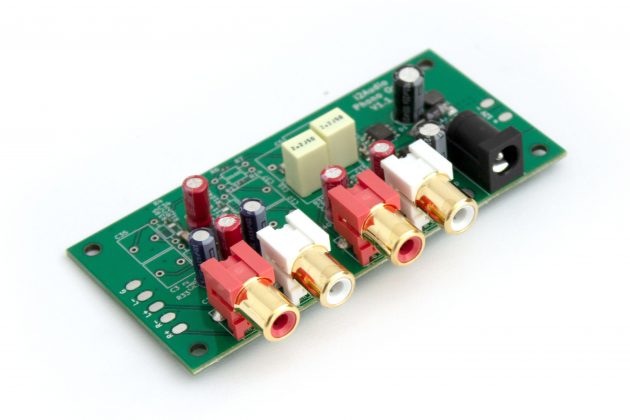
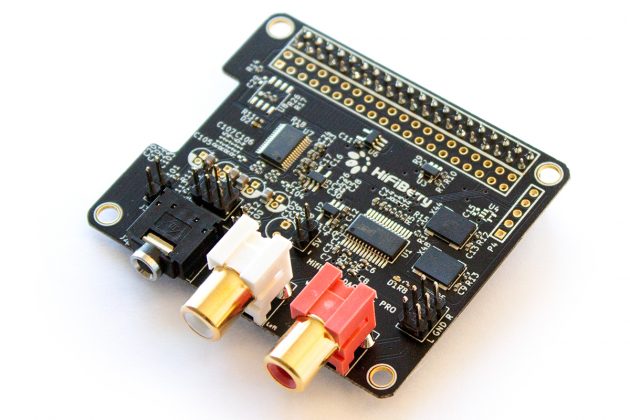
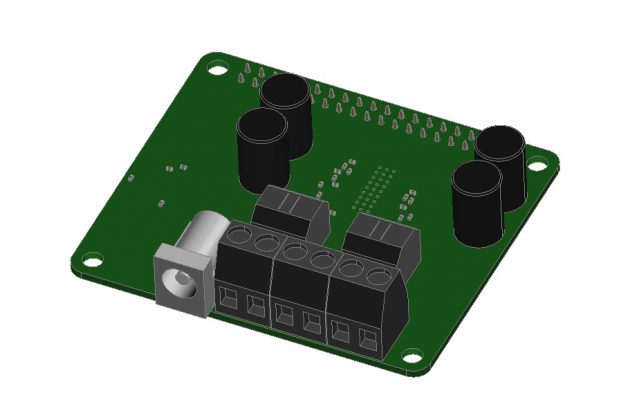
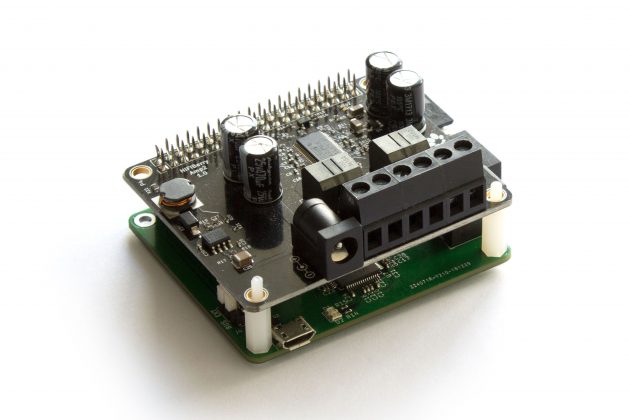
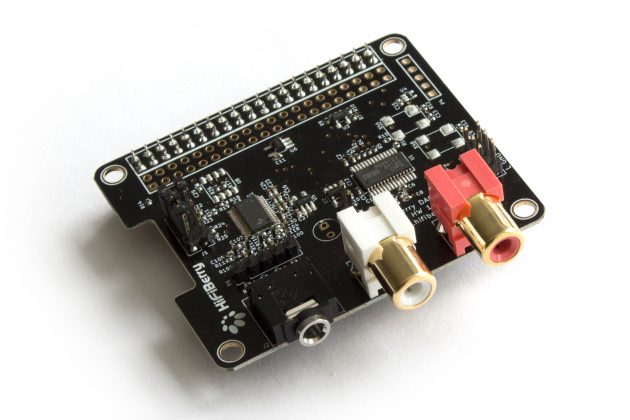
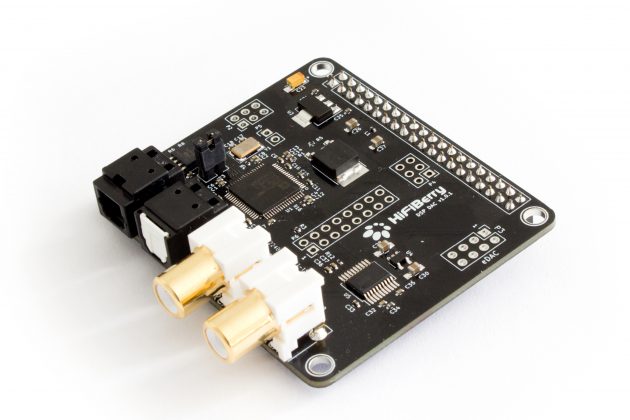
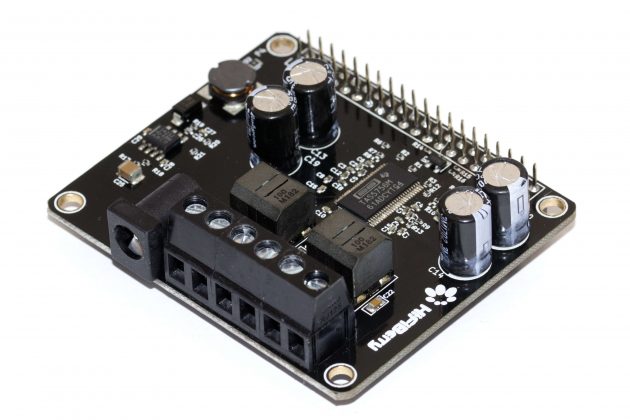
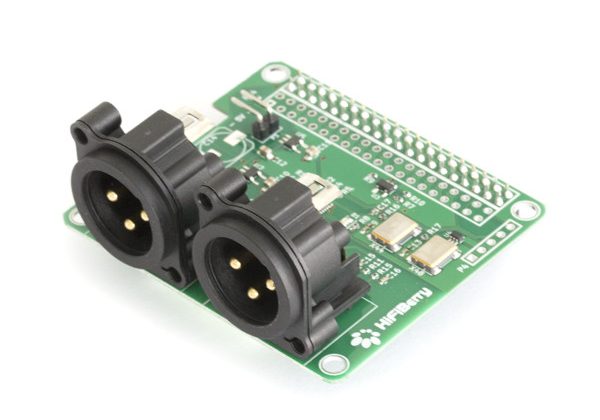
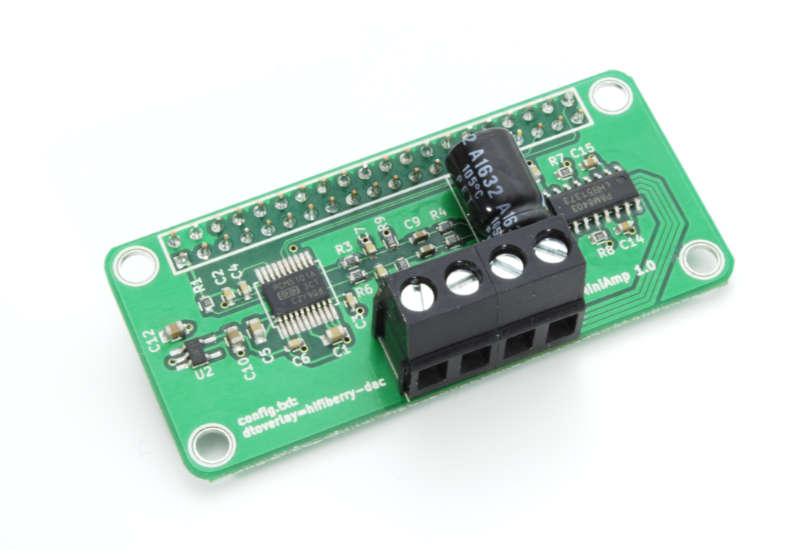
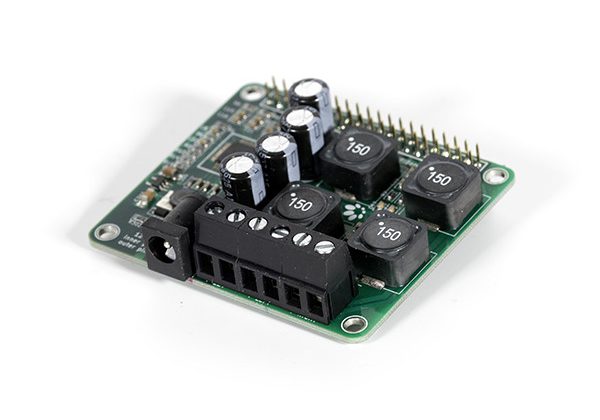
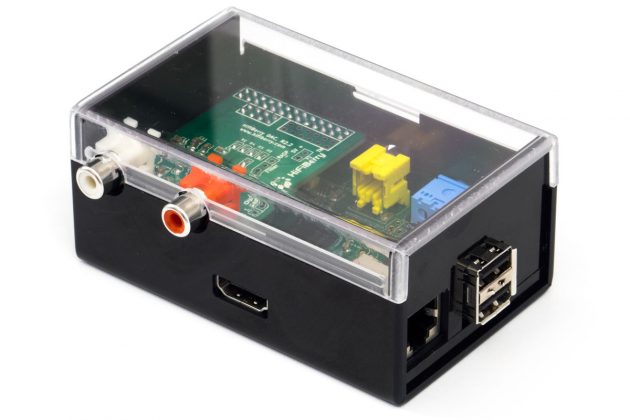
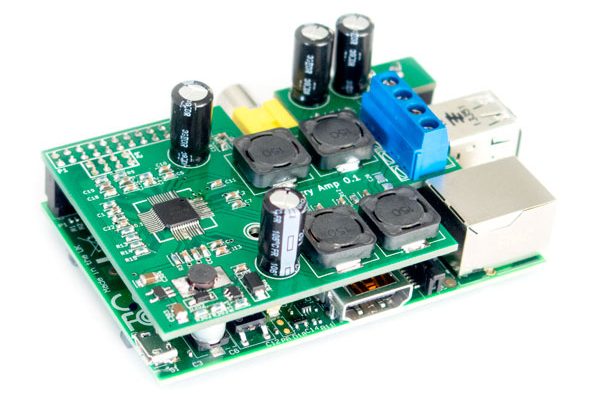
- 1 AMP2 or BeoCreate
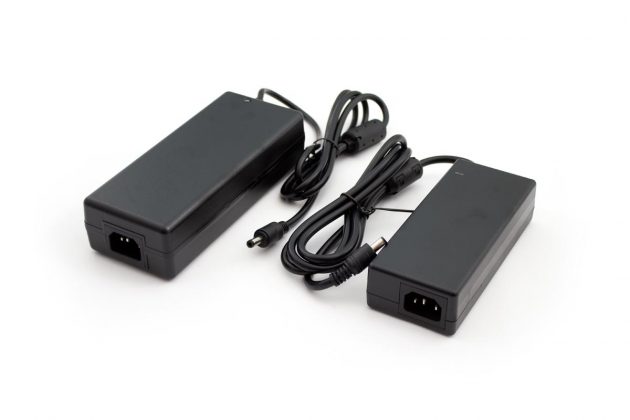
- 1 AC Adapter (18V for AMP2, 20V for BeoCreate)
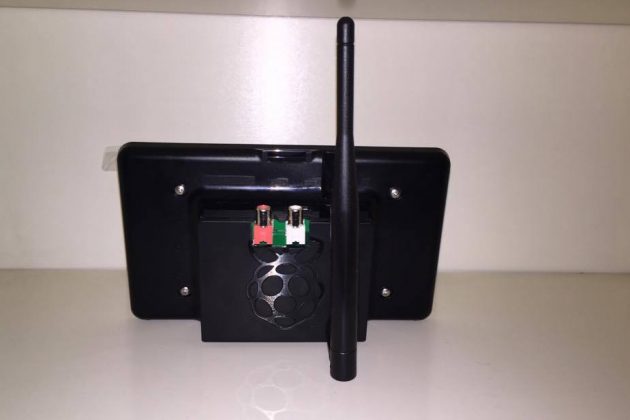
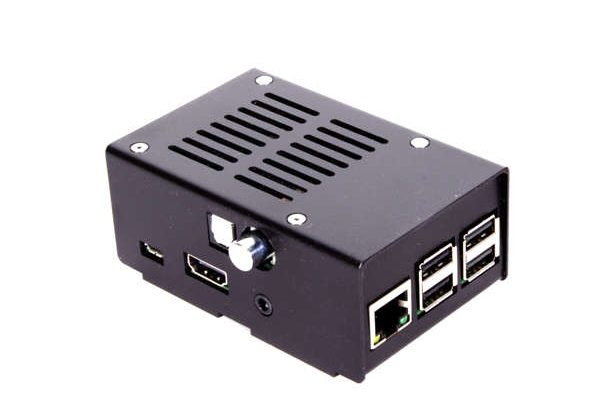
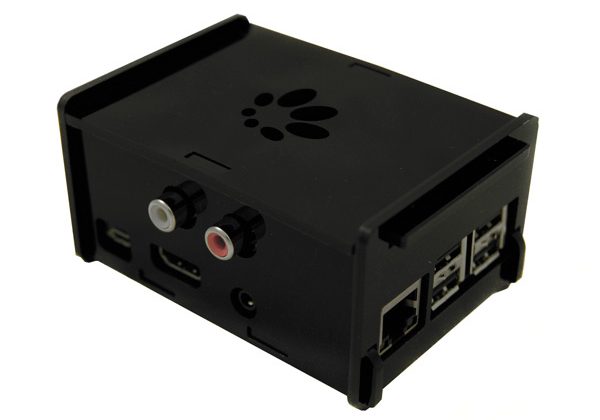
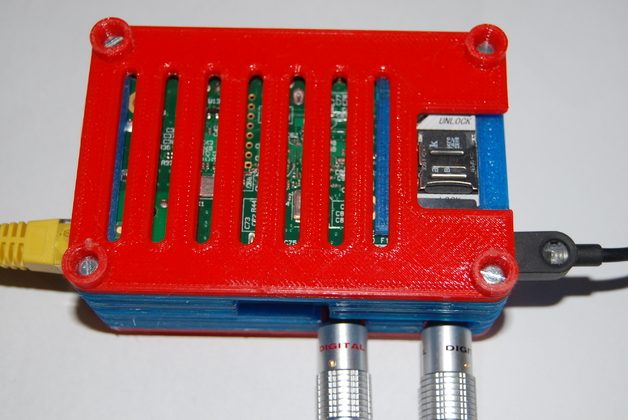
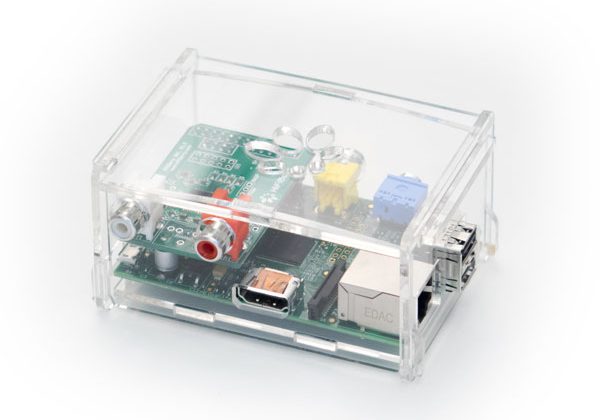
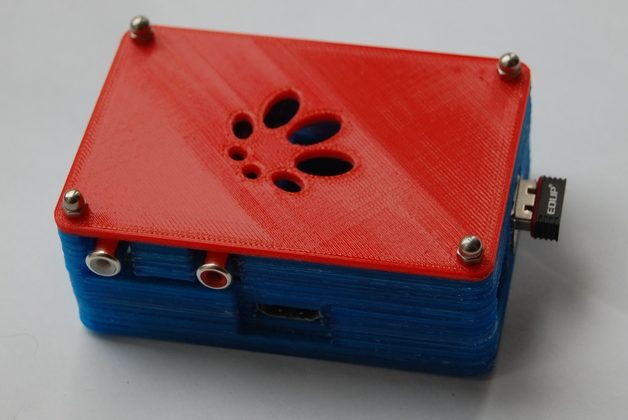
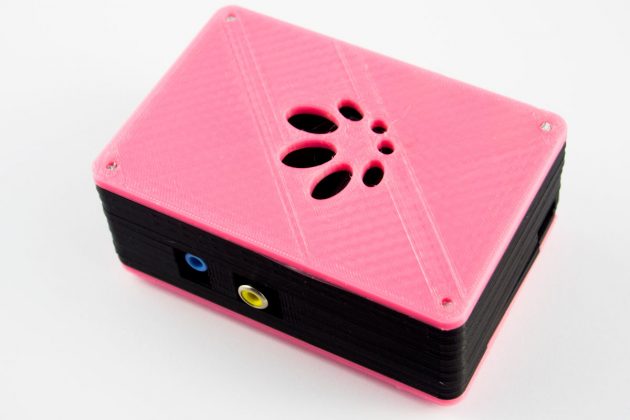
- OPTIONAL: 1 Case (we recommend the Universal case for WiFi installs)
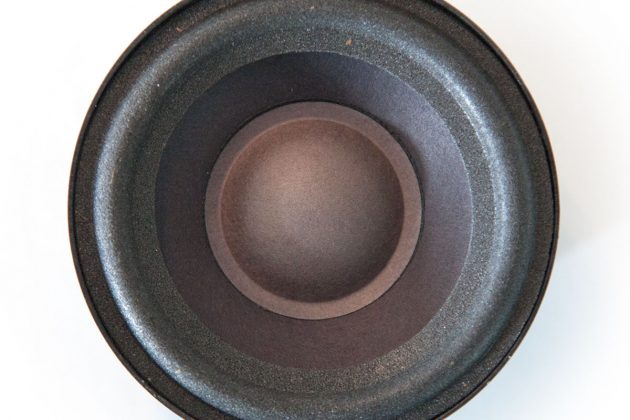
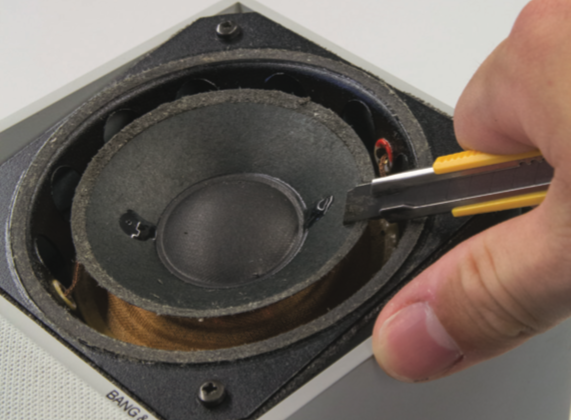
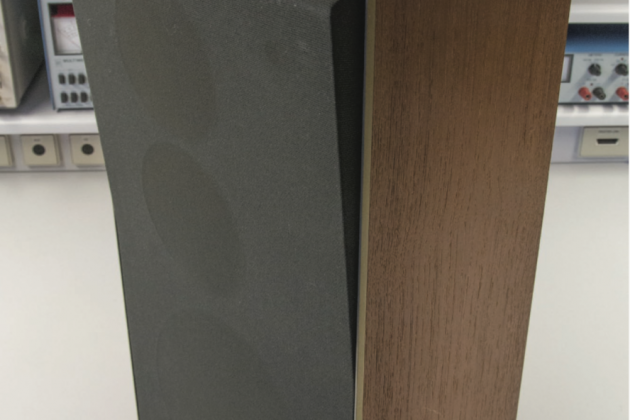
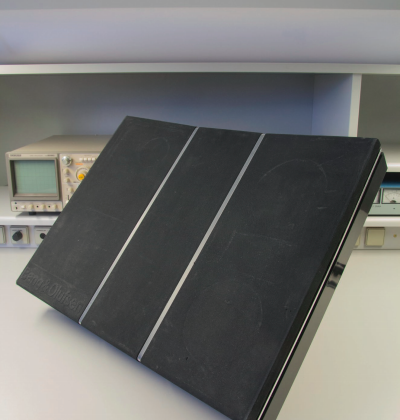
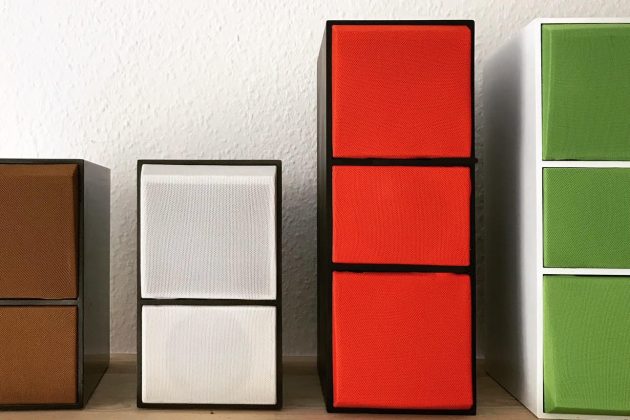
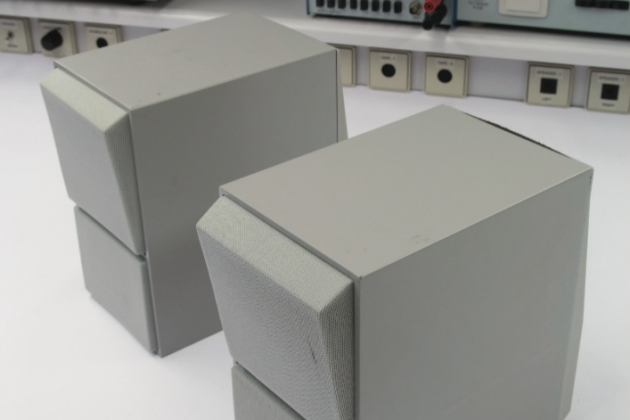
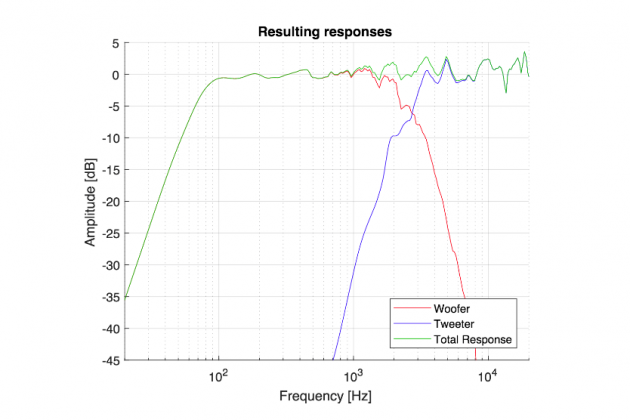
- 2 Speakers (if you are using the BeoCreate, a ‘coaxial’ type of speaker is preferred to get the most from the amplifier by connecting the bass and treble drivers)
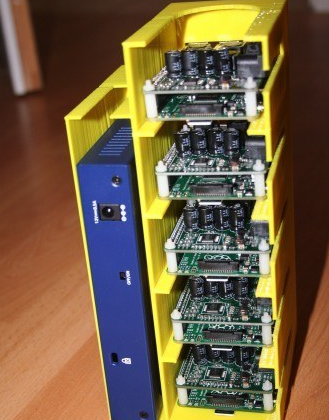
So, if you had four rooms (kitchen, bedroom, family room, basement) you would need four Pi’s, four AMP2, four Micro SD cards, four cases, four AC adapters and four sets of speakers.
Getting back to the question of centrally wired vs. wireless, how much cable you’ll need will be dependent upon the size of your home and how far each ‘endpoint’ is from where you will be terminating all the wiring. For wireless, again, it depends on how far your gear is, the type of construction in your home, and other factors that affect a wireless signal. So ‘repeater’ or ‘booster’ for your network may be necessary.
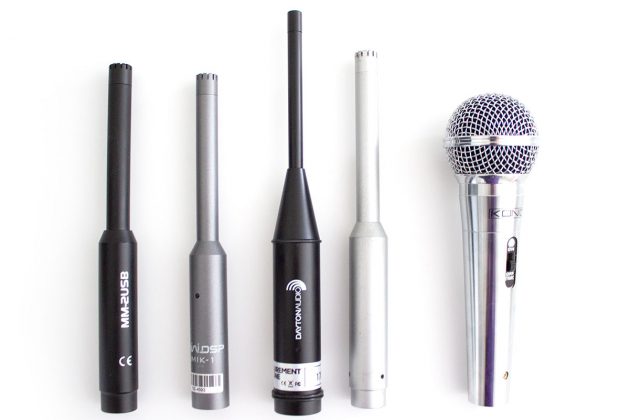
If you decide a wireless install is for you, there are any number of smartphone apps for iOS and Android which will tell you how strong your network signal is. That will be helpful to give you an idea of whether or not a wireless system will work, and if you might possibly need a booster or second router to amplify the WiFi signal.
Preparation:
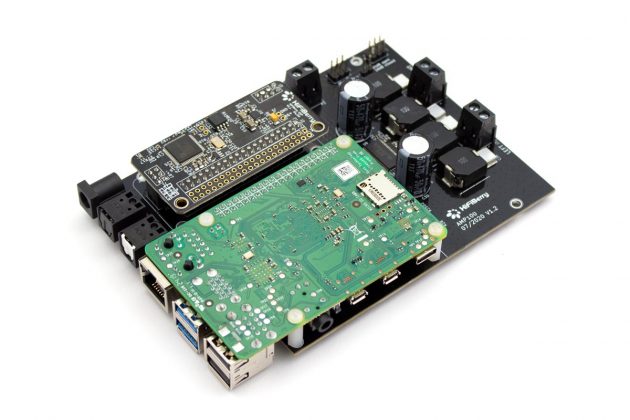
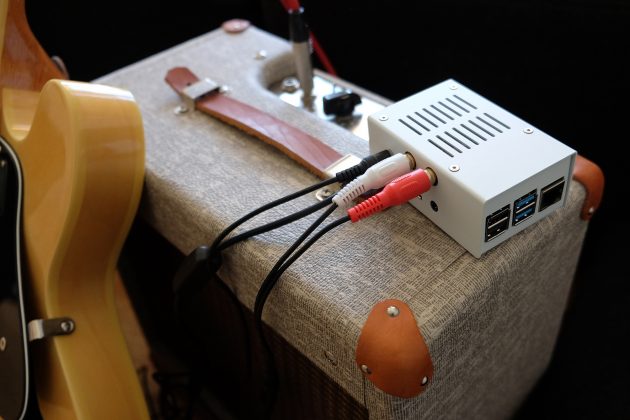
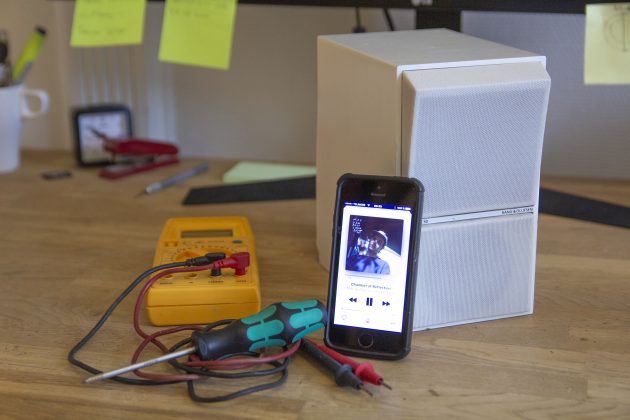
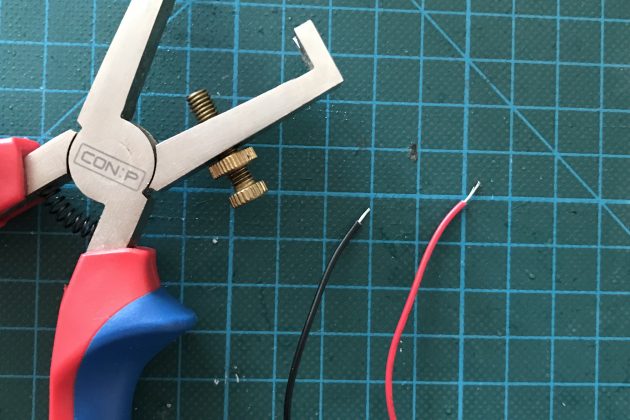
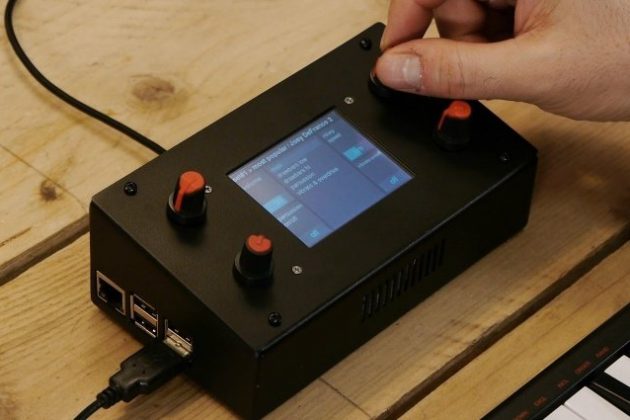
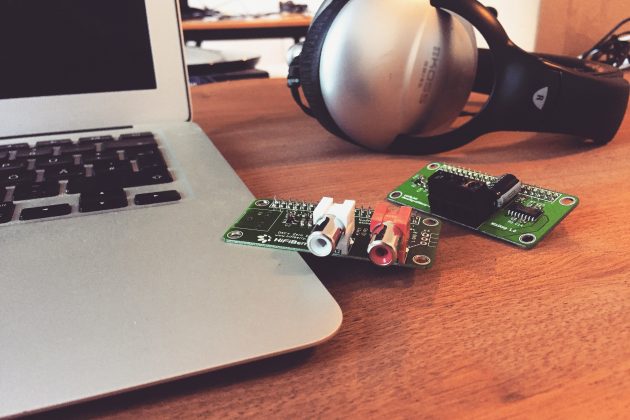
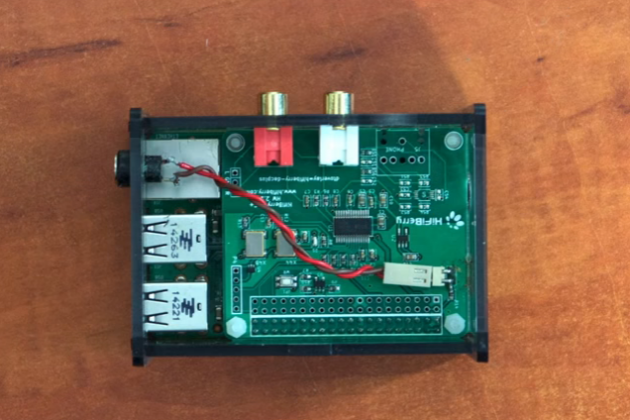
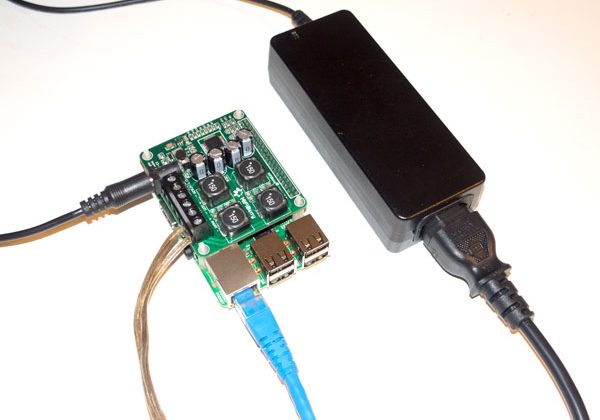
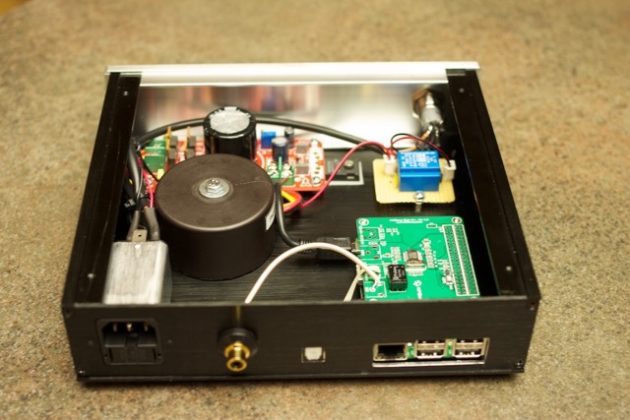
Once you have all your hardware together, begin by assembling the Pi/AMP2/Case combination and connect each with a short bit of wire to speakers. We recommend you get your MRA system up and running before you start drilling holes in the wall or running wires, to identify any parts that you missed, configuration issues or potential unforeseen problems. As the old saying goes: ‘better safe than sorry.’
Because of the wide variety of software choices, and the various places that digital data can reside, we’re not going to go too deeply into configuration issues, that will be the subject of another article. Instead, we will discuss an overview of the concepts that make an MRA system work, and then touch quickly on a few software options you might wish to consider.
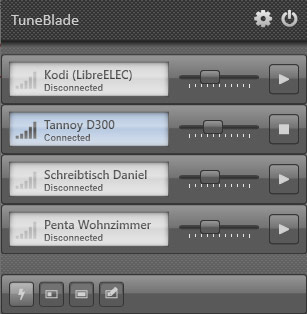
Each ‘endpoint’ (Pi/AMP2) is a ‘client’, and therefore you need ‘server’ software of some sort to control them all. As noted in the ‘basics’, one device in the system needs to function as the central control point, or ‘traffic cop’ that manages the flow of digital data from wherever it might reside (internet, NAS, USB, etc.) to the endpoint you have selected.
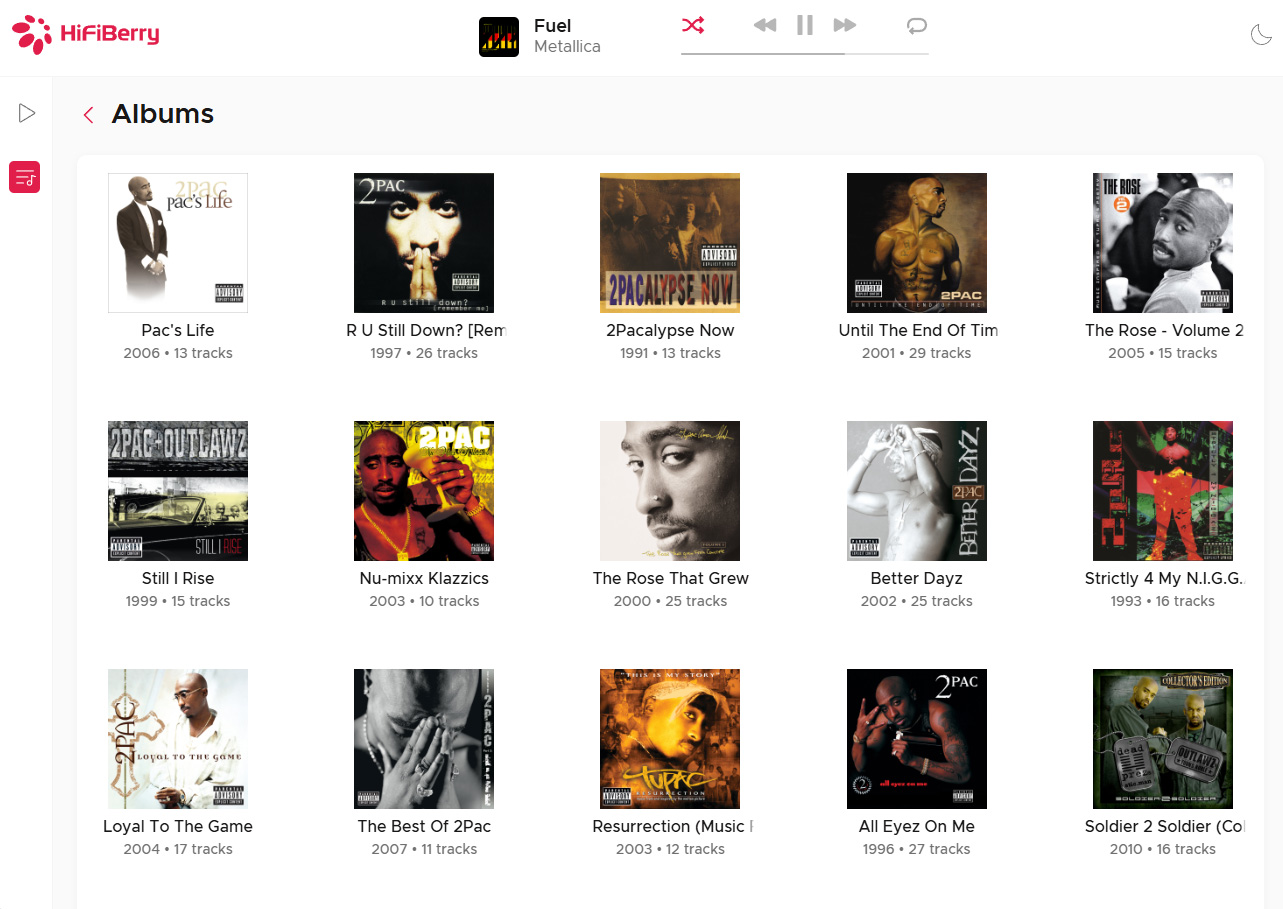
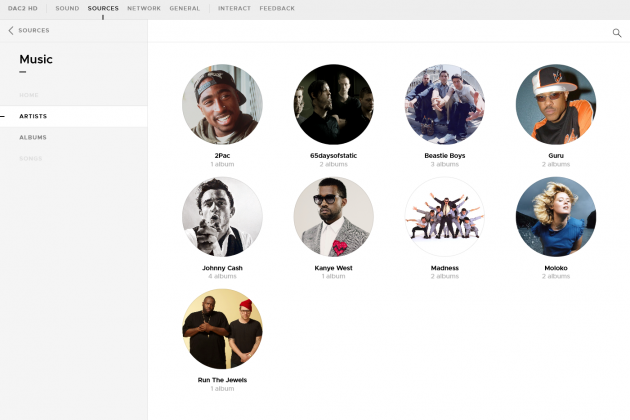
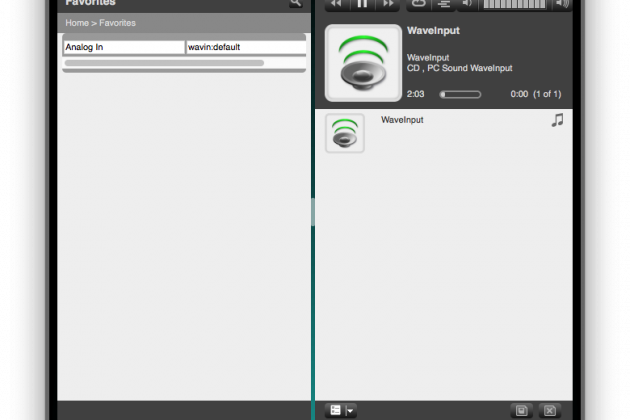
For the purpose of this discussion, all of the software options presented are supported on a HiFiBerry MRA system and can be operated by a SmartPhone, Tablet, or web browser. Again, the choices here are many, but we will make a few suggestions to get you started.
Installation:
Once you have verified that your gear is working properly, it’s time to do the physical installation of the gear into your home. Depending on how skilled you are, this is something you may choose to do yourself, or you might wish to hire a home improvement contractor if you’re not handy with power tools. However, be aware that the factors we discussed earlier with regard to distance from the router or centrally wired location might cause some changes to your plan.
If you’re wiring to a central location, we recommend no more than 50’ of speaker wire be used. If you’re going with a WiFi configuration, proximity to your router or a repeater will be a factor.
The point here is that sometimes changes need to be made, so be prepared with an alternate plan. The good news is that the Pi is very adaptable and each device can be either hard-wired or wireless, so you have lots of choices.
Methods of installing speakers into walls or ceilings is beyond the scope of this article which is intended as an overview and outline of the technology and planning process. Different speaker types will often have their own mounting methods, and it’s just not possible to go into depth. The basics still apply to all, though. You will need to run wires to the speakers from the AMP2 or BeoCreate, and power the device with an AC adapter. Building codes will determine what is permissible, your construction will determine what is possible.
If you have any questions about the physical installation of equipment, we recommend you speak with someone at your local home improvement center, or someone like your local zoning board or a contractor who knows what is safe to do.
Operation
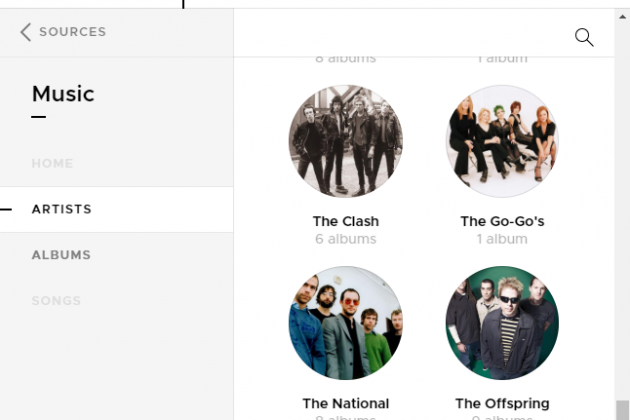
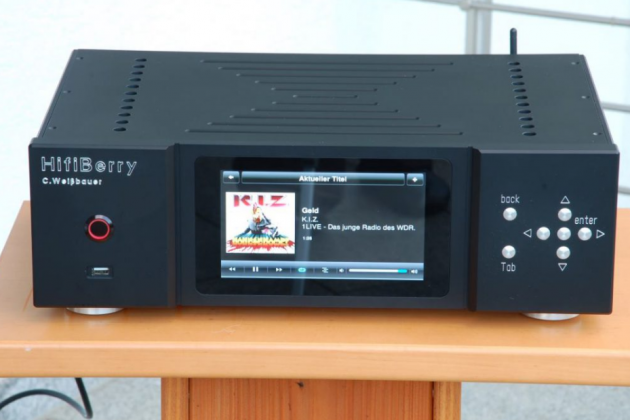
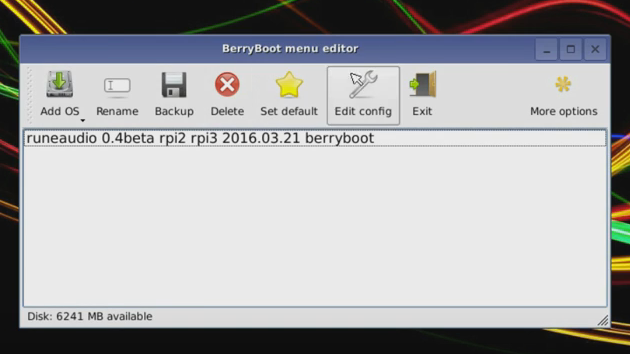
This is another aspect beyond the scope of this article, since there are many choices of software available for the Pi that will operate the HiFiBerry product line. We’ll write another article discussing the features and benefits of each software distribution in another post, but essentially you will ultimately be able to completely control the various zones (nodes/endpoints) of your system from a PC web browser, tablet or smartphone.
We hope this overview has been helpful. Please let us know your thoughts!
November 14, 2018