Blog
Configuring OSMC
Update December 2016:
This guide is outdated. Please use the updated guide.
Archive:
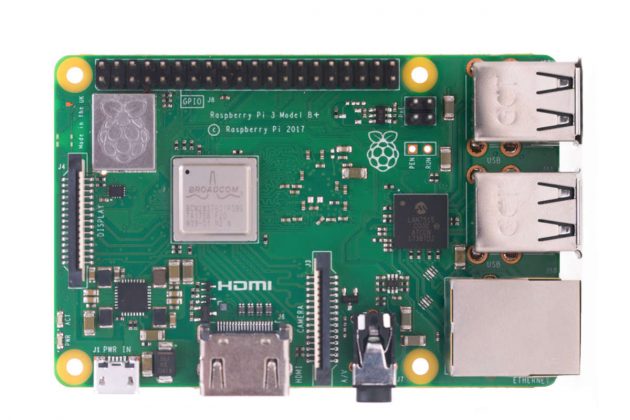
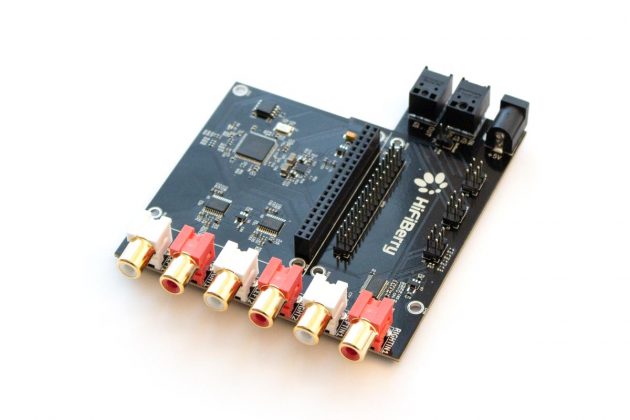
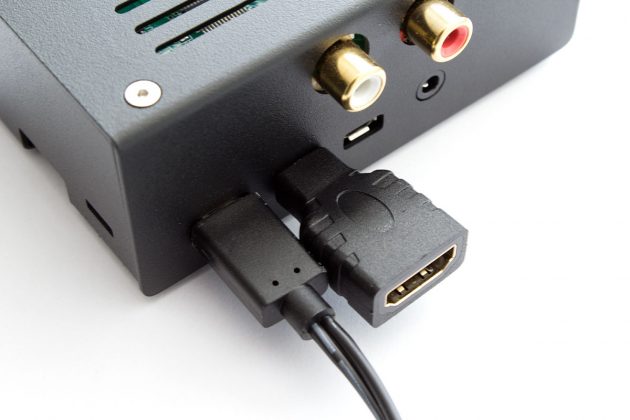
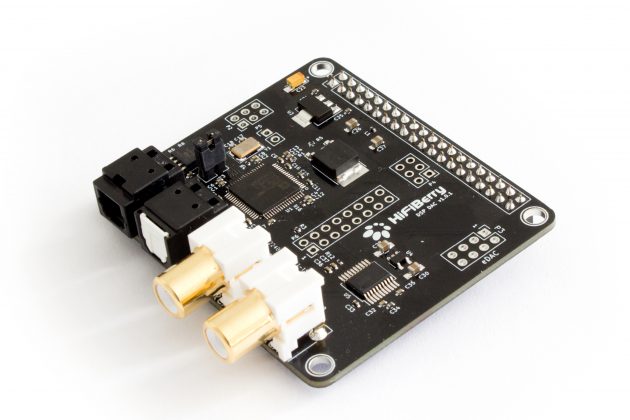
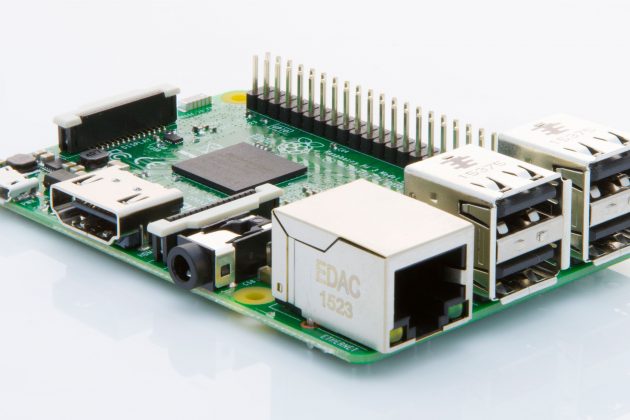
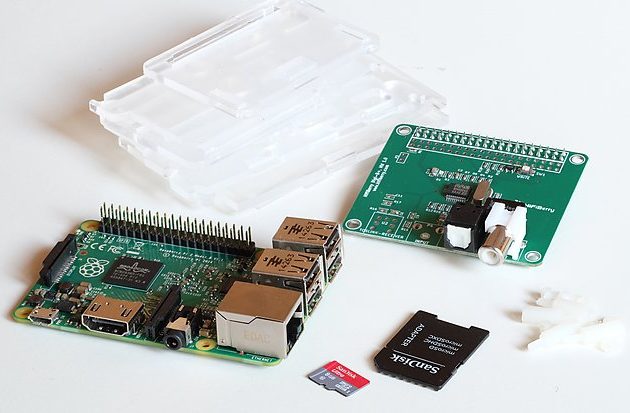
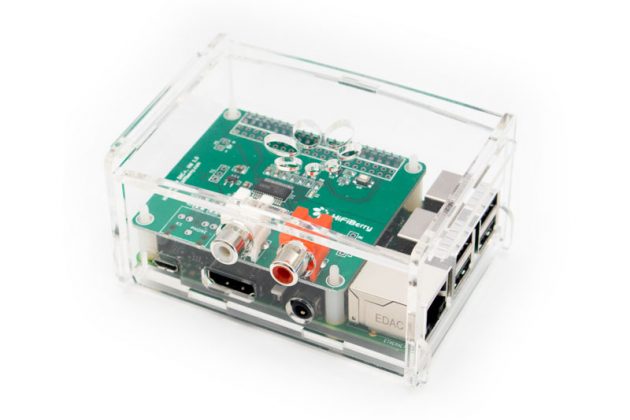
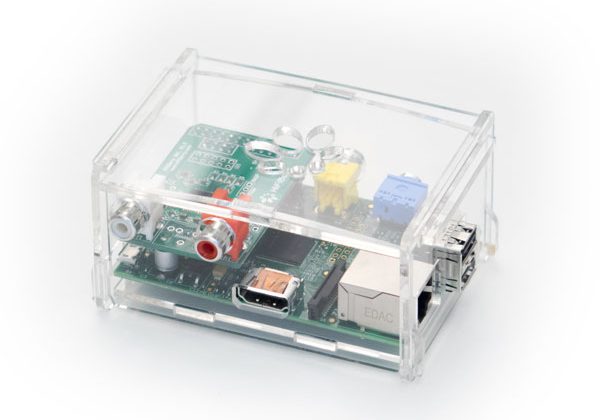
First, write the OSMC image to the SD-Card. Insert the SD-Card into your Raspberry Pi and boot up OSMC for the first time. Once OSMC has loaded for the first time, use SSH to remotely log into it. The username is osmc and password is osmc.
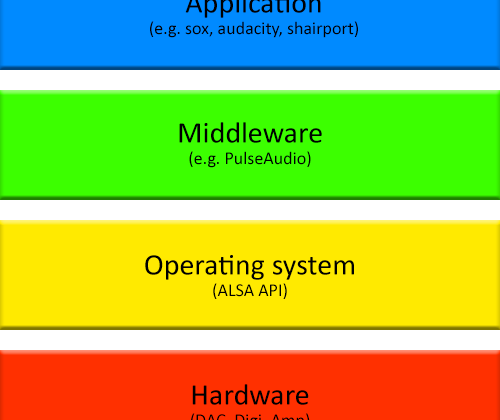
Use the nano or vi text editor to modify the /boot/config.txt file. Note: You’ll have to edit the config.txt file in sudo mode. e.g.
sudo nano /boot/config.txt
First remove the existing line
dtoverlay=lirc-rpi:gpio_out_pin=17,gpio_in_pin=18
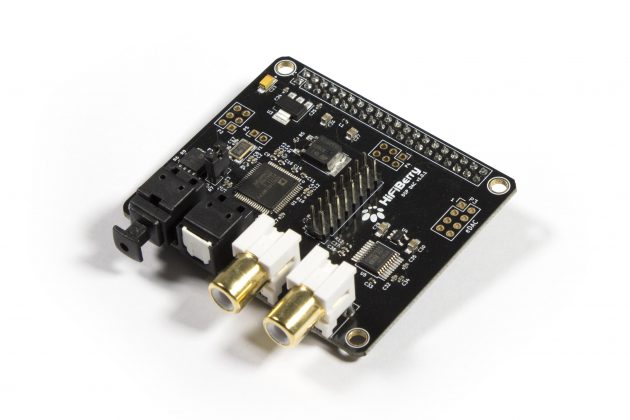
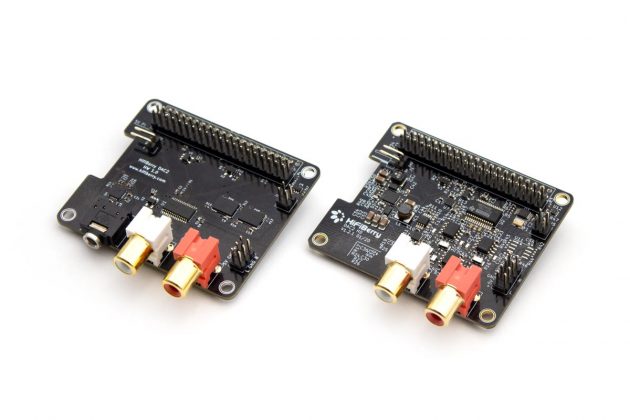
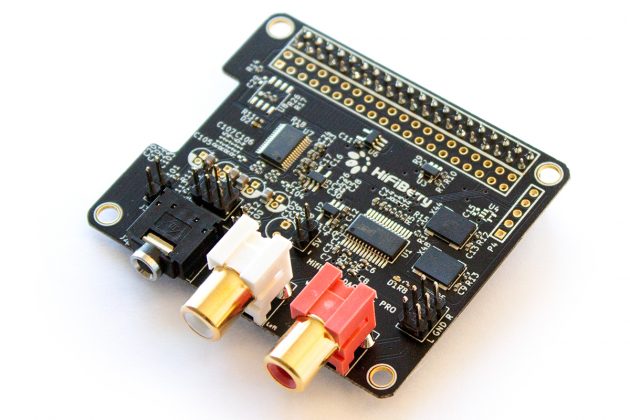
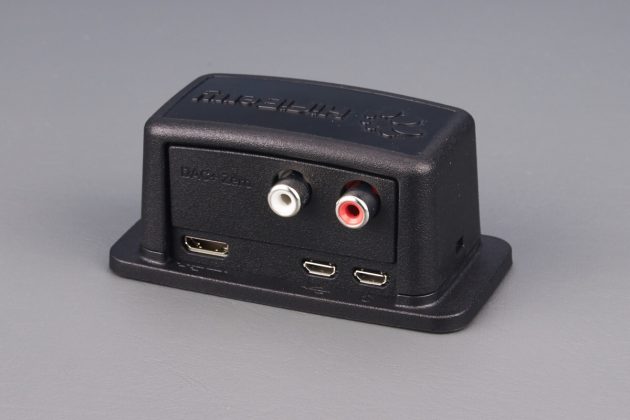
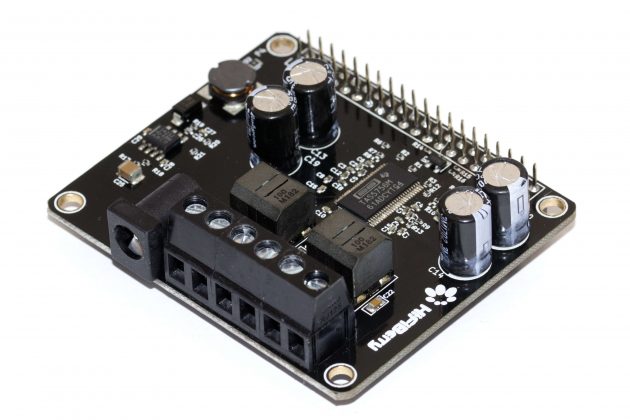
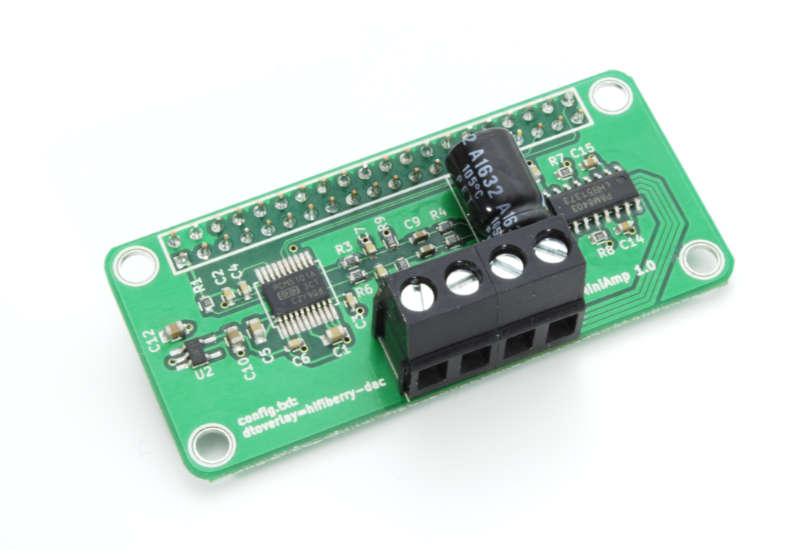
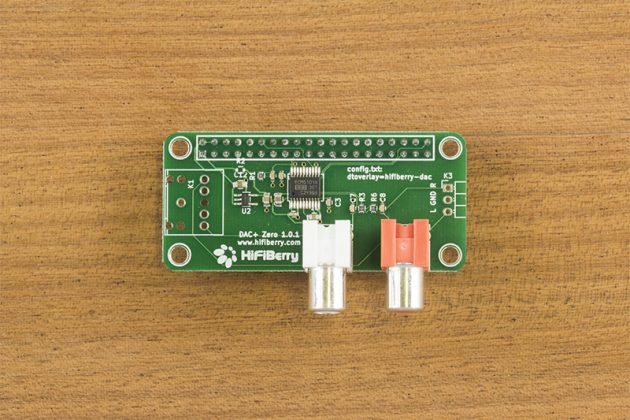
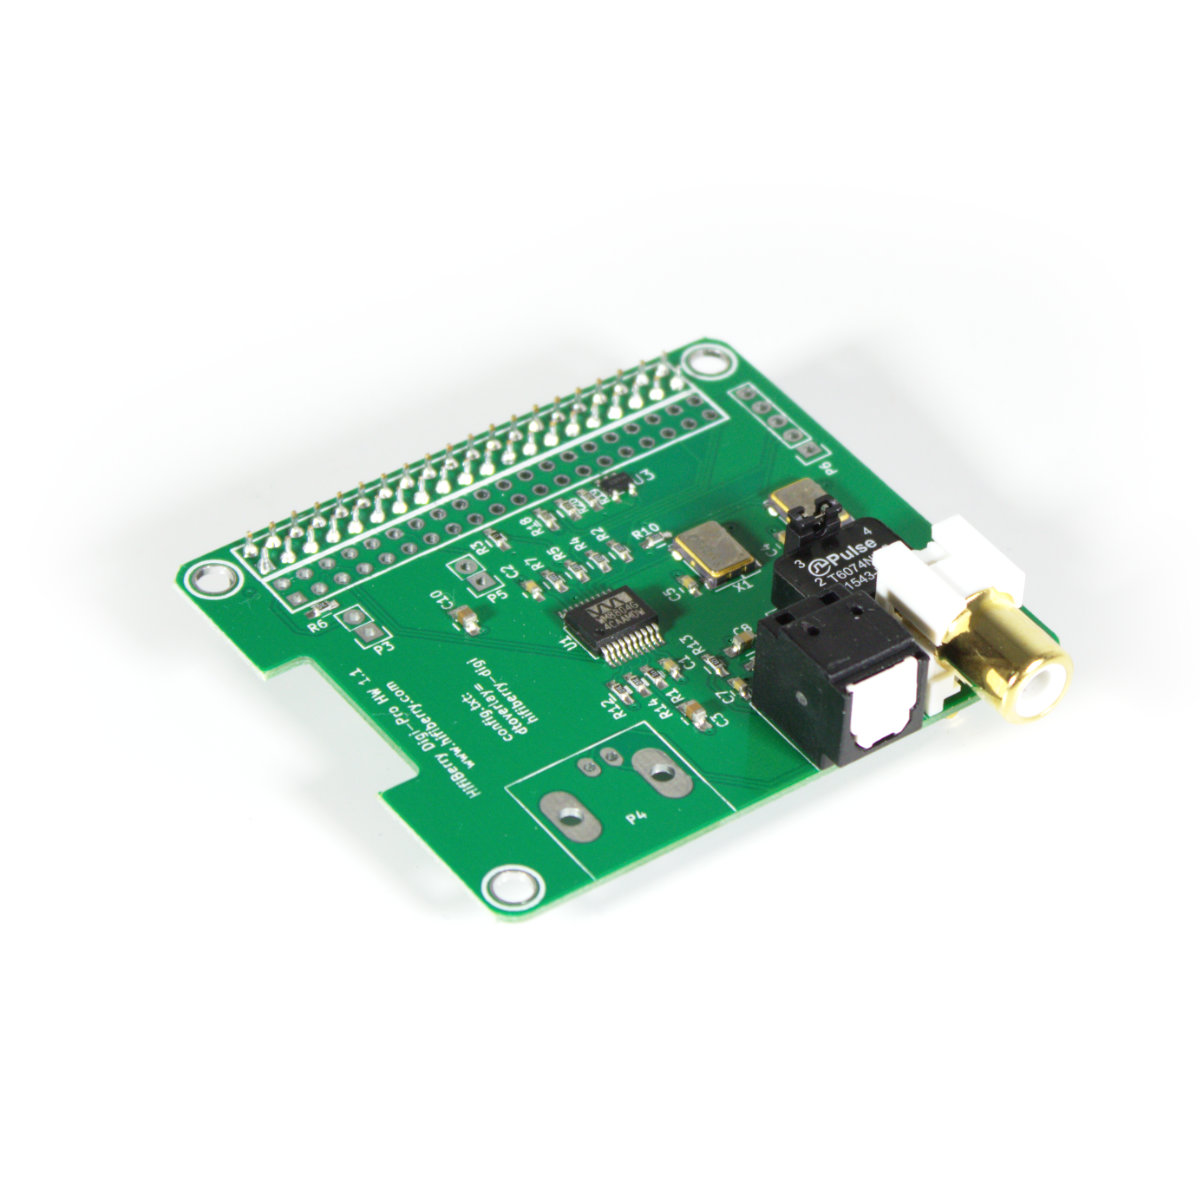
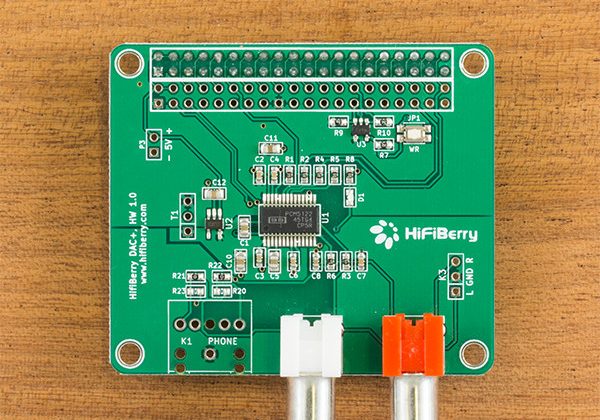
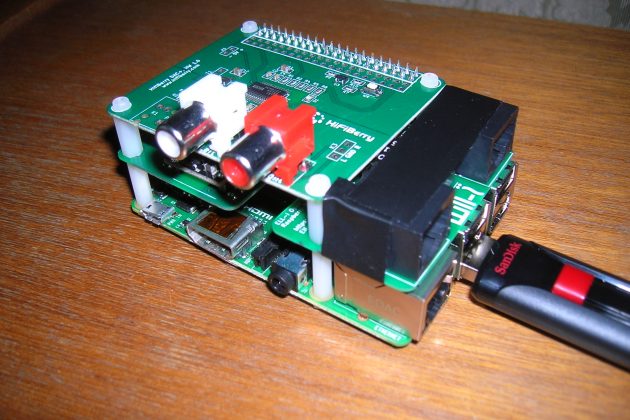
and replace the dtoverlay with the correct configuration for your HiFiBerry DAC hardware, as described in Configuring Linux 3.18.x in the “Configure device tree overlay file” section. So, for example, for the DAC+ the configuration would be
dtoverlay=hifiberry-dacplus
Reboot OSMC.
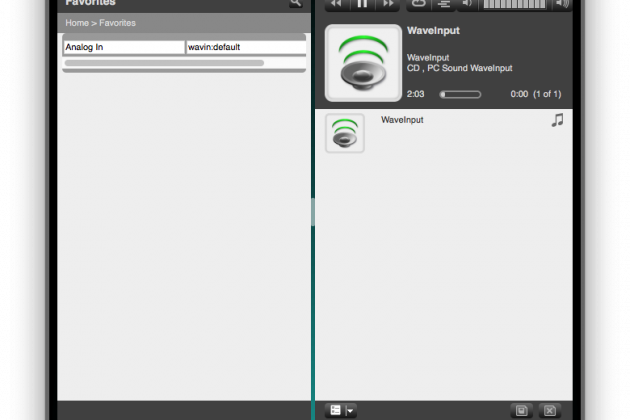
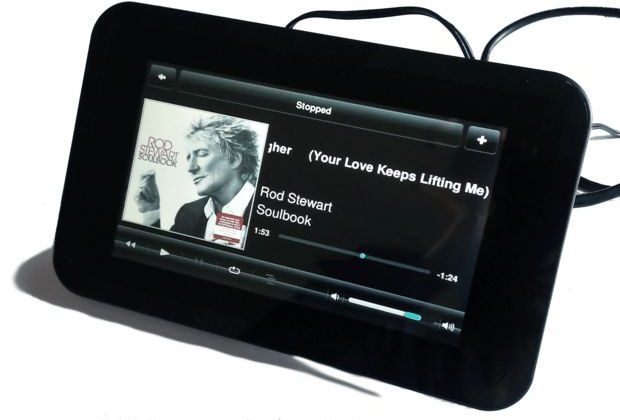
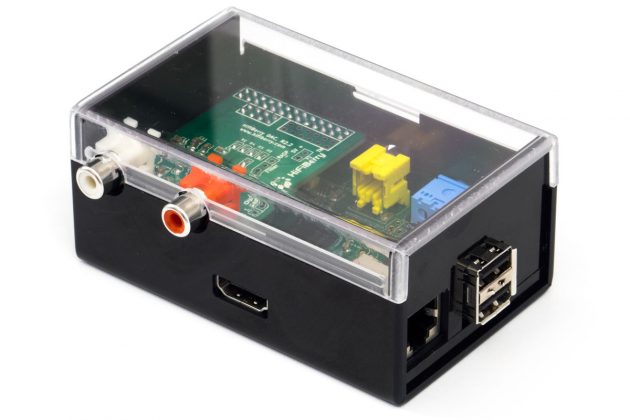
Once it has rebooted, go into the Settings -> System -> Audio Output and choose the HiFiBerry sound card as the Audio output device.
August 5, 2015